
Ever since I spent NT$1,229 upgrading to Windows 8 Pro, my computer hasn’t run into any major issues (twirls mustache). Yet the rock-solid stability of Windows 8 made me overlook an essential question: “What happens if the system ever crashes or needs a clean reinstall?”
In the past, reinstalling an operating system simply meant popping in a physical installation DVD. The worst-case scenario was misplacing your license key and having to extract it from the drive. However, my Windows 8 was upgraded directly from the Windows 8 Release Preview. If my machine runs into trouble later, surely I won’t be expected to install Windows XP first just to run the upgrade again?
Fortunately, Microsoft thought of this scenario.
Microsoft allows licensed users to download a bootable installation package directly from the web, provided you have a valid Windows 8 product key.
Step-by-Step Guide: Creating a Bootable USB or DVD Media
Step 1: Verify your genuine Windows 8 Product Key.
Step 2: Head over to Microsoft’s official download portal: http://windows.microsoft.com.
Click the blue button labeled “Install Windows 8”.
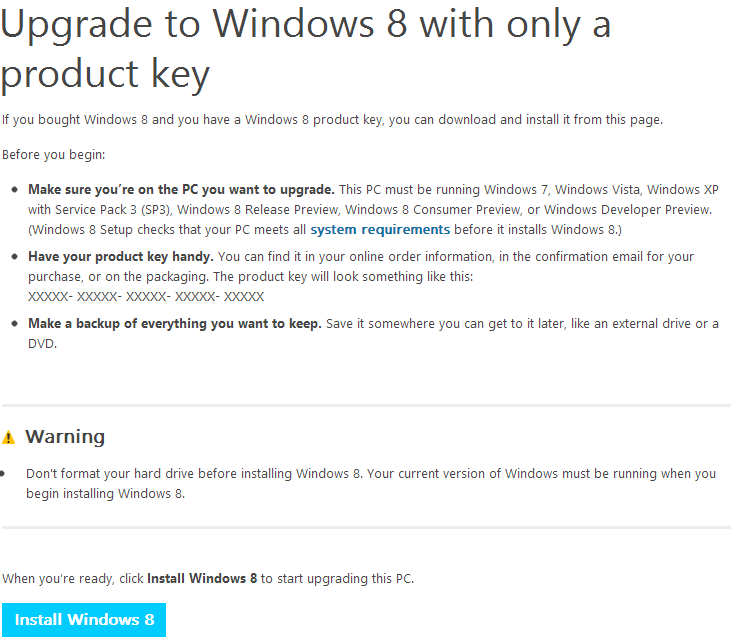
Upgrade to Windows 8 with only a product key
Step 3: Download the setup bootstrapper utility, Windows8-Setup.exe.
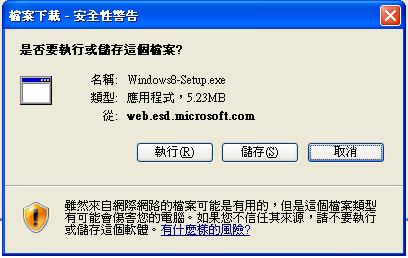
Windows Setup bootstrapper
The executable file weighs in at a lightweight 5.23 MB.
Step 4: Launch Windows8-Setup.exe.
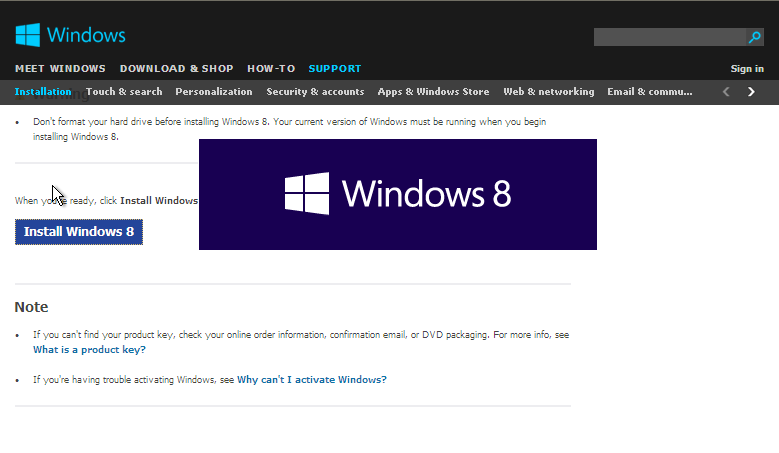
Installing the operating system
Step 5: Enter your genuine Windows 8 Product Key for authentication and edition verification.
Note: Depending on whether your license is 32-bit or 64-bit, the created installation media will automatically correspond to that architecture. I personally recommend running 64-bit Windows if your hardware supports it.
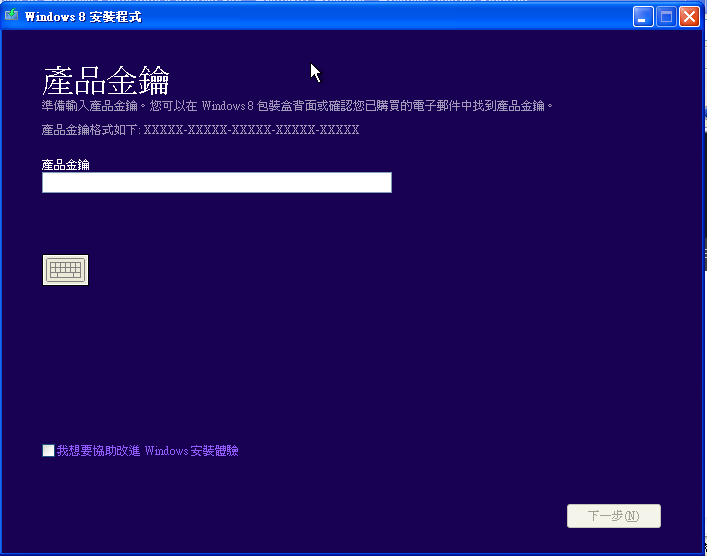
Enter product key
Step 6: On the subsequent “Install Windows 8” screen, choose the second option: “Install by creating media”.
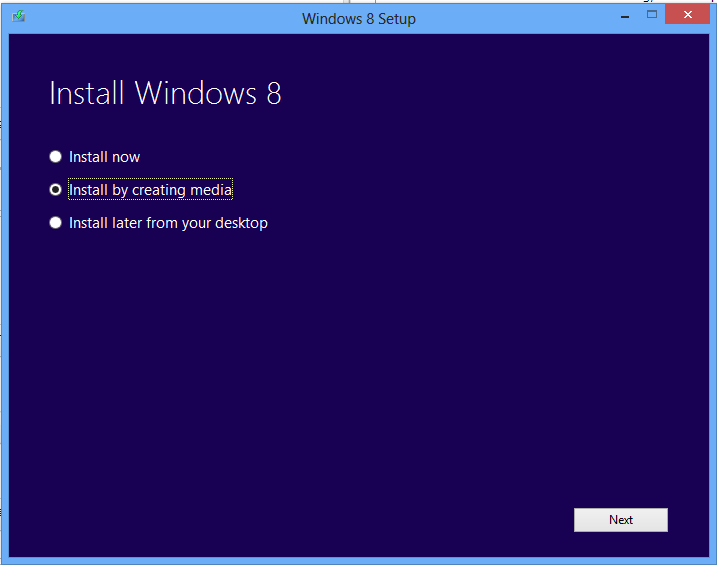
Install by creating media
Step 7: Choose your preferred media format: 1. USB flash drive, or 2. ISO file (for burning to DVD).
I chose option 2 to generate an ISO image file before burning it. An added advantage of saving an ISO file is that you can also mount it easily within virtual machines (e.g., VirtualBox, VMware).
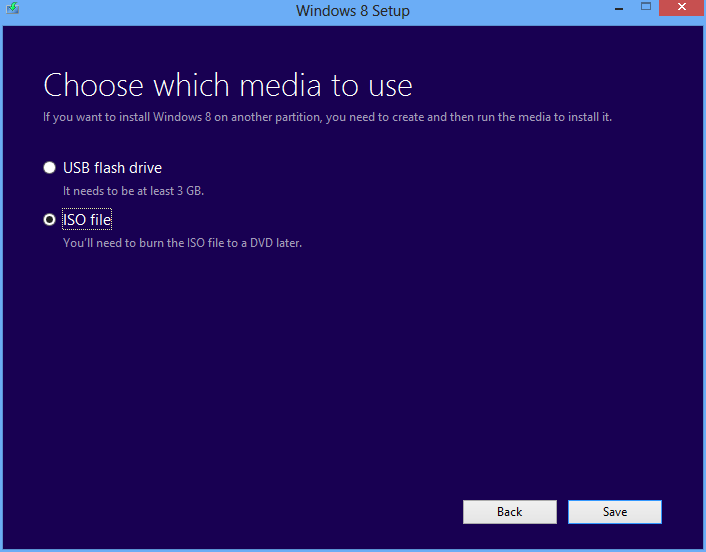
Choosing ISO file
Step 8: Choose a destination folder on your local drive to save the ISO image.
Wait for the download and file packaging progress to transition from 0% to 100%. The setup utility will generate the clean image file automatically.
Step 9: Finish the process.
A prompt will appear confirming that your ISO file is ready to burn to DVD or flash to USB. Click Finish to close the setup assistant.
With that, your bootable media creation process is complete! You can burn this ISO onto a DVD or use a tool like Rufus to create a bootable USB drive, giving you a reliable recovery media for clean Windows 8 installations.
Postscript: Testing in a Virtual Machine
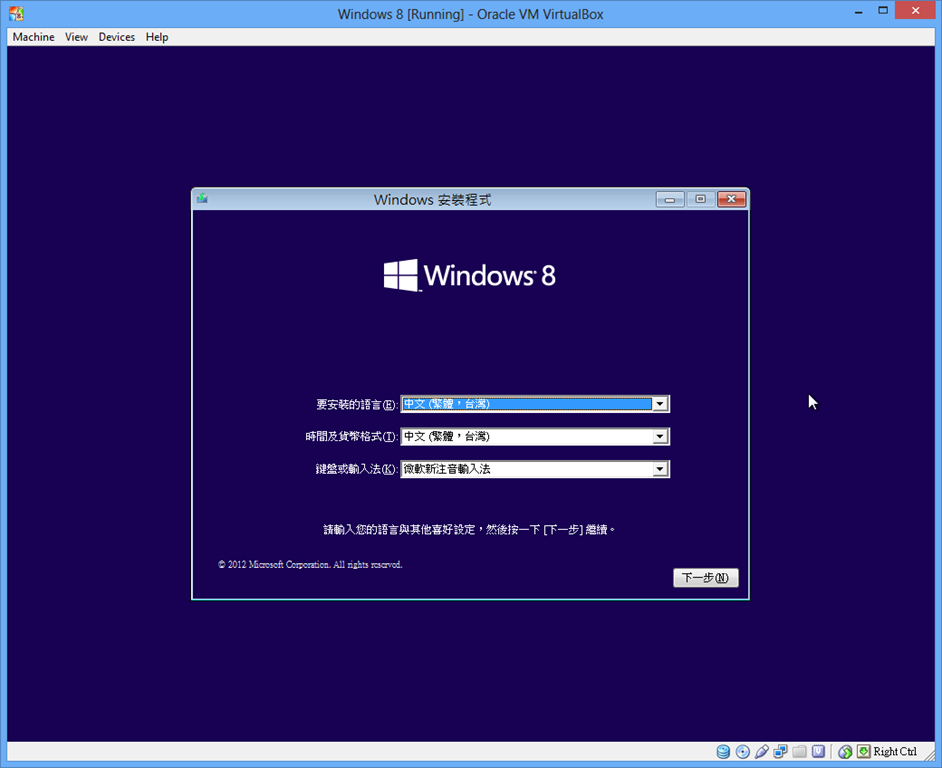
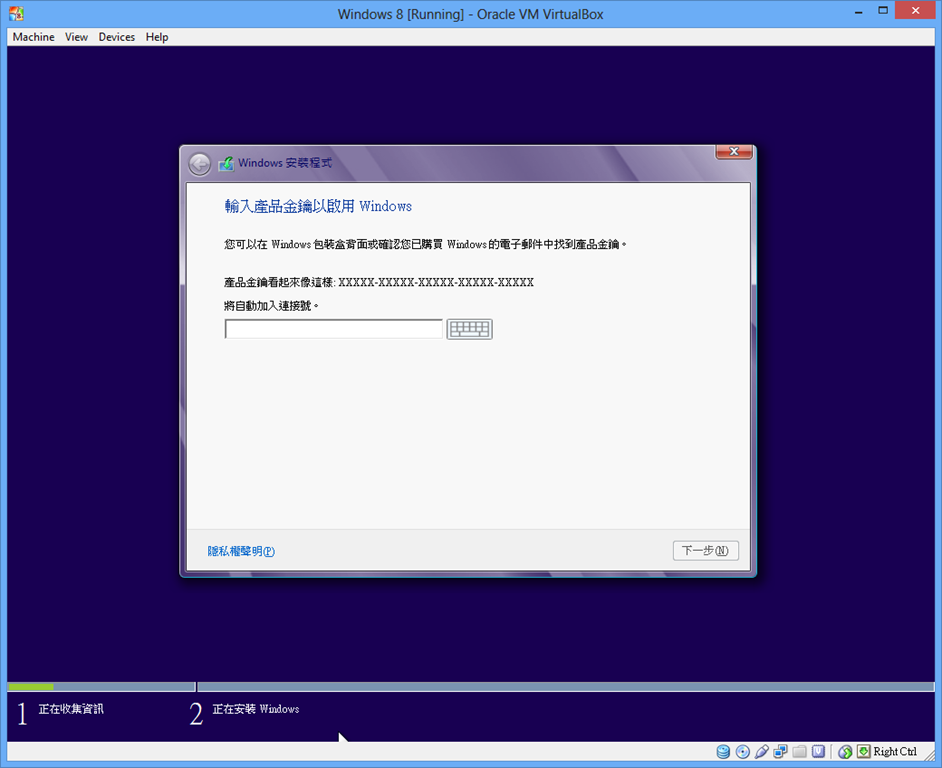
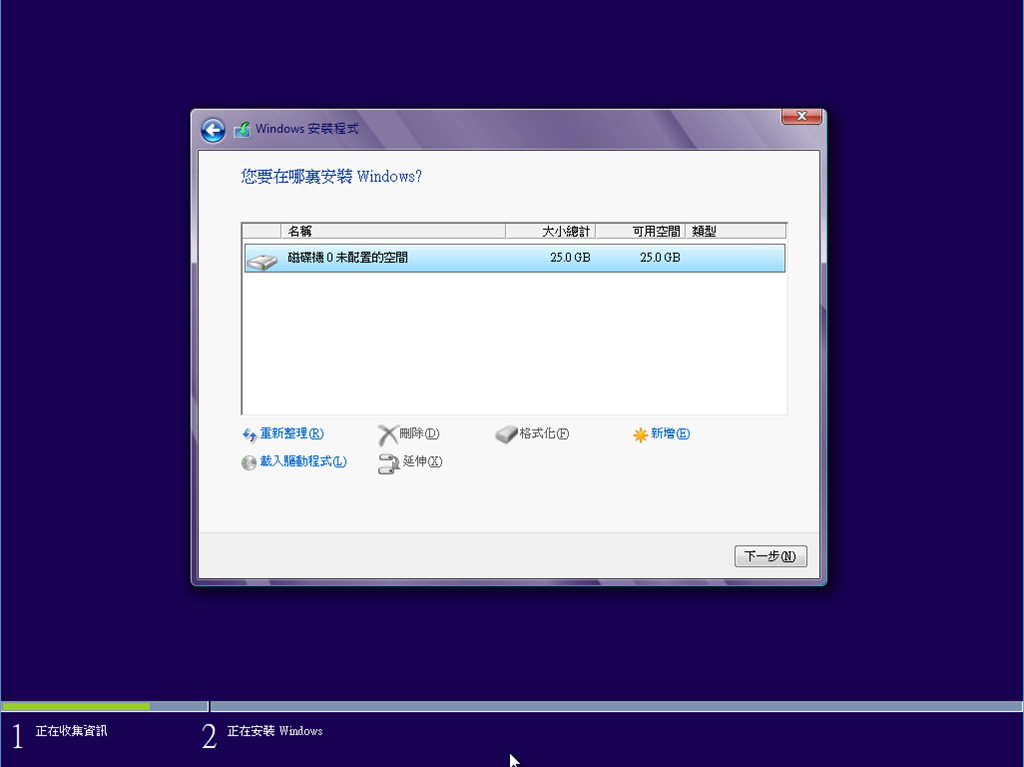
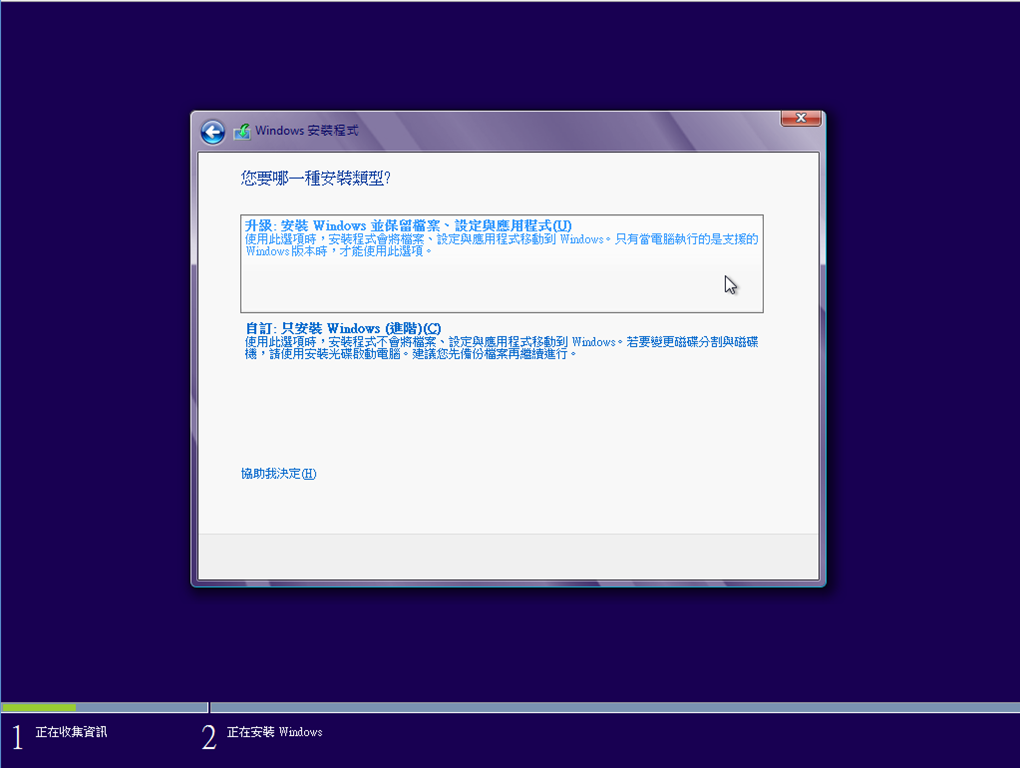
Below is a series of screenshots documenting the installation process after mounting the newly generated ISO file inside a virtual machine.
Because the Windows 8 installation wizard is remarkably streamlined and straightforward, I’ll let the pictures speak for themselves:
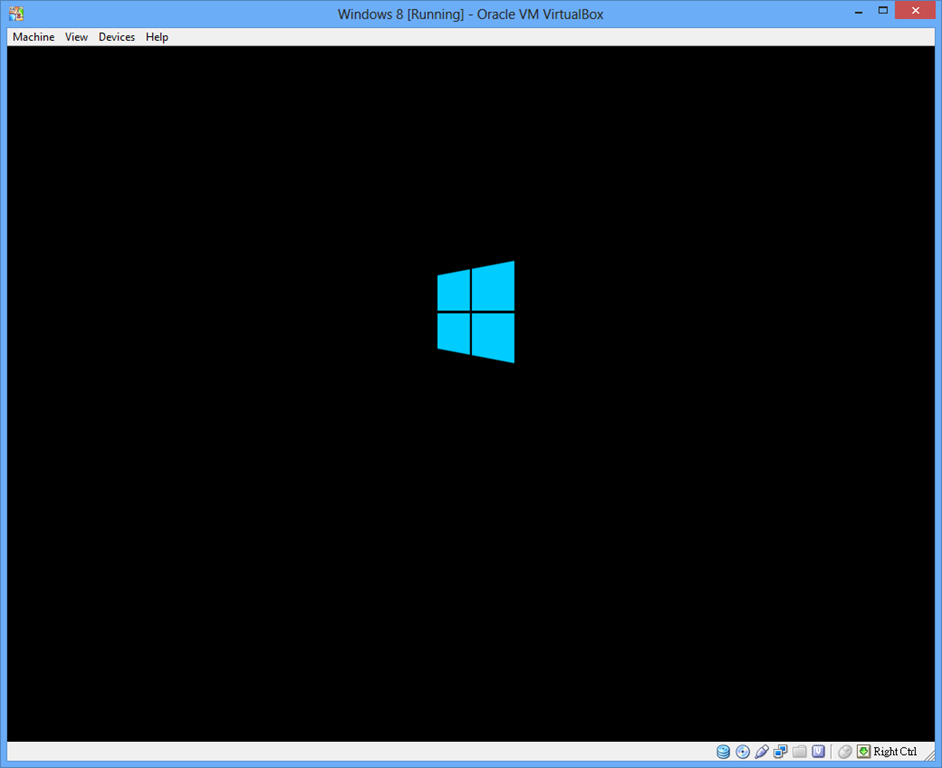
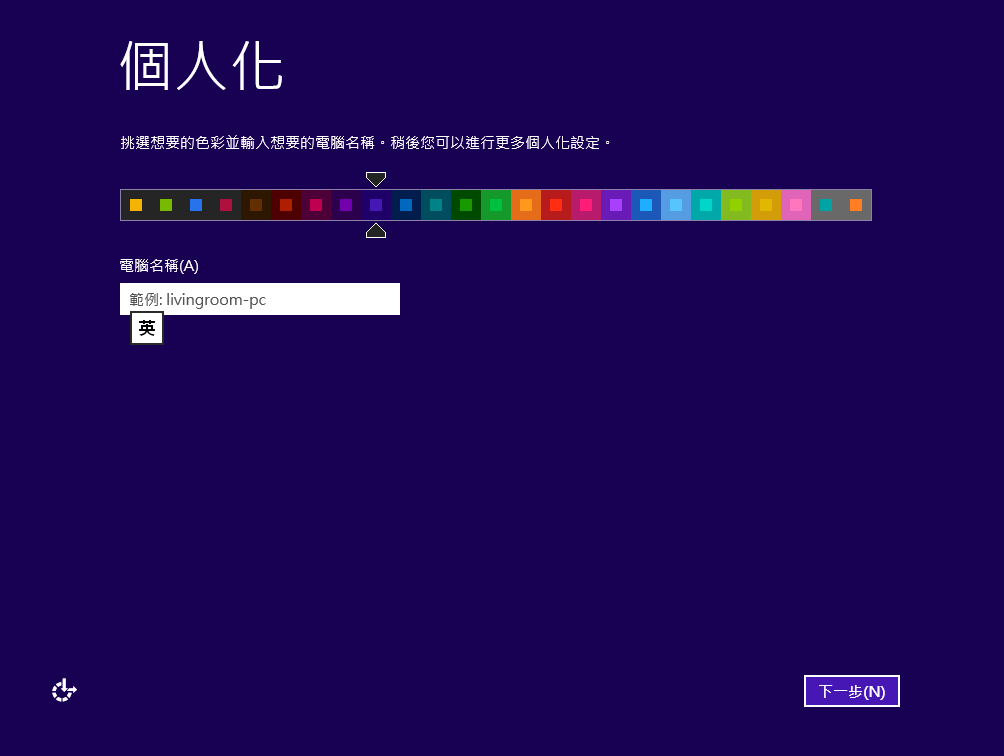
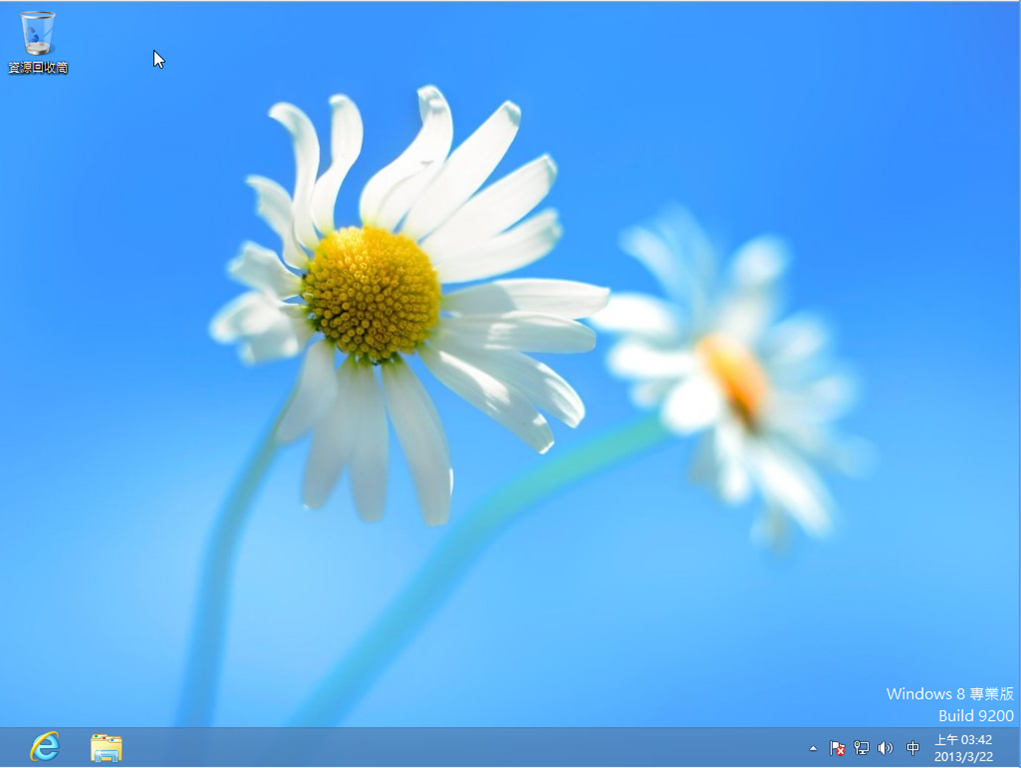
Windows 8 desktop
Further Reading
- Next Steps: How to Change and Install Display Languages in Windows 8.
- Next Step After Upgrading: Safely Clean and Remove the Windows.old Folder.
Support Independent Perspectives & In-Depth Insights
Every thoughtful analysis and candid critique comes from our dedication to truth and quality. We choose not to follow sensational algorithms or clickbait headlines.
Sustaining independent research requires reader support. Make a one-time or monthly contribution, securely processed by Google.
Payments secured by Google · Manage or cancel anytime in your Google Account


Comments