
After purchasing an SSL certificate [1] and completing the SSL certificate configuration in VestaCP (as shown in Figure 1), your website can typically be accessed directly over encrypted HTTPS (Hypertext Transfer Protocol Secure) to safeguard visitor data.
For example, unencrypted transmission on a plain HTTP site like http://www.vedfolnir.com is vulnerable to packet sniffing by attackers. Once upgraded to HTTPS, transmitted data is encrypted, significantly raising the difficulty of interception and eavesdropping.
Tip from The Fixer: Because HTTPS is primarily designed to encrypt sensitive data in transit, historically only e-commerce or user-login platforms strictly required it. Whether content creators and bloggers need to invest money in commercial SSL certificates depends on individual requirements.
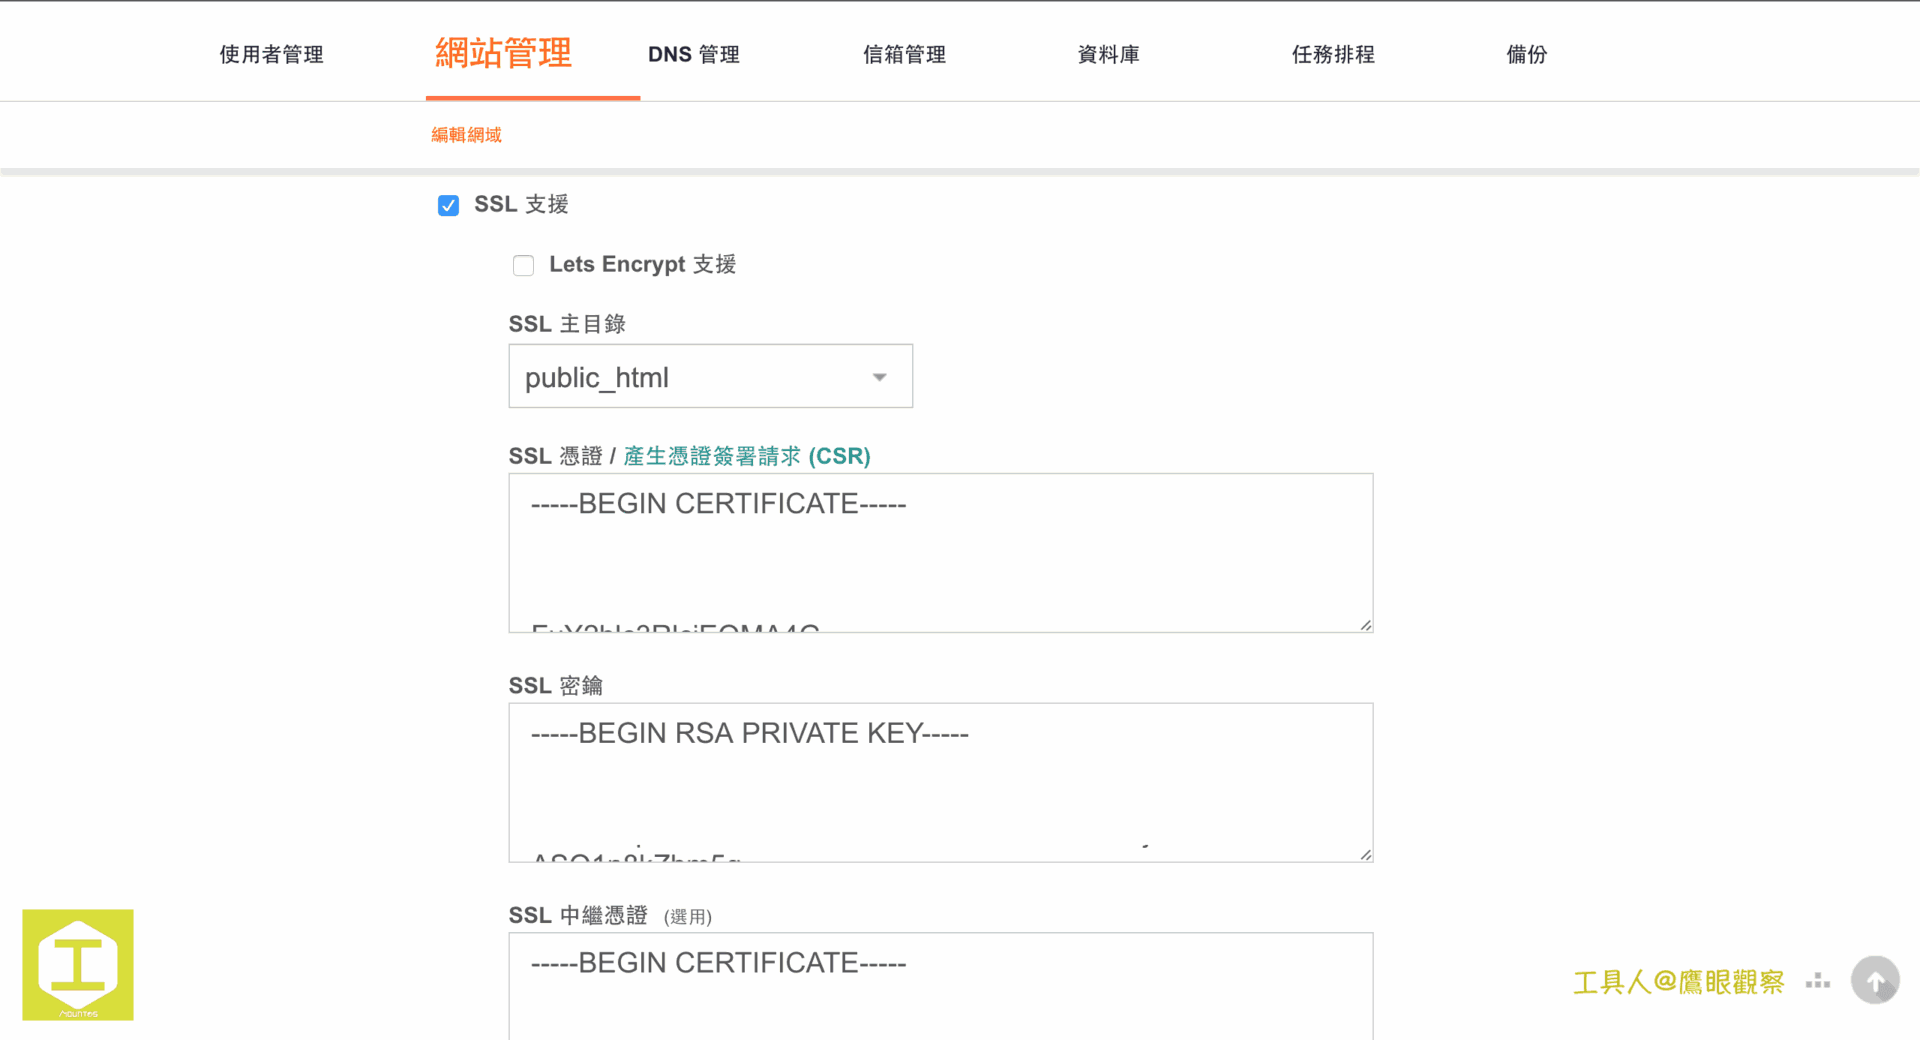
Even after configuring the SSL certificate for your website in VestaCP and verifying that your site connects securely via HTTPS, you still need to configure SSL for the VestaCP administrative control panel itself!
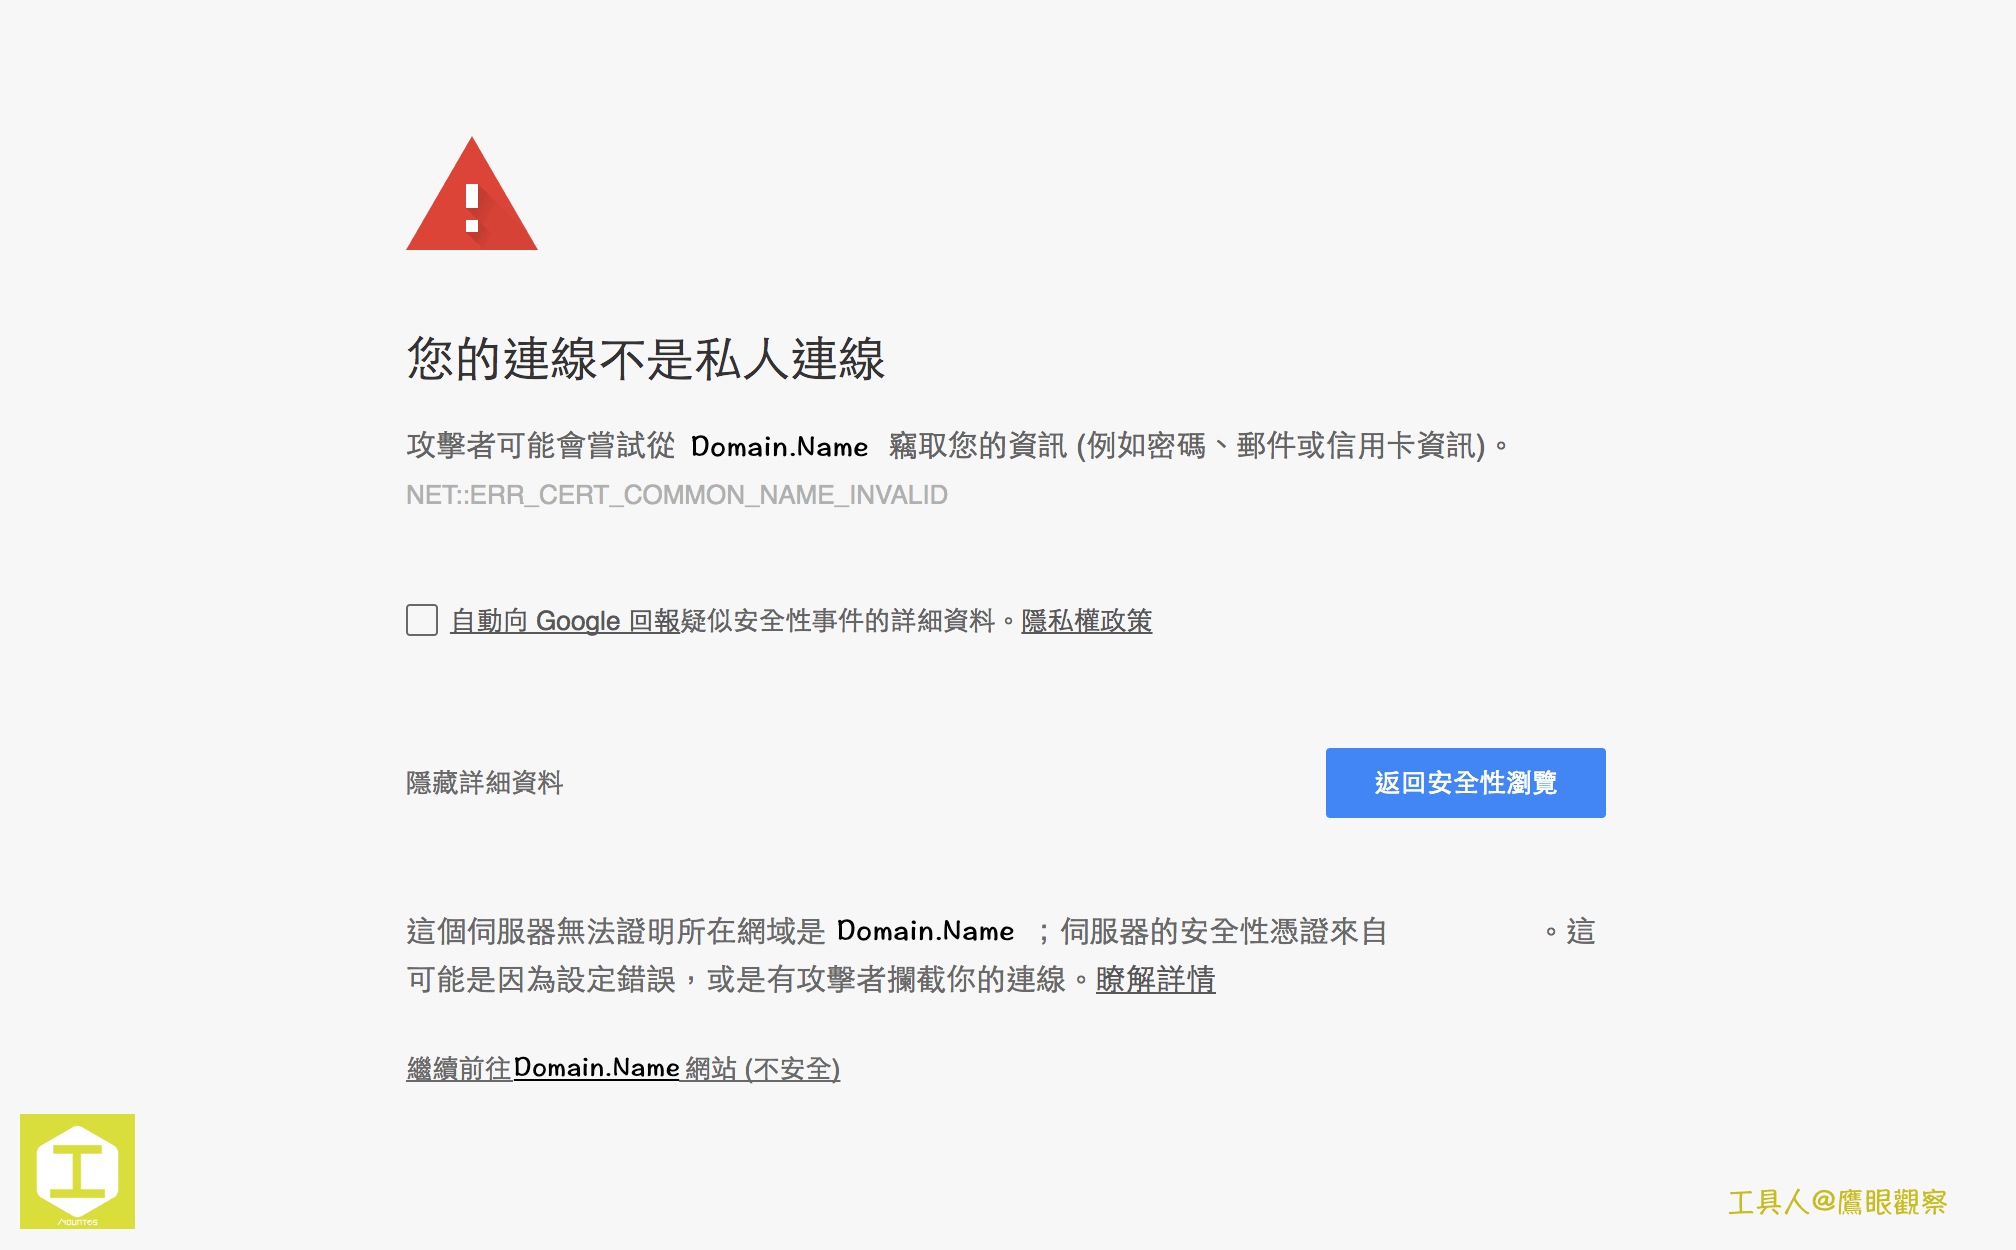
VestaCP is accessed via a dedicated server port, which defaults to port 8083 (customizable). However, the SSL settings inside VestaCP’s web domain section only bind to standard web traffic on port 443 (HTTP uses port 80 or 8080). Consequently, opening https://domain.name:8083 in a web browser still presents the “Your connection is not private” certificate warning shown in Figure 2.
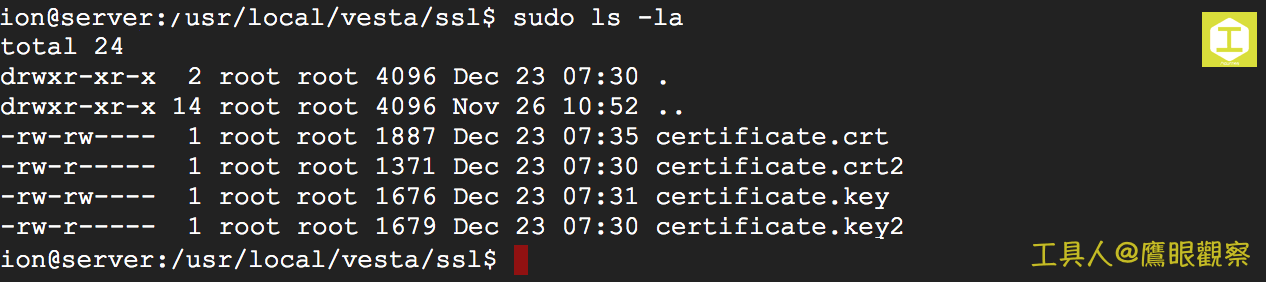
As shown in Figure 3 below, log into your server’s Linux environment (Ubuntu OS is used in this guide) and navigate to the directory where VestaCP stores its dedicated SSL certificates (typically located at /usr/local/vesta/ssl).
Inside this SSL folder, you will find two files: certificate.crt and certificate.key (the files with 2 appended in Figure 2 are backup files created during maintenance). At this point, replace the contents of certificate.crt with the “SSL Certificate” text from your VestaCP website settings, and replace certificate.key with your “SSL Key” text.
Tip from The Fixer: If you generated an Nginx-compatible SSL certificate bundle, you can overwrite them directly. If using an Apache format certificate, ensure that all intermediate bundle certificates are properly configured in VestaCP’s “SSL Intermediate Certificate / CA” field.
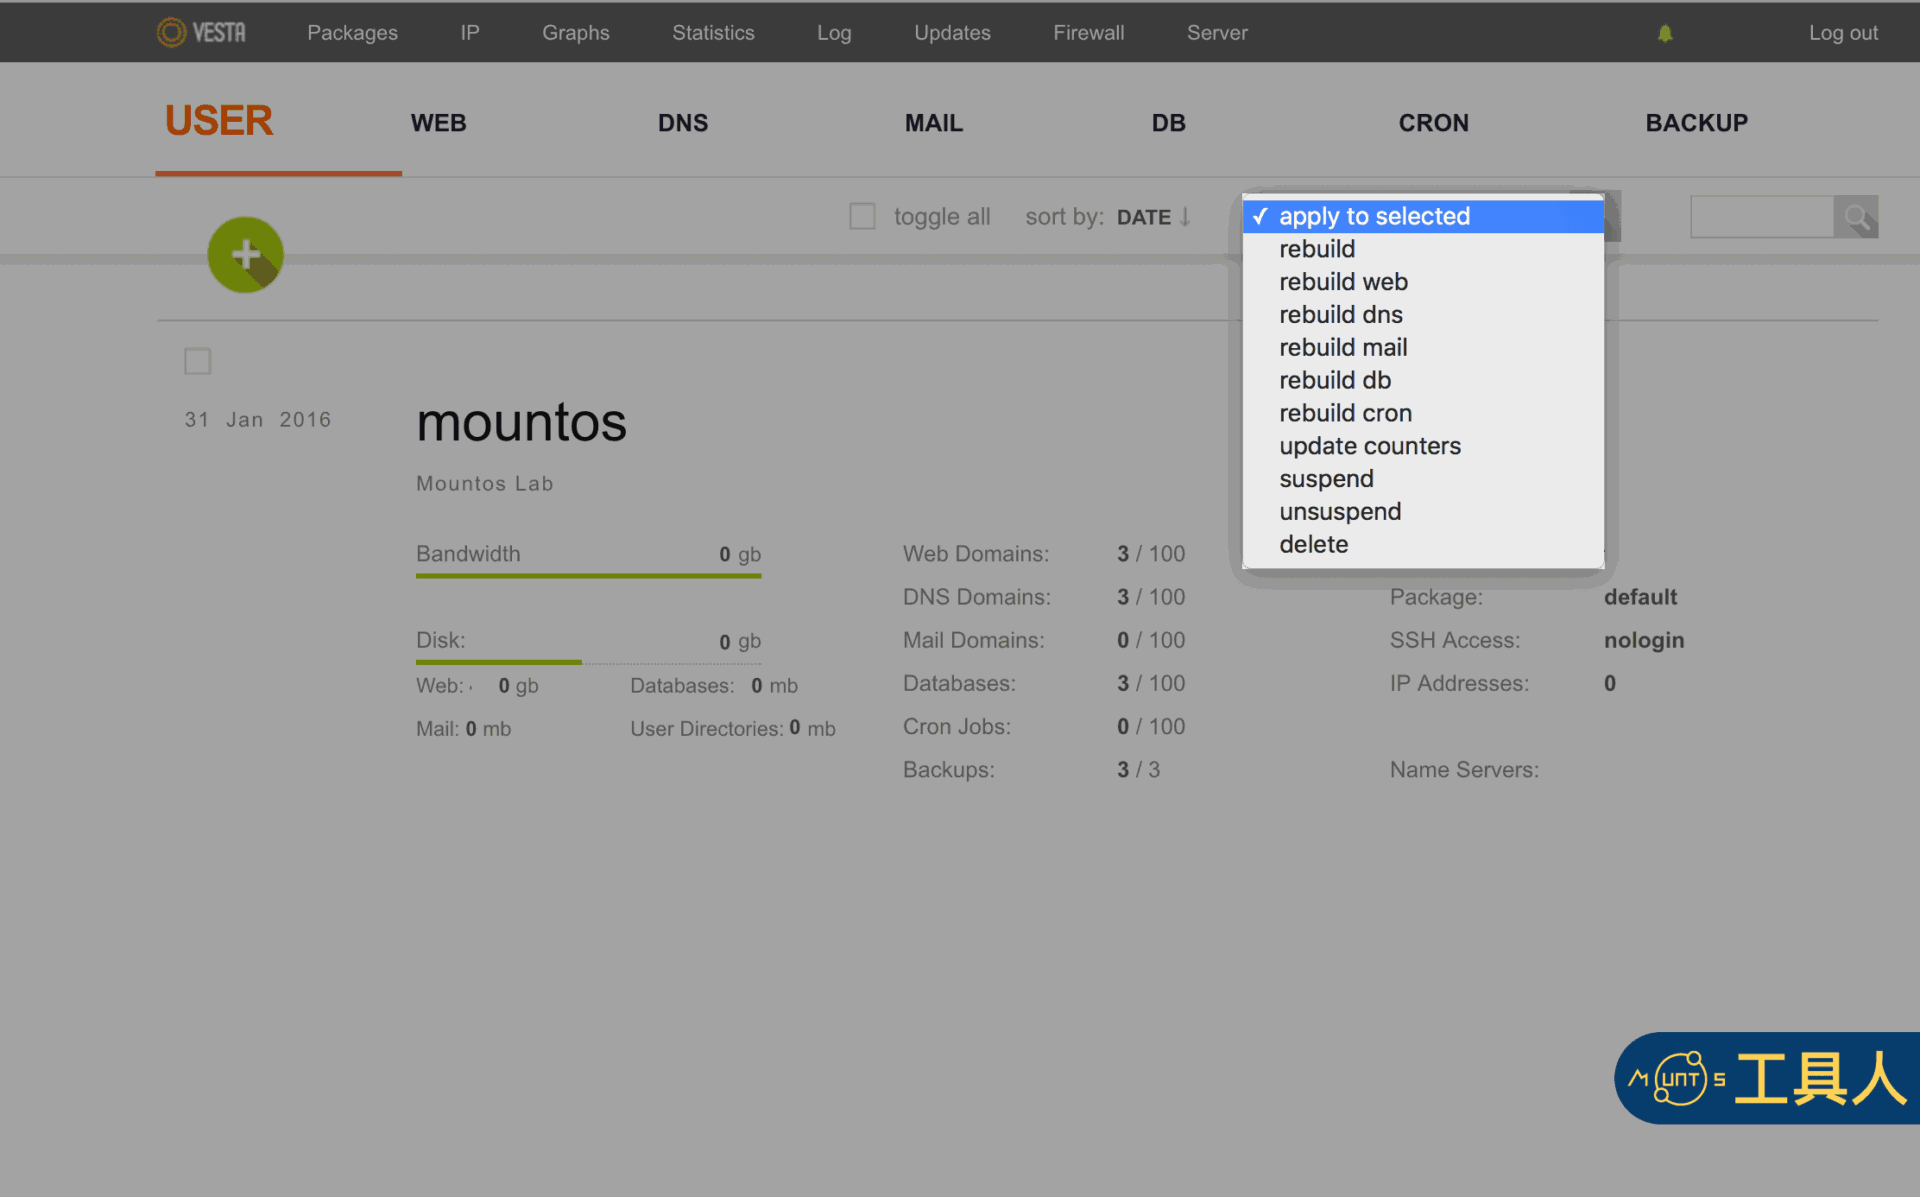
Finally, restart the VestaCP service or server, and open https://domain.name:8083 in your browser. The VestaCP admin dashboard will now load cleanly over a valid, trusted HTTPS connection without certificate warnings.
[1] See “SSL Security Certificate Guide: Enhancing Website Security and Search Rankings” for additional details.
Support Independent Perspectives & In-Depth Insights
Every thoughtful analysis and candid critique comes from our dedication to truth and quality. We choose not to follow sensational algorithms or clickbait headlines.
Sustaining independent research requires reader support. Make a one-time or monthly contribution, securely processed by Google.
Payments secured by Google · Manage or cancel anytime in your Google Account

Comments