
When shopping for an external hard drive, many people pay little attention to the drive’s default file system.
The reason is simple: most of us know we can repartition and format the drive once we get it home to match our setup—whether that is the broadly compatible FAT16/32 (File Allocation Table), Microsoft’s NTFS (New Technology File System), or Apple’s native Mac format (HFS+ / Mac OS Extended).
Or perhaps, as long as it works out of the box, they simply do not care about the technical details.
Because Microsoft Windows commands a dominant worldwide desktop share of roughly 90% (as of August 2016 data), unless an external hard drive is explicitly marked “Mac Only”, most drives ship pre-formatted in FAT or NTFS for Windows compatibility.
But what happens if your computer runs Apple OS X / macOS and you plug in an external drive formatted in NTFS?
Out of the box, macOS can read files stored on an NTFS volume, but write operations are locked down: you cannot edit files, save new files, or delete existing files.
To solve this, we recommend Tuxera NTFS, a reliable third-party file system driver that allows your Mac to freely read and write data to NTFS-formatted external drives.
On external drives such as the Toshiba Canvio AeroCast series, the installer for Tuxera NTFS is included directly on the drive for immediate installation.
Downloading and Installing Tuxera NTFS
As shown in Figure 1 below, before installing a third-party NTFS driver, the macOS Finder can only browse and read files stored on a default NTFS drive.
 Figure 1: macOS Finder before installing an NTFS driver.
Whether you locate the installer directly on your external hard drive or download it from Tuxera’s official website (which offers a 15-day free trial), you will see the disk image named “Tuxera NTFS for Mac.dmg” as shown in Figure 2.
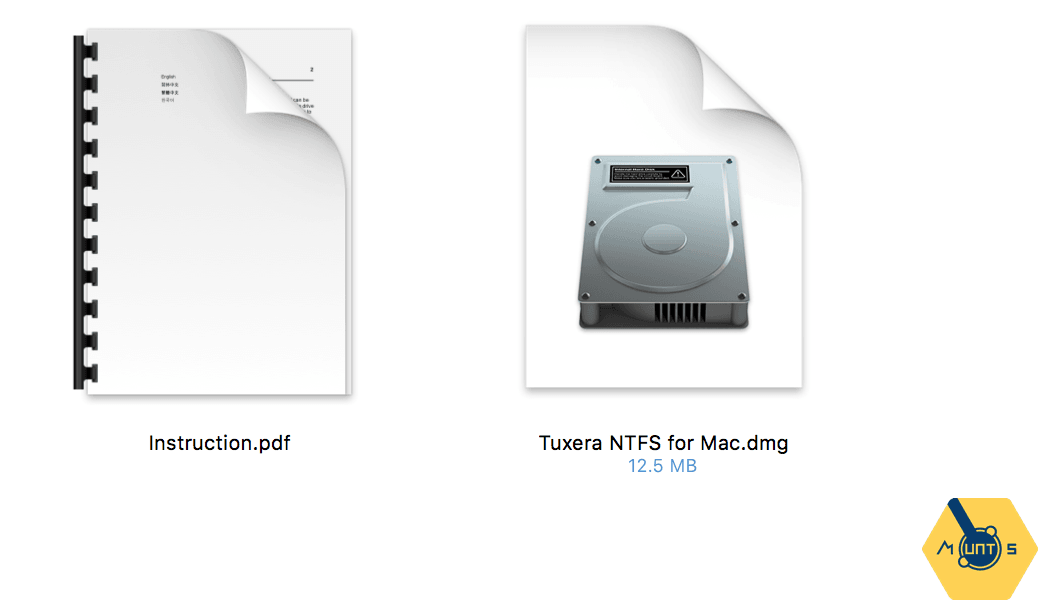 Figure 2: The “Tuxera NTFS for Mac.dmg” disk image.
Open the “Tuxera NTFS for Mac.dmg” disk image and double-click the “Install TUXERA NTFS” application (Figure 3) to begin the installation wizard.
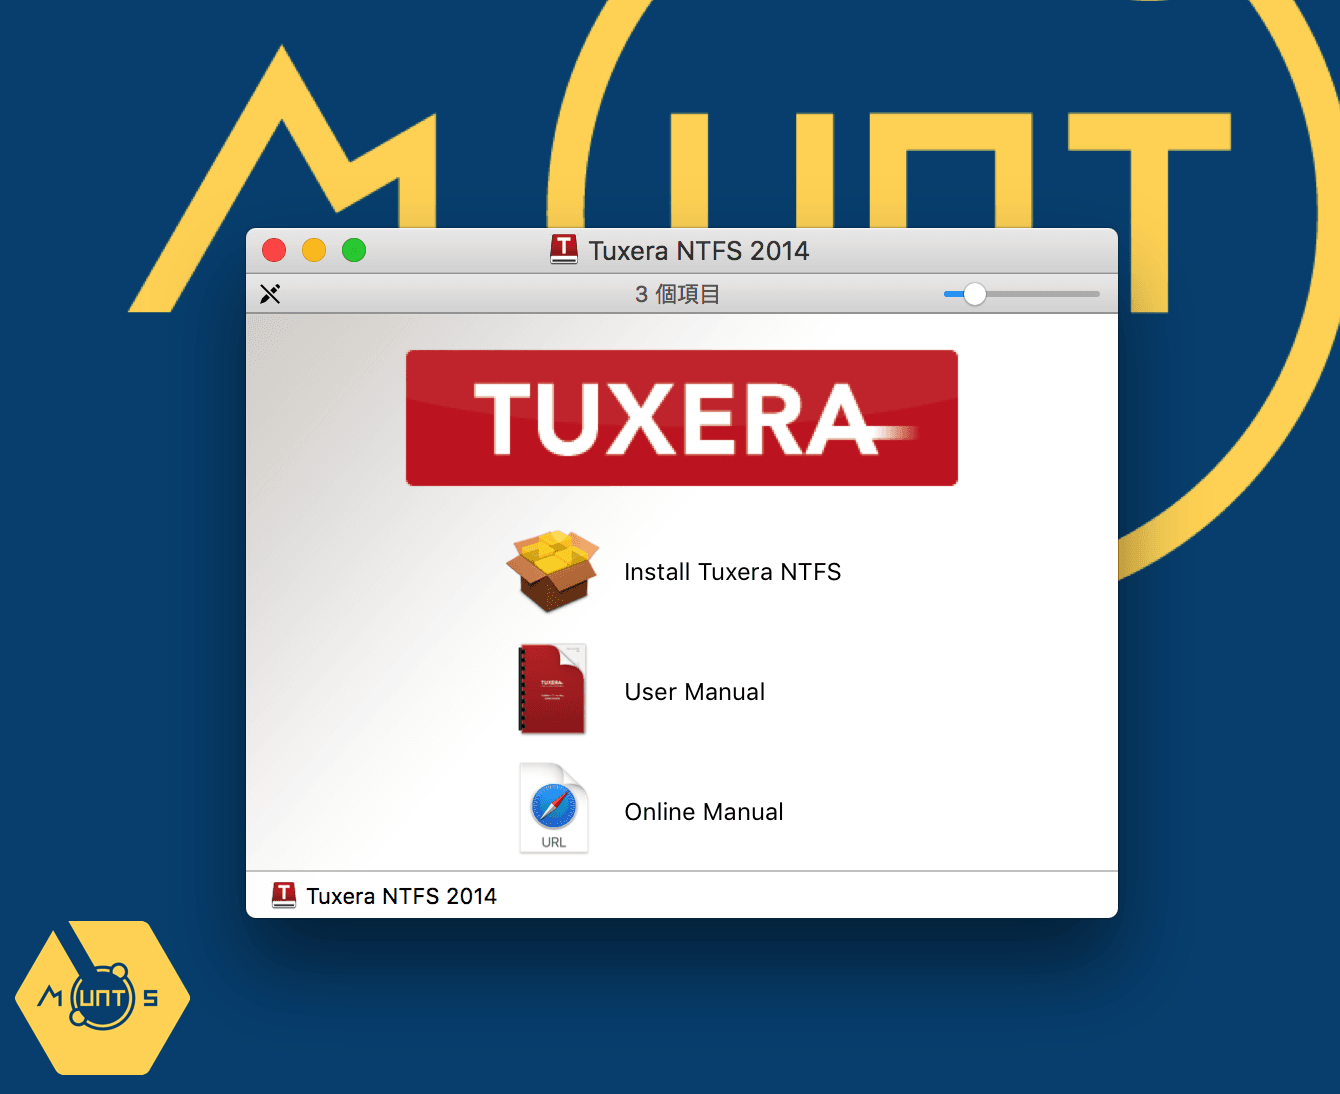 Figure 3: Installing TUXERA NTFS.
Follow the step-by-step on-screen prompts as shown in Figure 4 to complete installation.
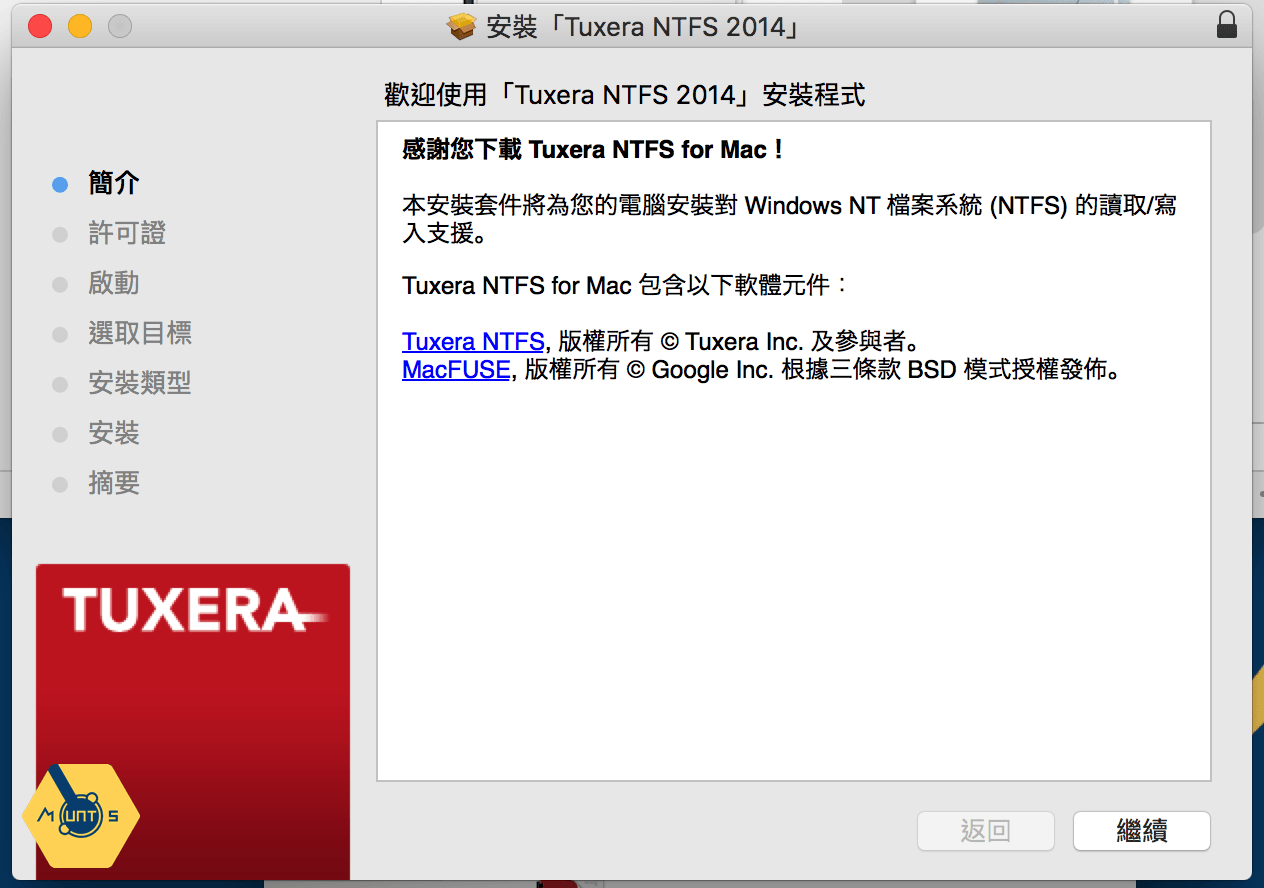 Figure 4: Installing “Tuxera NTFS 2014”.
As shown in Figure 5, once installed successfully, macOS Finder gains full read, write, copy, and delete privileges on NTFS volumes.
 Figure 5: macOS Finder working seamlessly with the NTFS third-party driver.
Fixer’s Tip: While the driver is often ready to use right after installation, we strongly recommend restarting your Mac to guarantee all system kernel extensions initialize properly. Advanced users can also open Disk Utility, unmount, and remount the NTFS partition so Tuxera NTFS supersedes the default macOS read-only handler.
Tuxera NTFS Driver Information
- Disk footprint: ~14.4 MB.
- Installation advisory: If you previously installed alternative NTFS management utilities or drivers (e.g., Paragon NTFS), we advise uninstalling or disabling them first to prevent driver conflicts.
Recommended Reading
- Wi-Fi Portable Hard Drive | Toshiba Canvio AeroCast 1TB 2.5” (with built-in SD card reader).
- Official Download Site: Tuxera NTFS Download.
Support Independent Perspectives & In-Depth Insights
Every thoughtful analysis and candid critique comes from our dedication to truth and quality. We choose not to follow sensational algorithms or clickbait headlines.
Sustaining independent research requires reader support. Make a one-time or monthly contribution, securely processed by Google.
Payments secured by Google · Manage or cancel anytime in your Google Account



Comments