
Today we are taking a closer look at “Nikon Transfer 2,” the dedicated file transfer service bundled within Nikon’s official image management software suite, “ViewNX-i [1].”
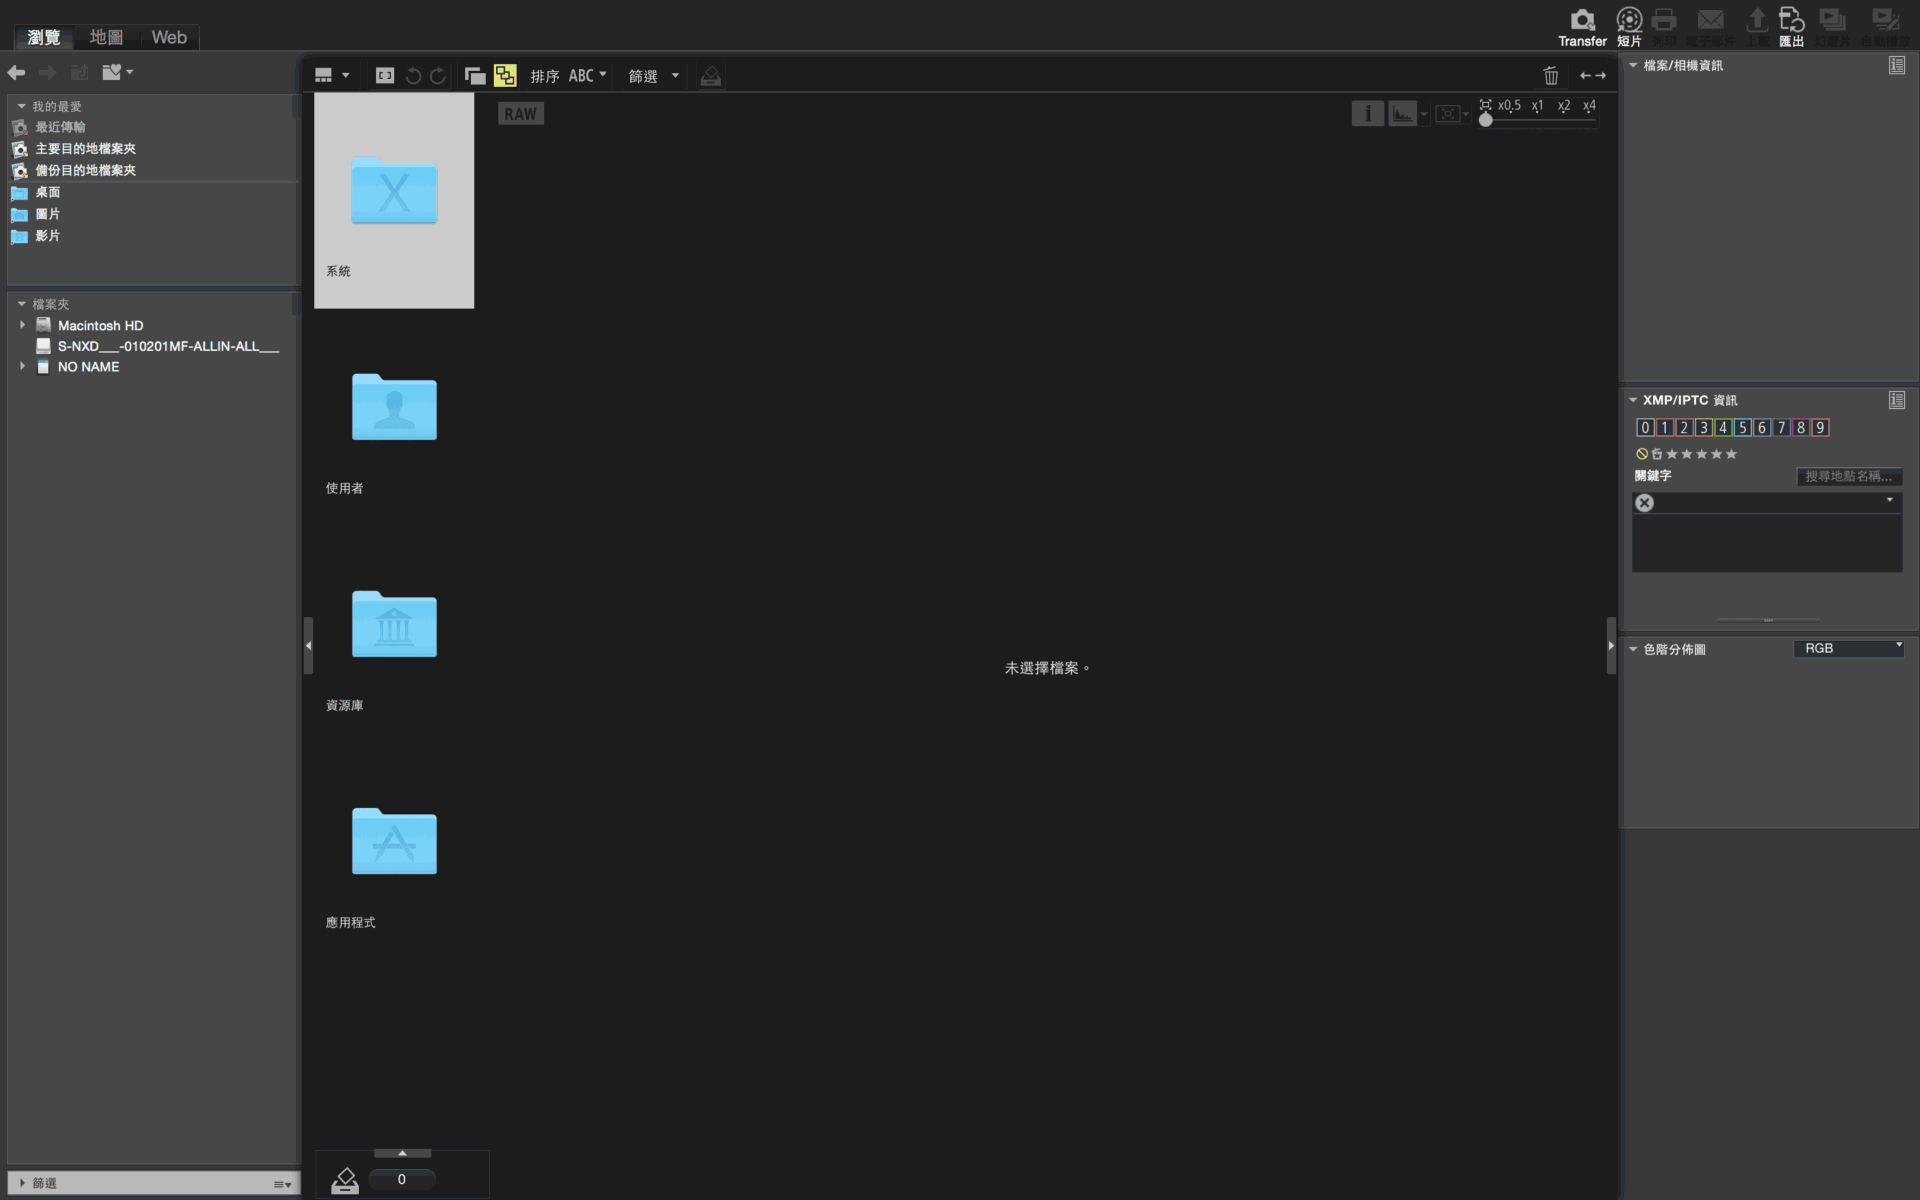
Although Nikon Transfer 2 is packaged with ViewNX-i [2], it functions as a standalone application. It can be launched independently or invoked directly from other Nikon imaging software. Its main role is to transfer NEF RAW files and videos quickly and safely from Nikon digital cameras (DSLRs) and memory cards onto your computer, paving the way for image organization and post-processing in ViewNX-i or Capture NX-D [3] [4]. Working together, these three native utilities satisfy the vast majority of image asset management and development needs.
Because Nikon Transfer 2 provides an intuitive graphical interface, day-to-day operation is as simple as following the on-screen options to ingest your files. In this guide, we will focus on several critical operational nuances, particularly how to configure primary destinations alongside simultaneous backup destinations.
Ever since our studio acquired the Nikon D810, connecting the DSLR directly to an Apple MacBook Pro via USB 3.0 has delivered substantial speed gains, taking full advantage of USB 3.0 throughput.
However, once you enable the “Backup Destination” feature (as illustrated below), the tool writes two duplicate copies of each image simultaneously into separate designated directories—one serving as your working directory (Primary Destination) and the other as an archival copy (Backup Destination). While this substantially bolsters data integrity for commercial assignments where reshoots are impossible, it can also slow down transfer throughput considerably.
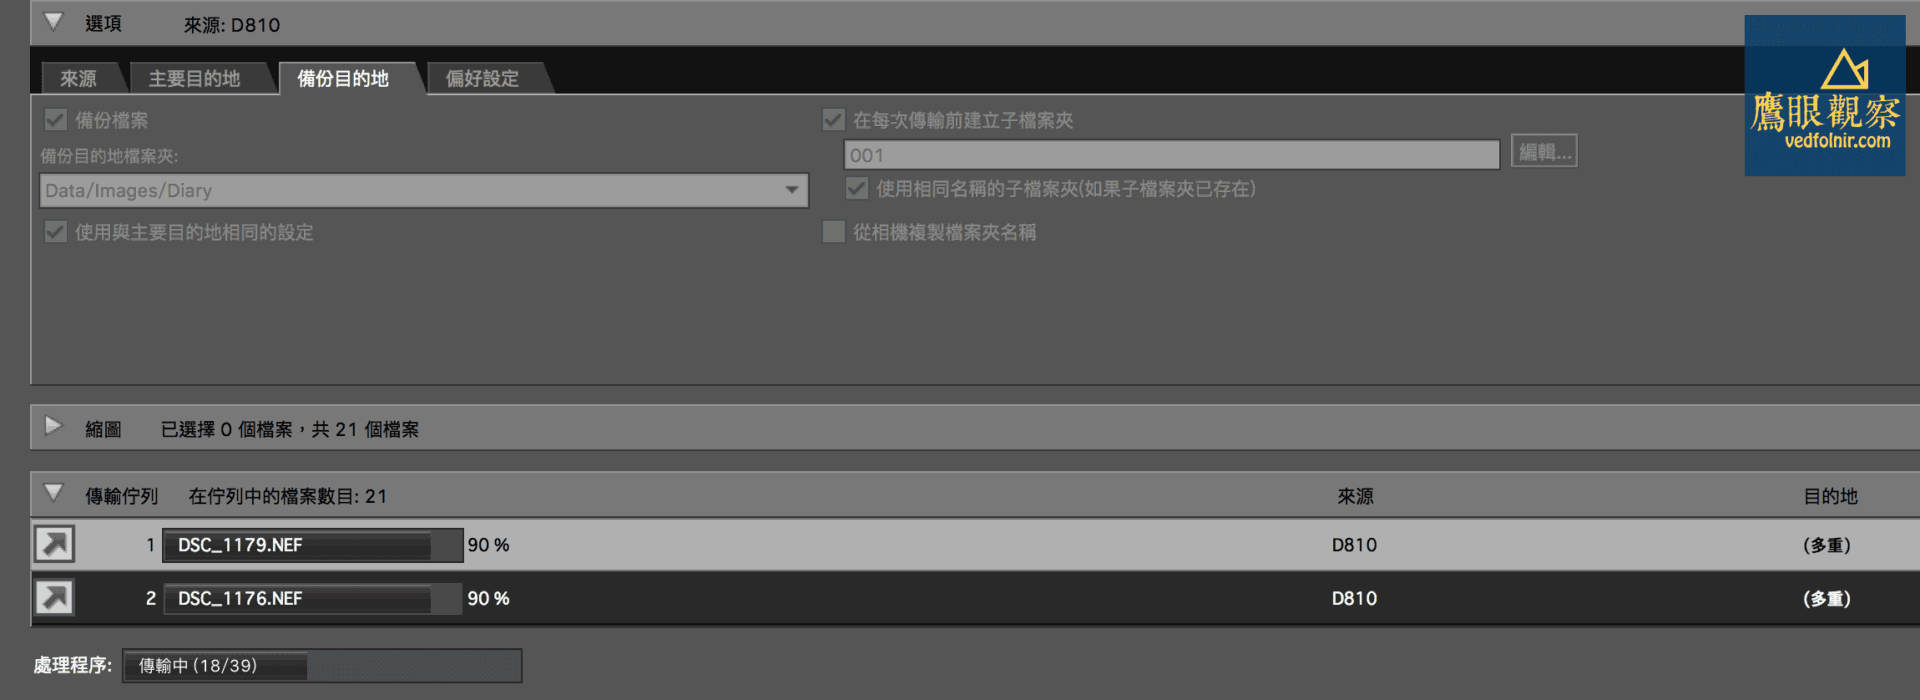 Nikon camera image management suite (Nikon ViewNX-i and Transfer 2).
In our studio, we use an Apple Time Capsule [5] for local network management and centralized network-attached storage (NAS). Naturally, pointing the backup destination directly to the Apple Time Capsule network drive seemed ideal, allowing us to purge backup assets once primary post-processing wrapped up.
Yet Nikon Transfer 2 does not write files to local disk first before creating a background backup copy. Instead, it processes and analyzes images one by one directly from the camera card, streaming each file sequentially to both the primary destination and the backup destination. While this architecture maximizes data redundancy and reduces write errors, it imposes a significant bottleneck—especially when routing writes across local Wi-Fi or network shares.
Therefore, for imaging professionals who require immediate dual backups during ingestion, we strongly recommend connecting your computer to external storage via high-speed physical connections, such as USB 3.0 or Apple’s proprietary Thunderbolt ports, avoiding network latency bottlenecks.
Alternatively, you can ingest the initial set of images to your primary local destination first, and subsequently duplicate or sync them to network storage manually. If you adopt this workflow, make sure to disable the “Delete original files after transfer” option in Nikon Transfer 2 preferences, ensuring your memory cards preserve your original captures until backups are fully verified (you can always format cards in-camera afterward).
References
- Photography Insights: Essential Reading for Nikon Users—Why We Highly Recommend Official ViewNX-i and Capture NX-D Over Lightroom/Photoshop
- Nikon ViewNX-i Official Download Page
- Nikon Capture NX-D Official Download Page
- Beginner Warning: Apple Photos Library Operations and Best Practices (iMac, Mac mini, MacBook Air, Pro)
- Apple: Resolving “Double NAT” Error Messages on AirPort Time Capsule Base Stations
Support Independent Perspectives & In-Depth Insights
Every thoughtful analysis and candid critique comes from our dedication to truth and quality. We choose not to follow sensational algorithms or clickbait headlines.
Sustaining independent research requires reader support. Make a one-time or monthly contribution, securely processed by Google.
Payments secured by Google · Manage or cancel anytime in your Google Account


Comments