
Nikon recently rolled out two dedicated free imaging utilities tailored for photographers: Nikon ViewNX-i and Nikon Capture NX-D, with full native support for both Windows and macOS platforms.
Working in tandem, these two applications allow Nikon shooters to import photos and videos directly from digital cameras to computers, manage and organize asset libraries, and perform deep adjustments to photographic parameters (such as exposure compensation, white balance, tone curves, and Picture Control color profiles).
From ViewNX 2 to Dual Utilities: Calculated Restructuring or Superfluous Overcomplication?
Looking strictly at software nomenclature, Nikon ViewNX-i is clearly the direct successor to Nikon ViewNX 2—a reliable staple that populated the workstations of Nikon shooters for years.
For loyal Nikon users, ViewNX 2, with its native proprietary algorithms and camera profiles, had long served as a lightweight, intuitive editor that rendered straight-out-of-camera colors far more faithfully than Adobe Lightroom. However, with the arrival of ViewNX-i, the product philosophy of Nikon’s software team raises a few eyebrows.
ViewNX-i was officially released in March 2015. Yet nearly a year prior (July 2014), Nikon had already rolled out another tool whose core features overlapped heavily with ViewNX 2: Nikon Capture NX-D.
When first installing Capture NX-D back then, the immediate question that came to mind was: “Why does this feel almost identical to ViewNX 2?” At the time, retaining both tools felt redundant, so NX-D was promptly uninstalled to save disk space.
It was not until ViewNX-i launched that Nikon’s underlying product strategy became apparent: Nikon was methodically restructuring its entire desktop software ecosystem.
Originally, ViewNX 2 acted as an all-in-one suite combining photo organization with primary RAW parameter adjustments. Under the new generational architecture, Nikon separated the core parameter editing and RAW development workflows into Capture NX-D, while repositioning photo browsing, catalog organization, and export bridging into ViewNX-i.
In essence, Nikon dismantled what used to be handled smoothly inside a single application into two standalone programs, each featuring its own siloed workspace.
This decision inevitably brings to mind the traditional idiom of “drawing legs on a snake”—making something needlessly convoluted. Where one could once cull, rate, and color-correct images seamlessly inside ViewNX 2, users are now forced to toggle back and forth between two separate programs. Furthermore, while ViewNX-i offers an expanded media catalog interface, it remains rigidly locked down: it can only open Nikon’s native RAW formats (.NEF / .NRW), completely unable to preview or handle RAW files from competing camera brands.
For example, when shooting alongside a compact Sony RX100 that outputs Sony’s proprietary .ARW RAW format during multi-camera shoots, ViewNX-i refuses to display or manage those cross-brand assets. In such mixed workflows, ViewNX-i cannot even serve as a generic media manager, inevitably driving creators back to Adobe Bridge or Lightroom. By compartmentalizing its software suite, Nikon inadvertently created friction and restricted workflow versatility.
Comparing them to the Adobe Creative Cloud suite:
- Nikon ViewNX-i serves a role similar to Adobe Bridge, functioning as an image viewer and organizational hub.
- Nikon Capture NX-D functions similarly to Adobe Lightroom, concentrating on fine-tuning RAW lighting, color, and exposure parameters.
The primary difference remains clear: Capture NX-D still lacks Lightroom’s versatile local adjustment brushes and graduated filters, to say nothing of Lightroom’s expansive ecosystem of third-party presets and plugins.
Nikon ViewNX-i Installation Guide
The installation procedure for ViewNX-i is straightforward, guided by the standard setup wizard:
Step 1: Run the downloaded installer package to launch the setup wizard.
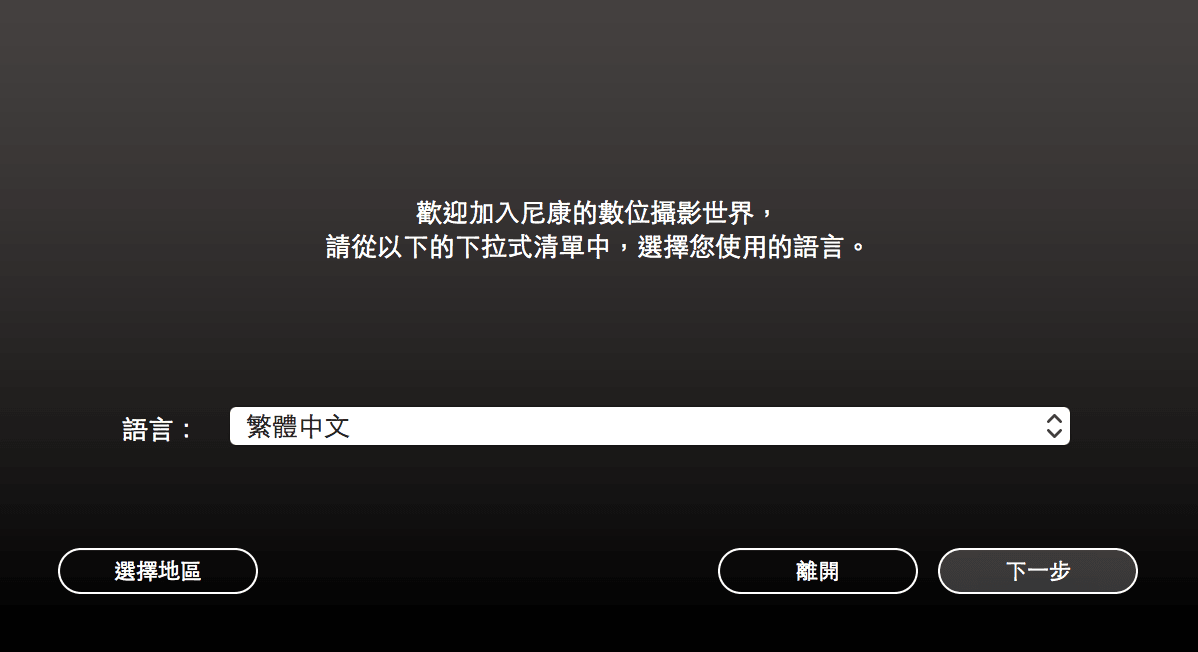
Step 2: Review and accept the End User License Agreement.
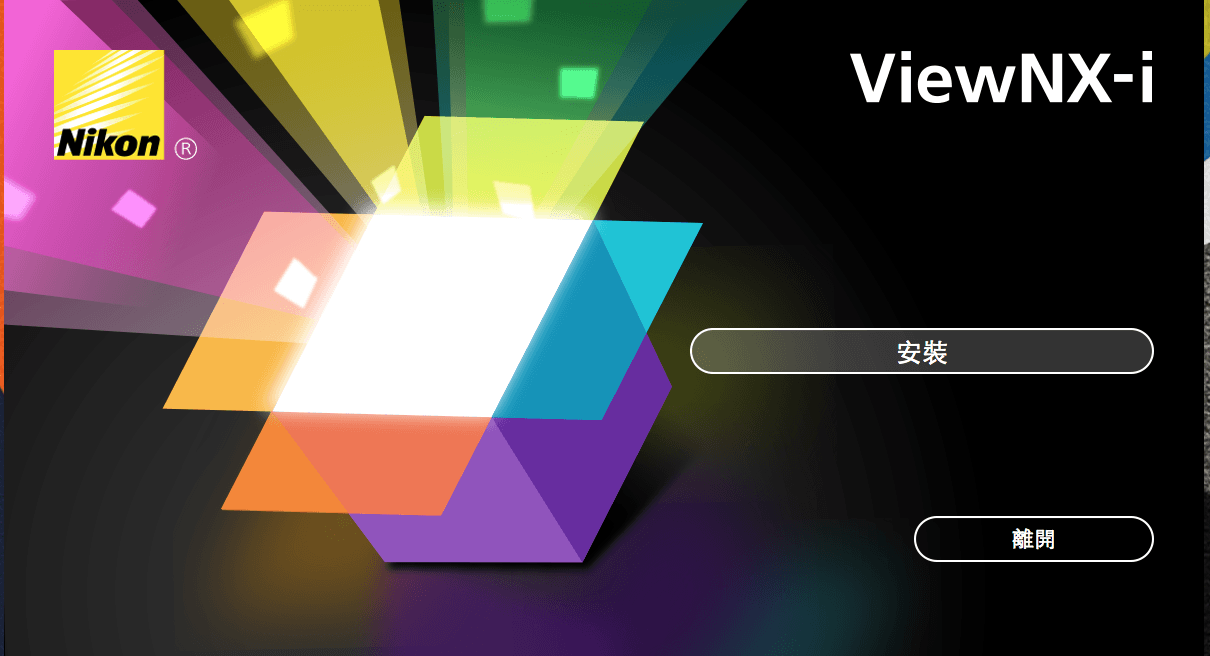
Step 3: Customize components. If you require the bundled “Nikon Transfer 2” (image transfer tool) and “ViewNX-Movie Editor” (video editor), ensure both boxes remain checked.
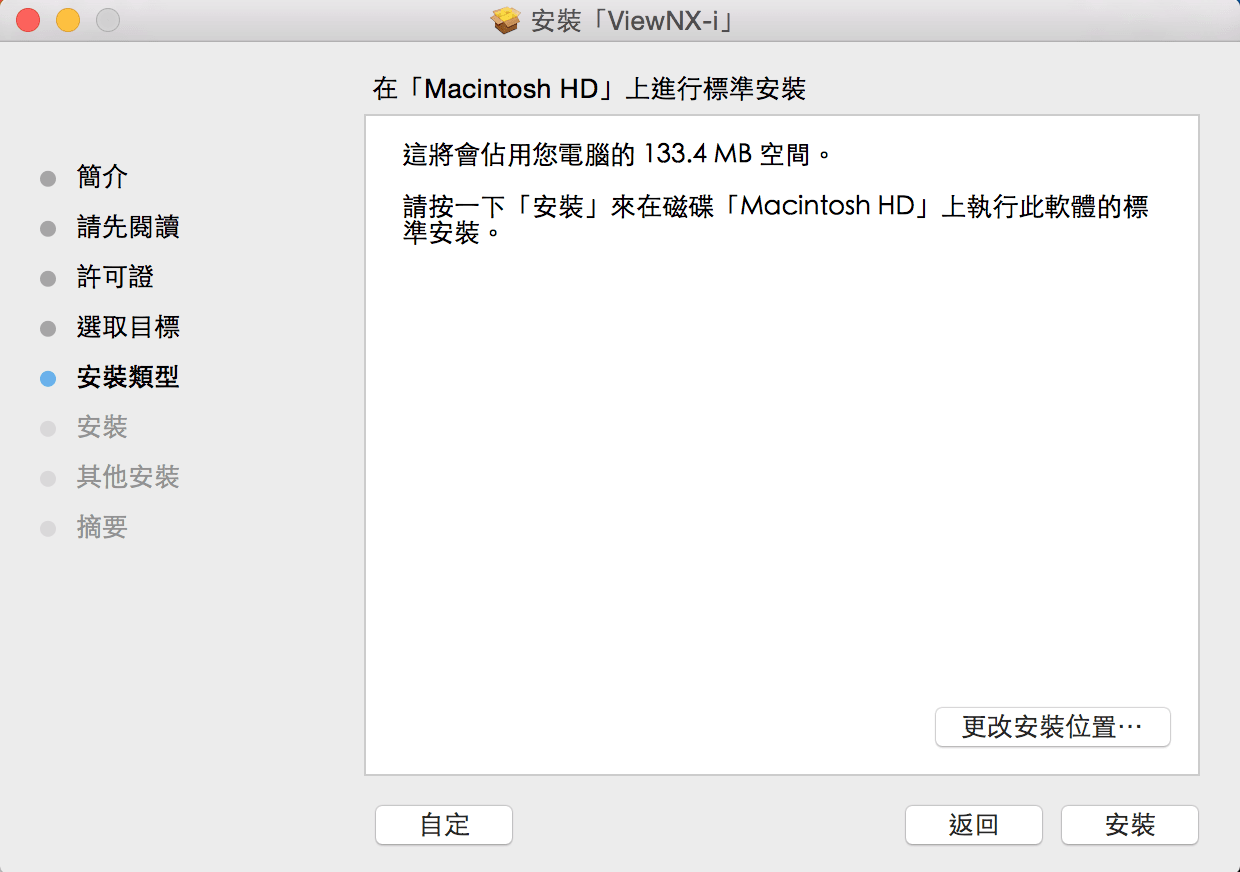
Step 4: Confirm installation destination and verify available disk space.
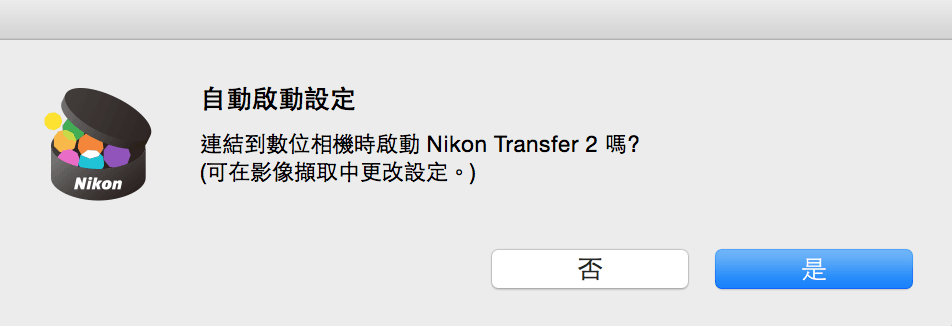
Step 5: Once the progress bar finishes, setup is complete. Click “Finish” to launch the application.
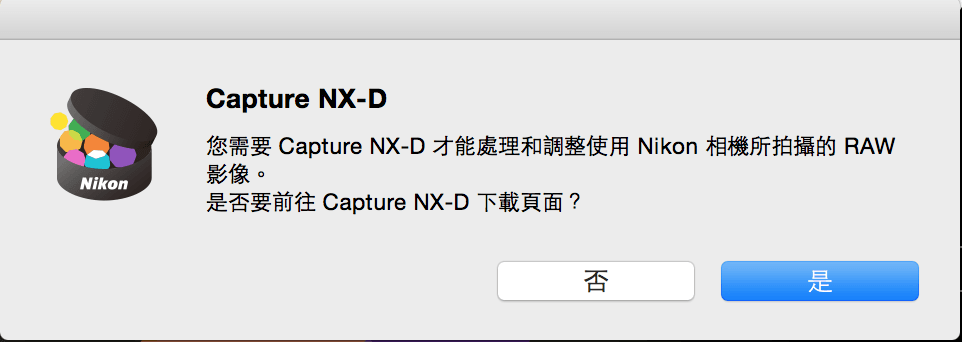
Nikon ViewNX-i Interface and Core Features
Launching ViewNX-i reveals a modernized, tabbed workspace reminiscent of contemporary digital asset managers:
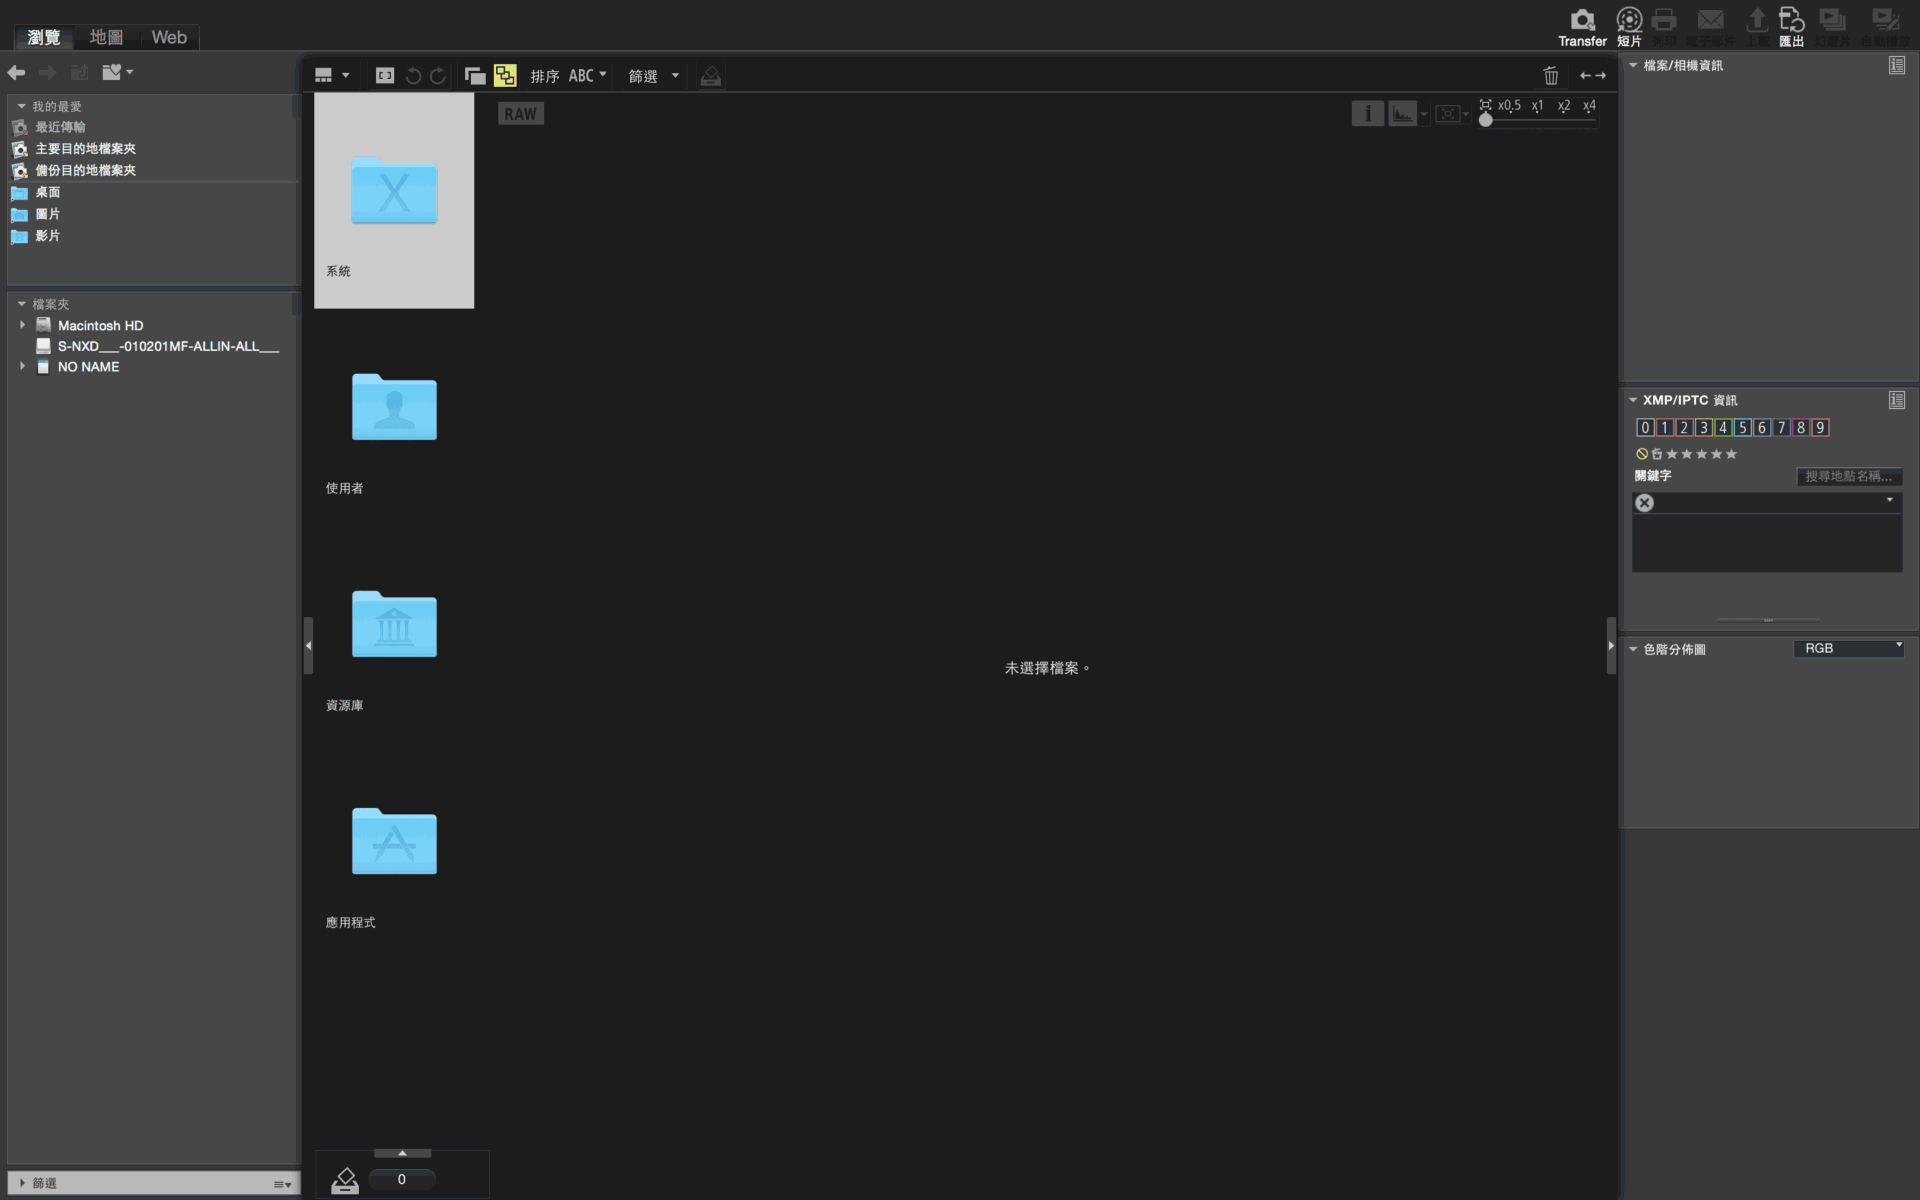
Users can quickly switch between three primary functional workspaces using the top navigation bar: Browser, Map, and Web Services.
Key feature highlights include:
- Output Toolbar: Houses quick-launch buttons that allow you to pass selected RAW files directly to Capture NX-D for advanced editing, or launch ViewNX-Movie Editor to trim and assemble video footage.
- Multiple Viewing Modes: Offers horizontal filmstrip, vertical filmstrip, full-screen lightbox, and side-by-side comparison modes to help photographers quickly identify tack-sharp focus.
- Comprehensive EXIF Information: Retains Nikon’s hallmark depth of camera metadata, displaying camera body model, attached lens, active focus point coordinates, metering mode, and Picture Control settings.
- Photo Tray: Serves as a temporary holding bin across multiple directory folders, facilitating batch renaming, conversion, or printing without moving original files.
- Non-Destructive Video Tagging: Enables star ratings and in/out playback point markers without altering the original container file structure.
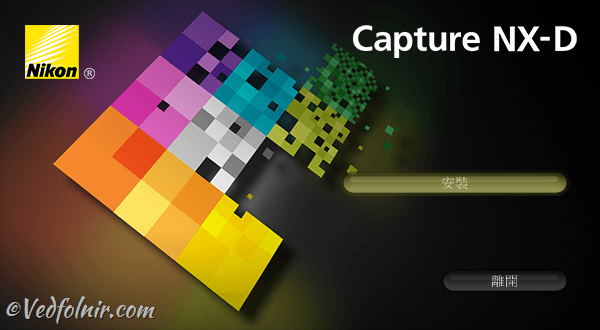
Nikon Capture NX-D Image Editor Overview
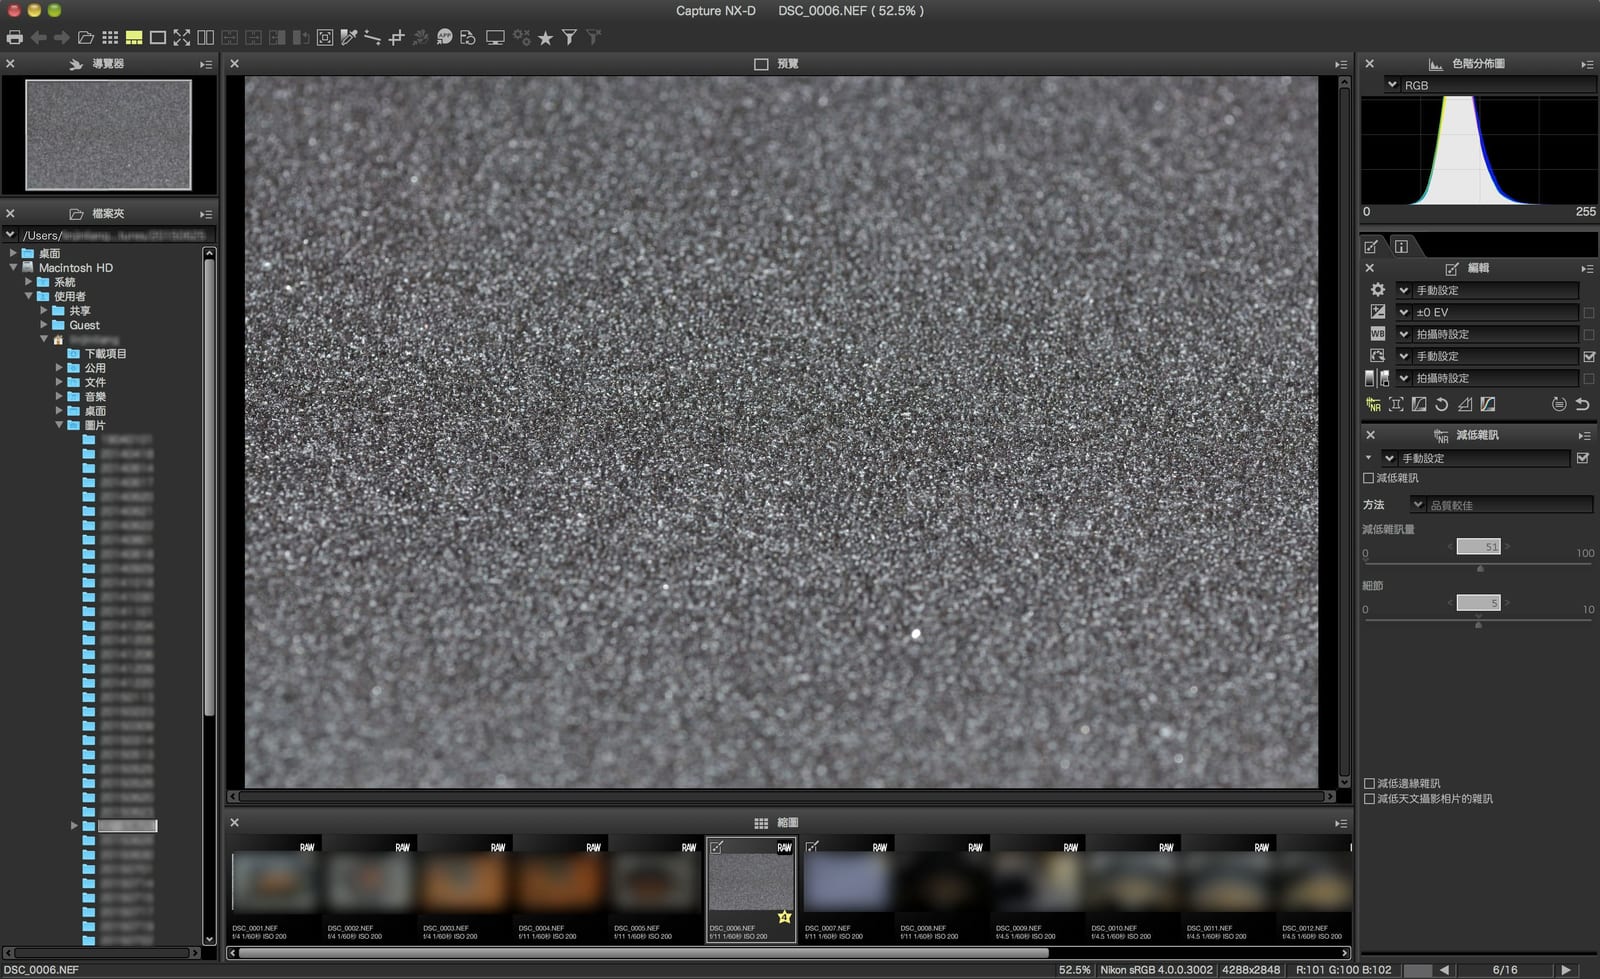
Capture NX-D follows the same installation workflow as ViewNX-i and requires approximately 110 MB of disk space.
When developing and grading images in NX-D, keep several practical nuances in mind:
- Picture Control Utility Compatibility: Legacy Picture Control profiles created under ViewNX 2 or Capture NX 2 (v1.x) cannot be loaded directly. You must update and configure them using the bundled Picture Control Utility 2.
- Noise Reduction Engine Stability: Official documentation notes that running heavy high-ISO noise reduction algorithms on demanding files can occasionally trigger unexpected application crashes. Save your adjustment sidecars frequently.
- Processing Overhead and Latency: Even running on a high-spec Apple MacBook Pro, zooming, real-time previewing, and scrubbing adjustment sliders in NX-D exhibit noticeable latency and redraw lag, feeling somewhat less fluid than Adobe Lightroom.
Final Thoughts and Practical Recommendations
To be fair, the undeniable core value of Nikon ViewNX-i and Capture NX-D lies in their 100% faithful reproduction of Nikon’s proprietary color science.
For photographers using workhorse bodies like the D750 or D810 on commercial assignments where absolute color accuracy is required, these free tools remain valuable assets in the post-production chain. However, if your shooting style favors a streamlined, single-app workflow for culling, cataloging, localized retouching, and batch exporting—or if your camera kit spans multiple camera manufacturers—Adobe Lightroom remains the more mature, robust, and versatile industry-standard solution.
Official Download Links:
Support Independent Perspectives & In-Depth Insights
Every thoughtful analysis and candid critique comes from our dedication to truth and quality. We choose not to follow sensational algorithms or clickbait headlines.
Sustaining independent research requires reader support. Make a one-time or monthly contribution, securely processed by Google.
Payments secured by Google · Manage or cancel anytime in your Google Account


Comments