
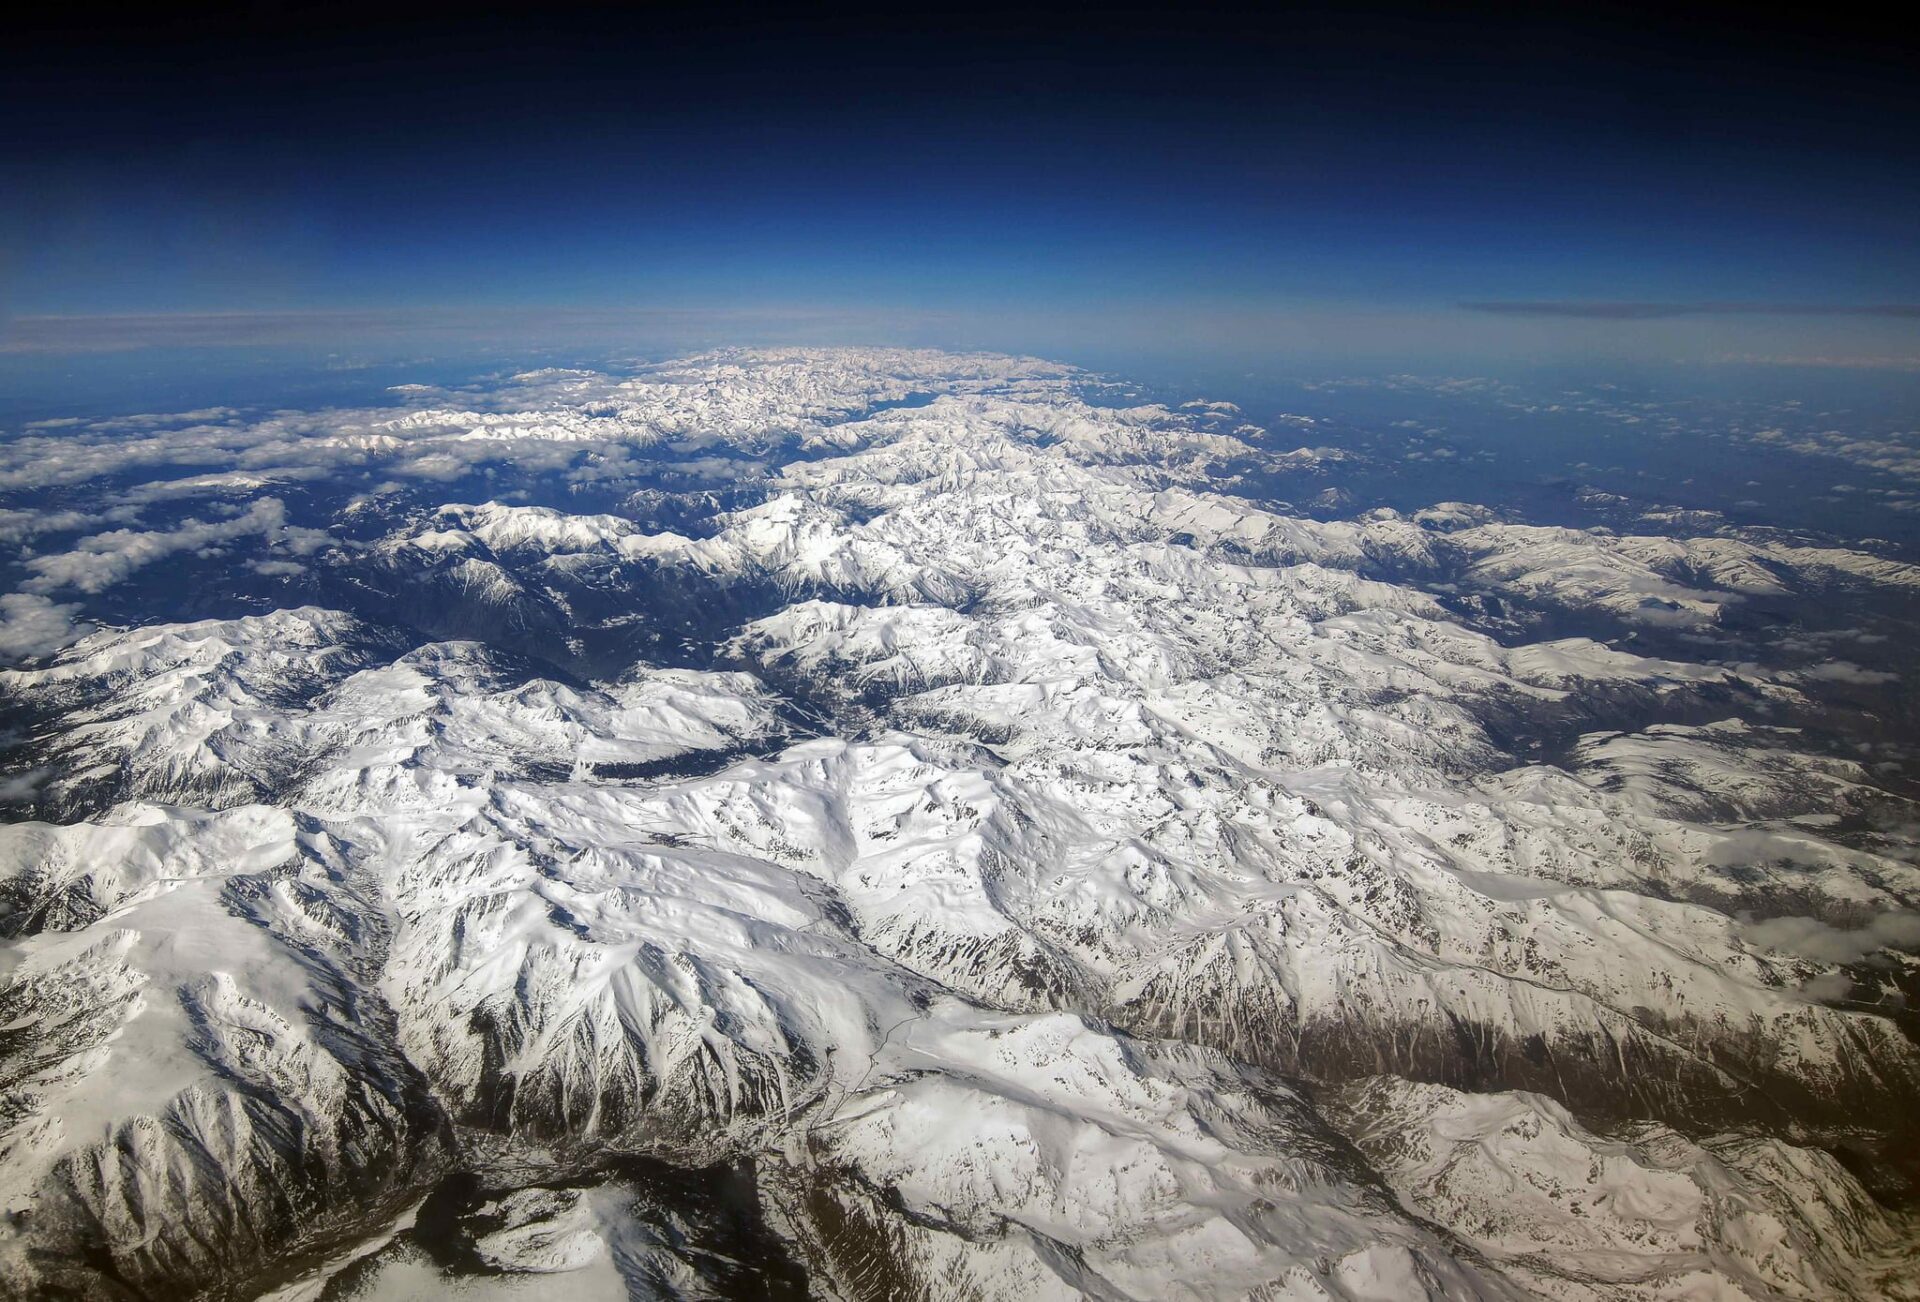
In the alpine environments of Taiwan, it can practically be said that there is no summer (temperatures remain bitterly cold on high peaks even in midsummer), and temperatures drop steadily as elevation increases. Therefore, when preparing to climb Taiwan’s high peaks (the Baiyue), selecting and deploying proper gear is essential, and packing must never be taken lightly.
During autumn and winter, cold-weather protection is especially critical. For those wishing to venture into Taiwan’s mountain ranges to hike comfortably along ridges and enjoy scenic vistas, paying careful attention to seasonal gear choices matched to the specific terrain allows one to safely experience spring blossoms, lush green summer peaks, crimson autumn maples, and winter snowscapes.
To handle rapid temperature fluctuations, clothing should always follow a multi-layer onion system. The fundamental setup starts with a moisture-wicking, thermal long-sleeve base layer, topped with a breathable long-sleeve wool garment. Because mountain weather can shift dramatically, always carry an insulating mid-layer jacket (down, synthetic hollow-fiber, or fleece) to prepare for sudden deteriorations in conditions.
When trekking along wind-exposed ridge crests for extended periods, body temperature can drop rapidly even while in motion. In such situations, having a fleece jacket or a waterproof, breathable shell (or lightweight windbreaker) close at hand is invaluable.
While hiking, physical exertion keeps you warm and may induce sweating. You should shed heavier outer layers to regulate body heat and prevent excessive perspiration. However, the moment you stop for a rest, you must immediately put on a warm jacket. Once activity halts, body temperature declines quickly; by the time you actually feel chilled, wind-chill exposure has likely already set in. Dressing and stripping layers proactively in response to ambient temperatures ensures a far safer and more comfortable journey.
Part 1: Pre-Trip Preparation for the Mountains
1. The Uplifting Call of the Peaks
Whether staying in mountain cabins during multi-day treks, summiting a dream peak, or camping under alpine skies, being in the wilderness lets us feel the raw pulse of nature directly.
Facing a challenging itinerary often stirs quiet excitement deep inside. The fighting spirit to test one’s limits and venture into personal adventure awakens. Taking each step deliberately lets us embrace the captivating beauty of alpine travel.
2. Embracing the Mountaineering Adventure
While daily life in the civilized world comes with endless concerns, taking a brief hiatus in the highlands offers true liberation. Sharing the poetic atmosphere of alpine ridges, befriending the peaks, and dancing among the forests grants an unforgettable sense of wonder under expansive skies.
These impressions can only be experienced by walking into the wild. Standing before breathtaking panoramas inspires deep reverence that leaves a lasting mark on every adventurer, regardless of background.
3. Formulating a Mountaineering Plan
Saying “I want to attempt more challenging peaks and high summits this year” remains an impractical daydream if it stays in the realm of vague imagination without concrete action.
A solid plan must address: destinations, dates, team composition, ascent routes, national park and mountain entry permits, cabin and bed reservations, shuttle transport, food, clothing, lodging, navigation, equipment, and contingency protocols. Hiring licensed, experienced mountain guides with proven crisis-management capability is critical. Every logistical detail demands thorough research and verification well before setting out.
4. Defining the Objective
Choose your destination based on seasonal timing: day hiking, landscape photography, wildflower viewing, sea of clouds, sunrises, sunsets, ancient cypresses, autumn foliage, hot springs, peak bagging, or multi-day ridge traverses.
Sharing teamwork, mutual support, and camaraderie at camp—cooking meals together, sipping tea, sharing trail stories—is one of the most rewarding parts of any expedition.
5. Selecting Target Mountain Ranges
Unforeseen incidents can quickly force changes to planned itineraries. When trouble arises, team members are the immediate first responders on scene and must handle initial rescue operations. If an incident exceeds the team’s capabilities, distress calls must be dispatched immediately, and participants must understand that backcountry travel involves inherent risk.
Venturing into backcountry routes in improper weather or terrain beyond team members’ physical and technical capabilities can lead to catastrophic accidents. Initial mountain selection should prioritize personal ability, emphasizing safety, comfort, and competence. Risks must never be dismissed, even on low-altitude or seemingly simple routes.
6. Evaluating Route Variations
A single mountain often features multiple trails. Different trailheads offer starkly different scenery, elevation profiles, and difficulty levels:
- Out-and-Back Routes: Ascending and descending via the identical trail. Having walked the path during the ascent makes the return familiar and reassuring, allowing for straightforward retreat along the original route if an issue occurs.
- Loop Routes (O-Routes): Completing a circuit hike that returns to the original starting point without retracing steps, offering varied scenery and a more diverse hiking experience.
- Traverse Routes: Linking multiple ridge peaks across extensive terrain. Traverses provide immense fulfillment, but requirements for sustenance, clothing, shelter, and water logistics scale up significantly with distance and duration. Differences in team physical endurance compound the difficulty over extended timelines.
7. Gathering Backcountry Intelligence
Collecting foundational trail data is essential. Once a trip plan takes shape, assemble and organize detailed intelligence to anticipate conditions: trail status, forestry road conditions, trailhead locations, transportation shuttles, water sources, campsite options, guide qualifications, permit requirements, weather forecasts, evacuation routes, rescue coordination, and ground contact arrangements:
- Weather dictates success or failure: Review a seven-day forecast prior to departure. Track day-to-day forecast trends, pay close attention to meteorologist analyses, and monitor for developing low-pressure systems to inform the final go/no-go decision.
- Select ground contacts with extreme care: Ground contacts must be intimately familiar with alpine conditions, weather shifts, mountain rescue operations, and emergency reporting protocols. Never assign an uninformed contact who knows little about backcountry operations. If an emergency strikes, an inexperienced contact leaves the team stranded without effective onshore coordination.
- Transportation logistics: Verify public bus schedules, weekend extra runs, and seasonal route restrictions by calling local transit depots, or arrange dedicated charter shuttles.
- Trail campsites and cabins: Difficulty ratings, route popularity, daily visitor quotas, cabin lotteries, designated camping rules, meal catering availability, and water source reliability directly govern trip success.
Understanding Taiwan’s Backcountry Climate
Taiwan has an island climate with seasonal alpine variations:
- Freeze Period (January–March): Winter in Taiwan. High-altitude traverses are generally discouraged during this window. Freeze conditions are more prolonged and pronounced at northern latitudes and higher elevations, and comparatively shorter in southern regions.
- Plum Rain Period (April–June): Spring in Taiwan. In May, alpine rhododendrons bloom across the peaks. However, spring showers frequently transition into summer plum rains; high-altitude traverses must contend with afternoon thunderstorms, torrential rains, flash floods, and lightning risks.
- Typhoon Season (July–September): Summer in Taiwan represents the most volatile period. Prior to high-altitude traverses, scrutinize atmospheric conditions for tropical depressions or typhoon formations. If no low-pressure systems develop within a week of departure, a multi-day traverse may be viable, though afternoon storms, torrential rain, swollen rivers, and lightning remain ever-present hazards.
- Stable Period (October–December): Autumn in Taiwan offers the most stable window for high-altitude trekking, with clear skies and crisp air. Nonetheless, remain vigilant against late-season typhoons, localized downpours, severe wind chill, and dramatic day-night temperature swings.
8. Choosing Travel Companions
Always hike with companions. Solitary treks carry severe risks when facing accidents, acute illness, or disorientation, making self-rescue extraordinarily difficult.
The ideal setup is to center the group around a responsible, experienced mountain guide, gathering members with comparable fitness levels. On the trail, adhere strictly to the guide’s directives, maintain mutual support, and treat staying together as an unyielding golden rule.
Part 2: Understanding and Utilizing Mountain Equipment
1. Personal Hiking Gear
- Warm / Sun Hat: During exertion along mountain ridges, pores open up. The temples are especially vulnerable; exposure to cold winds can chill the head and trigger or exacerbate altitude sickness, headache, nausea, vomiting, palpitations, and general malaise. Protecting the head against wind chill with a hat or buff / neck gaiter is indispensable.
- Moisture-Wicking Long-Sleeve Base Layer: Physical activity raises body temperature. Starting out with a wicking base layer paired with a breathable waterproof shell is typically sufficient. Tops with front zippers allow easy ventilation to shed excess heat.
- Fleece Vest: A vest is versatile during autumn and winter. When cold winds blow, a single long-sleeve shirt may feel too chilly while a full jacket can cause overheating. A vest keeps the core warm, circulating warmth throughout the body while enabling flexible multi-layer setups.
- Waterproof Breathable Shell: In chilly weather, evaporating sweat can induce hypothermia. Wearing a secondary layer over your wicking shirt keeps moisture away from your skin. Keep a waterproof, breathable jacket rolled up at the very top of your pack for immediate access.
- Stretchy Hiking Pants: Trousers should facilitate unrestricted movement. Choose durable, stretchy hiking pants or thermal compression tights paired with gaiters and boots. Beginners often make the mistake of wearing cotton jeans; if wet from rain or sweat, denim stays damp and rapidly saps body heat, creating severe hypothermia risk. Avoid cotton pants entirely.
- Wool Hiking Socks: Proper socks are just as vital as boots. Over long distances, low-quality socks cause friction that quickly leads to painful blisters, turning a trek into an agonizing ordeal.
- Sturdy Hiking Boots: A dependable pair of boots is fundamental. Quality boots provide supple ankle support and cradle the foot securely. When sizing boots, wear two pairs of thick wool socks and one thin liner sock; there should still remain a half-finger to full-finger width of toe clearance. Avoid boots with biodegradable polyurethane (PU) soles prone to hydrolysis breakdown.
- Breathable Waterproof Gaiters: Most mountain trails consist of dirt and mud. After rain, muddy trails and dew-soaked vegetation can saturate trouser cuffs and seep into footwear. Wearing gaiters prevents moisture intrusion and keeps legs dry.
- Two-Piece Rain Suit (Jacket & Pants): Regardless of clear blue skies at departure, rain gear must never be left behind. Beyond rain protection, a waterproof breathable suit (such as GORE-TEX) doubles as an effective windproof, thermal outer shell.
- Spare Change of Clothes: Every ounce counts in a backpack, so utility is crucial. One complete spare change of dry clothing sealed in a waterproof dry bag is typically sufficient to change into at camp.
- Thick Fleece Mid-Layer: Substantial temperature drops occur at elevation. During prolonged rests at camp or cabins, a thick fleece or insulated jacket (down, synthetic fill, or wool) is vital.
- Thermal Down Sleeping Bag: Commercial sleeping bags vary widely in fill power and weight. Standard bags range between 1.0 kg and 1.5 kg, while high-grade down bags provide exceptional warmth-to-weight ratios at 0.8 kg to 1.3 kg. Choose temperature ratings based on season and personal cold tolerance.
- Compact Inflatable Pillow: Restorative sleep is necessary to recharge physical energy for the next day’s climb. A lightweight inflatable pillow substantially improves sleep quality.
- Sleeping Bag Liner: A silk, fleece, or microfiber liner boosts bag warmth, eliminates the initial cold touch upon entering, keeps the down bag clean, and doubles as an emergency bivy liner.
- Waterproof Groundsheet / Tarp: Backcountry survival demands diligent moisture management. Pitching tents over a waterproof groundsheet shields tent floors from sharp rocks, mud, and rising ground dampness. On day hikes, a compact groundsheet serves as a clean sitting mat, emergency shelter, or windbreak.
- Insulated Sleeping Pad: Camping without an insulated sleeping pad between your body and the ground leads to painful, freezing nights. Closed-cell foam pads are bulky to pack but indestructible and reliable. Inflatable pads pack down small and save space, but are vulnerable to punctures and may conduct cold on frozen ground if uninsulated.
- Waterproof Breathable Bivy Sack: An outer shell for sleeping bags, essential on multi-day traverses. It shields against wind and exterior dampness, keeps sleep insulation dry, and serves as an emergency shelter during unplanned bivouacs.
- Heavy-Duty Waterproof Dry Bags: Pack every gear category into individual dry sacks or plastic bags, then place them inside a heavy-duty pack liner inside your main rucksack to ensure complete dryness during heavy downpours.
- Internal Frame Backpack & Rain Cover: Pack capacity depends on route length, personal fitness, and packing discipline. Everything should fit securely inside the pack without excessive external attachments.
- Daypack & Rain Cover: Used for day hikes, summit dashes, or out-and-back excursions from a basecamp. Even on day trips, carry basic emergency survival essentials.
The 8 Essential Survival Items for Day Hikes
On any trip intended to conclude within 8 to 10 hours, you must carry these eight survival essentials:
- Daypack
- Rain jacket and pants
- Insulating mid-layer jacket
- Headlamp (with spare batteries)
- Trail snacks / energy rations
- Hydration / drinking water
- Communication equipment (phone/radio/inReach)
- Fire-starting kit (lighter / waterproof matches)
These eight items provide an indispensable survival buffer in the backcountry when used properly.
For outings exceeding 10 to 12 hours, add the following gear:
- Bivy sack
- Waterproof groundsheet / tarp
- Personal backpacking stove and fuel
- One full backup dehydrated meal
- Backcountry knife / trail machete
Any activity extending beyond 12 hours requires mental preparation for an unplanned bivouac. Extreme physical exhaustion impairs judgment and can induce hypothermia rapidly under falling night temperatures.
Expedition leaders must evaluate the stamina of the least experienced team member and carry supplementary team safety gear, including:
- Topographic map
- Compass
- Handheld GPS unit
- Two-way VHF/UHF radio
- Group tarp shelter
- Folding hand saw
- Utility auxiliary cord (6 mm x 15–20 m)
Other optional alpine gear to carry as conditions dictate: Trekking poles, cook set, sunglasses, insulated thermos, personal medications, sunscreen, lip balm, carabiners, Prusik loops, tubular webbing, 6 mm x 30 m accessory cord, durable work gloves, climbing helmet, harness, crampons, ice axe, winter gloves, belay device, and ascenders (Jumar).
Part 2: Group Mountaineering Equipment
- Four-Season Mountain Tent: Tents serve as mobile backcountry shelters. Three-season and four-season models are standard, with weight being the primary consideration. Grouping into 3-person or 4-person tents typically yields the best weight-to-shelter ratio. Pairing tents with a cooking tarp enhances living comfort in bad weather.
- Two-Way Radios and Satellite Devices: Radios and satellite communicators are constrained by battery life; communications should remain concise and essential. Keep electronics protected inside waterproof pouches.
- Group Cookware: Select group cooking pots based on group size, balancing weight against volume and ease of meal preparation.
- Group Rations: Food logistics on multi-day traverses require balancing shelf life, ease of cooking, nutritional density, and resistance to being crushed in transit.
- Hand Saw / Trail Machete: Carrying a compact pruning saw or trail blade adds safety. If a trail suffers a sudden landslide or windfall blockage requiring a detour, clearing an emergency bypass becomes possible.
- Ropes and Carabiners: High-altitude routes present unpredictable terrain and exposed scrambles. Carrying auxiliary rope (6 mm x 20–30 m) and locking carabiners allows leaders to assist teammates across exposed traverses, ascents, and descents safely.
- Emergency First Aid Kit: An essential team kit including personal prescription medications, analgesics, anti-inflammatories, gastrointestinal tablets, eye drops, cold/flu relief, antiseptic ointment, povidone-iodine, sterile saline, roller bandages, elastic bandages, sterile gauze, cotton swabs, triangular bandages, latex gloves, medical shears, micropore tape, and adhesive bandages.
- Waterproof Kitchen Tarp / Fly: Tarps are lightweight, versatile, and provide spacious group cooking and staging areas that protect gear from rain during multi-day expeditions.
- Waterproof GPS Navigator, Topographic Map & Compass: Backcountry terrain can easily disorient hikers without navigational aids. A GPS receiver paired with a paper topographic map and compass provides precise spatial orientation, track recording, and waypoint navigation even when trails vanish.
Compiled by Coach Ko Cheng-min, Republic of China Mountain Rescue Association
Note: This article is adapted from Coach Ko Cheng-min’s article “Backcountry Preparation and Equipment Knowledge for Safe Mountaineering.” Readers are welcome to join discussions and share insights on the coach’s Facebook page.
Support Independent Perspectives & In-Depth Insights
Every thoughtful analysis and candid critique comes from our dedication to truth and quality. We choose not to follow sensational algorithms or clickbait headlines.
Sustaining independent research requires reader support. Make a one-time or monthly contribution, securely processed by Google.
Payments secured by Google · Manage or cancel anytime in your Google Account



Comments