
Given how many articles have been published about One Piece’s Thousand Sunny, I am sure most people are already quite familiar with it.
However, just before Chinese New Year, I spotted this kit marked down to only 825 NTD at the Taipei City Underground Mall. On an impulse, I hauled it home.
After doing a test snap-fit at home, I found that the color separation was actually pretty decent, but seam lines were everywhere, and worst of all, the back of the lion’s mane had massive hollowed-out gaps.
After roughly twenty days of filling, sanding, and airbrushing, the Thousand Sunny—a kit so grueling it makes you question your life choices with every build—was finally complete.
This Thousand Sunny kit was actually finished before my previous post “Bushin Soukou Dygenguar S.R.G-S”. Back then, I hadn’t thought about snapping work-in-progress photos, so without further ado, let’s jump straight to the showcase.
Key Build Points for the Thousand Sunny
- Seam line removal on deck railings, stern railings, staircase sides, the three mini-ships, observation crow’s nest, and crossed bones.
- Filling hollow areas behind the lion’s mane.
- Realistic texturing on lawn decks and tangerine trees.
- Selective color separation.
- Faux wood grain simulation on wooden textures.
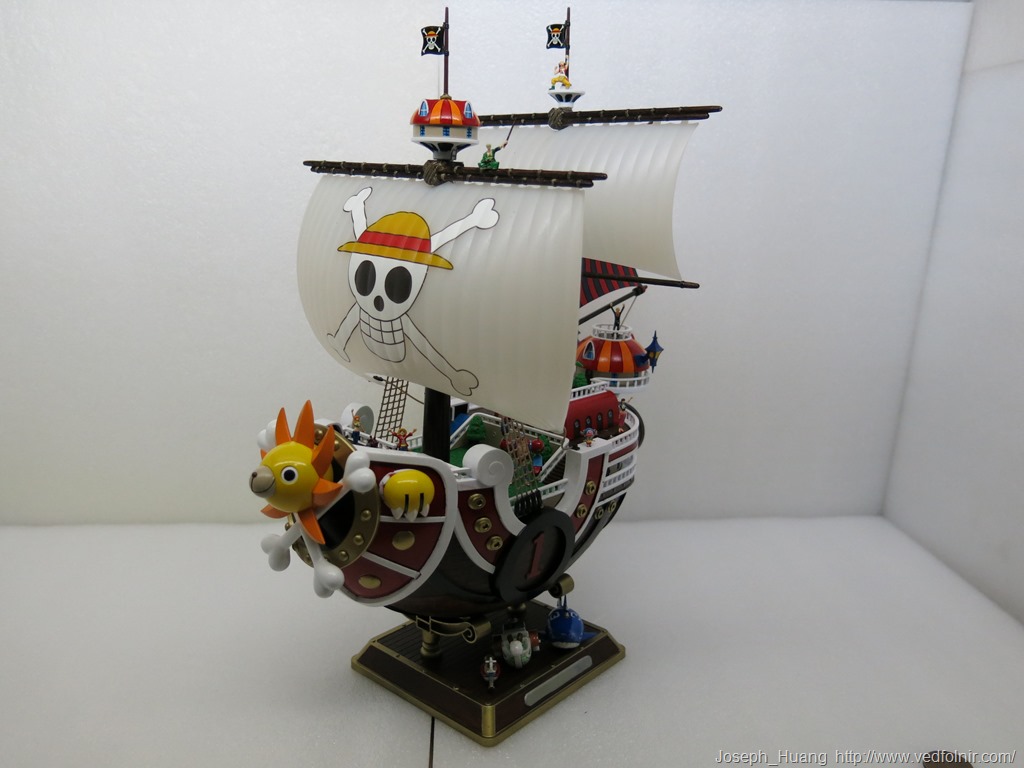
Thousand Sunny, setting sail.
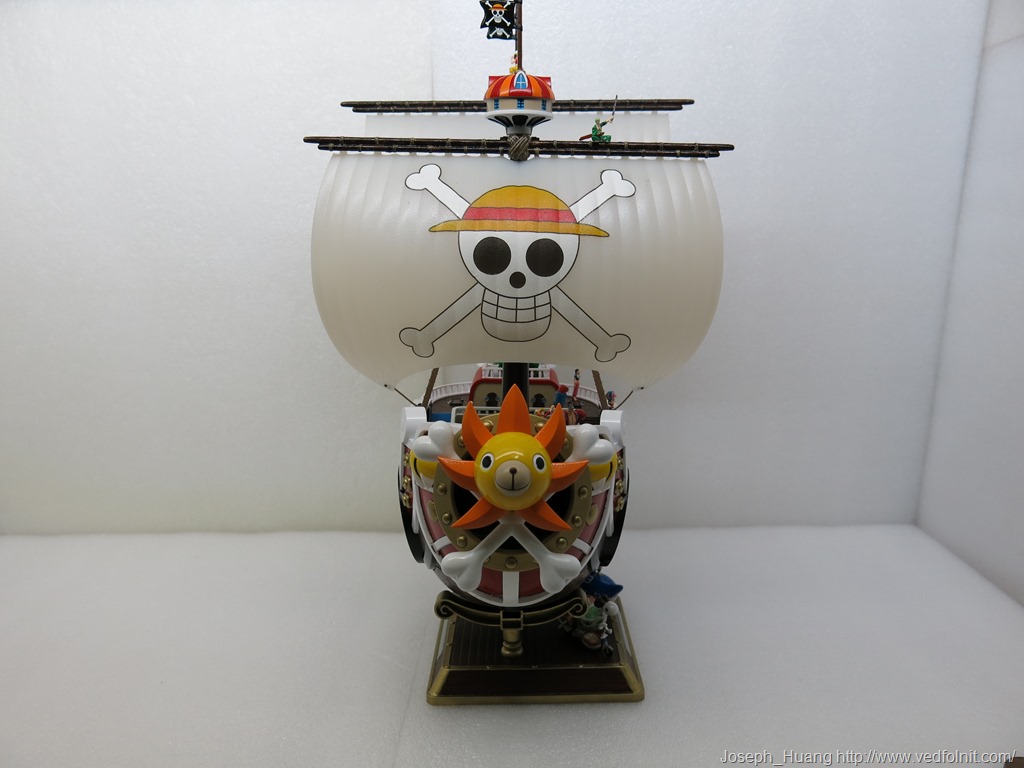
Front close-up
The three mini-ships: the smallest one is actually smaller than a 1-dollar coin. It truly lives up to its reputation as an eye-straining killer.
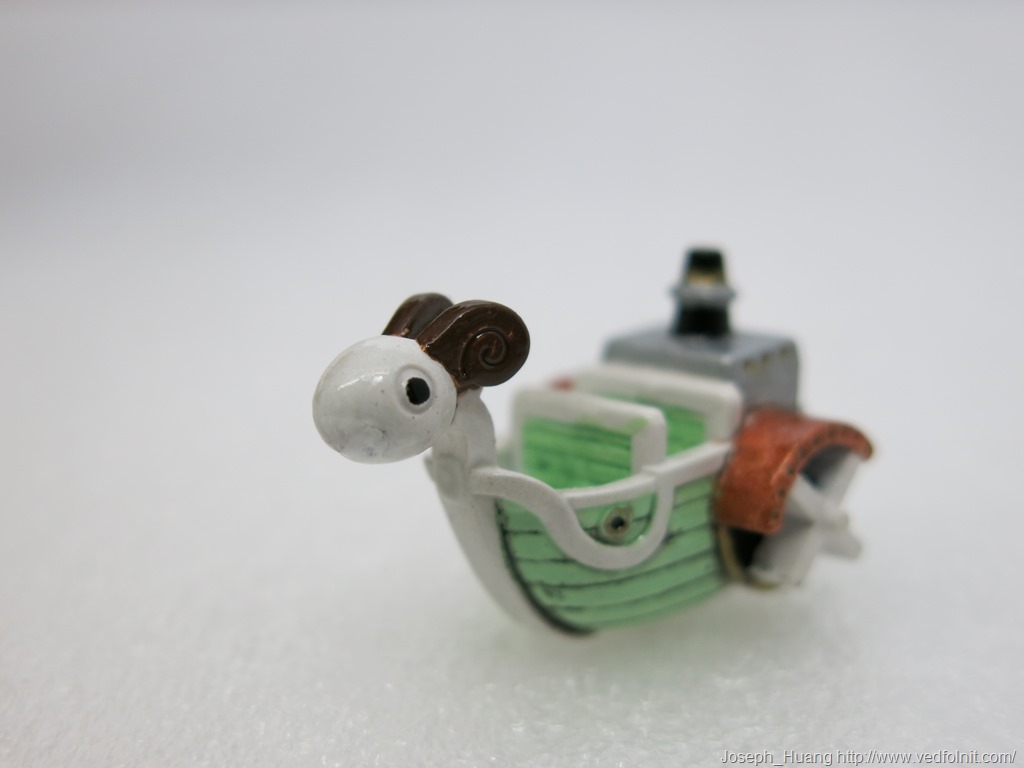
Wood grain finish photo I
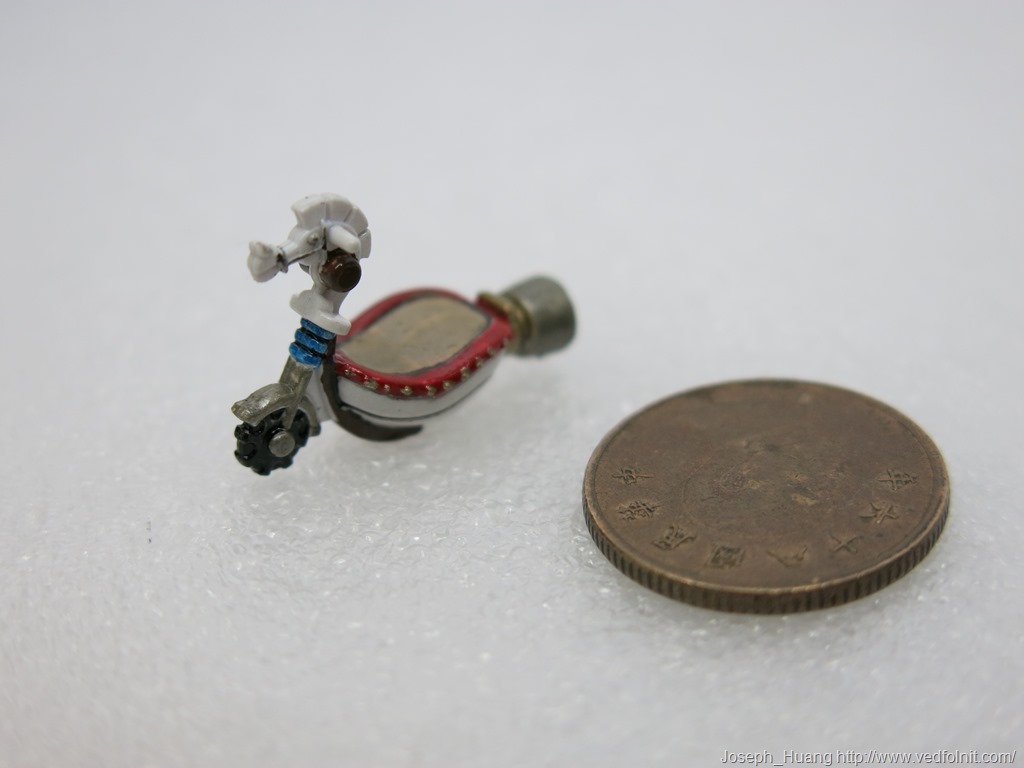
Wood grain finish photo II
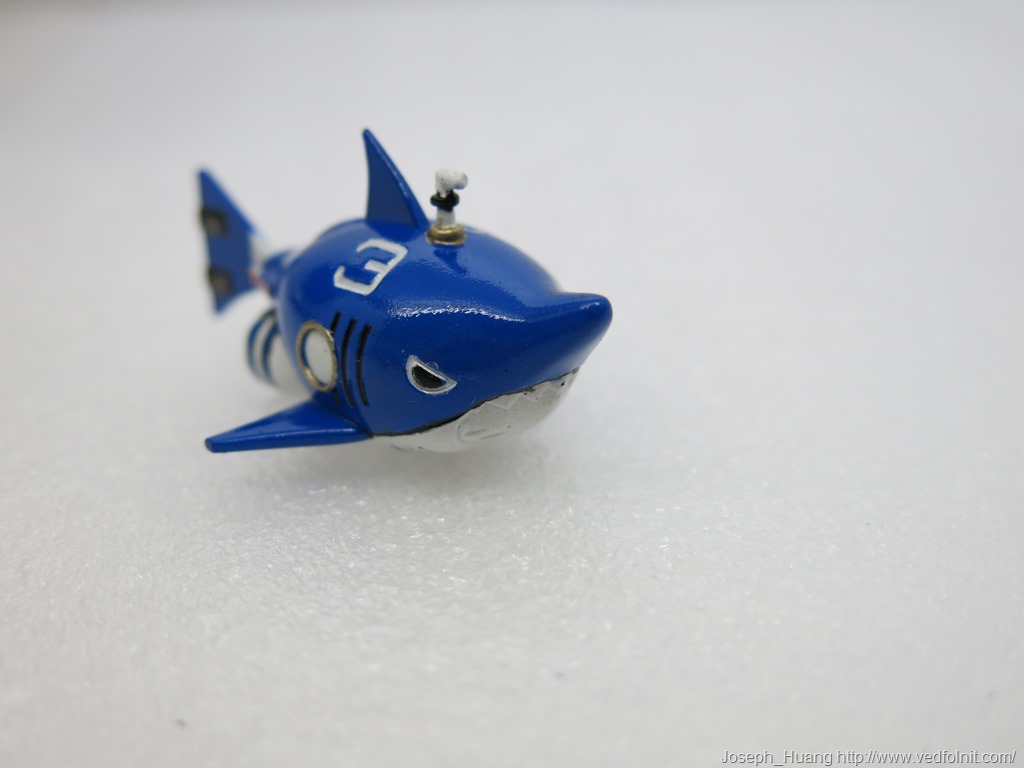
Wood grain finish photo III
Painting Sequence
- Primer surfacer;
- Base coat, light brown;
- First wash;
- Oil paint glazing (three coats);
- Panel wash;
- Dry brushing.
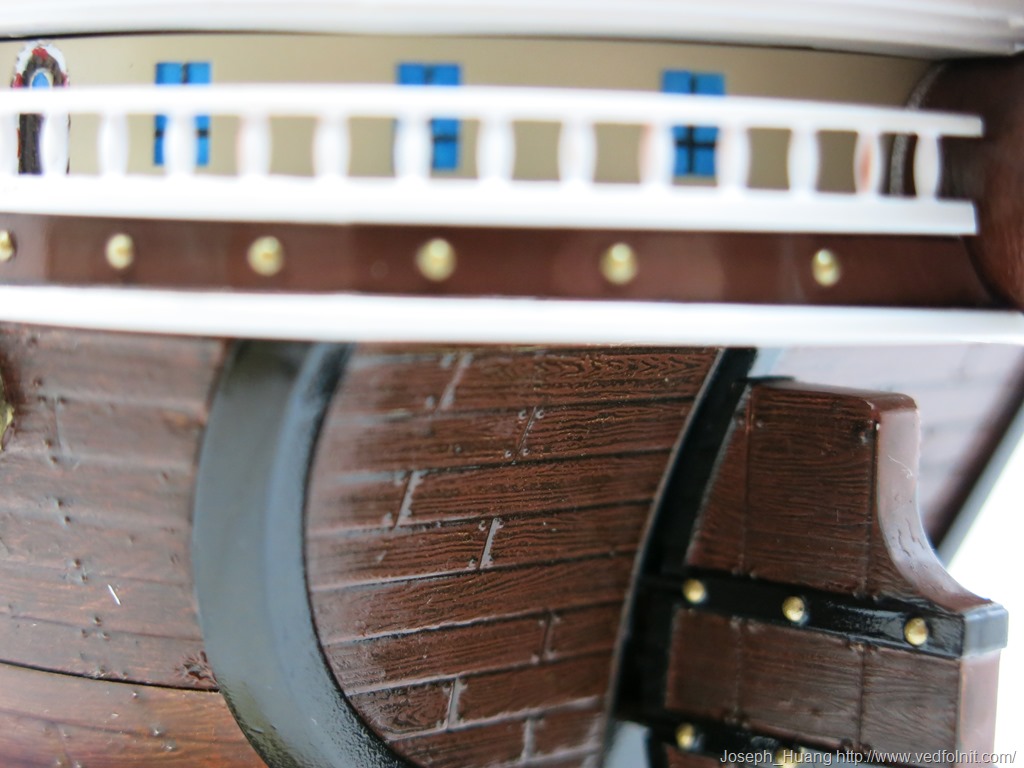
Even the display base looks high-end with a wood grain treatment and simple color separation.
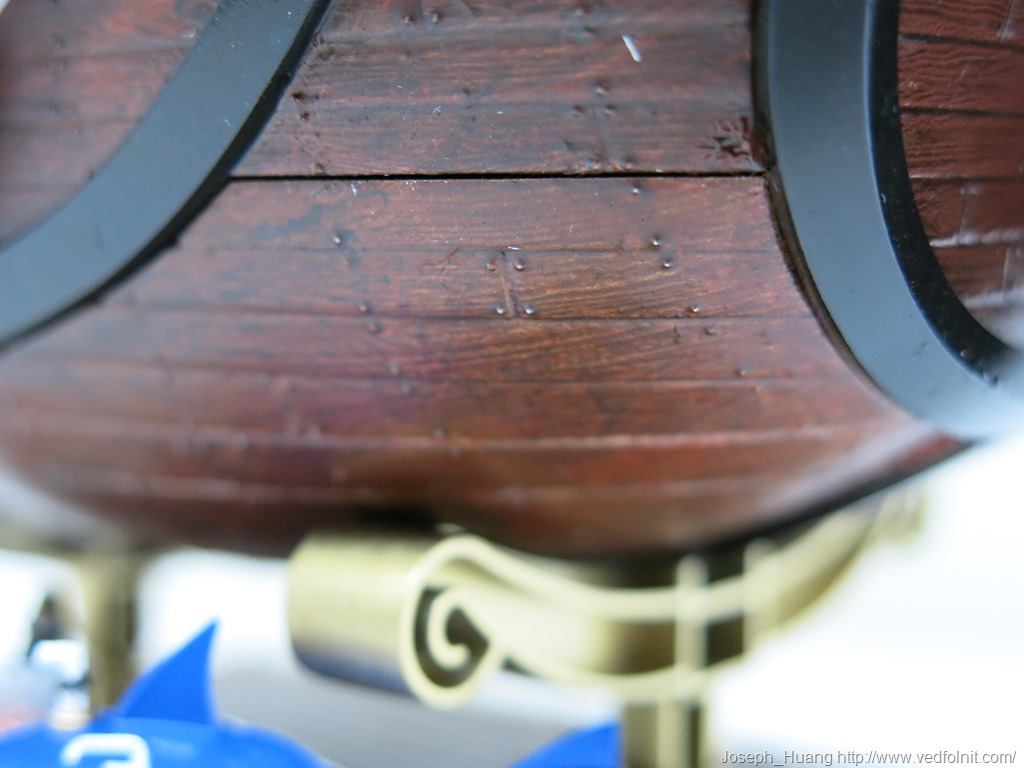
Close-up of the wood grain texture.
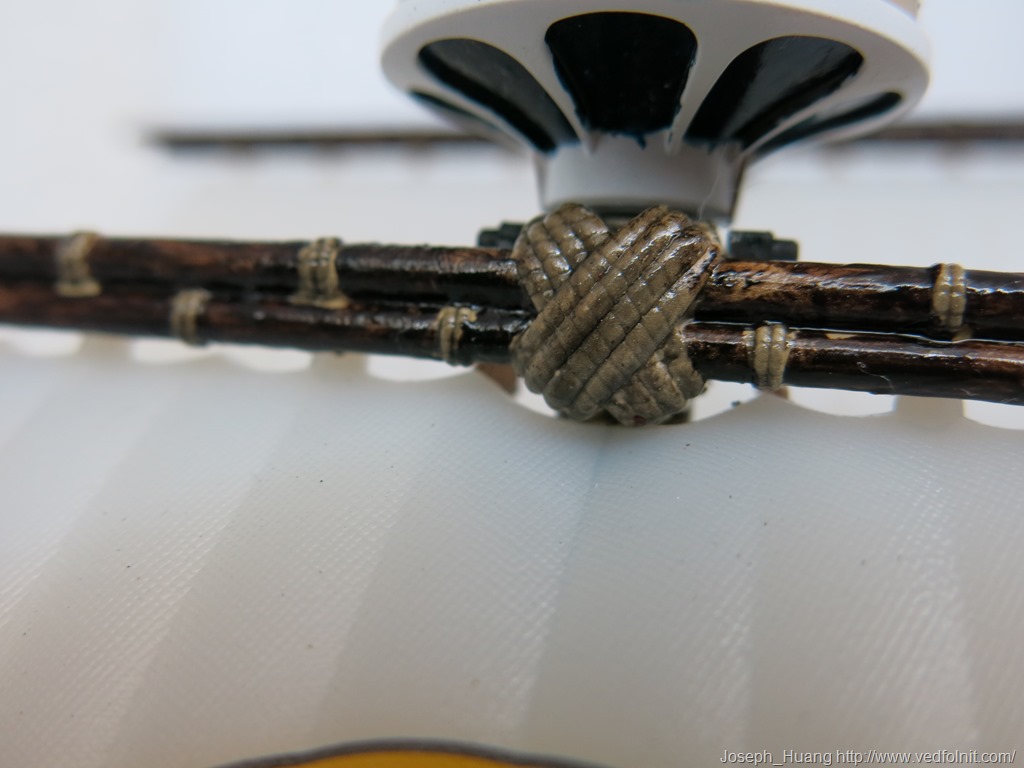
Color separation on horizontal mast rigging ropes and wood.
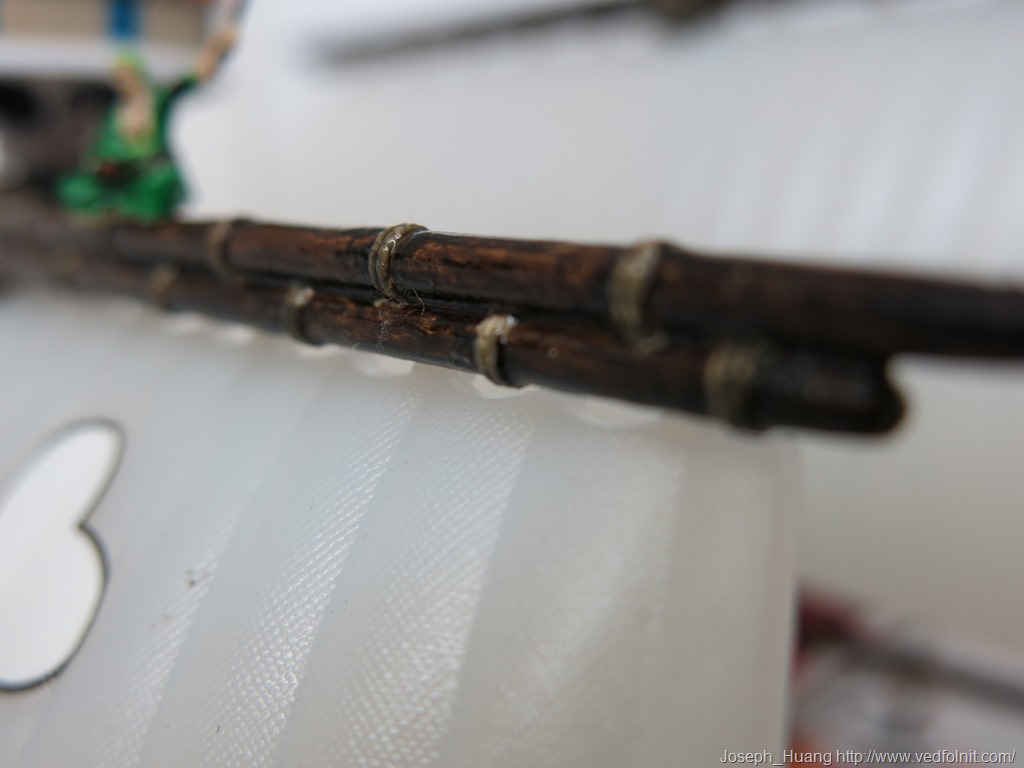
Close-up of color separation.
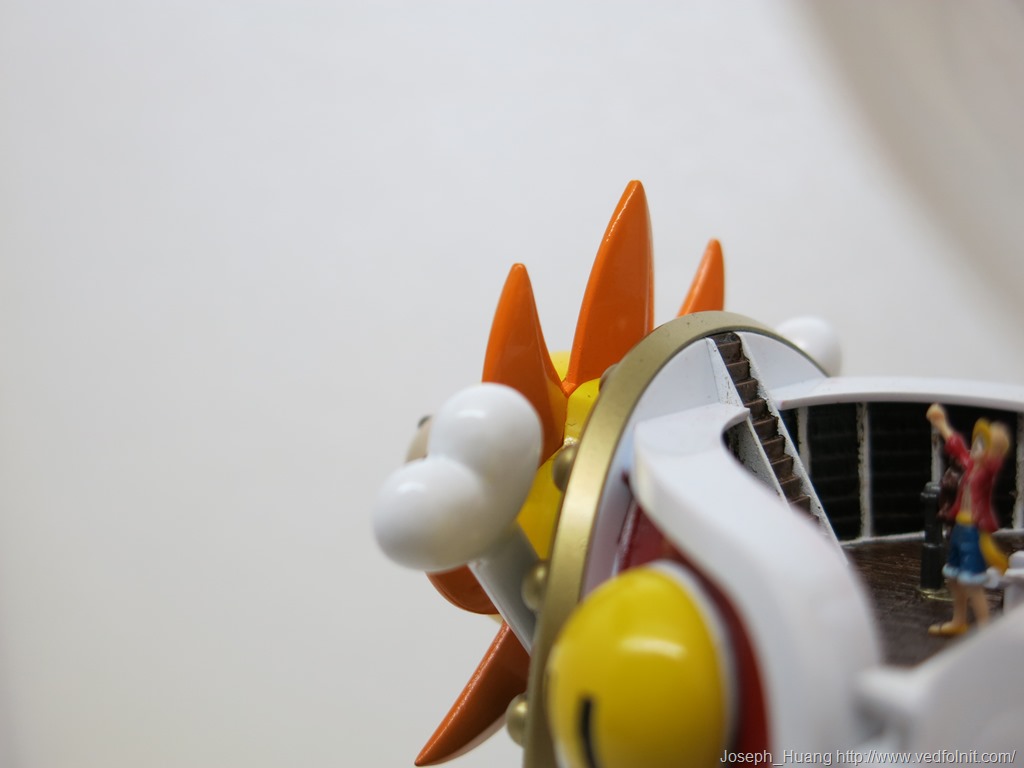
Filled hollow sections behind the lion’s mane.
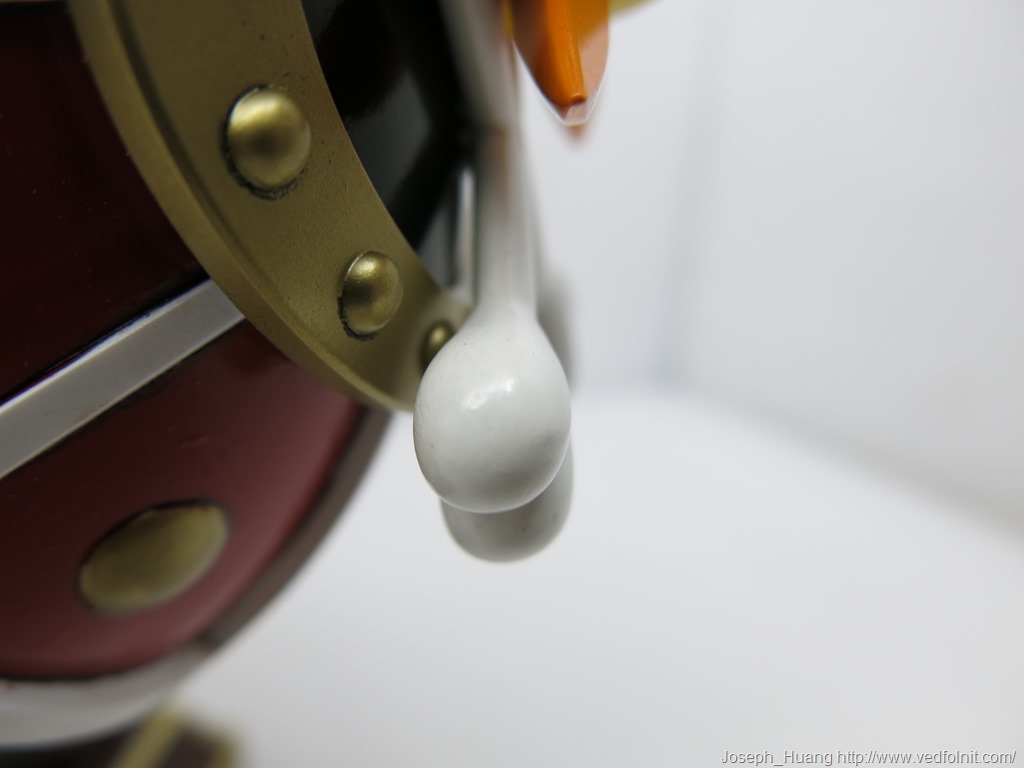
Seam line removal on crossed bones.
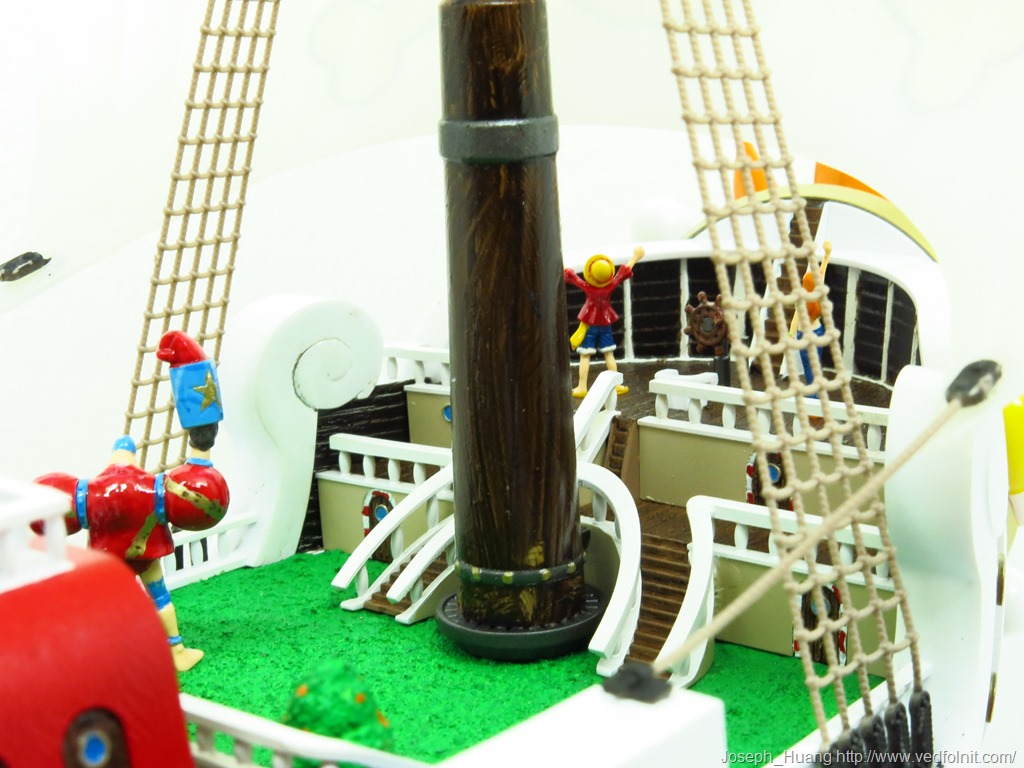
Main mast given the same wood grain finish.
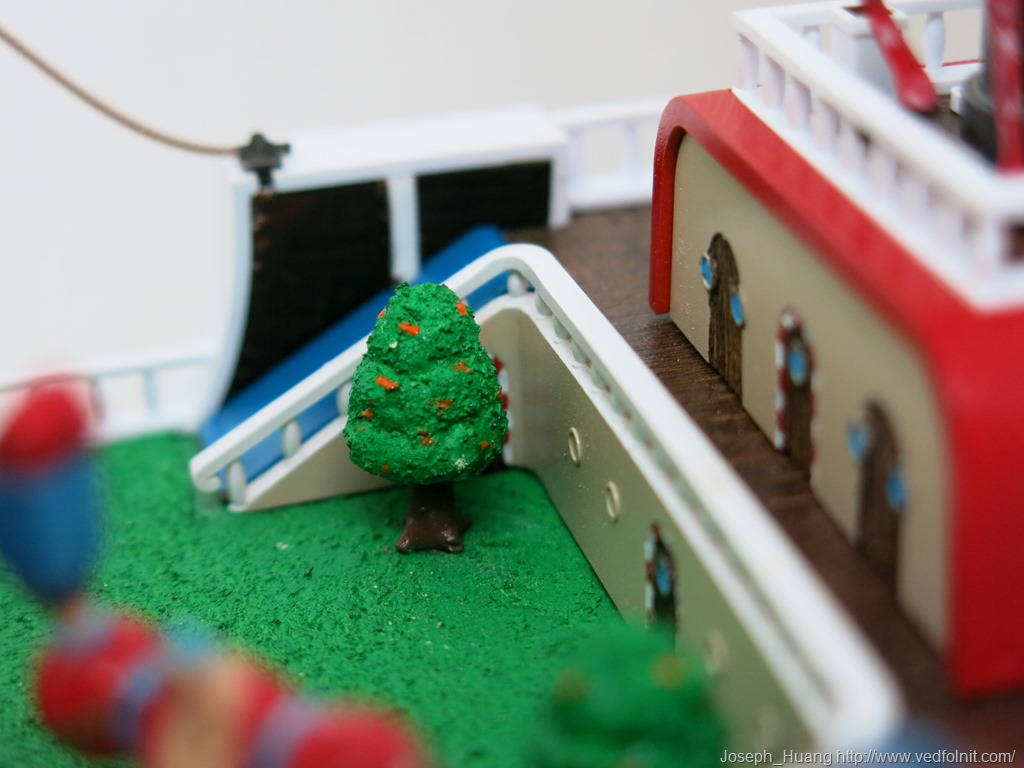
Lawn and tangerine trees textured with putty for foliage effect.
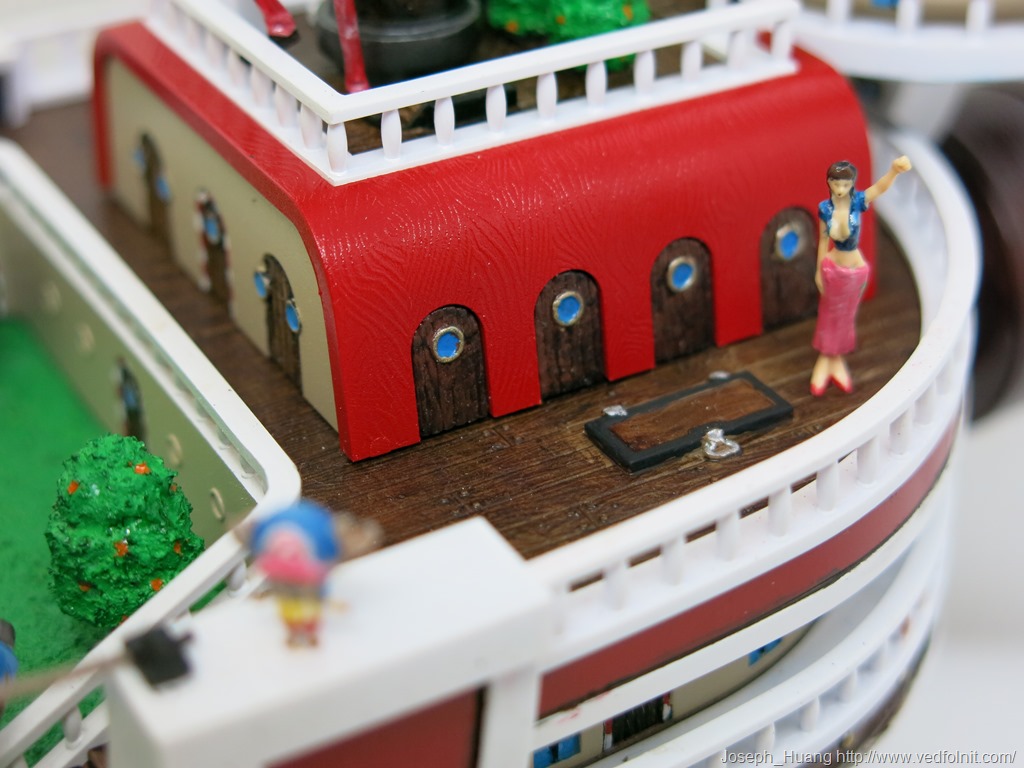
Decks given wood grain texture. All cabin doors detailed with wood grain and color separation.
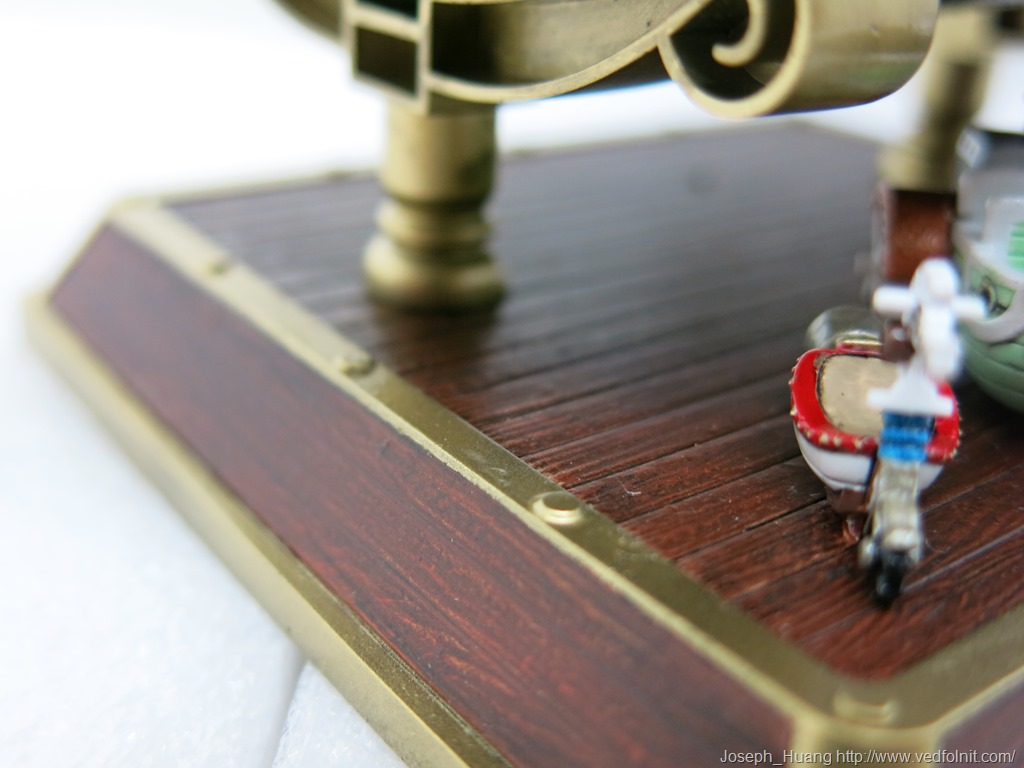
Display stand wood grain.
This massive waterside decal was huge, making it exceptionally challenging to apply cleanly.
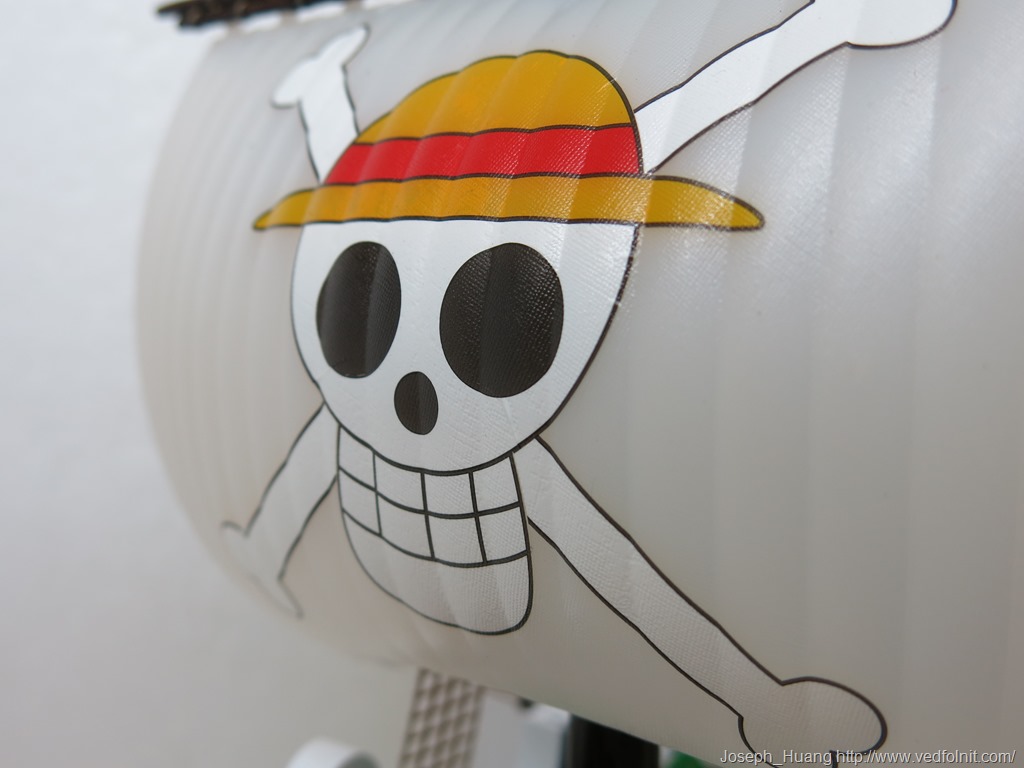
Here is a quick piece of trivia: manufacturers generally hollow out plastic parts for two main reasons:
- Saving raw plastic materials;
- Preventing plastic sink marks and shrinkage during cooling.
Waterslide Decal Application Steps:
- Brush a thin layer of decal softener/setter on the plastic surface;
- Slide the waterslide decal onto position;
- Use a cotton swab to gently roll out trapped air bubbles and water;
- Brush decal softener over the top;
- Verify snug adhesion (reapply softener if edges lift);
- Seal with protective topcoat.
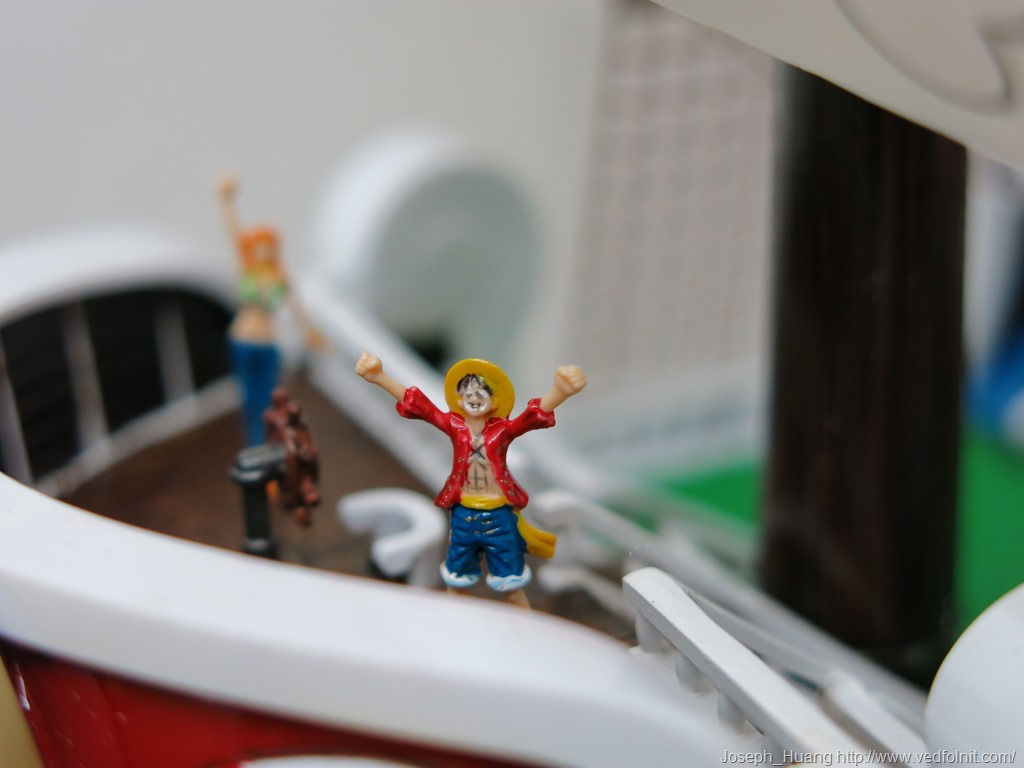
Luffy I
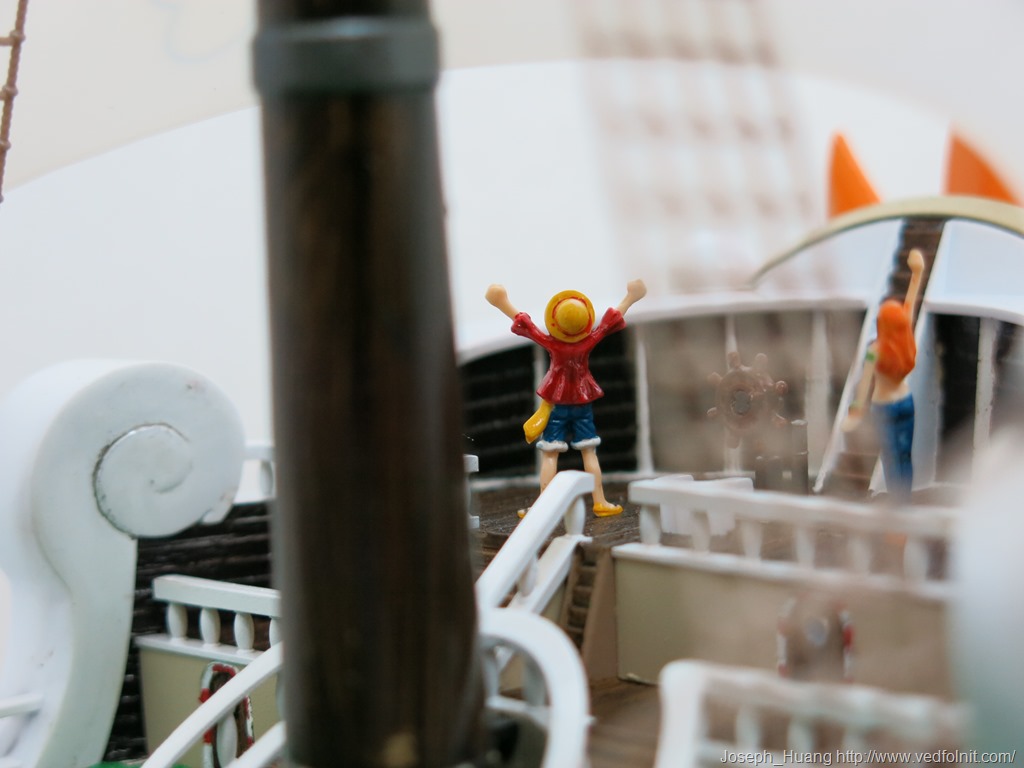
Luffy II
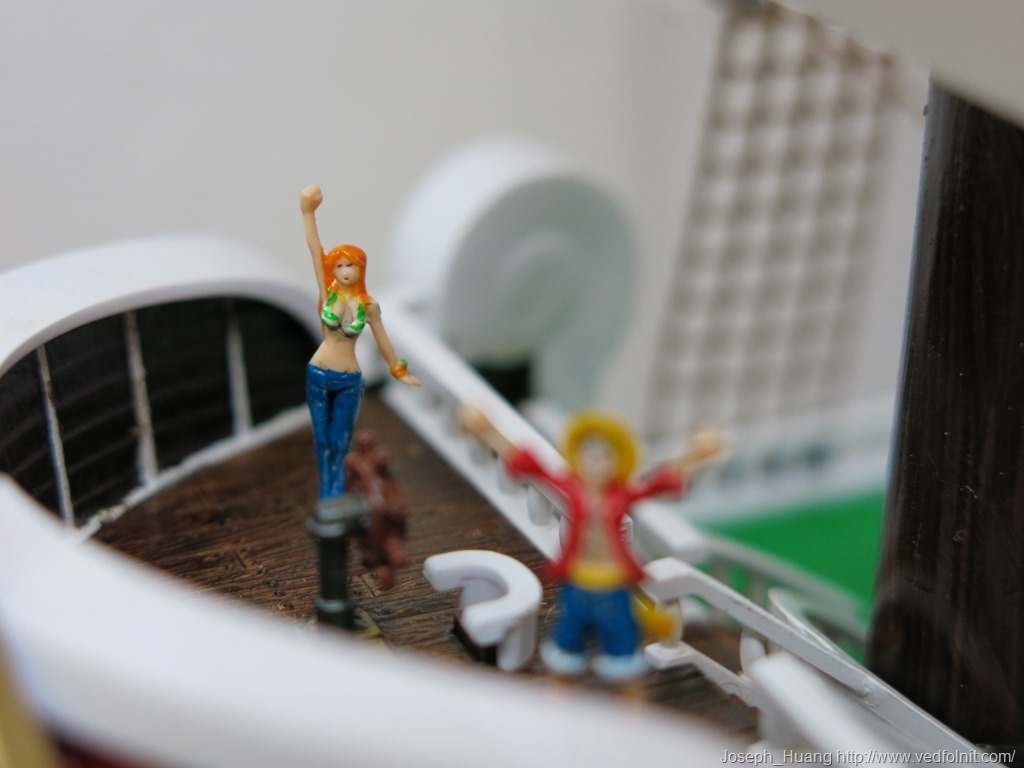
Nami
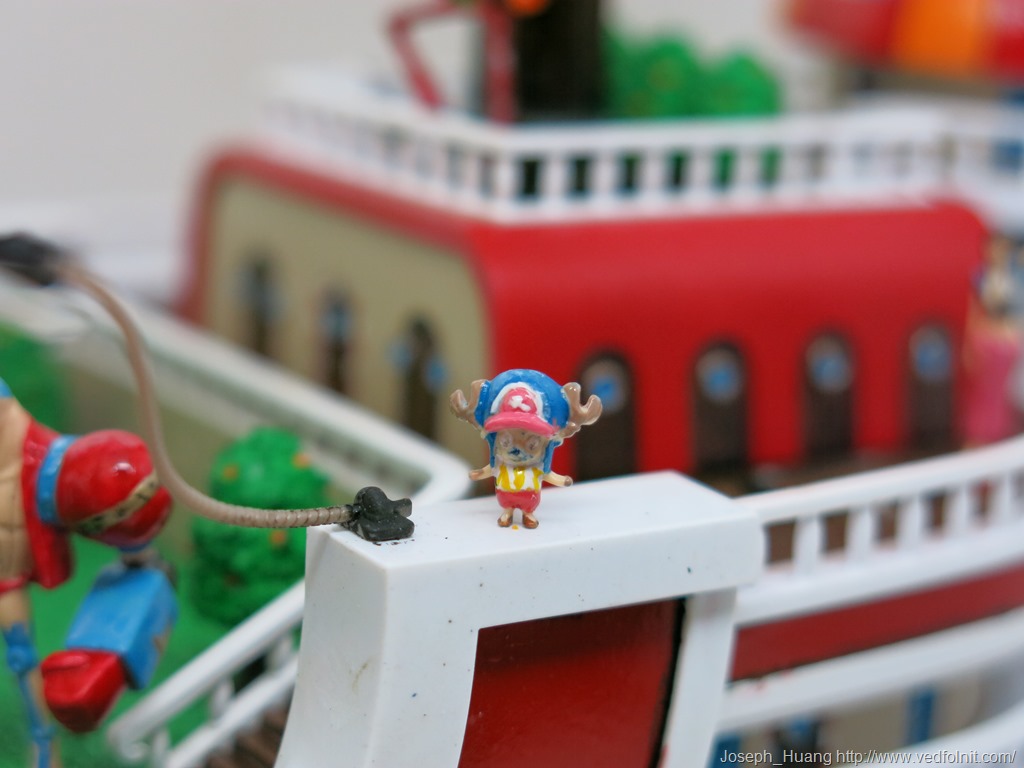
Chopper
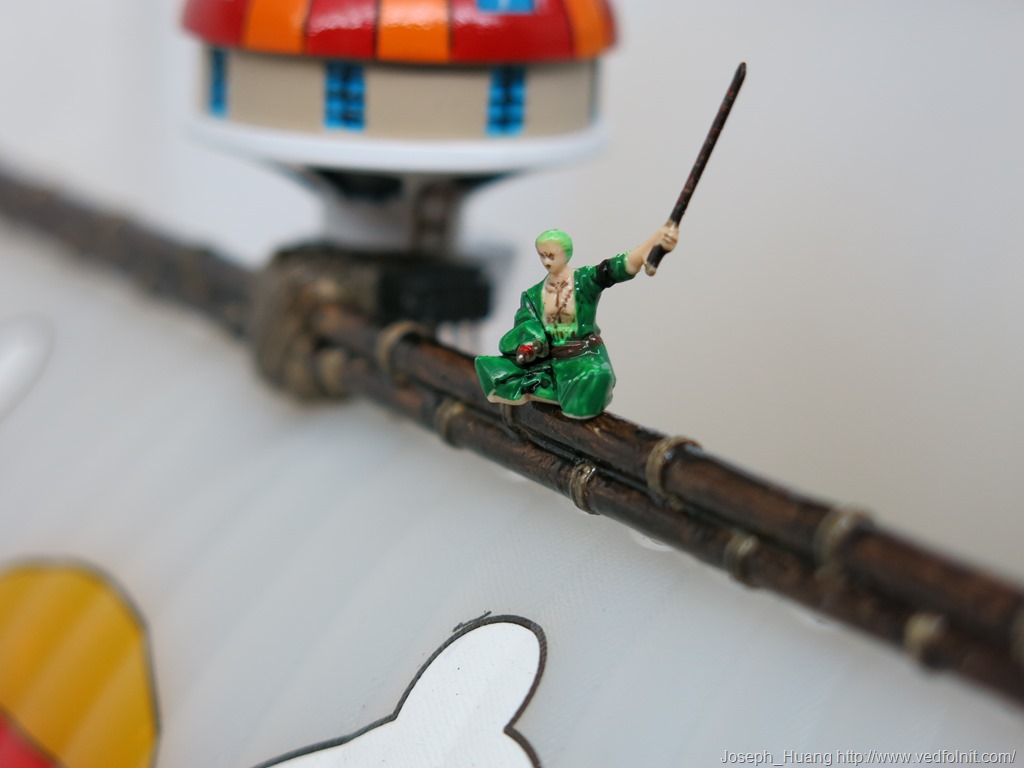
Roronoa Zoro
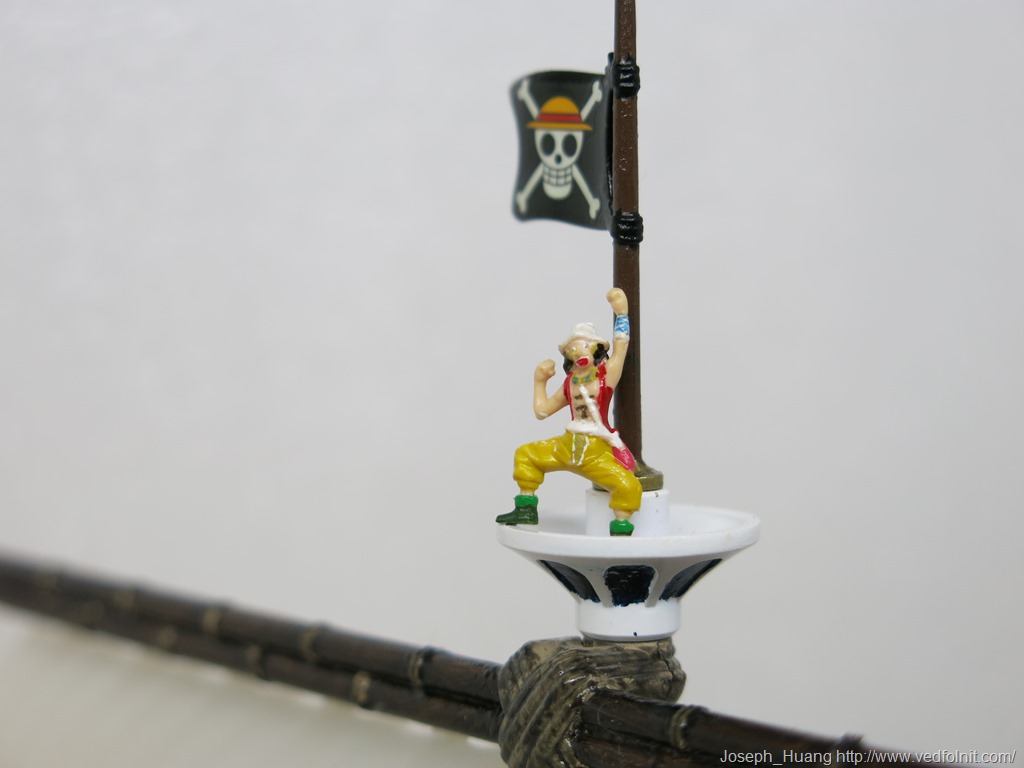
Usopp
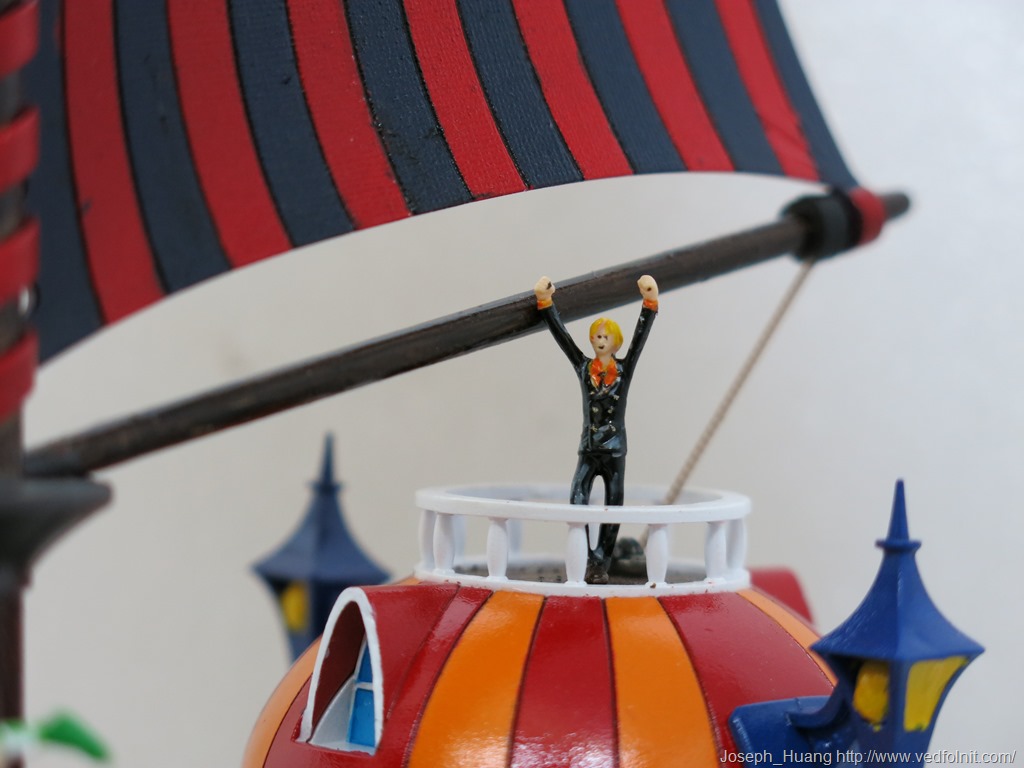
Sanji
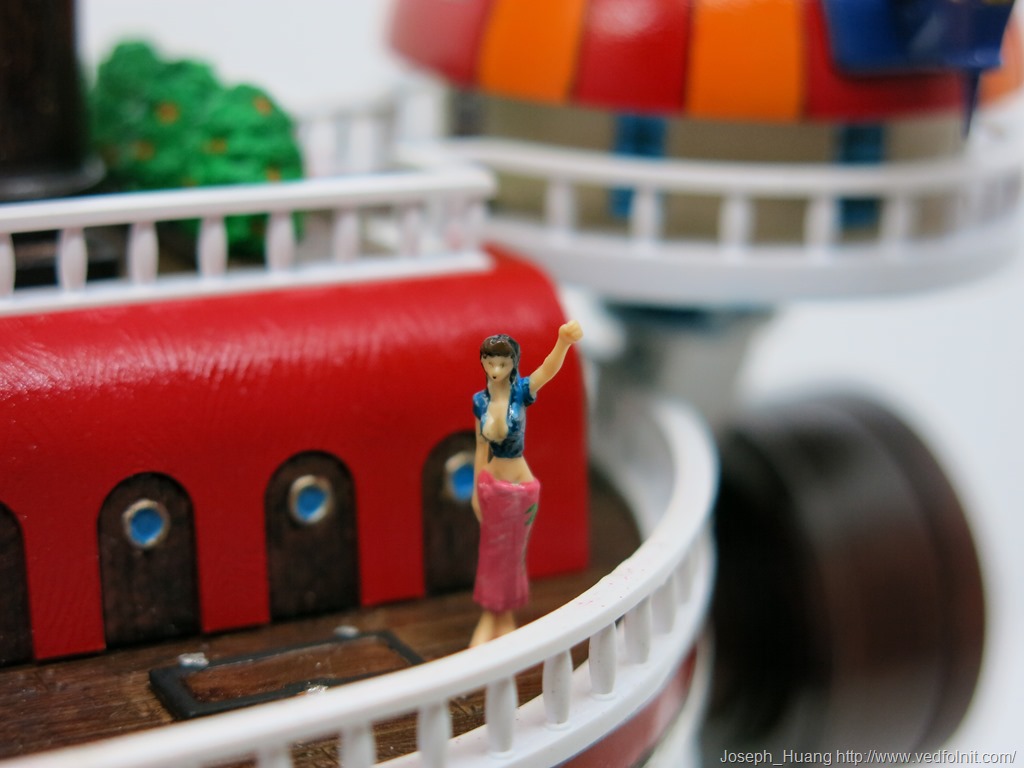
Robin
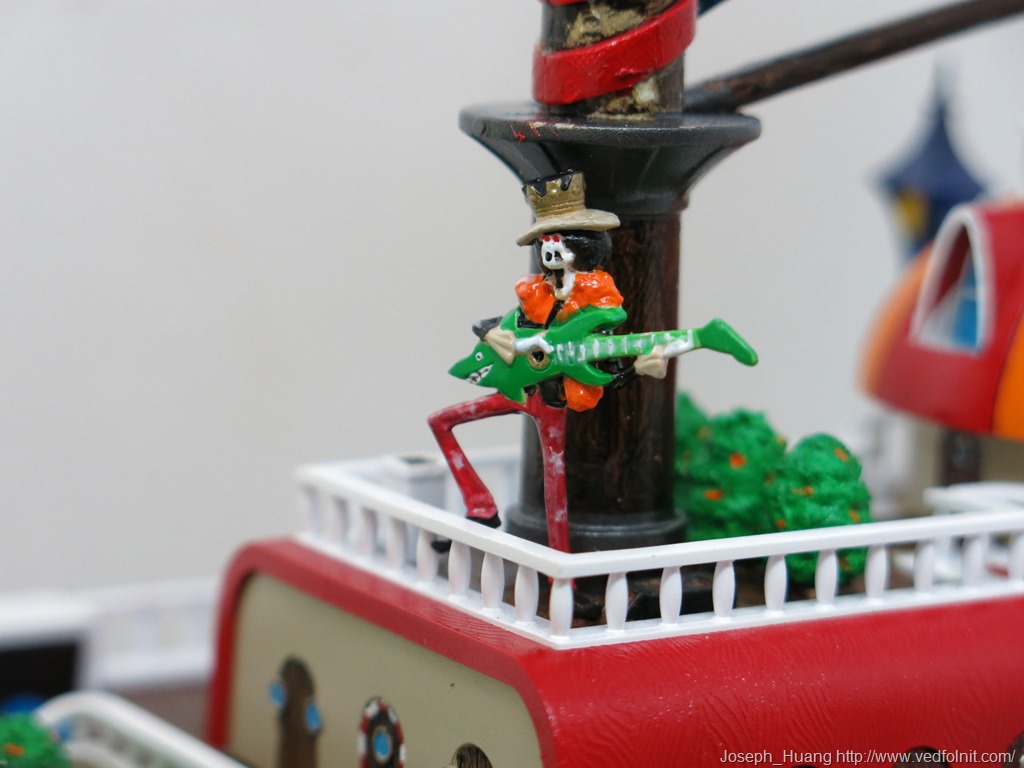
Brook
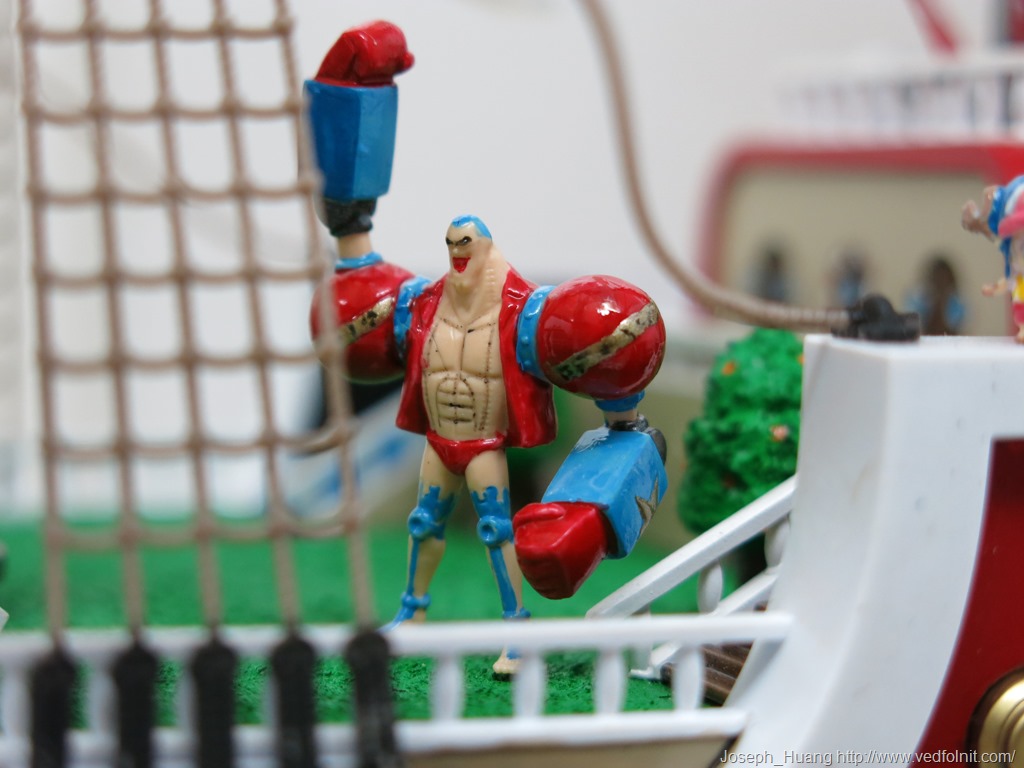
Franky
Finally, regarding figure painting, I will take a separate set of photos and compile a dedicated figure painting retrospective. That wraps things up for today; see you next time!
Joseph’s Note: Jinliang Lin consistently refuses to photograph my models, so all photos here are strictly amateur grade. Thank you for your understanding!
Support Independent Perspectives & In-Depth Insights
Every thoughtful analysis and candid critique comes from our dedication to truth and quality. We choose not to follow sensational algorithms or clickbait headlines.
Sustaining independent research requires reader support. Make a one-time or monthly contribution, securely processed by Google.
Payments secured by Google · Manage or cancel anytime in your Google Account

Comments