
Joseph himself isn’t particularly keen on cute model kits like “Keroro Gunso” (Sgt. Frog), but feeling lazy about tackling overly complex models lately, he decided to switch things up.
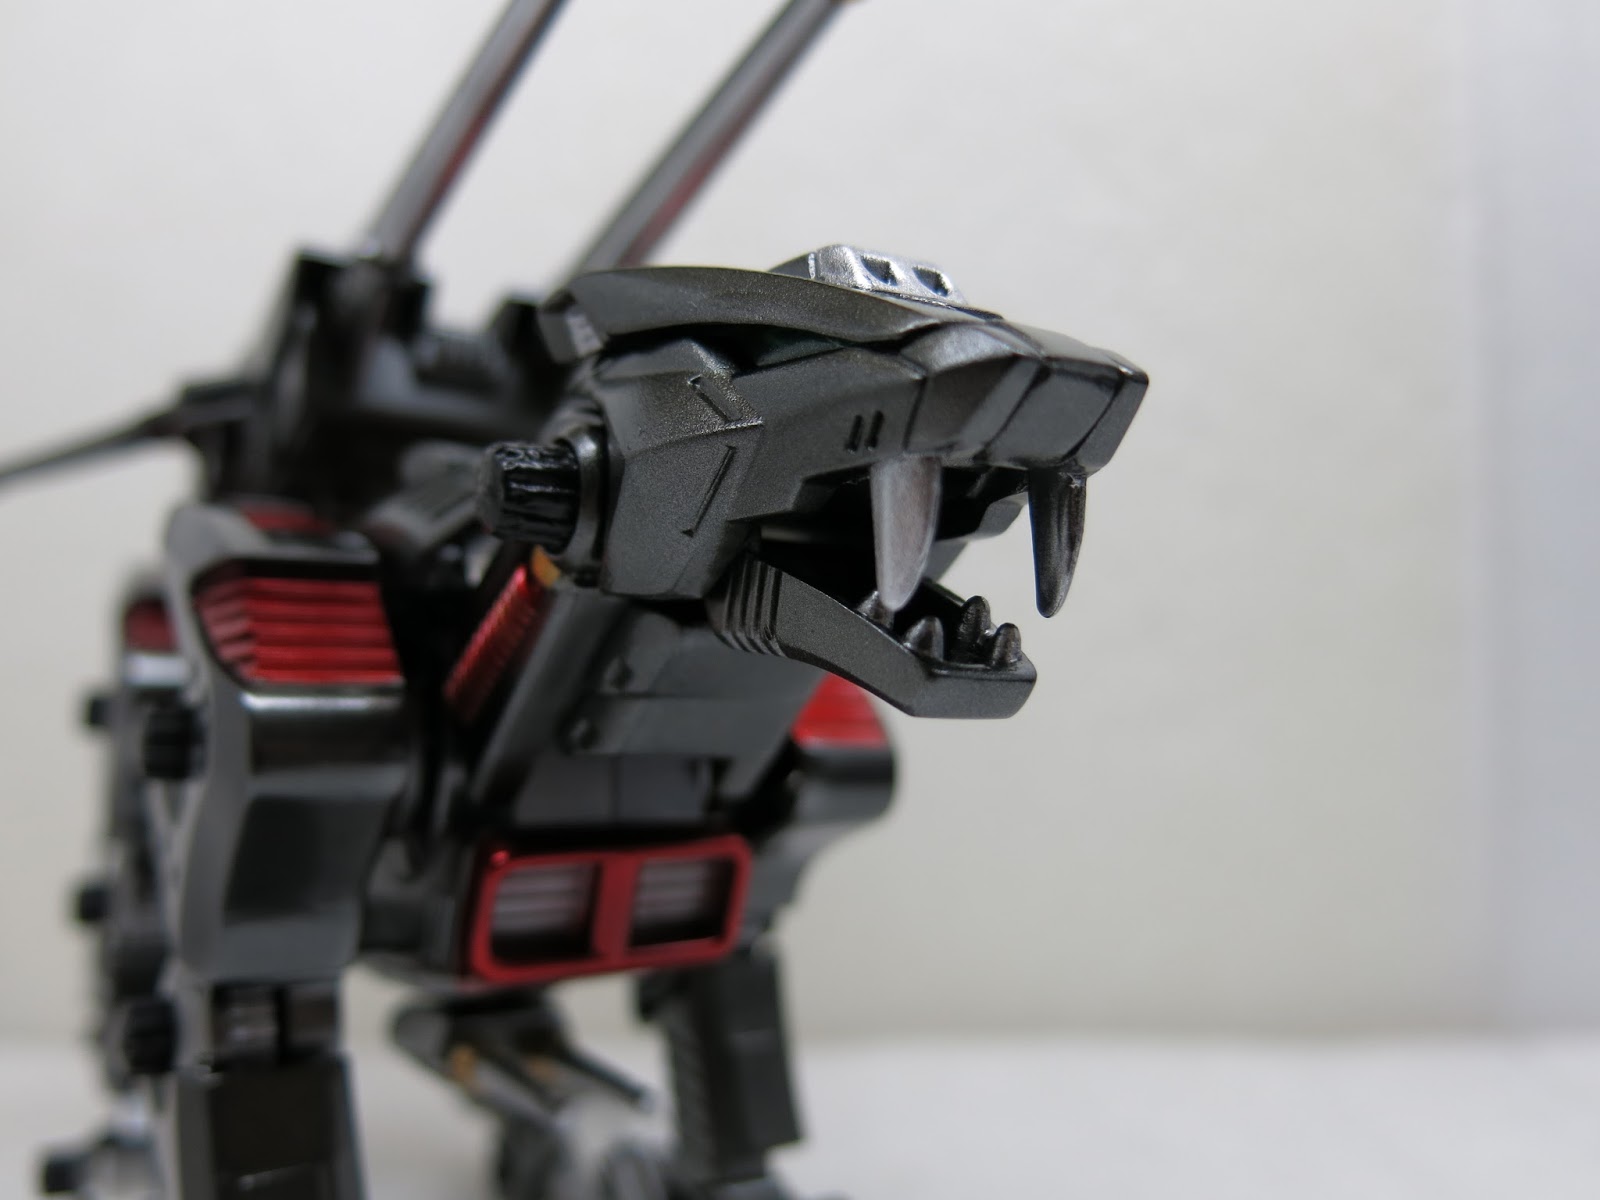
So Joseph put his pending commission project, “Zoids Lightning Saix Model”, on hold and took advantage of a typhoon day off to assemble this cute platoon for a change of pace.
Keroro Platoon Model Kit Building Process
- Sanding all parts. Joseph strongly recommends doing this. All parts in the Keroro series have high-gloss surfaces (the molds are polished). If you don’t sand them first, the plastic surface will be far too slick, and the paint definitely won’t bite (Joseph learned this lesson the hard way when building Sinanju).
- Sanding parting lines and nub marks.
- Seam line removal on weapons and color separation.
- Filling hollows and sink marks.
- Masking and airbrushing all emblems and eyes.
- Applying pearl paint finish.
Washing everything once: Many plastic products encounter mold drag during manufacturing, and the easiest fix at the factory is spraying mold release agent. Mold release agent weakens the adhesion between paint and plastic, so it is recommended to wash plastic models once to prevent paint from peeling.
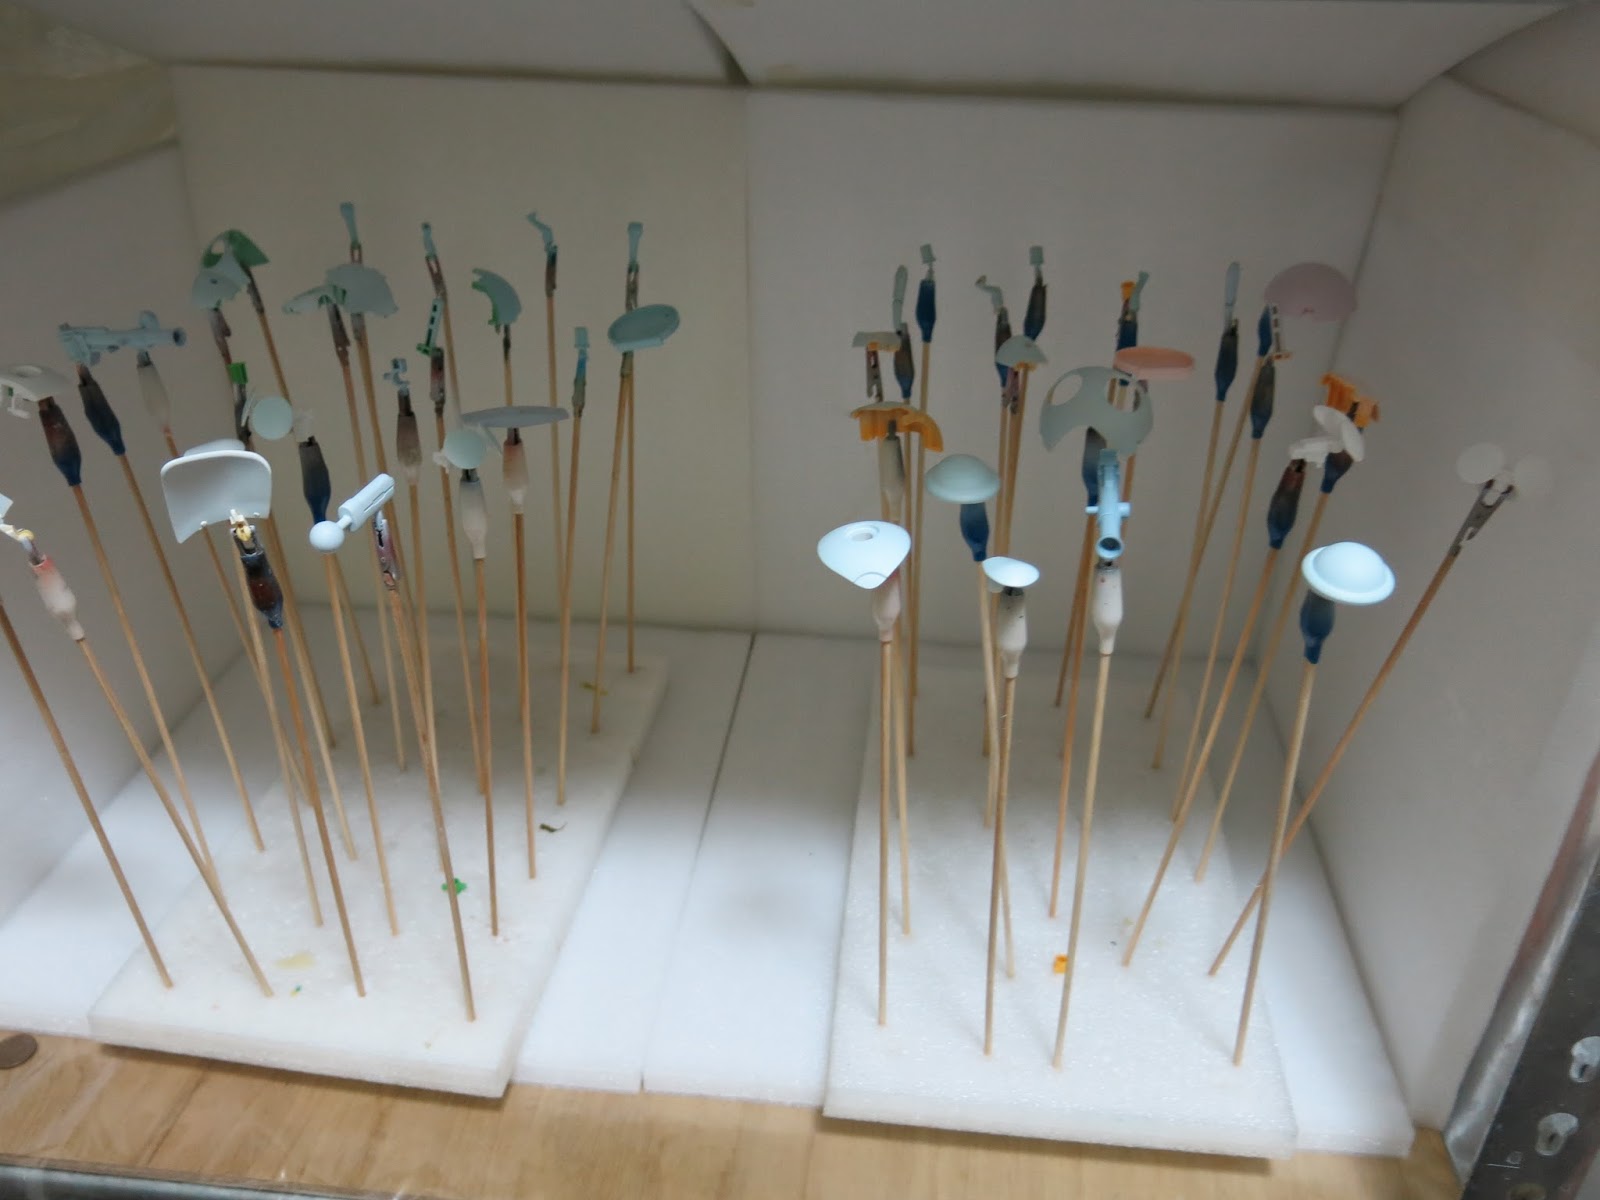
Sanding, removing all high-gloss surfaces (took less than an hour for all five)
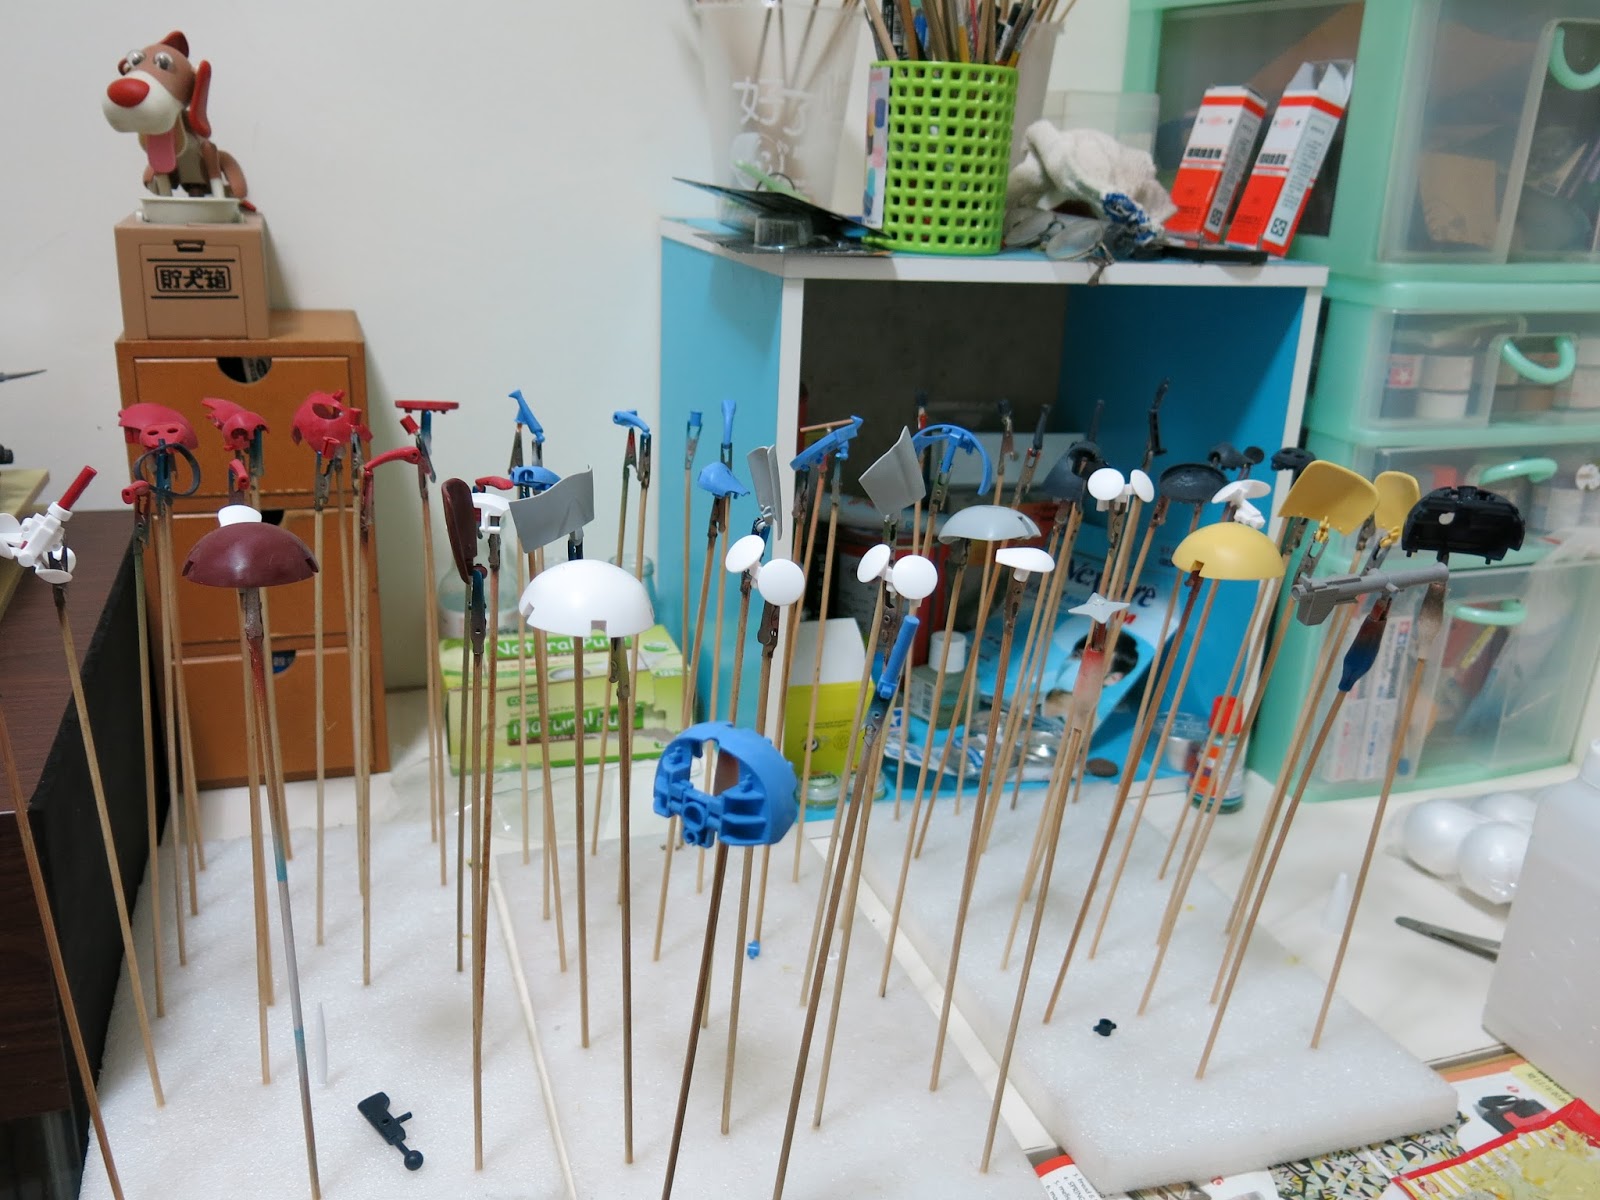
Mounted on alligator clips and primed with surfacer (about an hour)
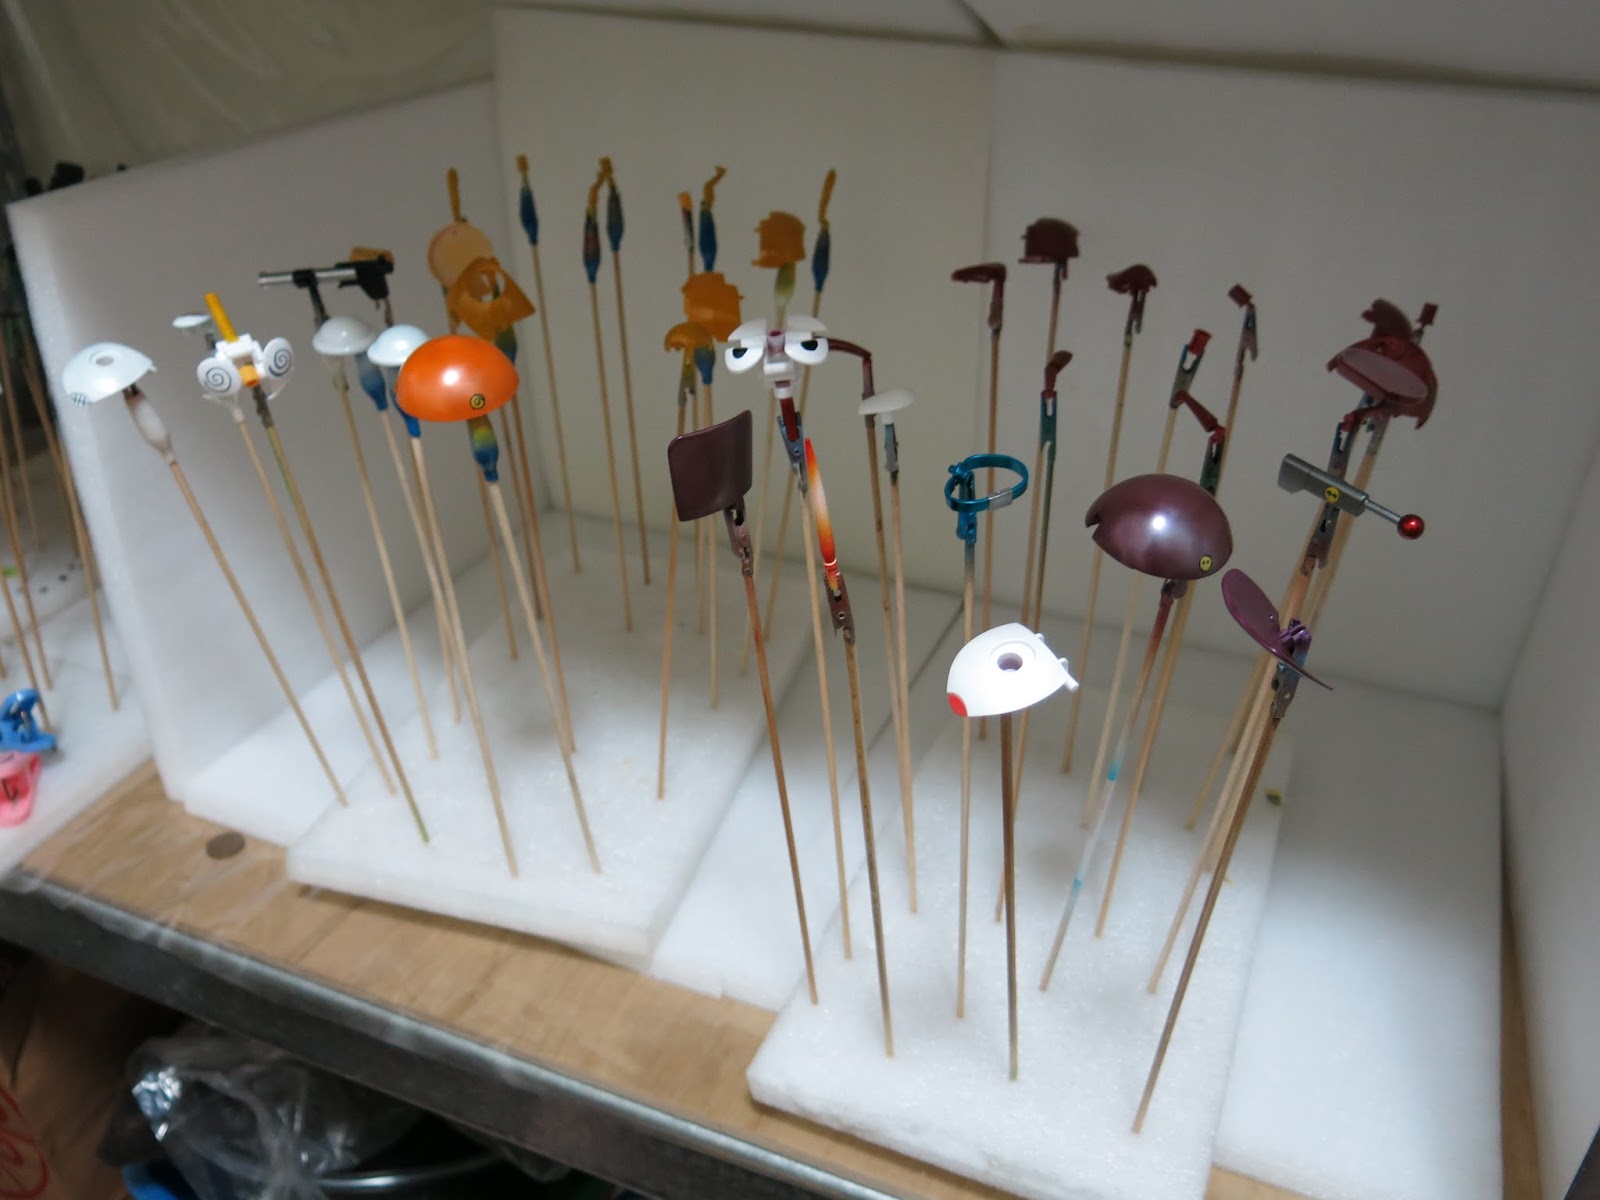
Starting to airbrush
Two days after priming happened to be a typhoon day off, so I used the day to complete all the spray painting.
The airbrushing process followed these steps:
- Primer surfacer;
- Color base coat;
- Main coat;
- Pearl coat;
- Clear gloss coat.
Without further ado, let’s enjoy the photos!
Keroro Platoon Gallery
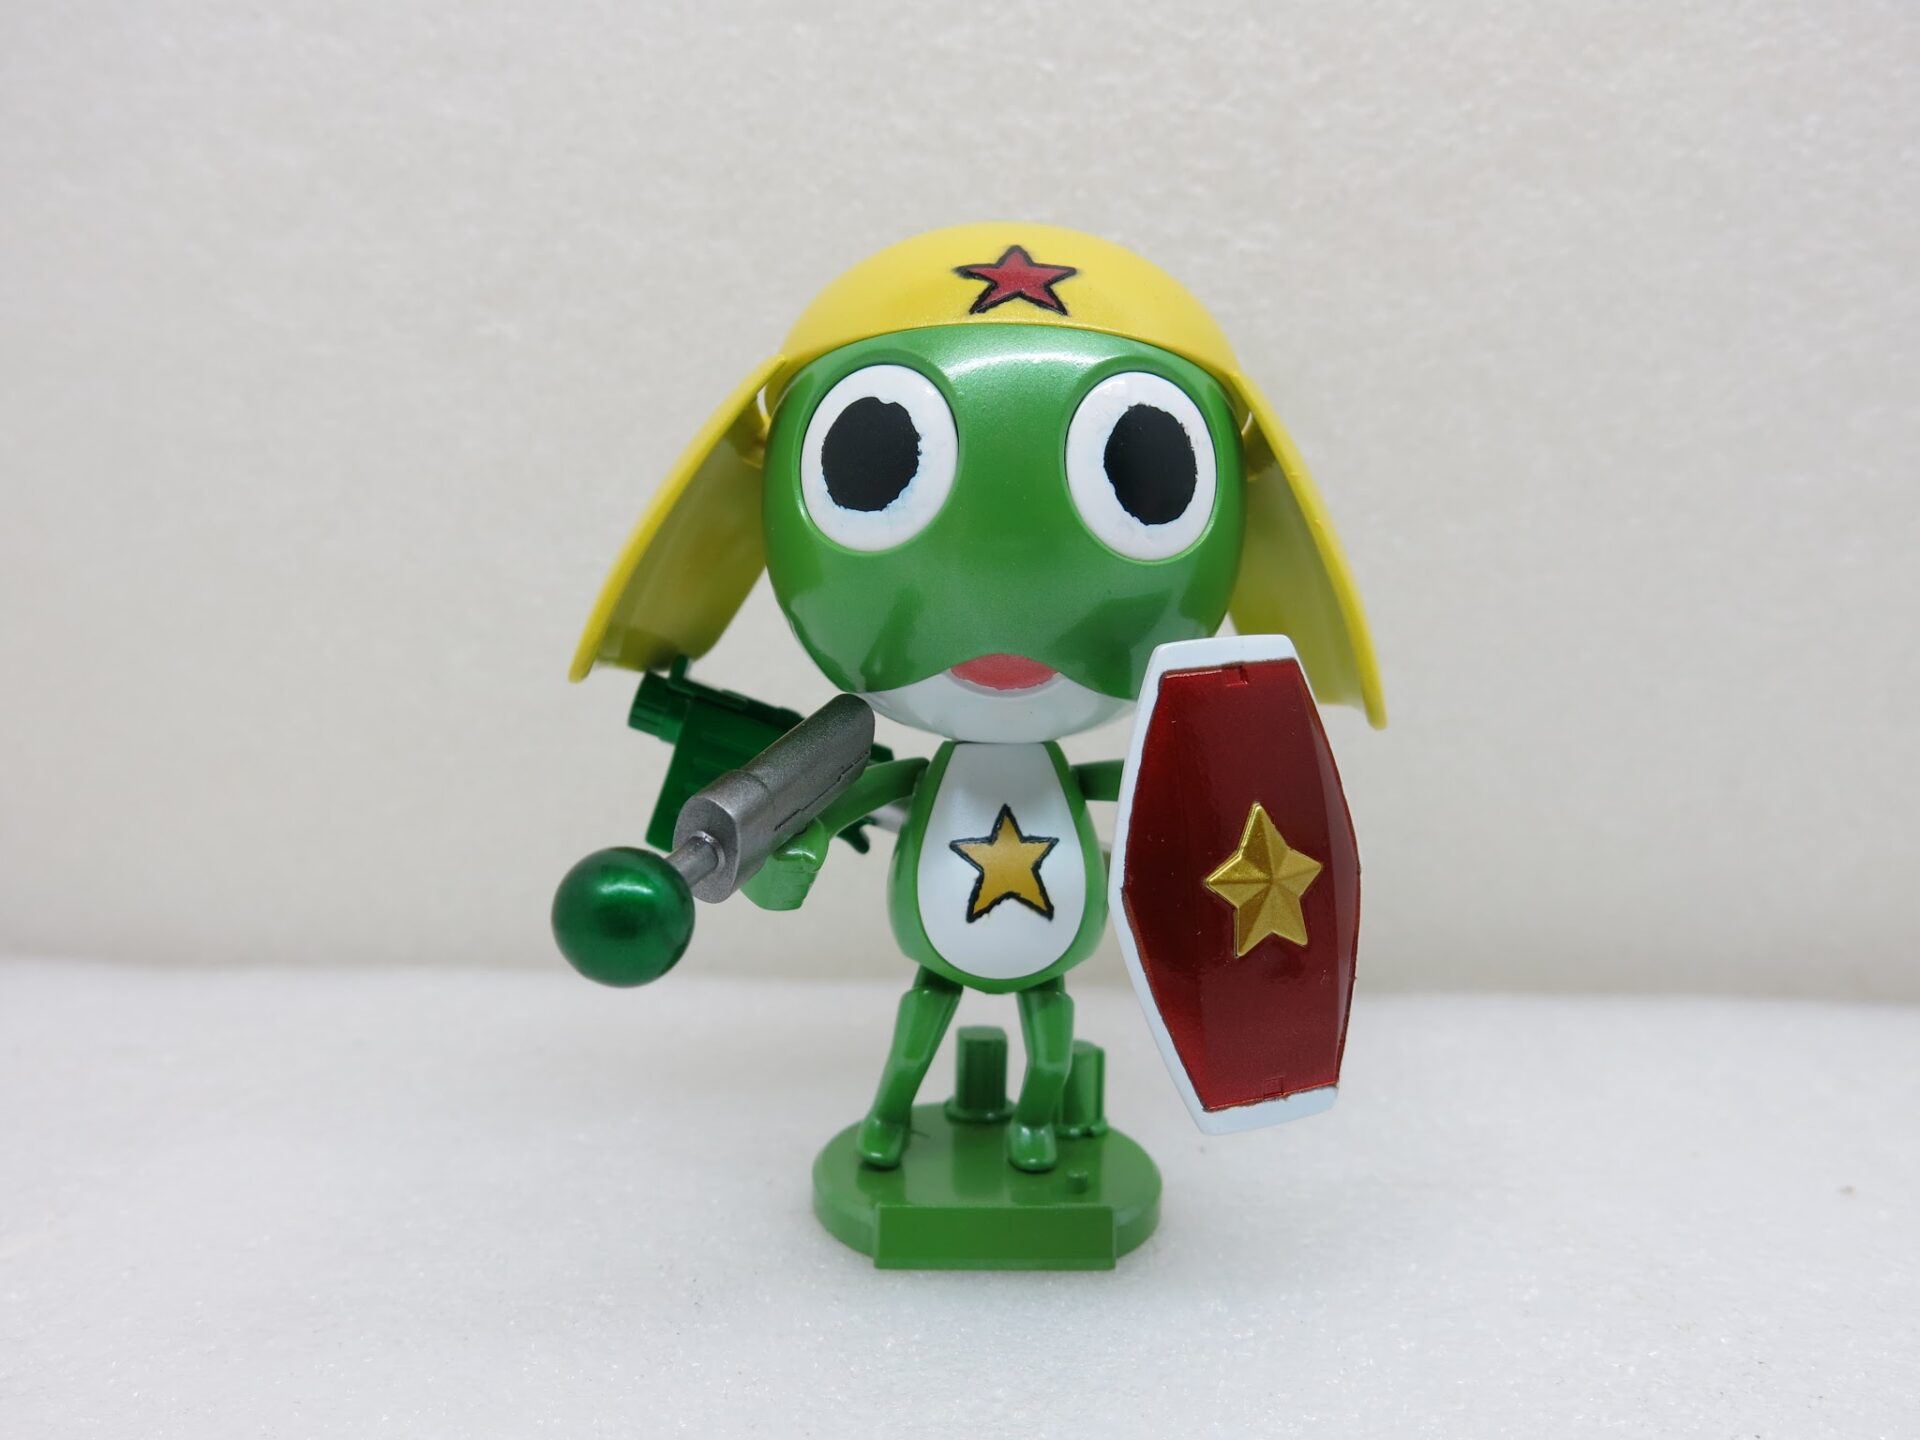
Keroro
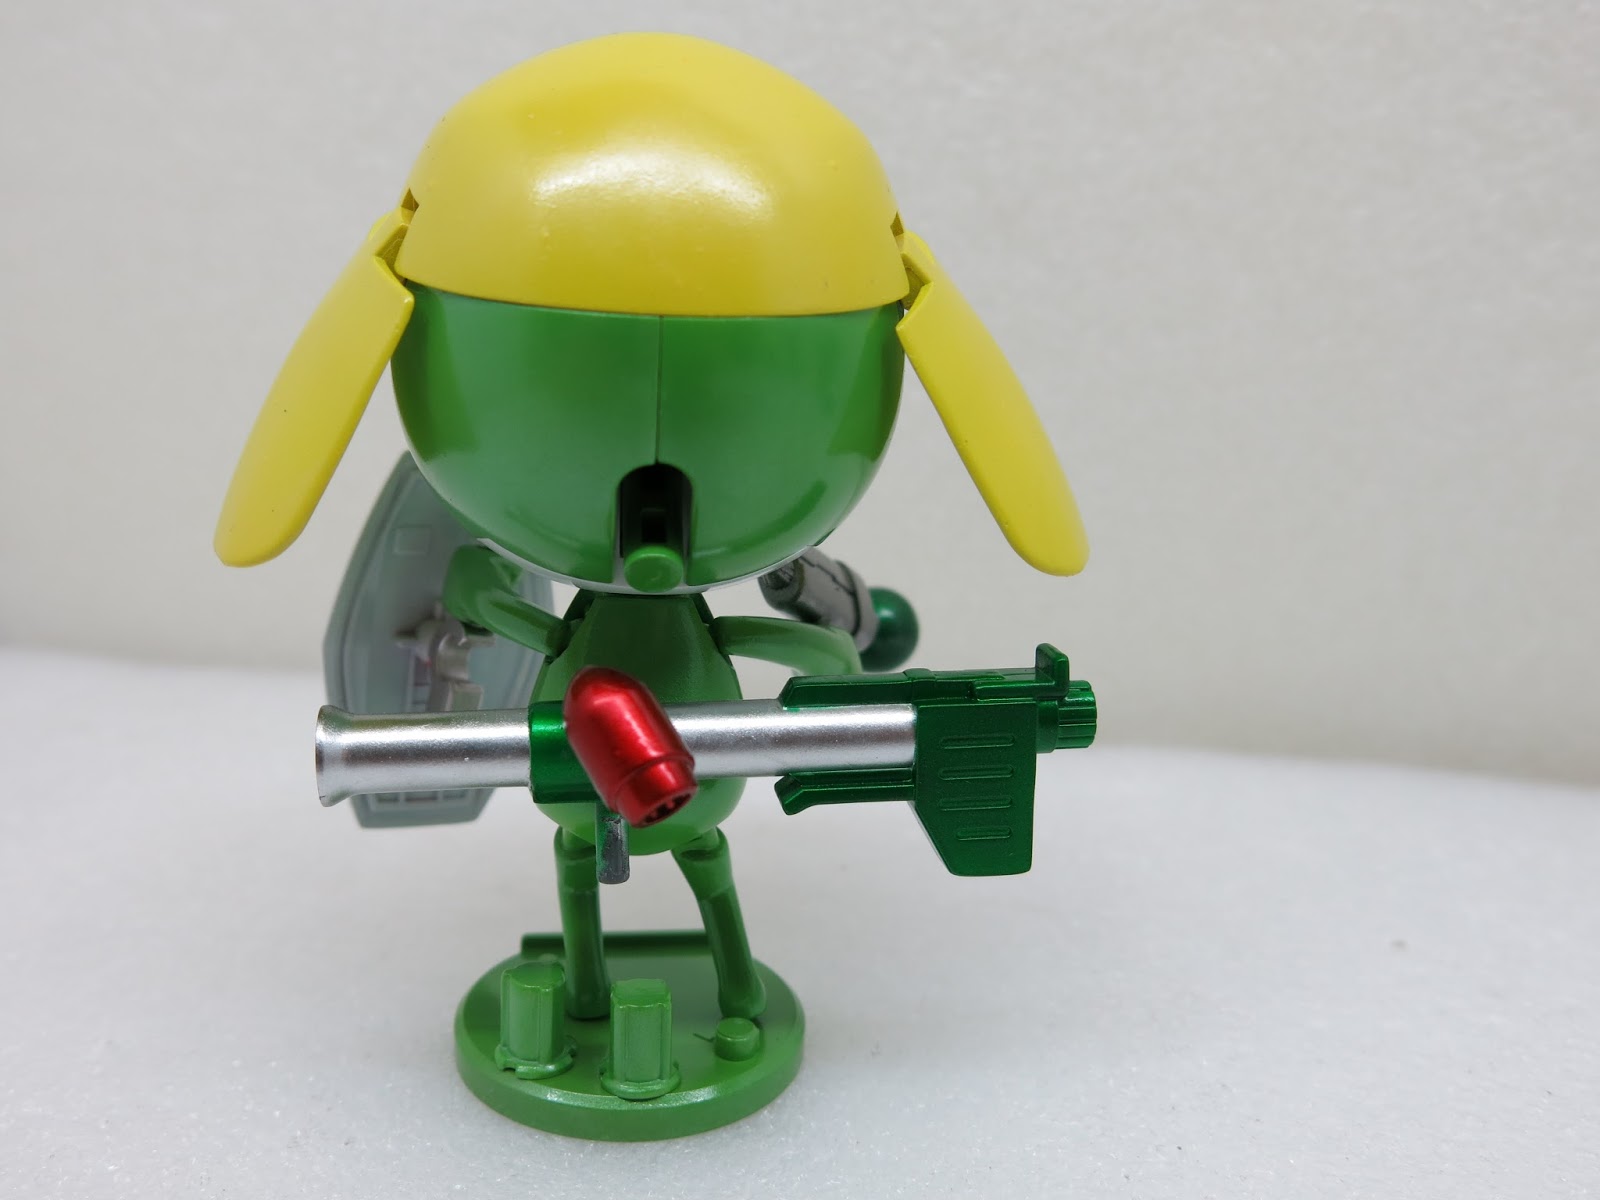
Keroro
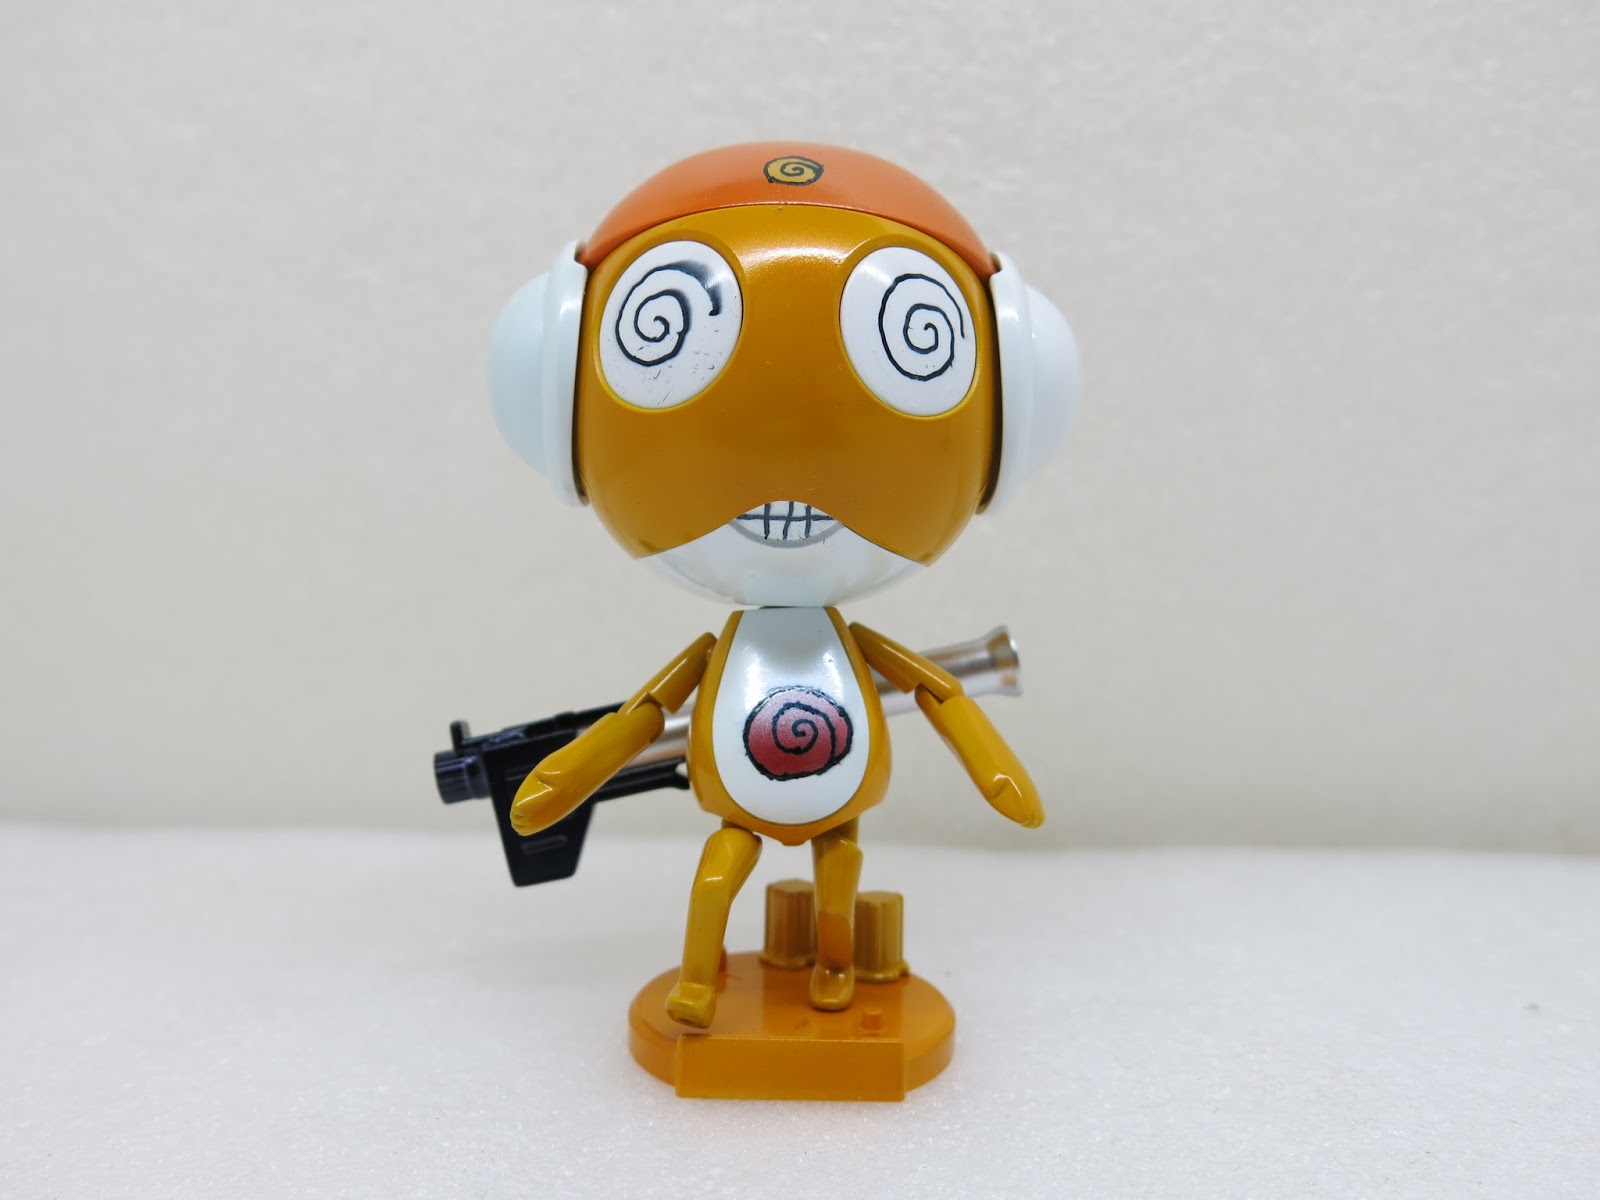
Kururu
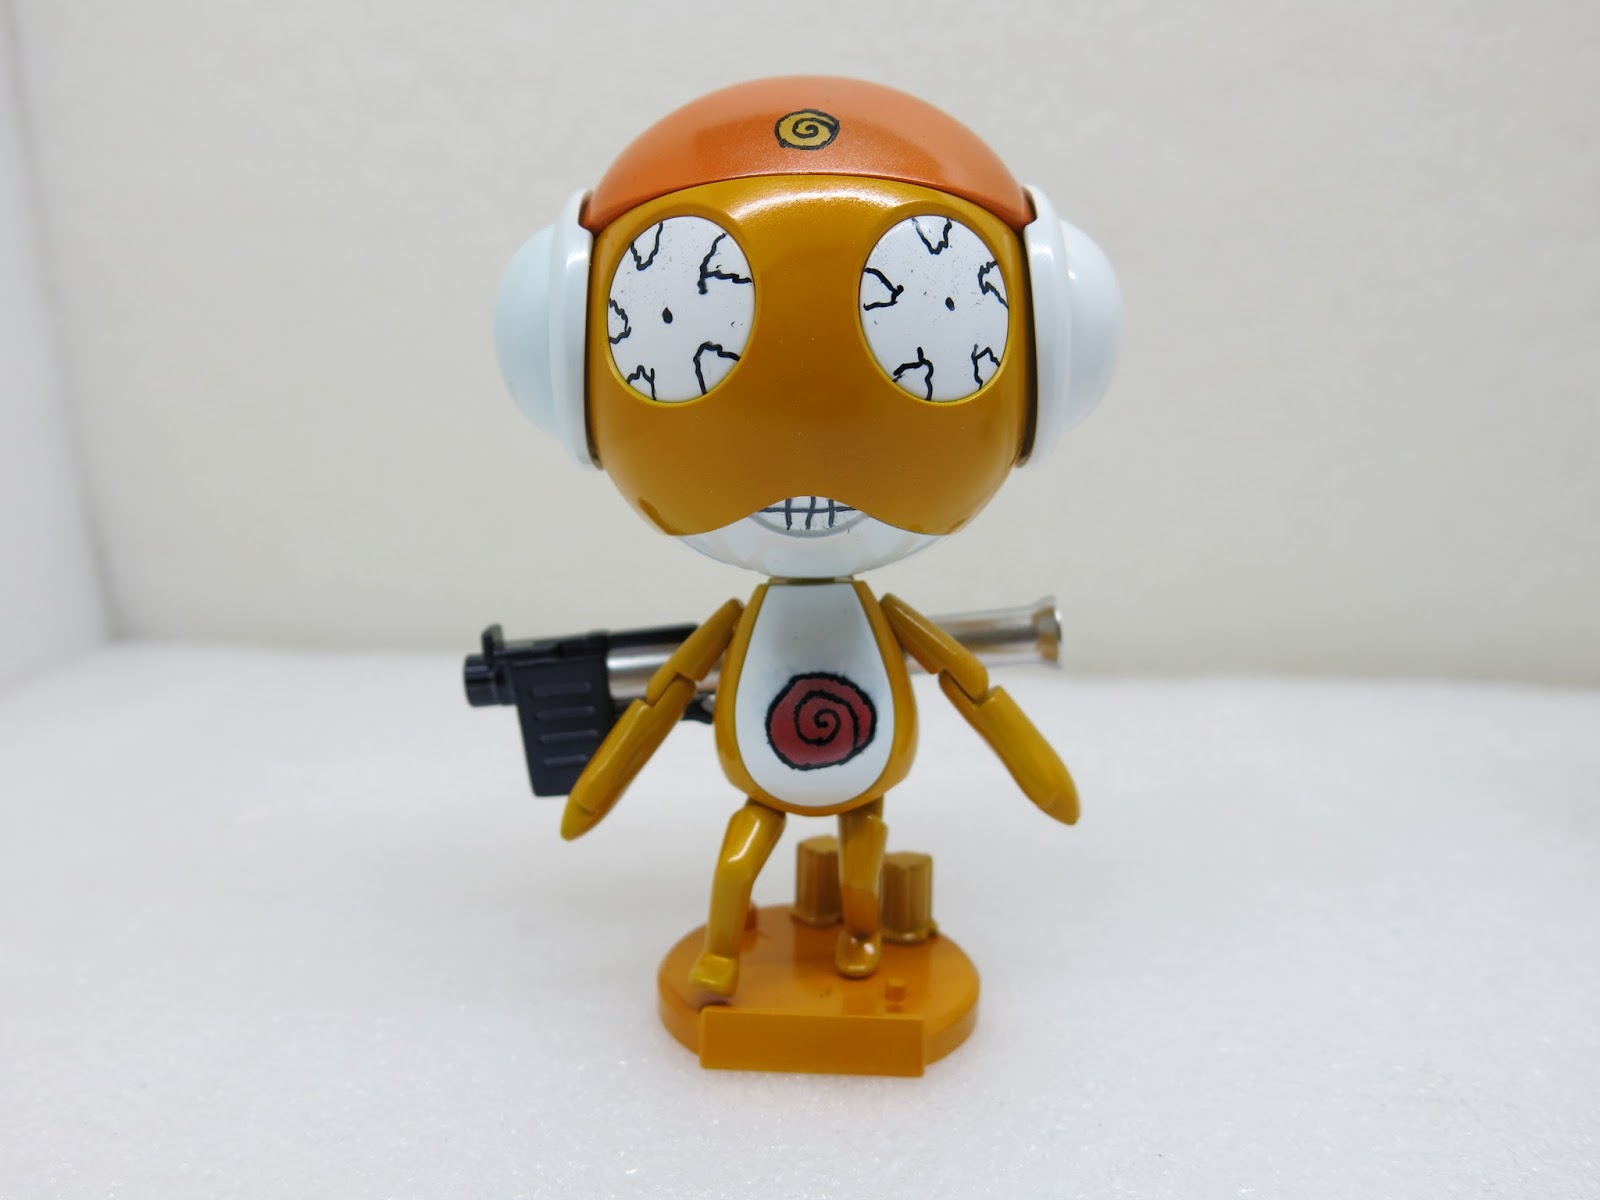
Kururu
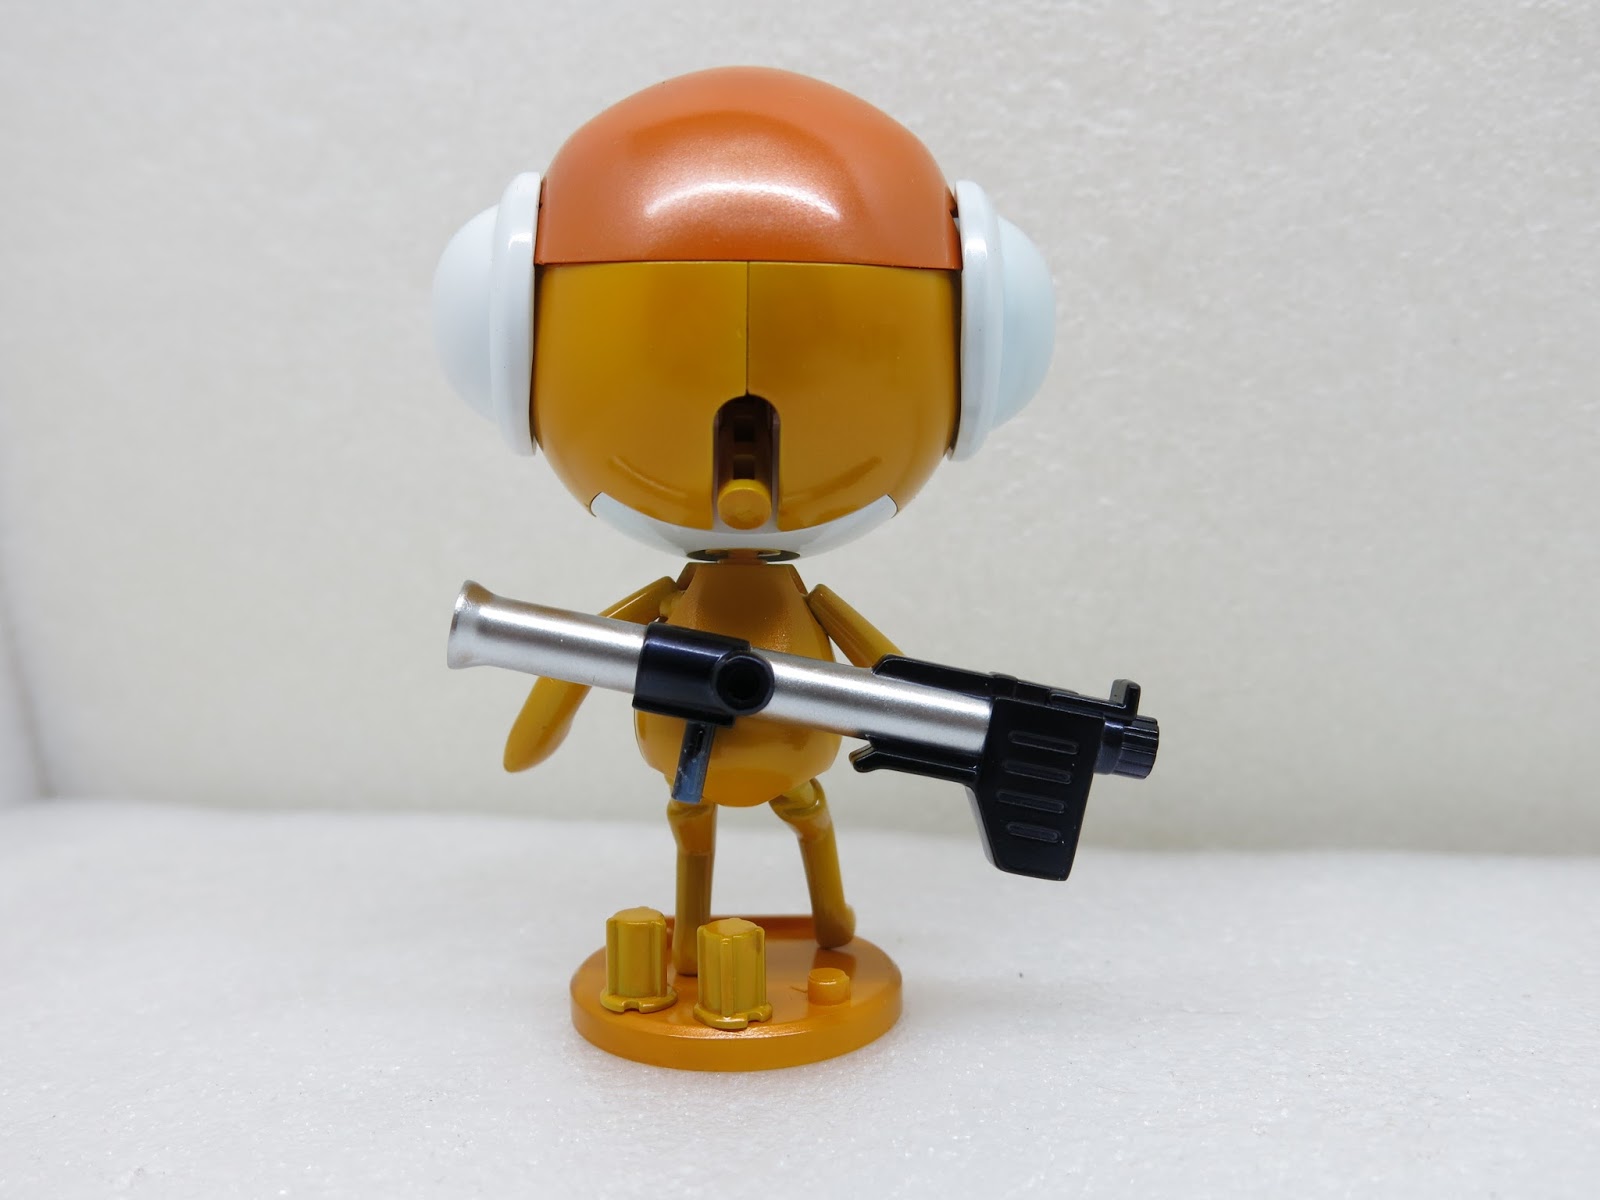
Kururu
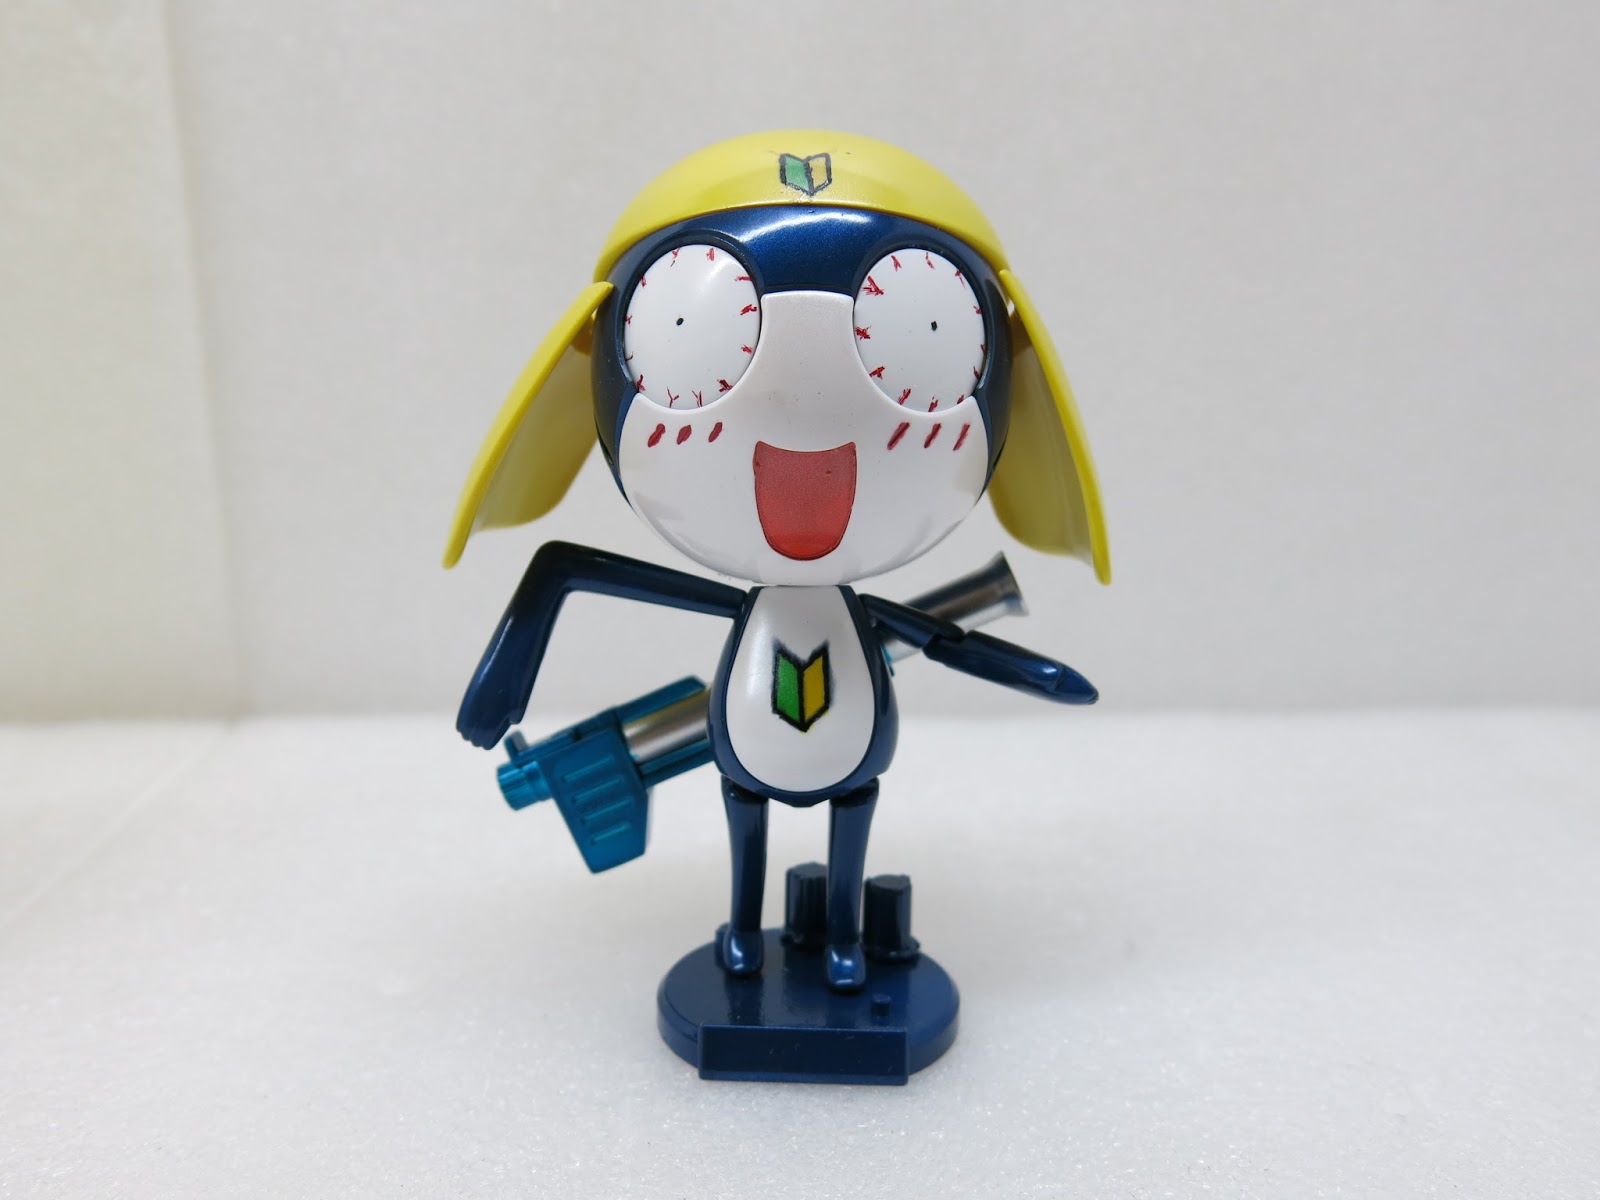
Tamama
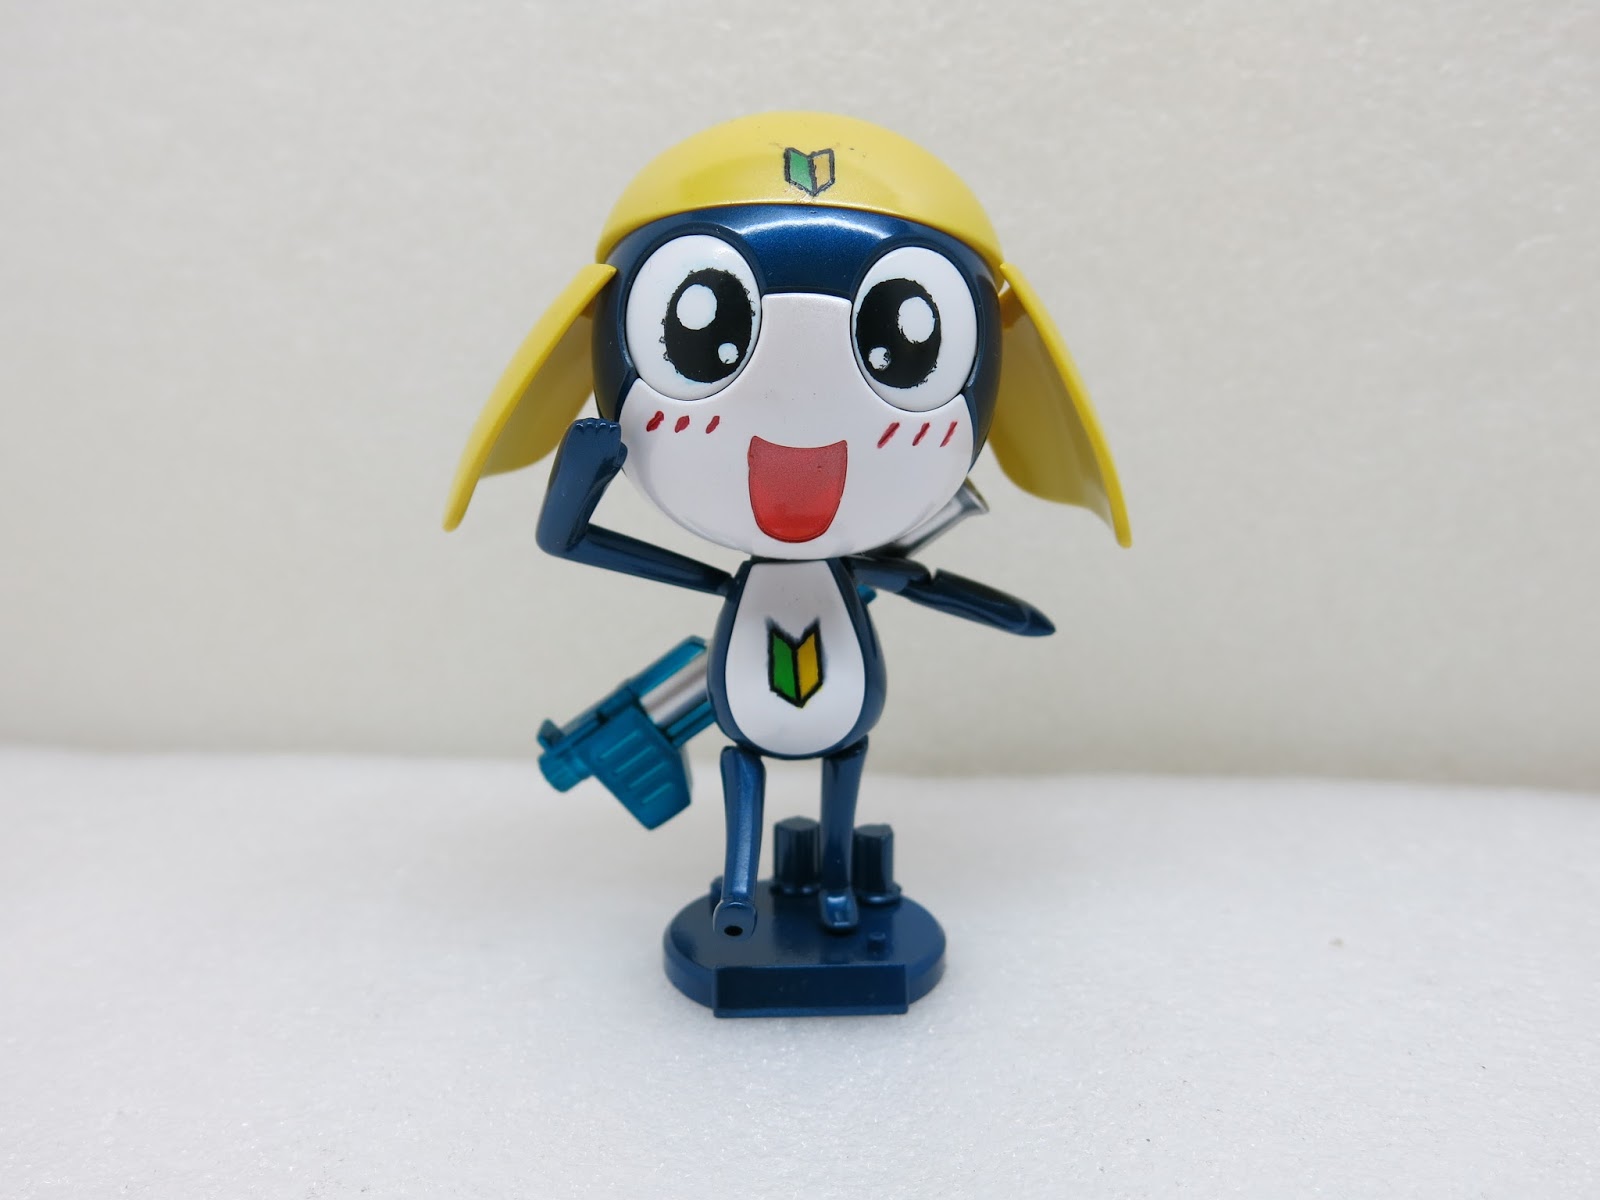
Tamama
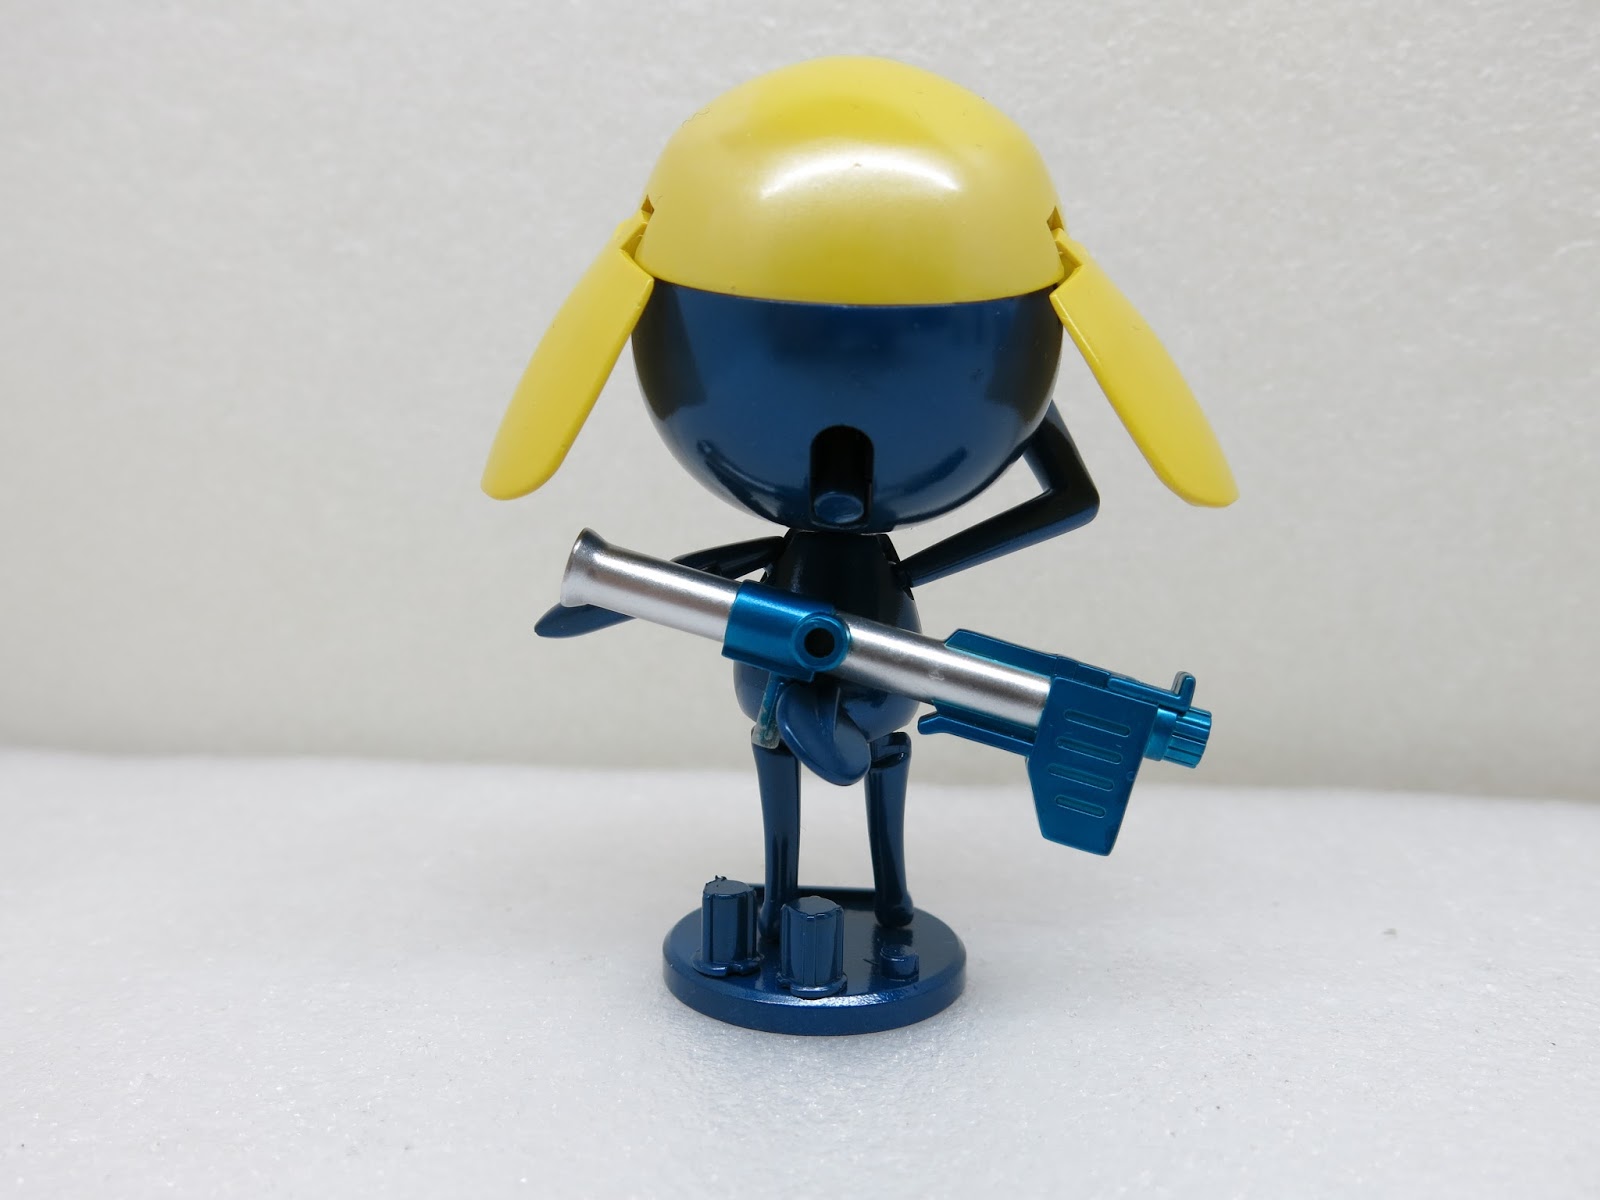
Tamama
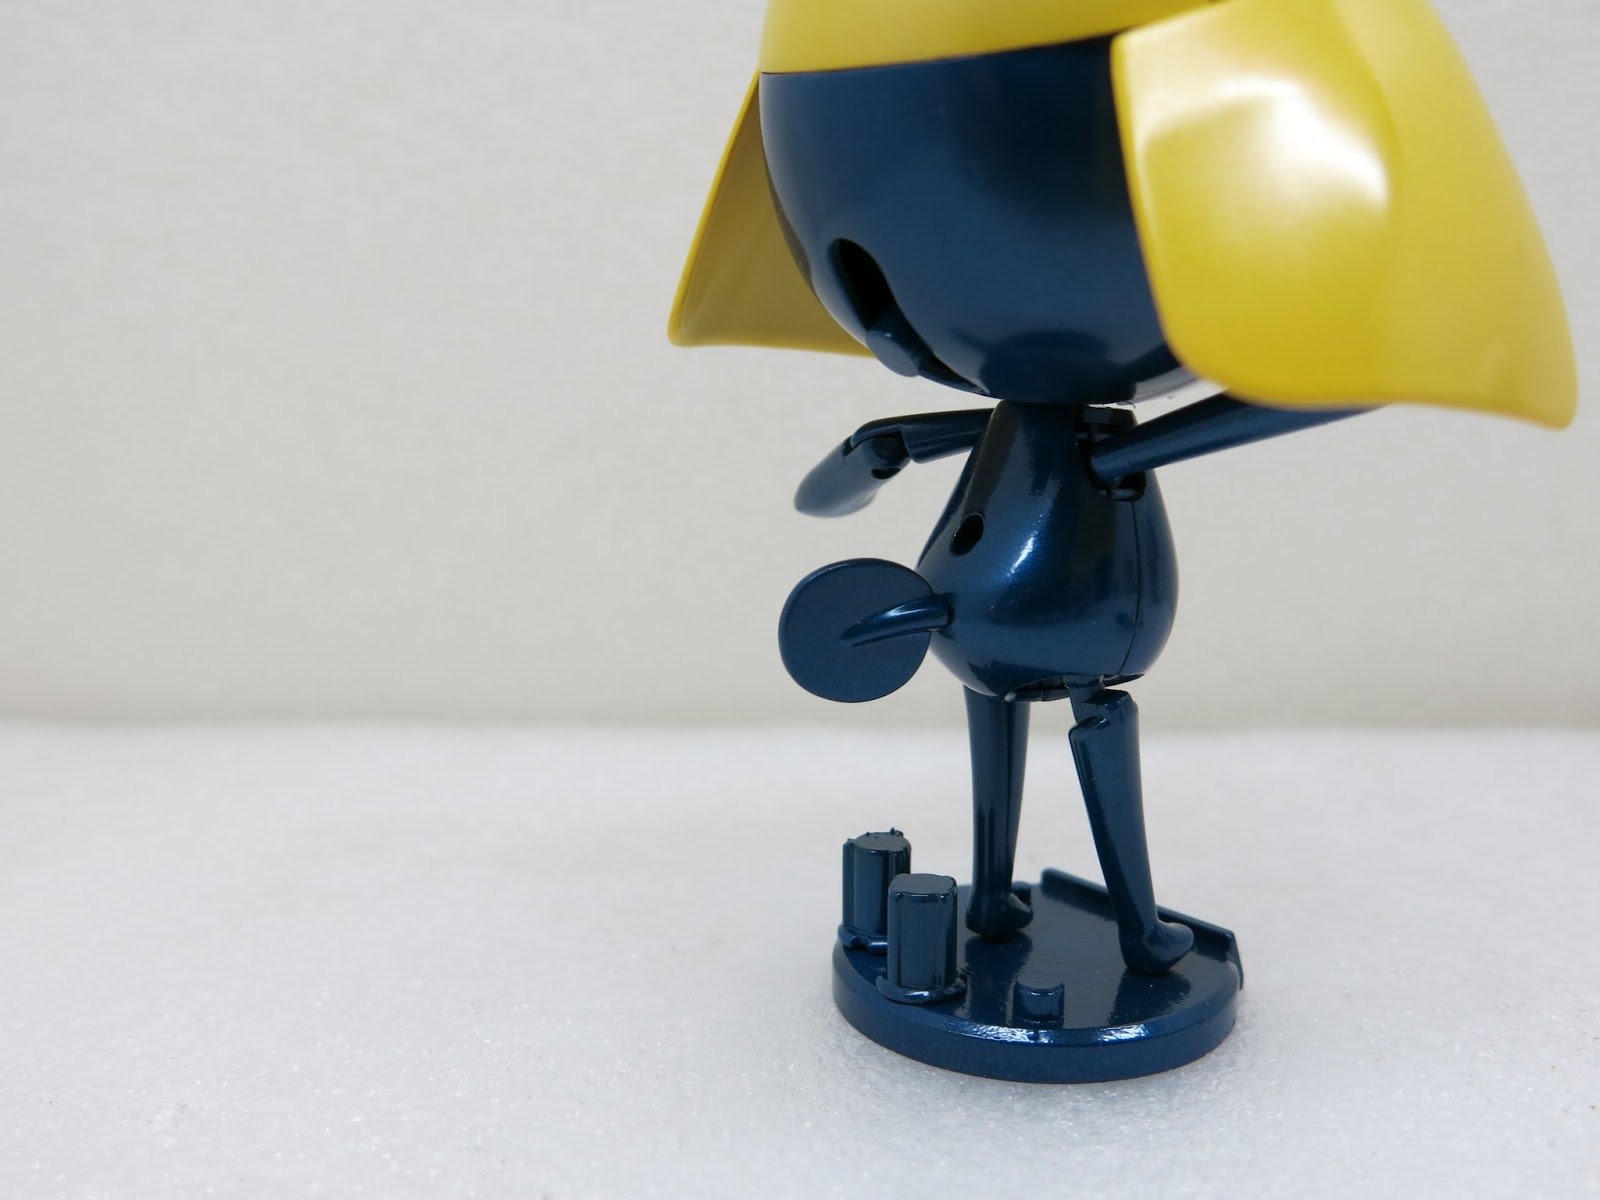
Tamama
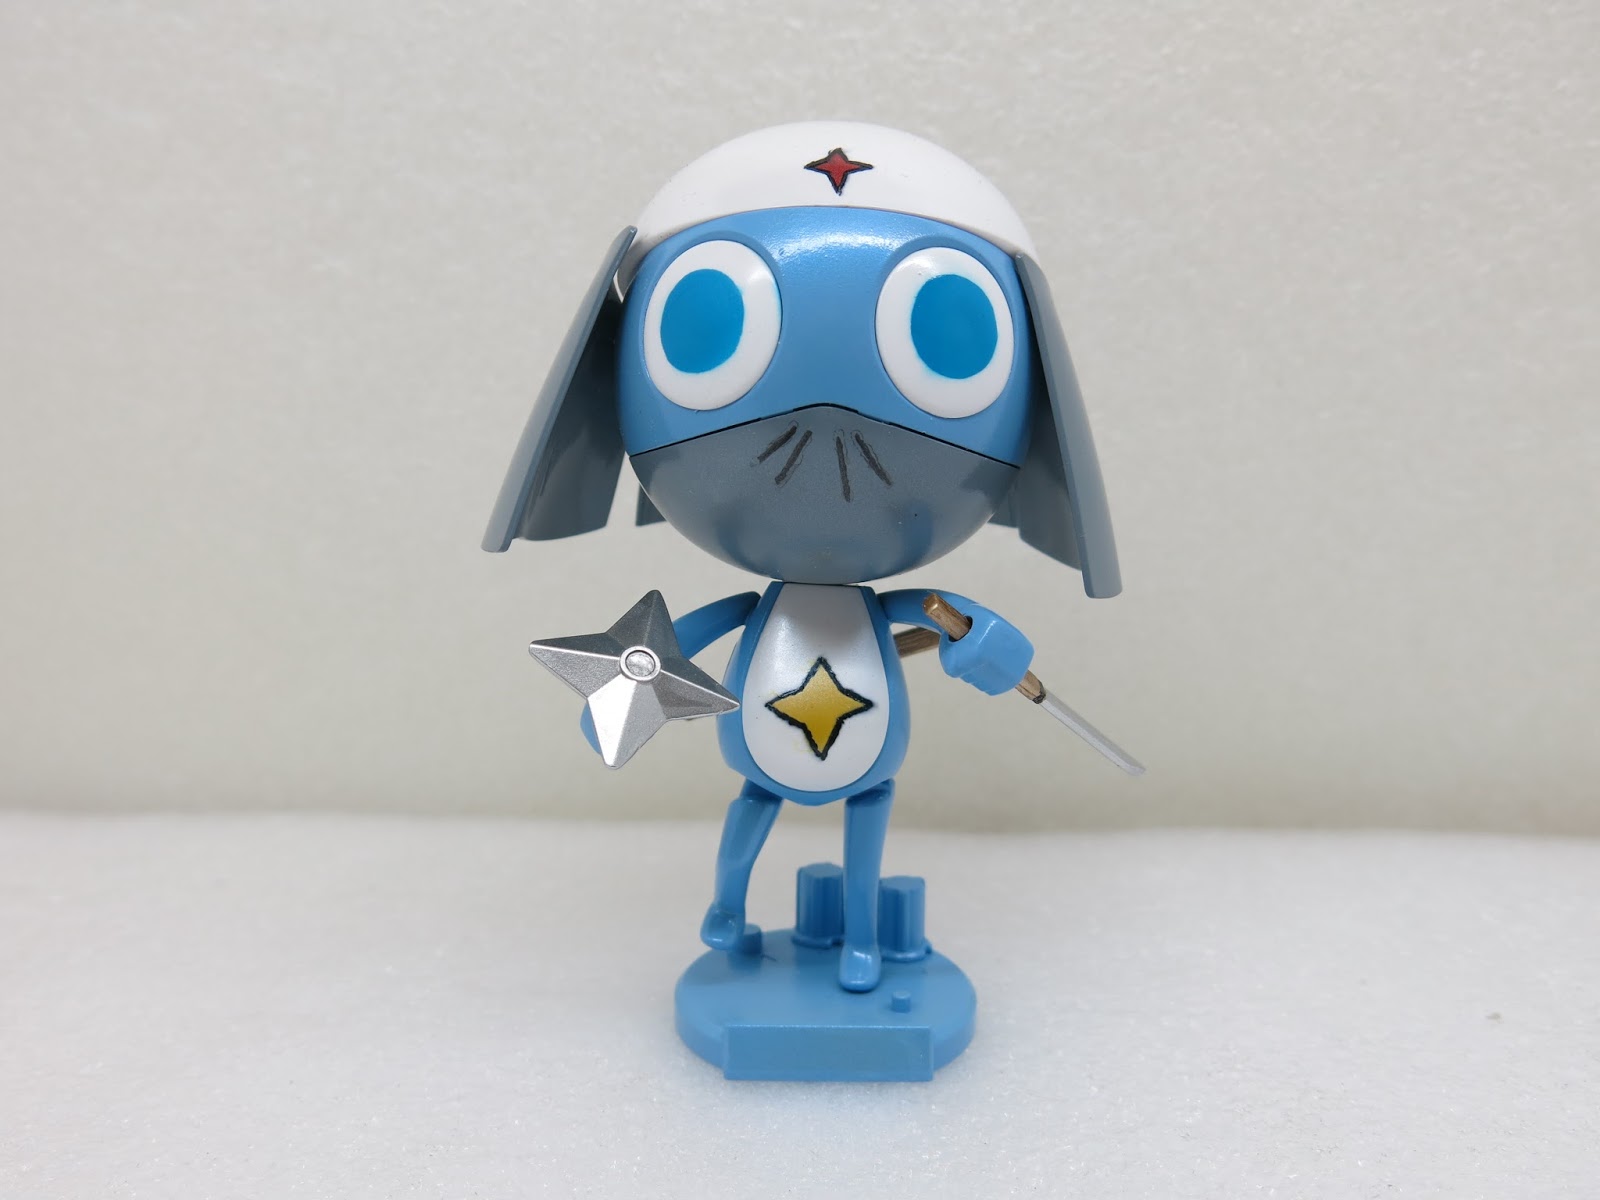
Dororo
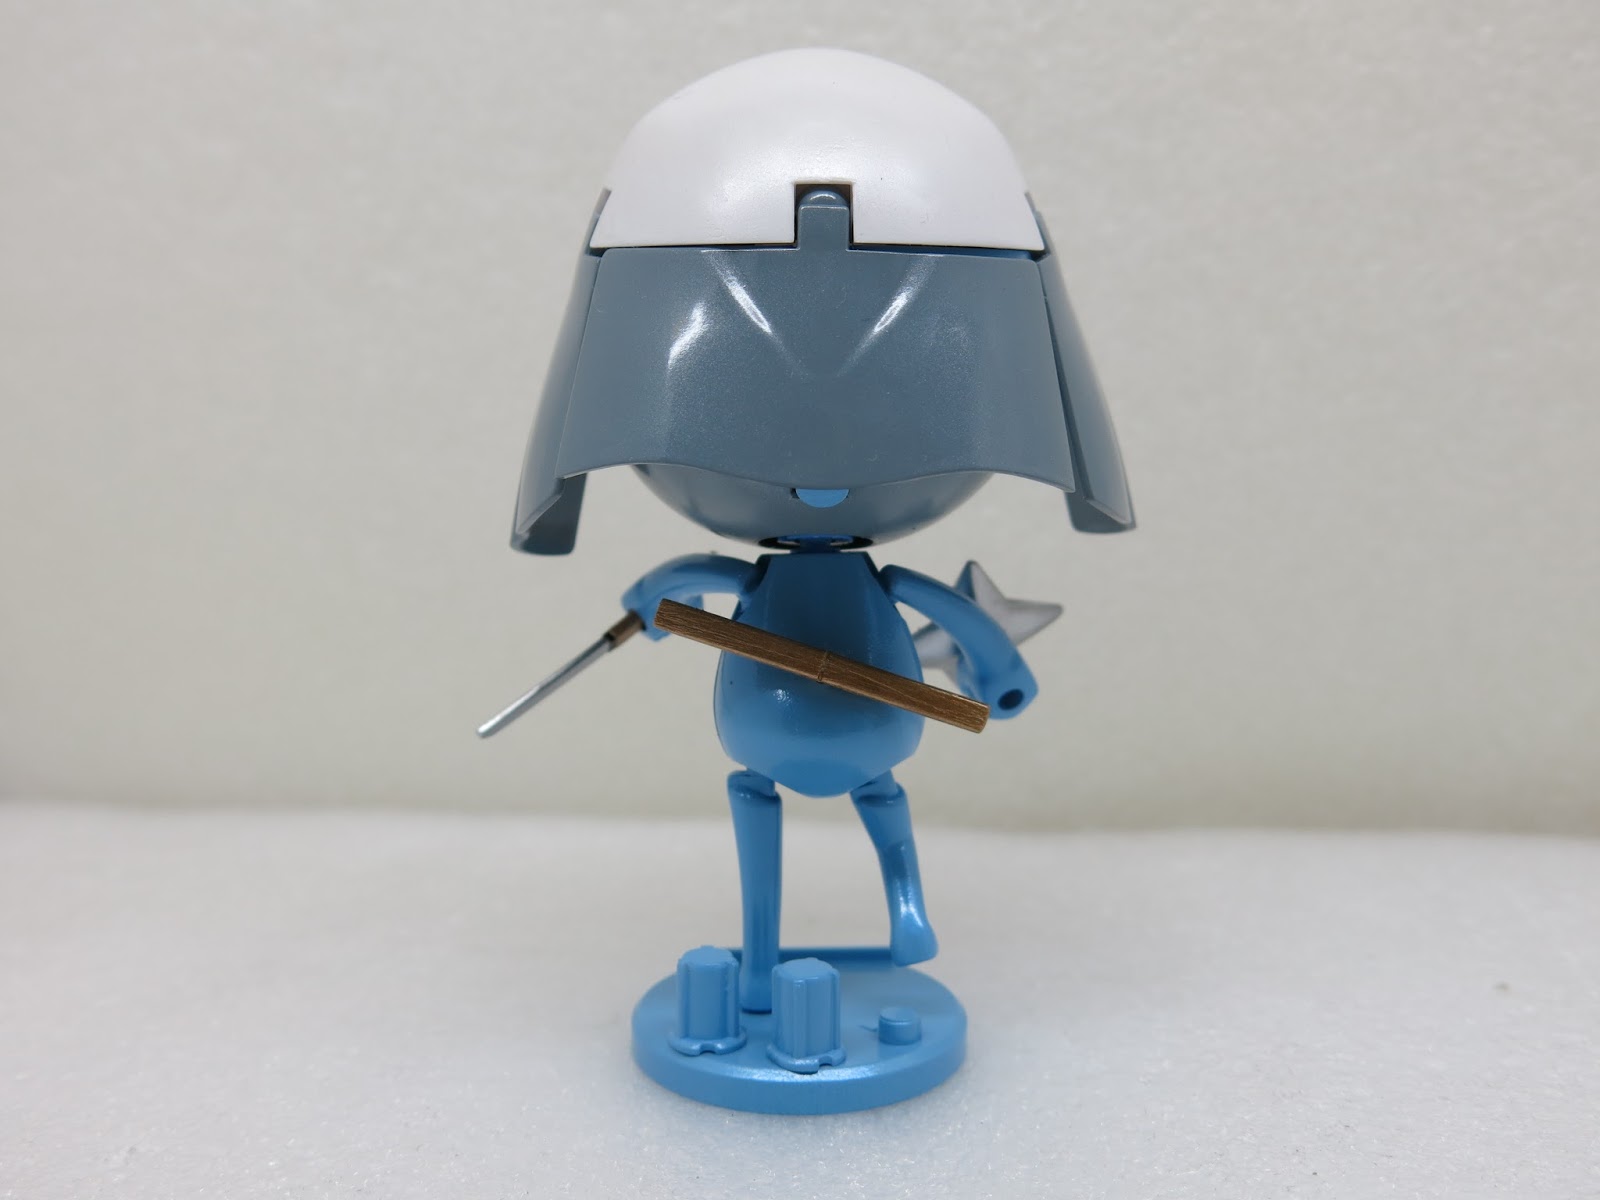
Dororo
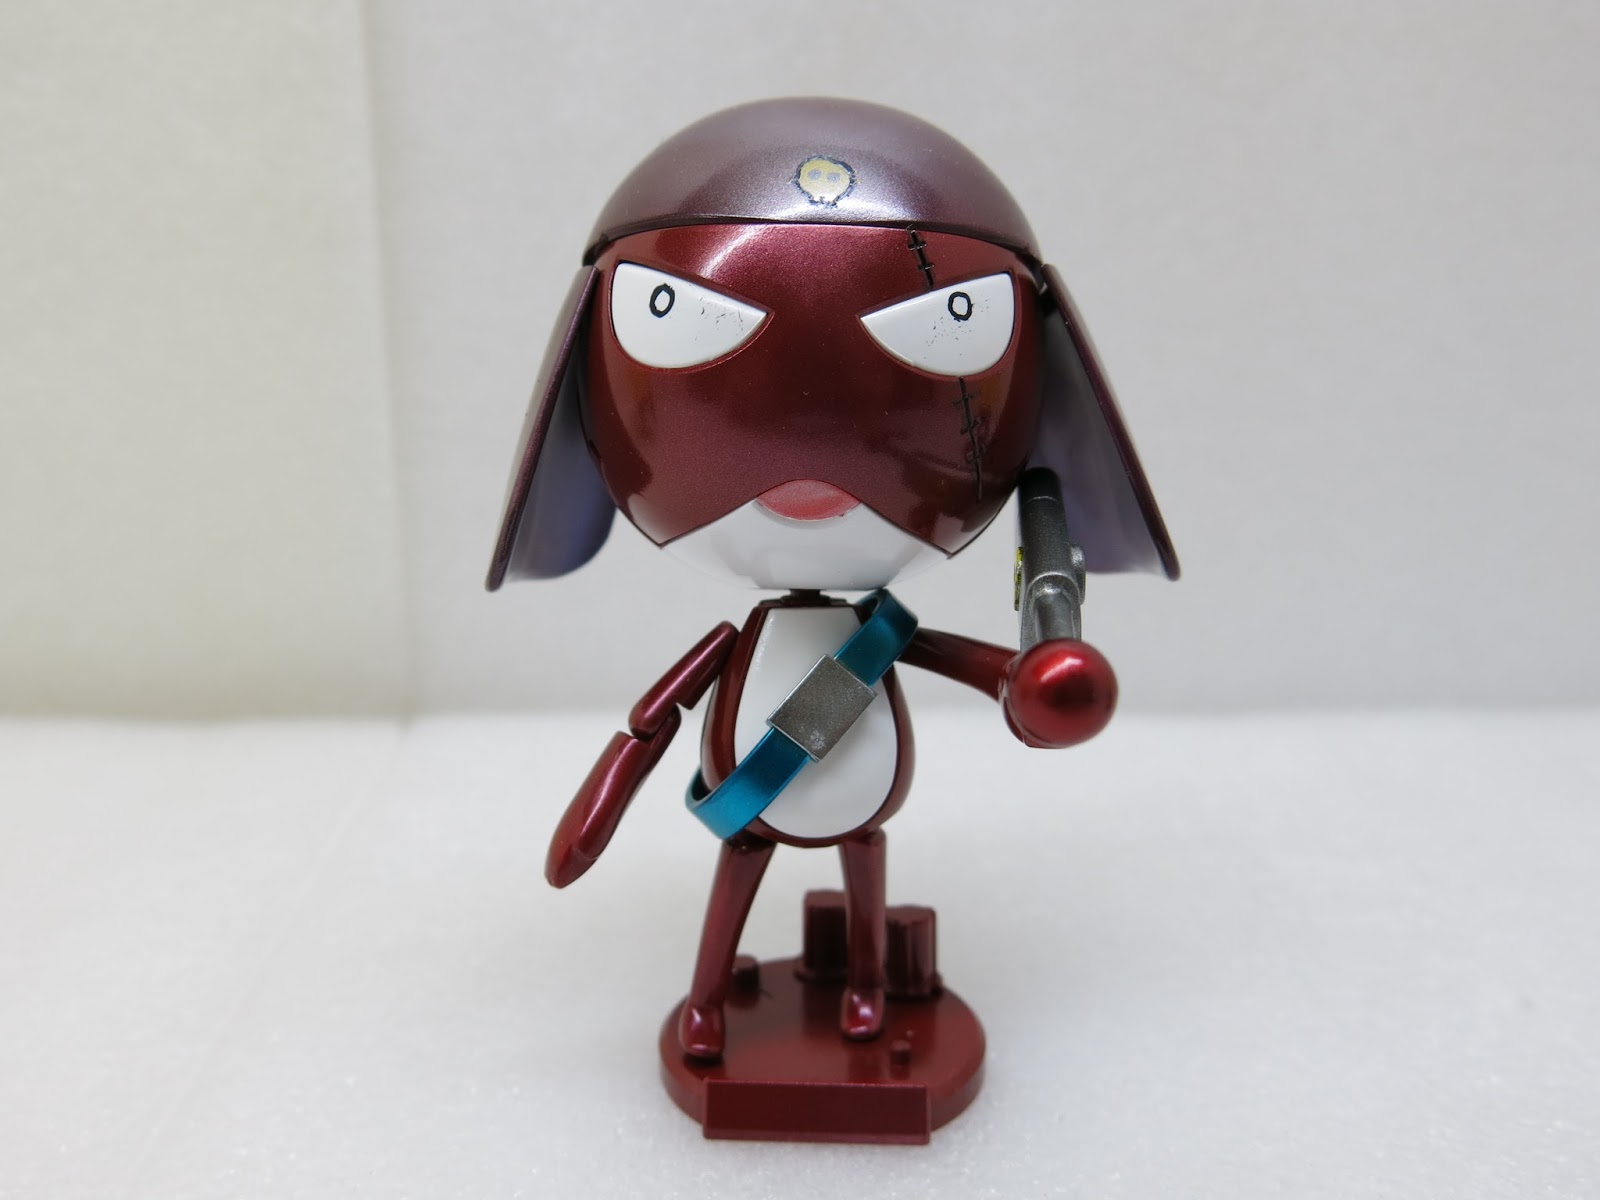
Giroro
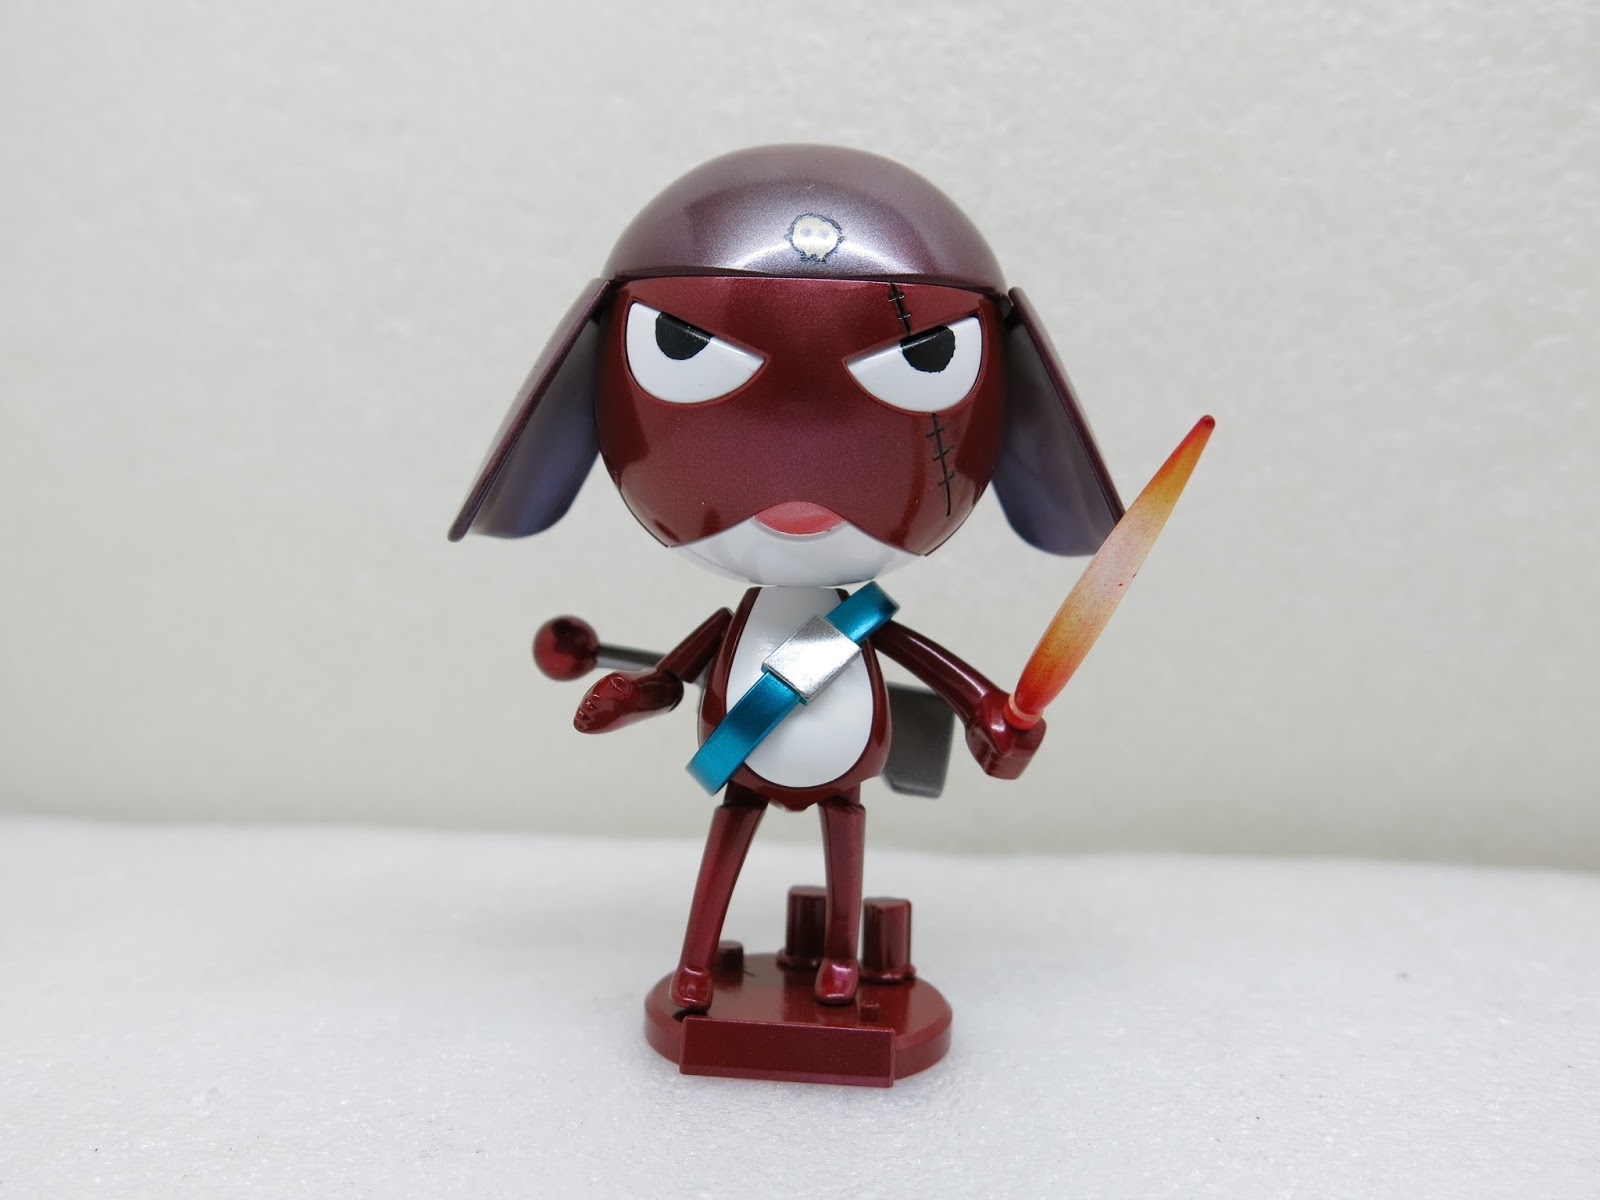
Giroro
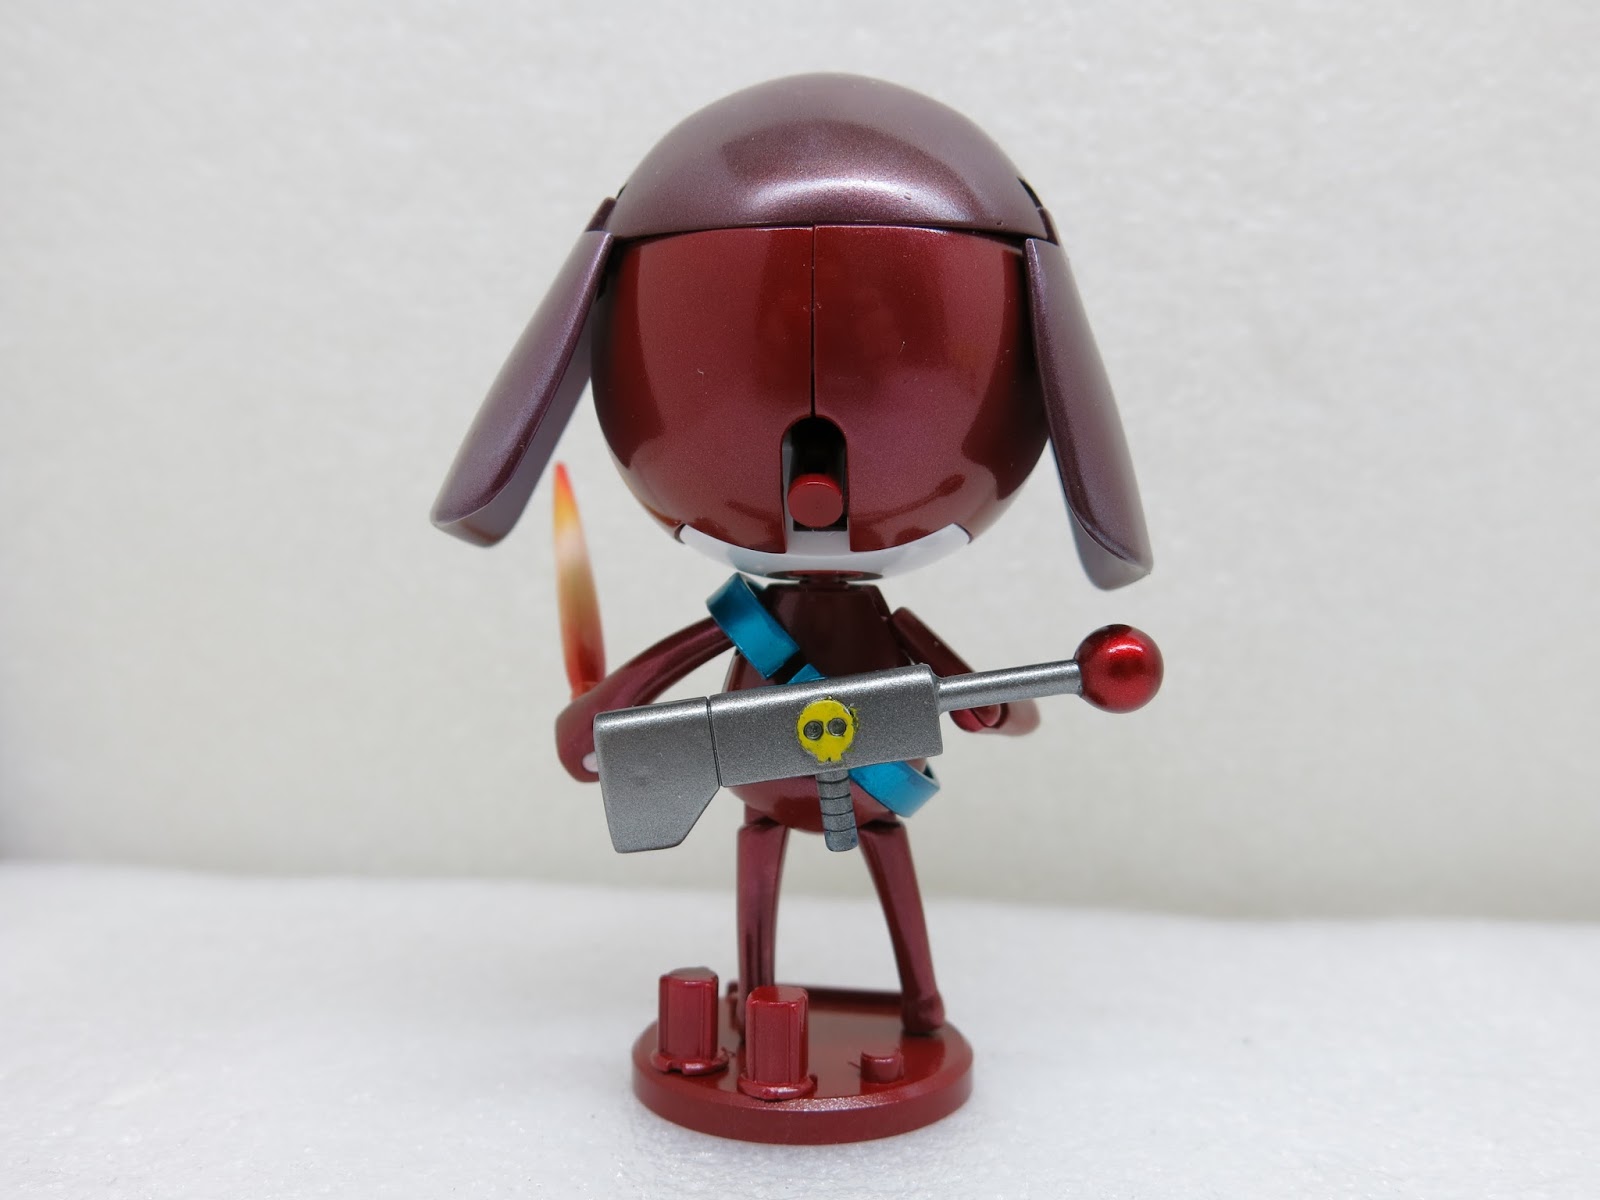
Giroro
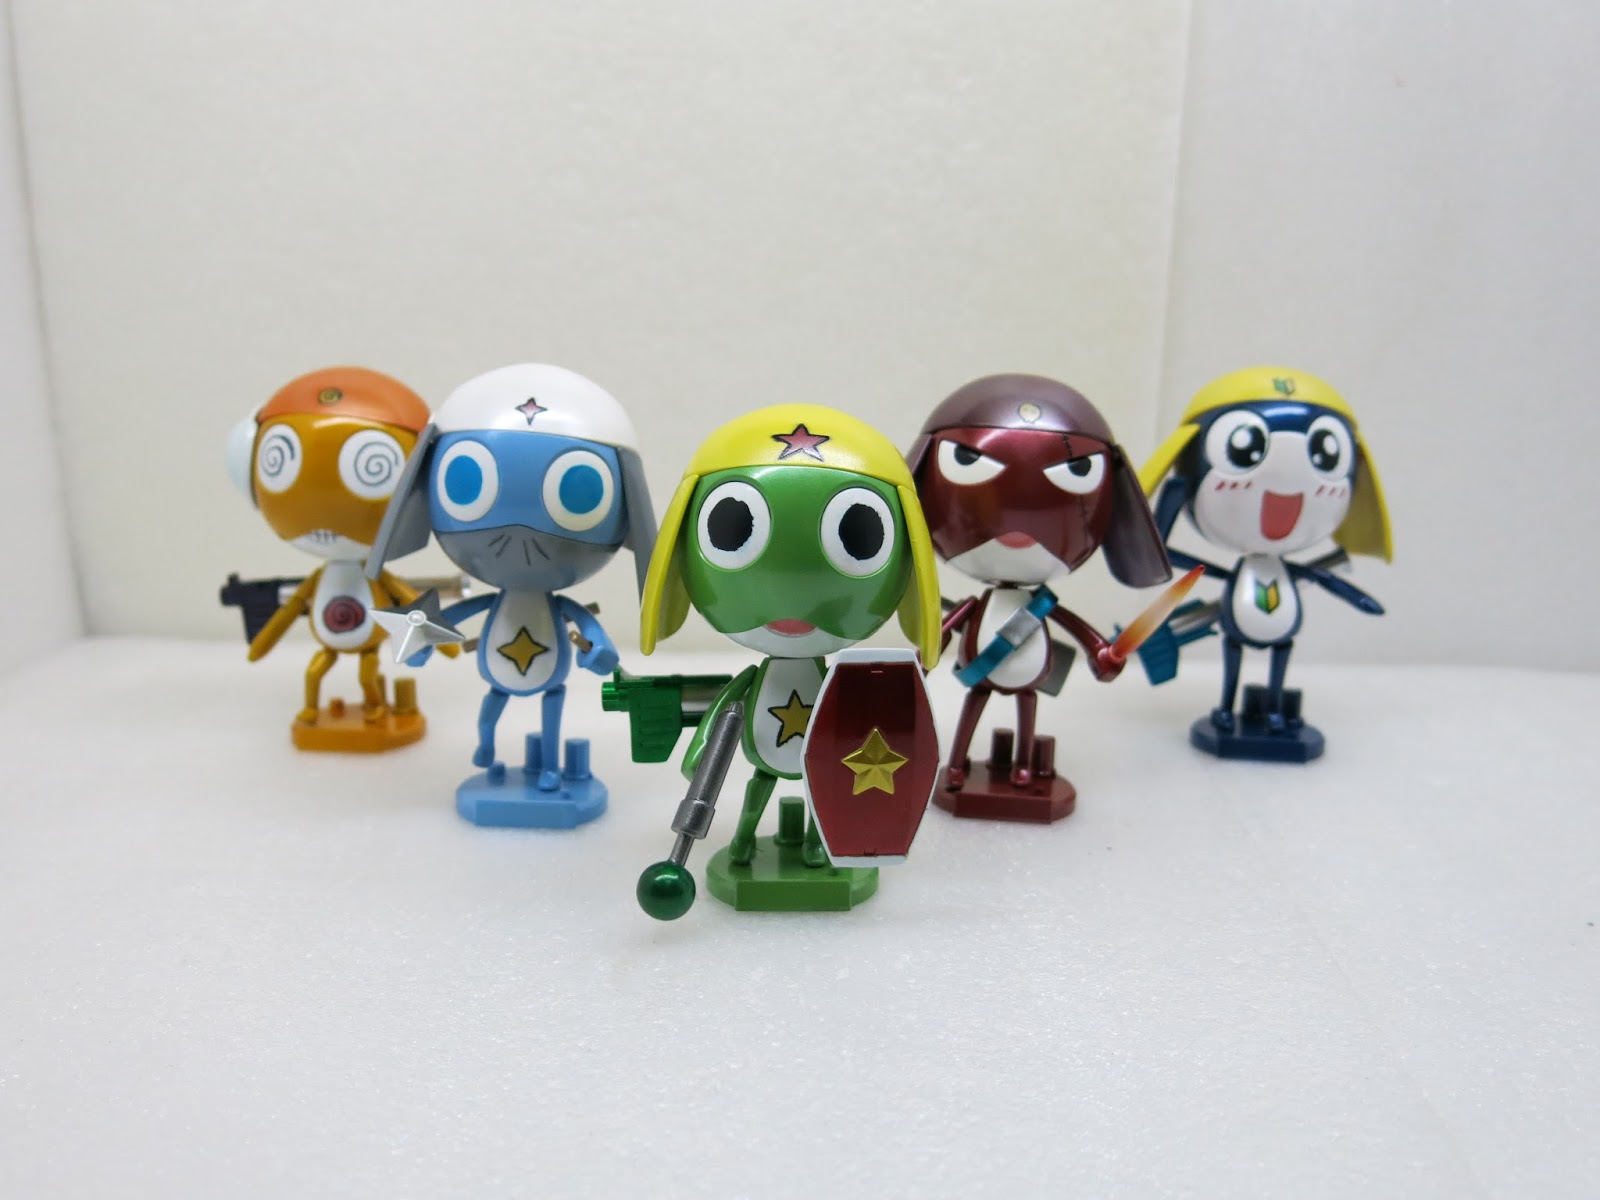
The Keronian Platoon
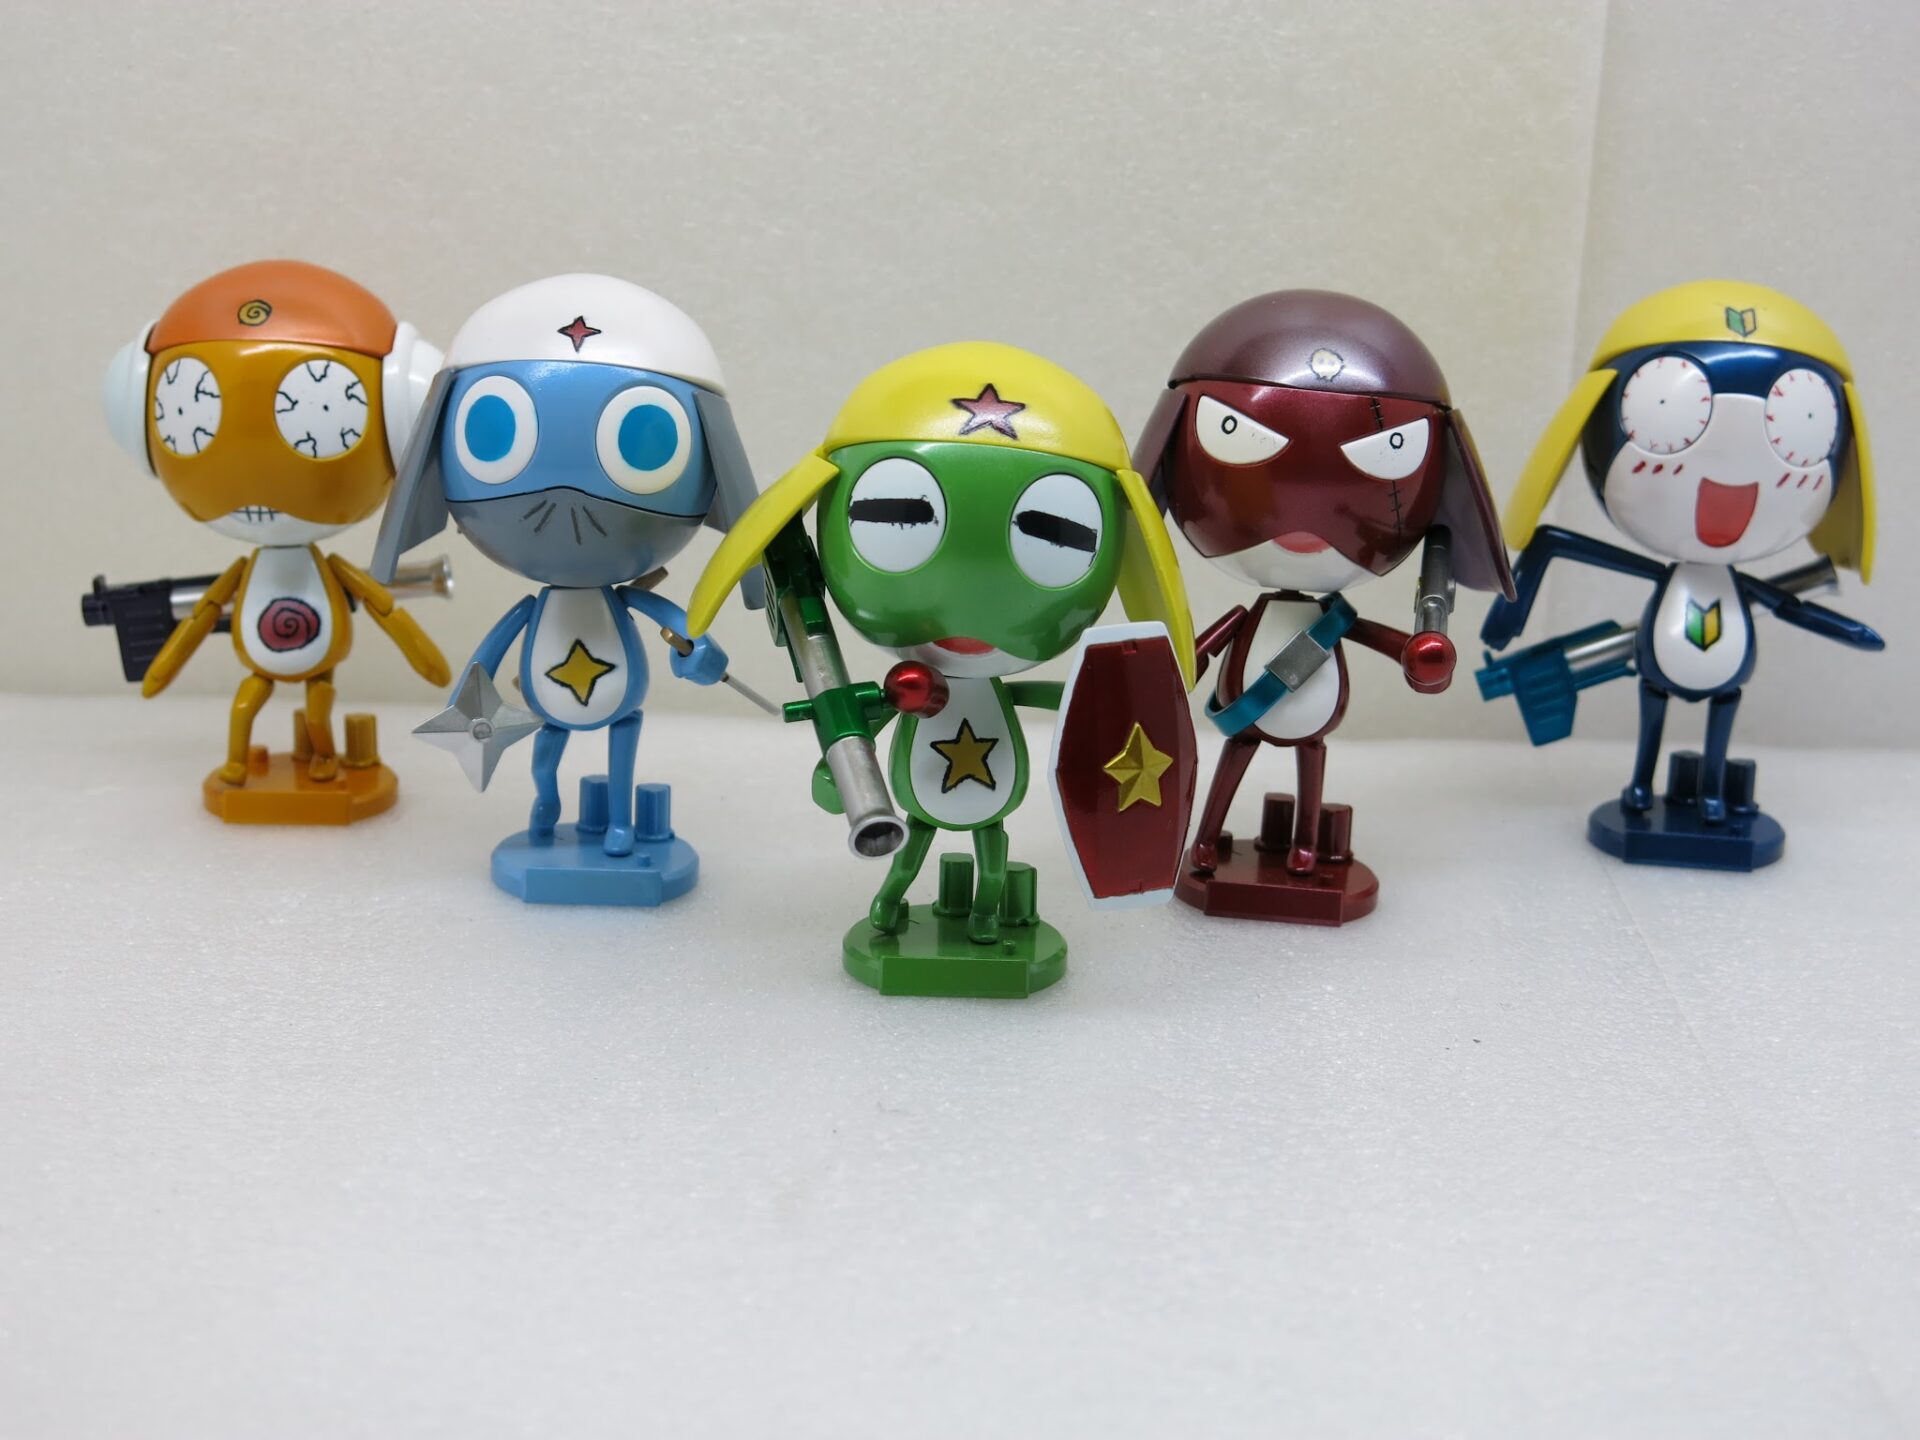
The Keronian Platoon
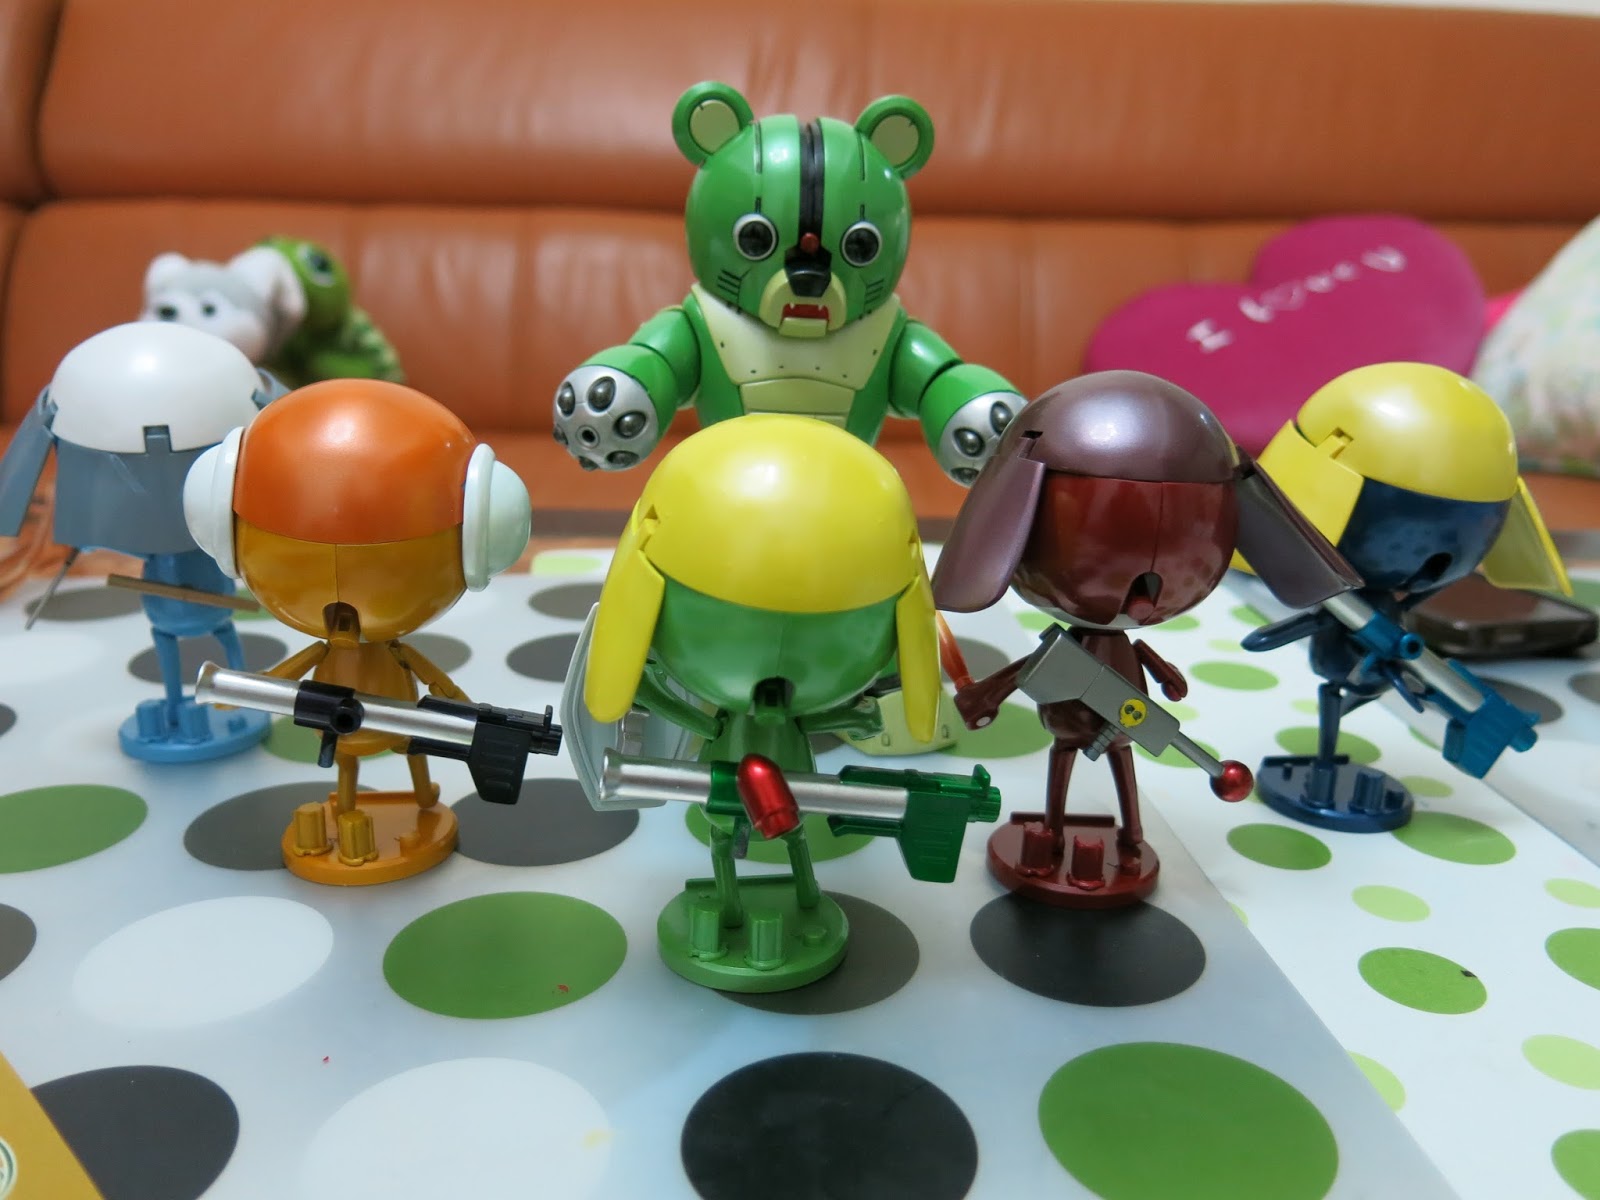
Beargguy calling a meeting (Top Secret!)
While drawing the eyes for Keroro this time, I realized my panel-lining marker had dried out from being unused for too long. So Joseph used a permanent marker instead.
However, after spraying the clear topcoat, the marker ink actually bled and smeared!!!
Since I had to start building the Lightning Saix, I had to let it slide for now. I’ll repaint the eyes after the Lightning Saix is finished.
Support Independent Perspectives & In-Depth Insights
Every thoughtful analysis and candid critique comes from our dedication to truth and quality. We choose not to follow sensational algorithms or clickbait headlines.
Sustaining independent research requires reader support. Make a one-time or monthly contribution, securely processed by Google.
Payments secured by Google · Manage or cancel anytime in your Google Account

Comments