
All told, this Dygenguar kit had been sitting in my closet for an entire year. Around the middle of last year, for some inexplicable reason, I suddenly became obsessed with the Super Robot Wars model series, so I bought Dygenguar, Soulgain, and the Weissritter variant all at once.
I originally wanted to get the Grungust Type-3 as well, but unfortunately its price had soared to 3,500 NTD, so I had to let it pass.
Then work got crazy busy, and all three boxes remained frozen at the bottom of the closet for nearly a year. It wasn’t until early last month that I finally had some free time, so I picked “Dygenguar” to kill time.
Dygenguar (Daizengar / Super Military God / ダイゼンガー), also known as “Bushin Soukou” (Martial God Armament), is the first unit of the Dynamic General Guardian (DGG) series.
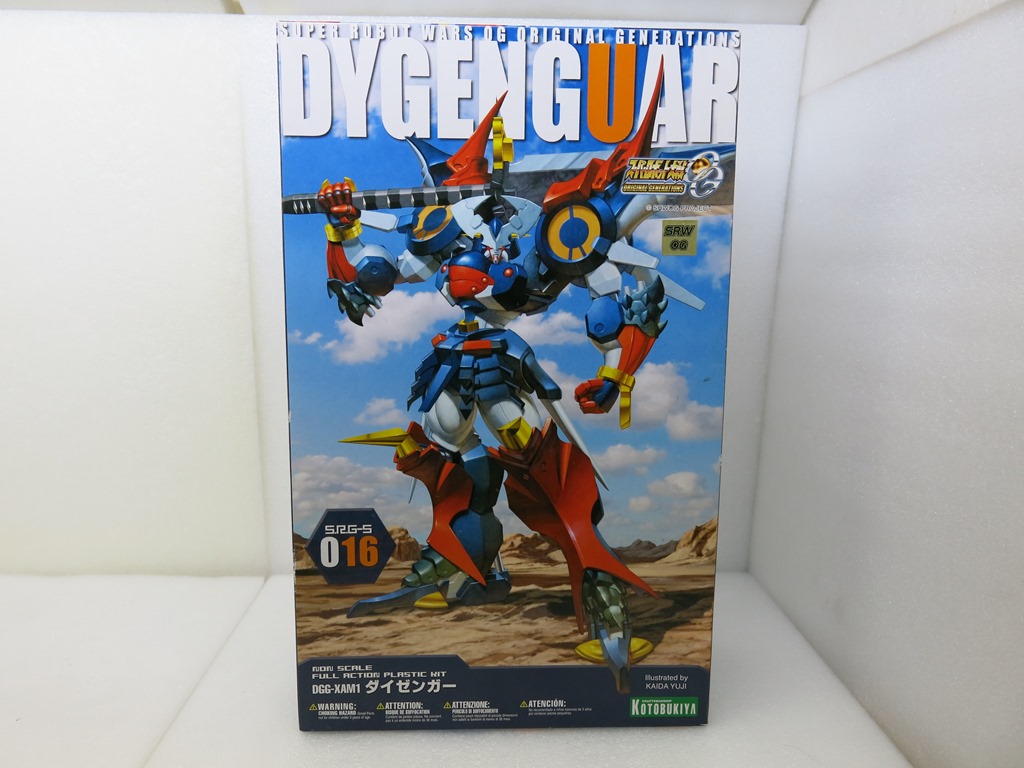
Dygenguar (Daizengar / Super Military God / ダイゼンガー)
I initially planned to just give it a repaint. However, after snap-fitting the parts together, I discovered not only was the articulation quite poor, but many parts also suffered from severe sink marks. Right then and there, I decided to do a full overhaul and extensive modifications.
That single decision turned what was supposed to be a one-week build into three grueling weeks of work.
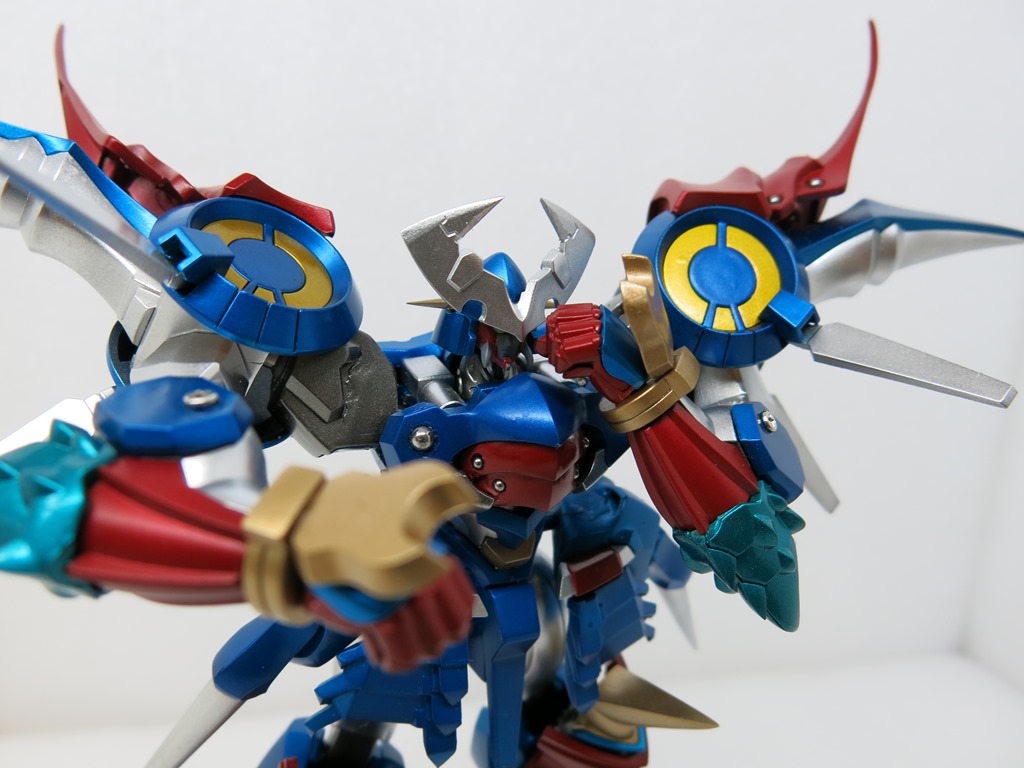
The handsome Dygenguar
Custom Modifications
- Embedded aftermarket joint parts into the shoulders and front skirt armor to boost articulation.
- Embedded steel detail balls across the entire body and added metal hex screws to the forearm armor.
- Sharpened the armor edges and antennae.
- Full body seam line removal.
- Extended shoulder armor, skirt armor spikes, and the katana.
Because I didn’t want Dygenguar’s armor to look too visually heavy, I intentionally brightened the blue tone. Some modelers might still prefer the hefty, darker armor aesthetic, but that comes down to personal taste.
The forearm was carved deeper and reshaped with putty and sanding to increase elbow bend range.
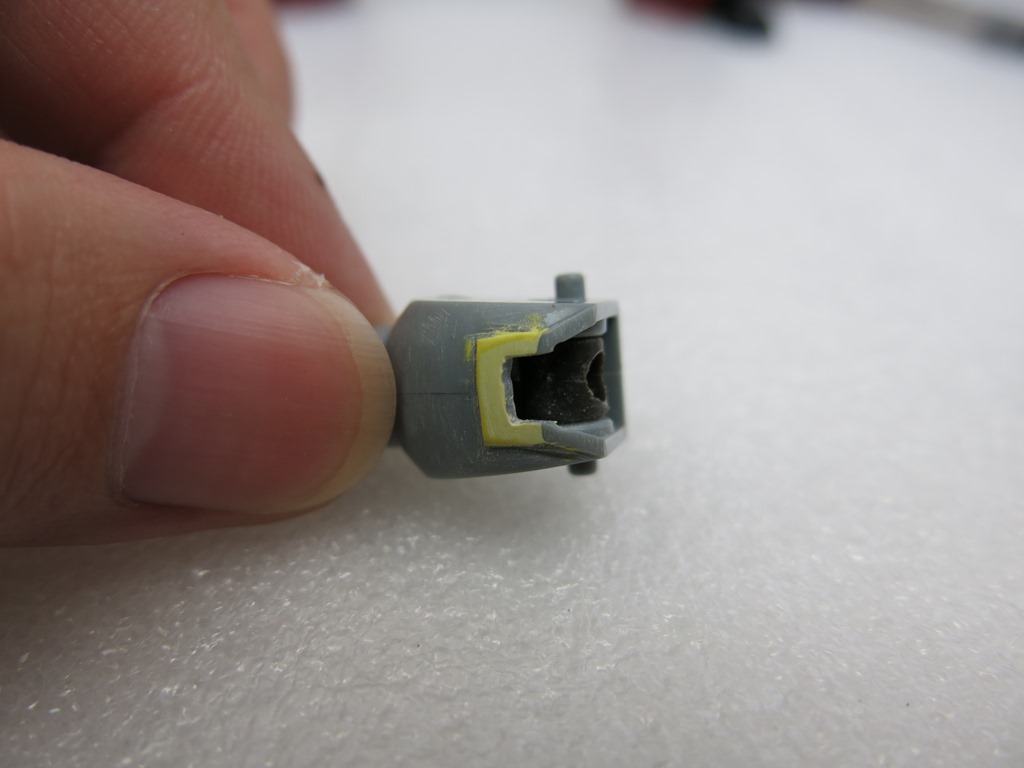
Forearm
Modified on the left, stock on the right. Notice how significant the difference is!
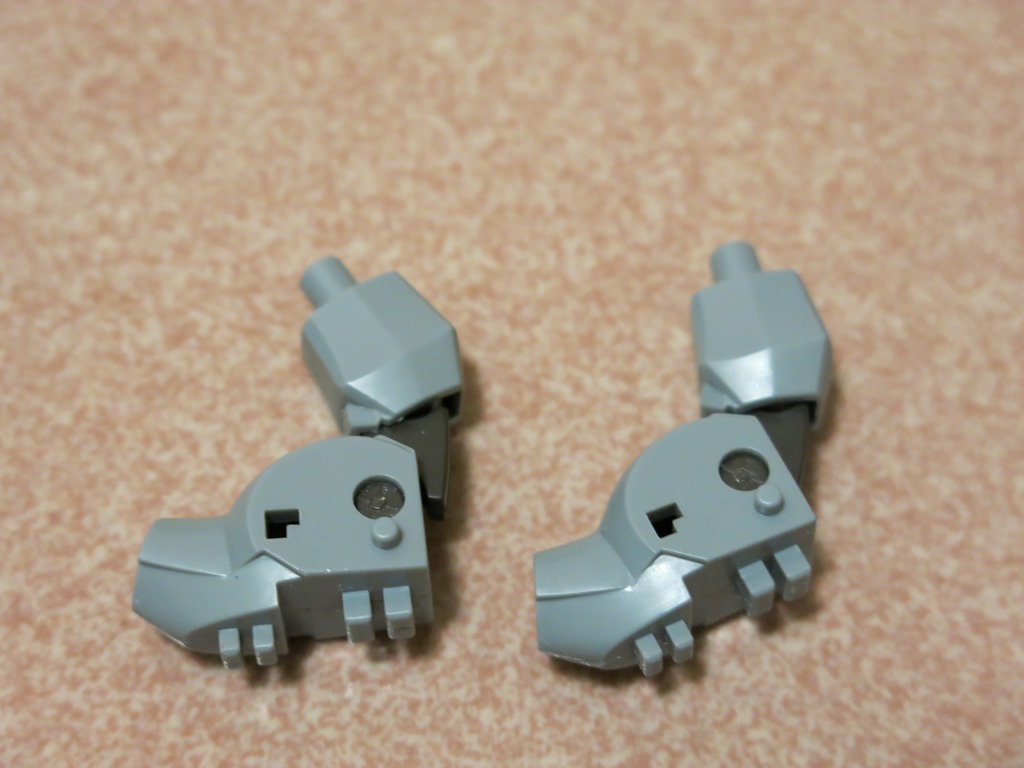
Side-by-side comparison
Just one small modification improves articulation by 20%.
Wrist joints were extended.
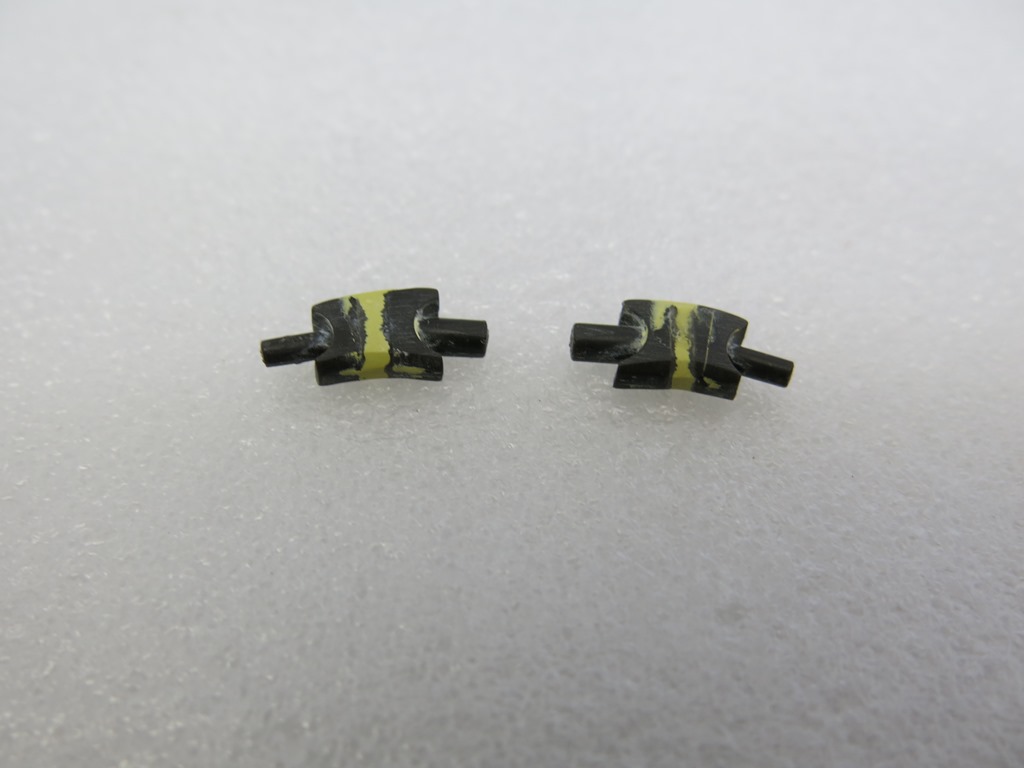
Wrist joint extension pieces
All of these parts underwent seam line removal: Plastic cement → Cyanoacrylate (Super Glue) → Sanding.
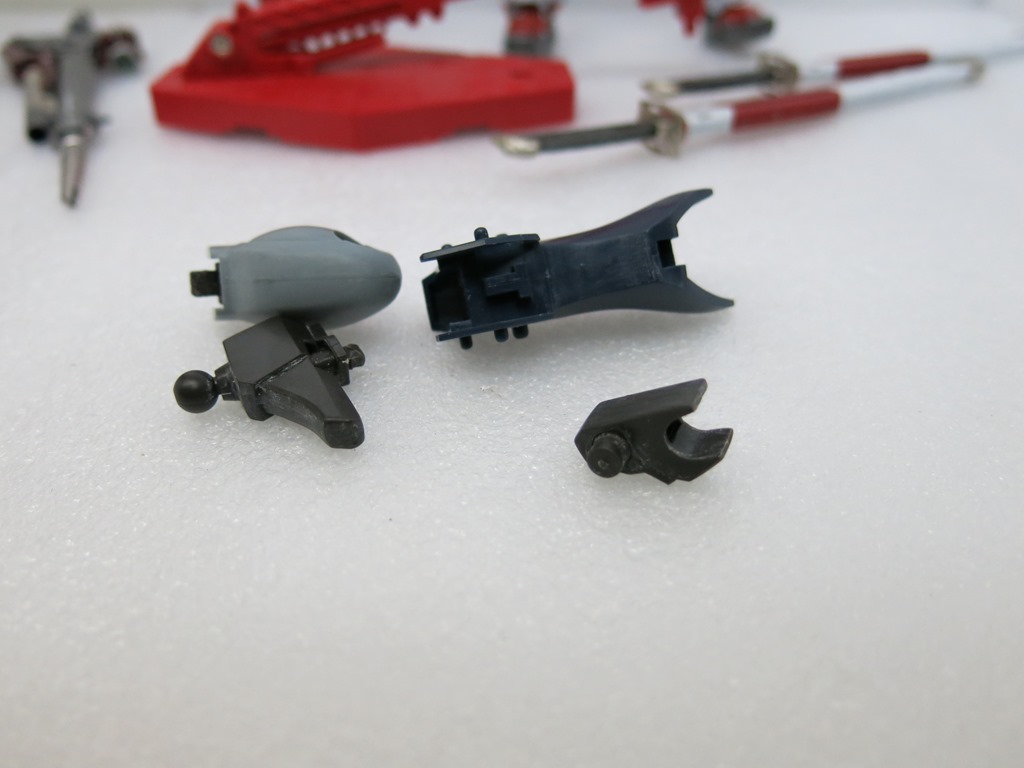
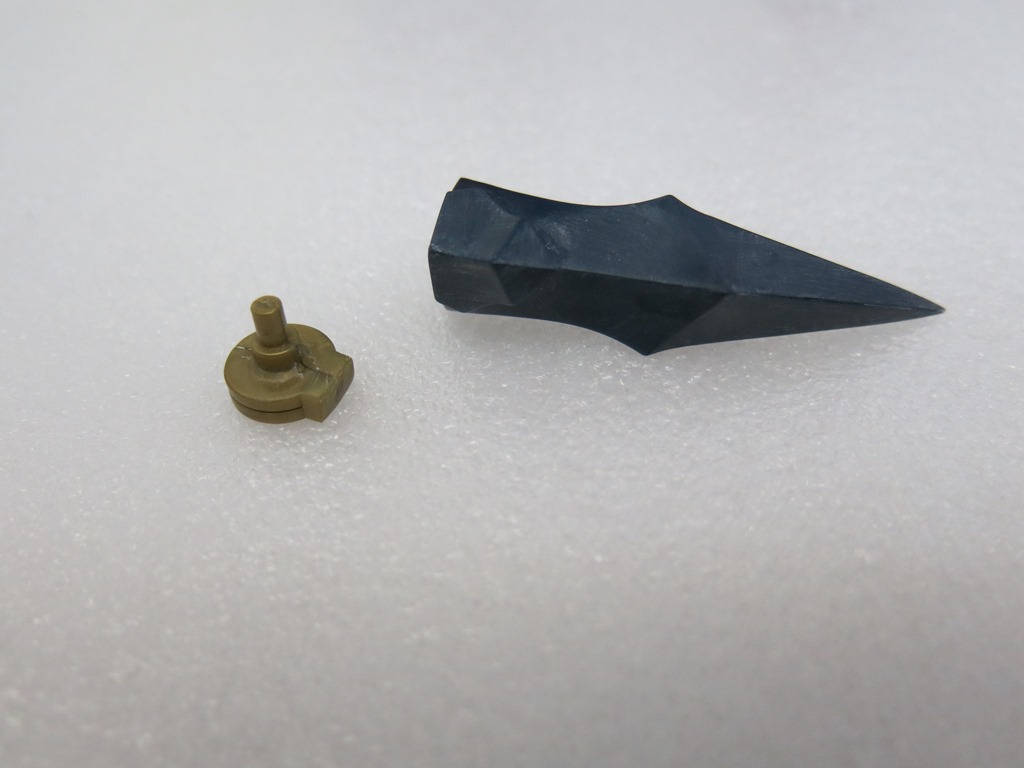
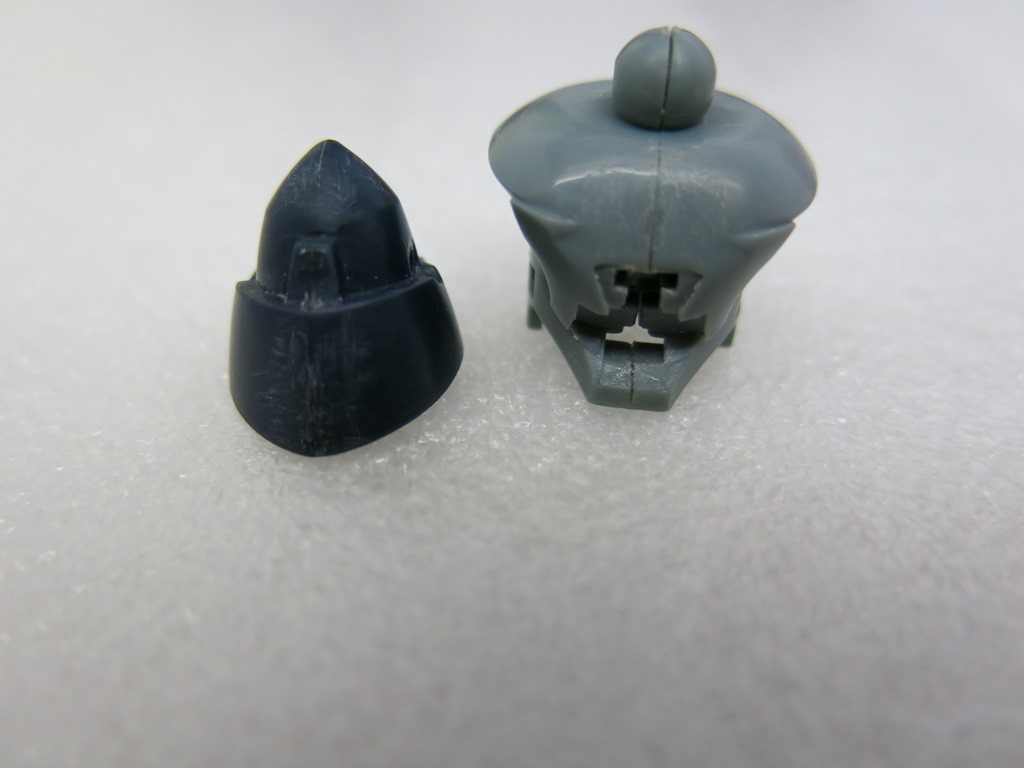
Shoulder armor edge extension: I originally intended to just sculpt this with putty, but because it was so slender, it broke twice during sanding. I had no choice but to pin it with steel wire → sculpt with putty → sand it down. This single step cost me two whole hours, aaargh!
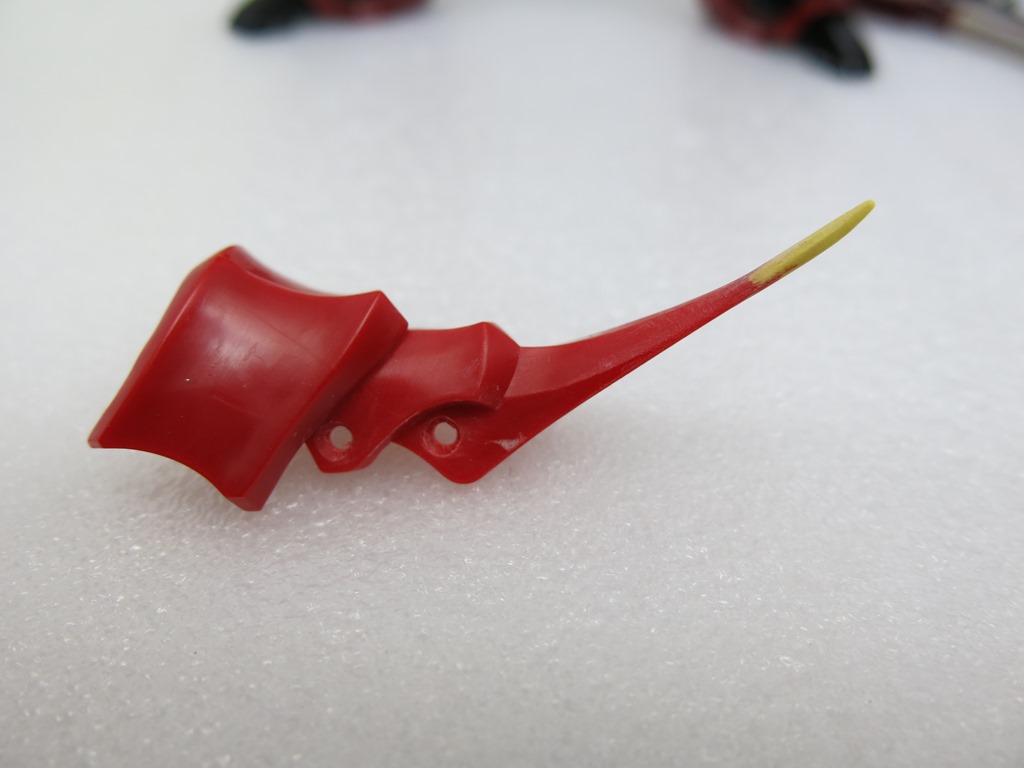
Shoulder armor edge extension
Skirt armor spikes were extended using the same method: Pinning with wire → putty sculpting → sanding.
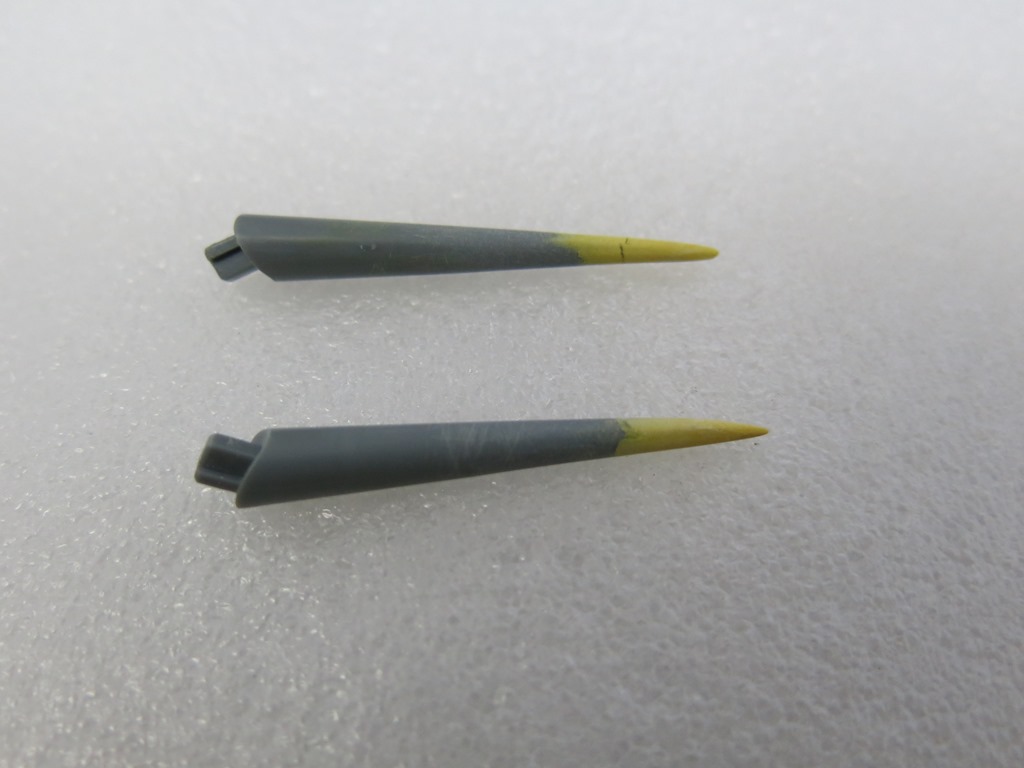
Skirt armor spikes
After snap-fitting, I felt the katana was simply too short and lacked presence, so I extended it by 3 cm.
Cut in half → pin with rod → extend with acrylic strip → putty → sand → primer surfacer → fine sand.
This took quite a bit of time as well.
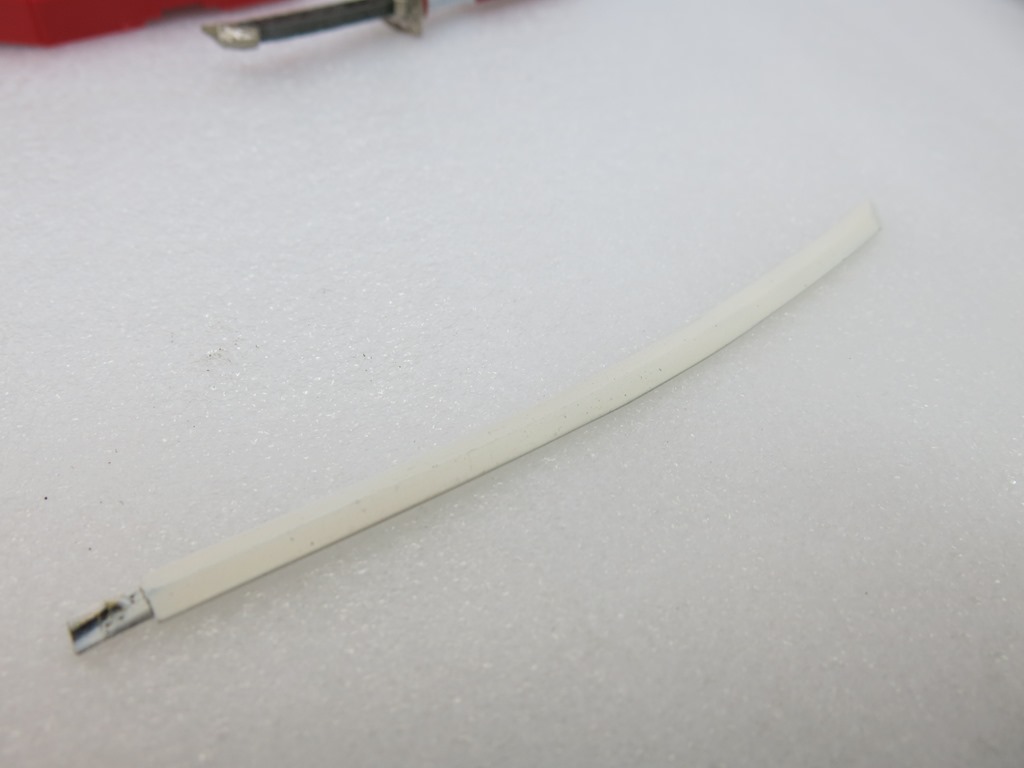
Katana
These parts all suffered from sink marks; all were puttied and sanded, and the knee spikes had their seam lines removed at the same time.
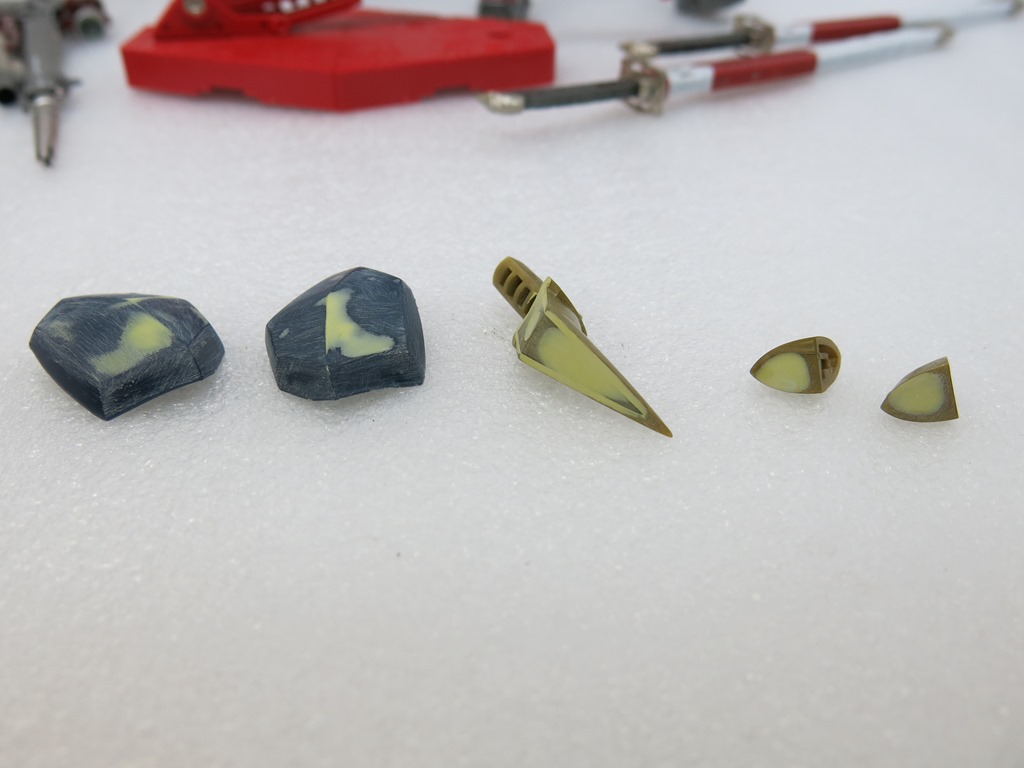
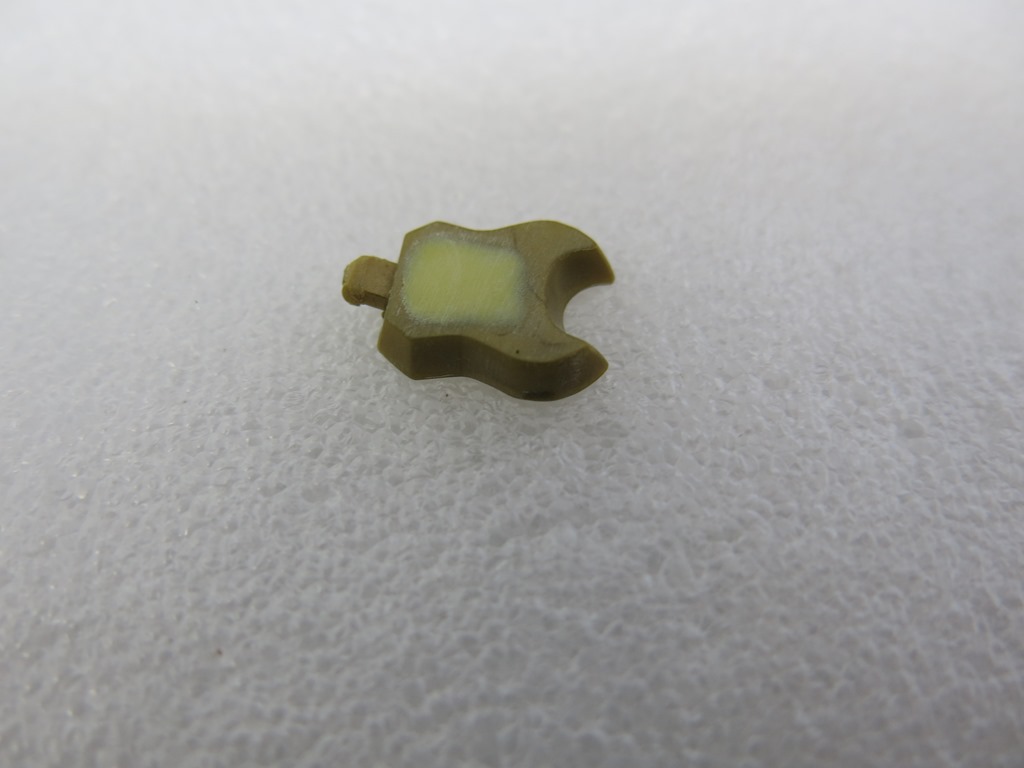
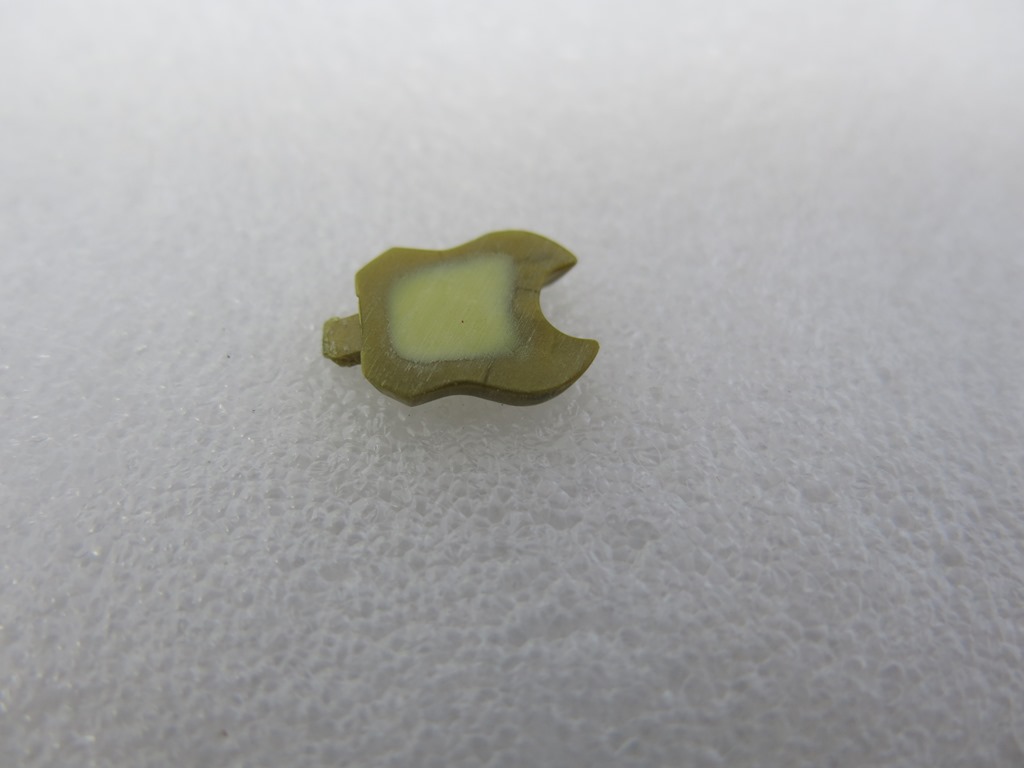
The center of the Zankantou blade was hollowed out for weight reduction, and the sink marks on the black sections were puttied. You can tell from the photos just how bad the sink marks were.
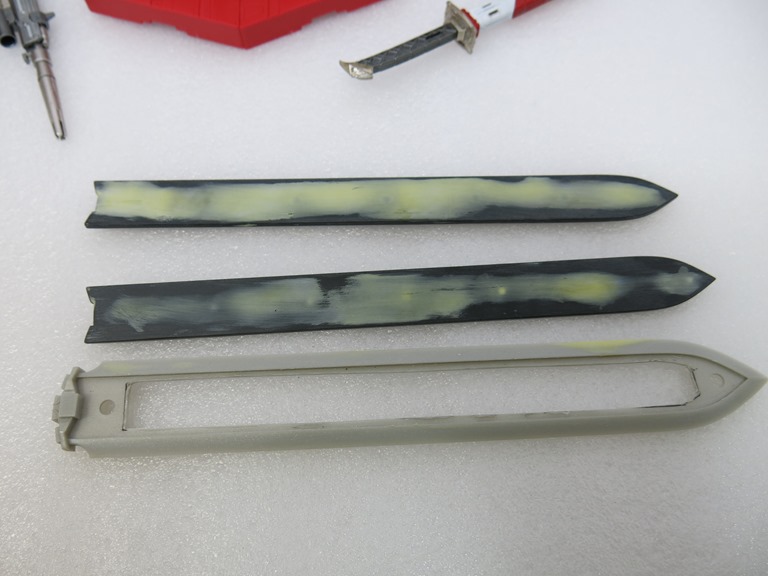
Zankantou (Colossal Blade)
The head crest antennae and foot armor weren’t sharp enough, so everything was filed and sanded for a crisp, aggressive silhouette.
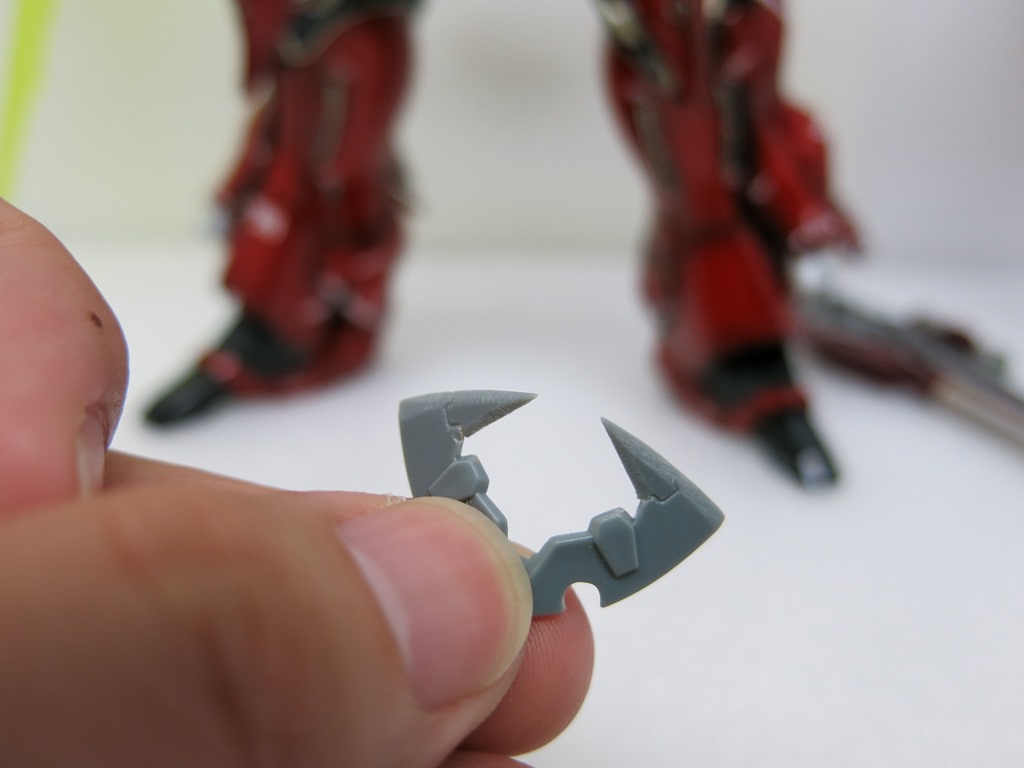
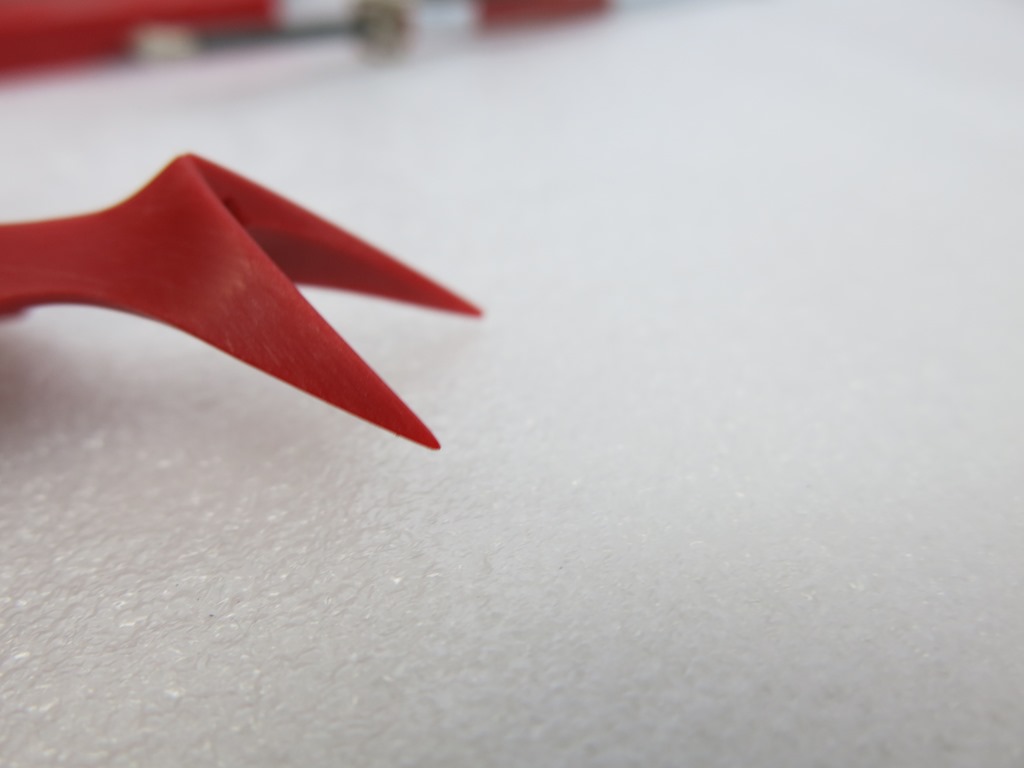
Finally, custom joint parts were embedded into the shoulders and skirt armor for enhanced articulation, and holes were drilled all over the body to install steel detail balls. (This took so much tedious effort and got me so exasperated that I forgot to take photos!)
The Long Airbrushing Journey
The painting sequence for this kit was roughly: Primer Surfacer → Gloss Black → Silver (or Gold) → Clear Color Coat → Topcoat.
The completed build:
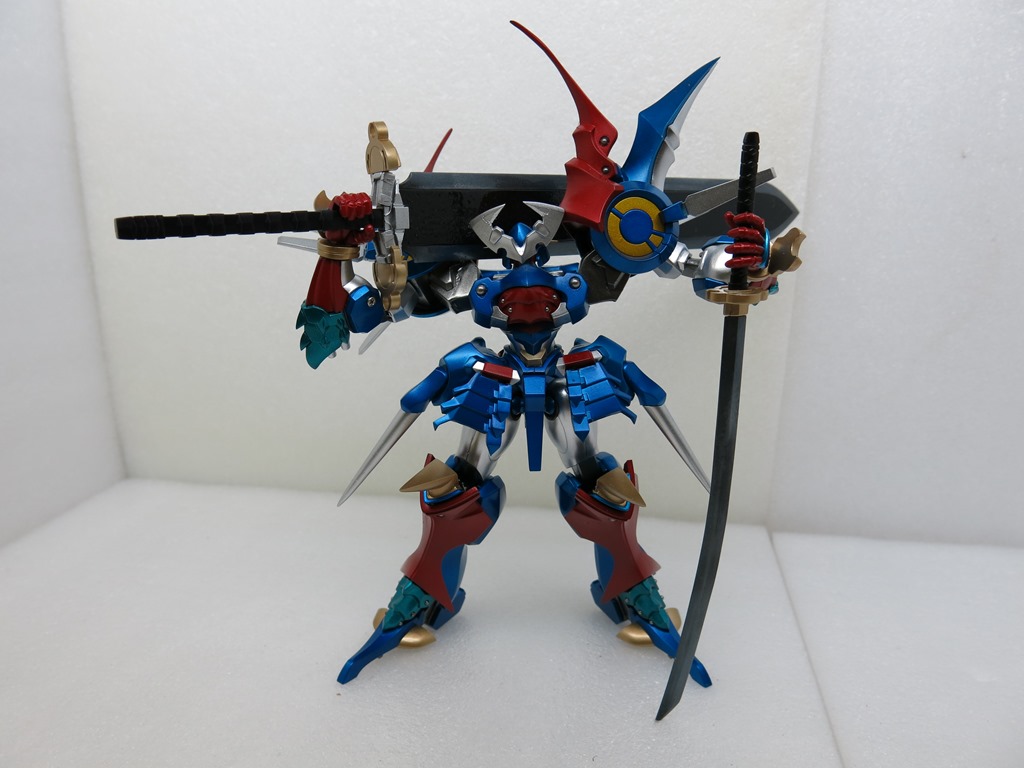
Dygenguar painted completion
This cyan-blue shade took forever to mix—the ratio was roughly 20% Clear Yellow and 80% Clear Blue. Adding the embedded steel balls made the contrast pop even more.
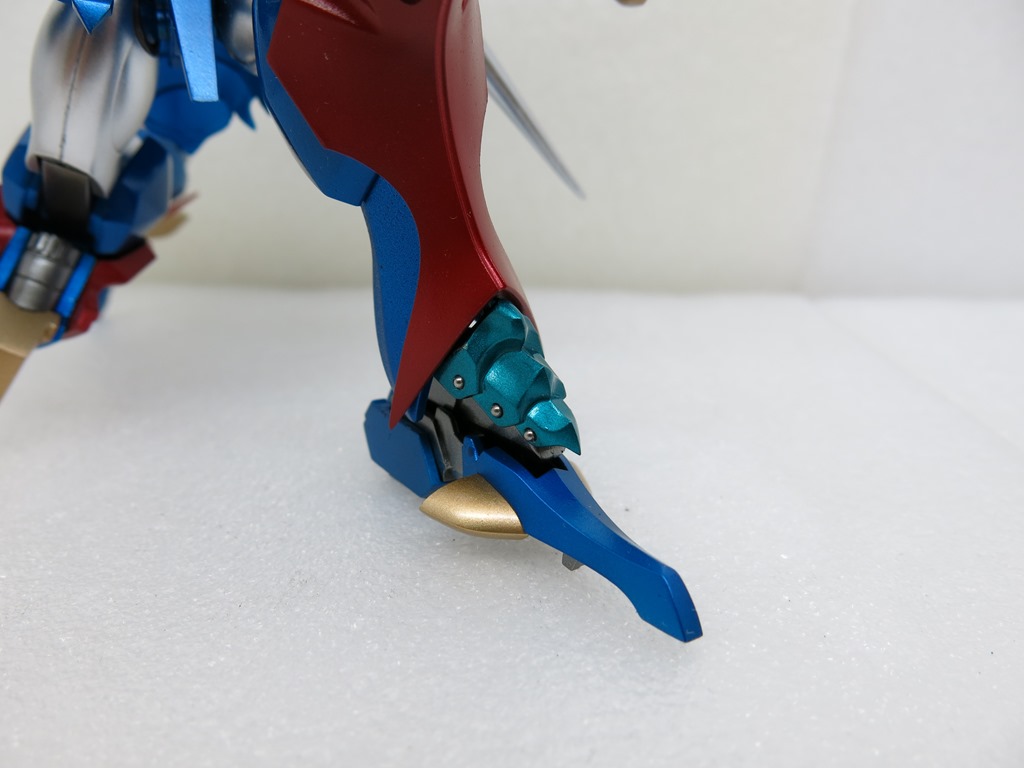
The gorgeous cyan-blue finish
Metal screws added to the forearms.
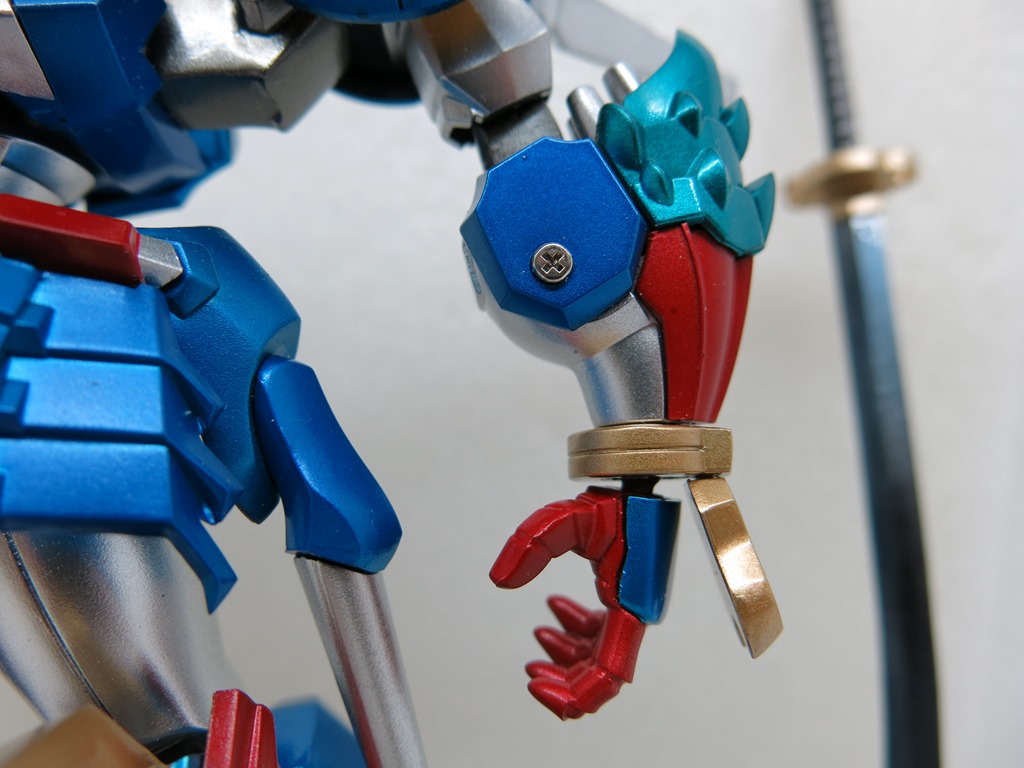
Metal screws
Thanks to the skirt armor articulation mod, it can now pull off a deep kneeling pose.
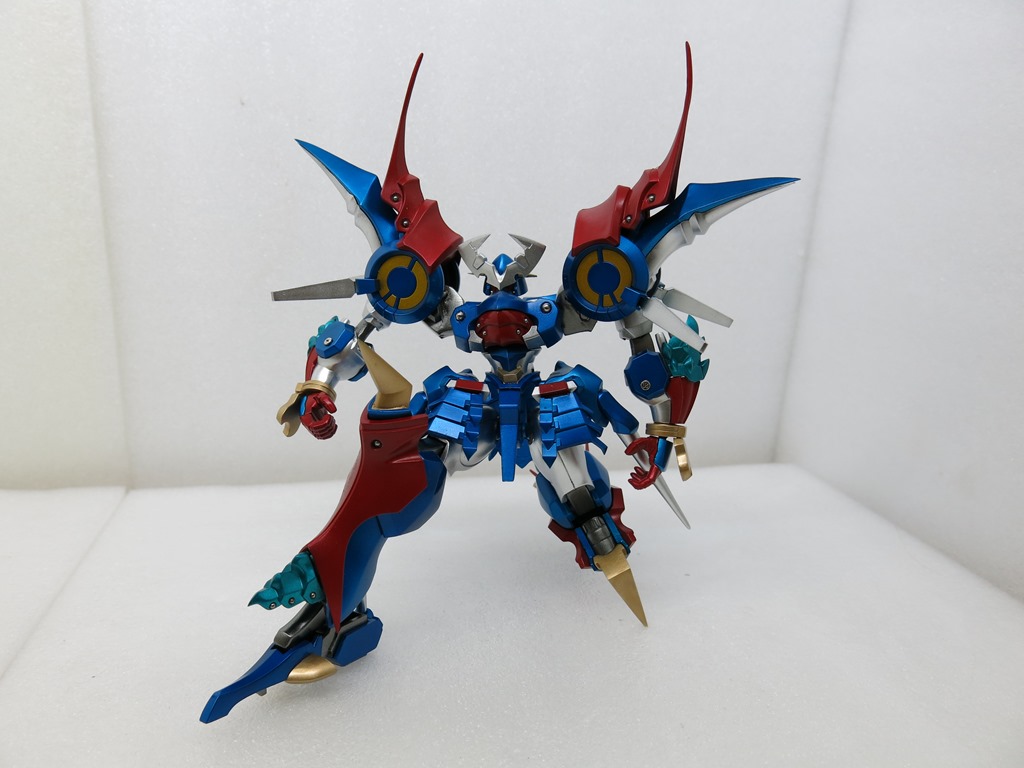
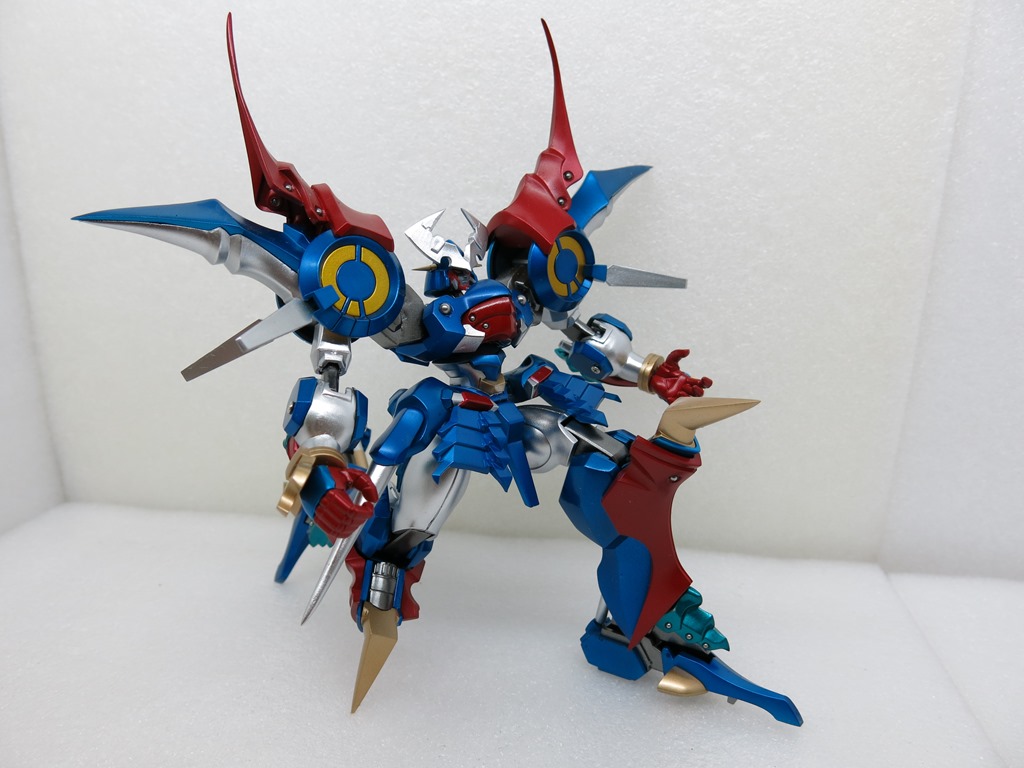
Embedding 3mm and 1.5mm steel balls into the chest armor made the details look much crisper.
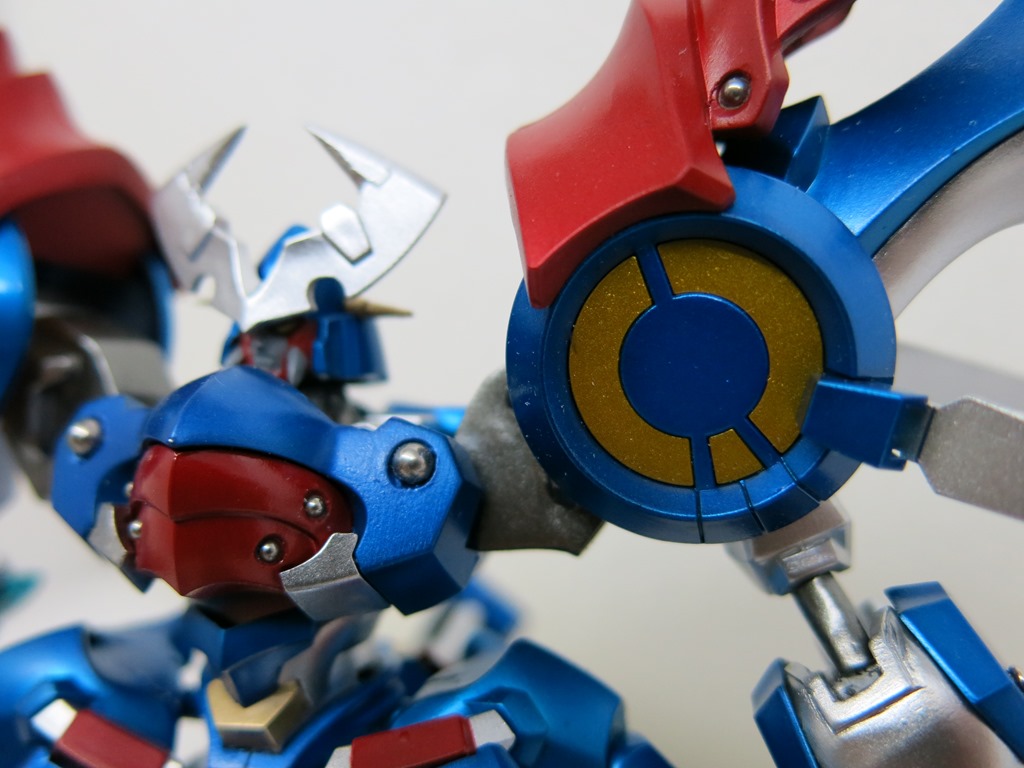
Detail balls inserted
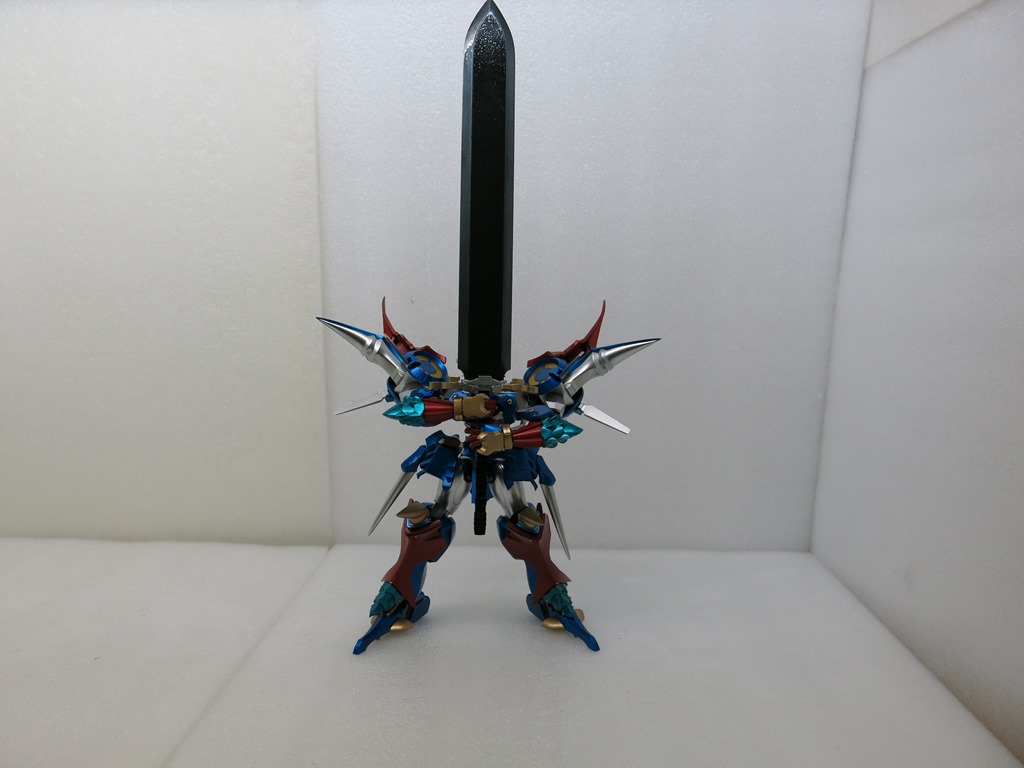
With the increased shoulder range of motion, the Zankantou can rest completely behind the head on the shoulders.
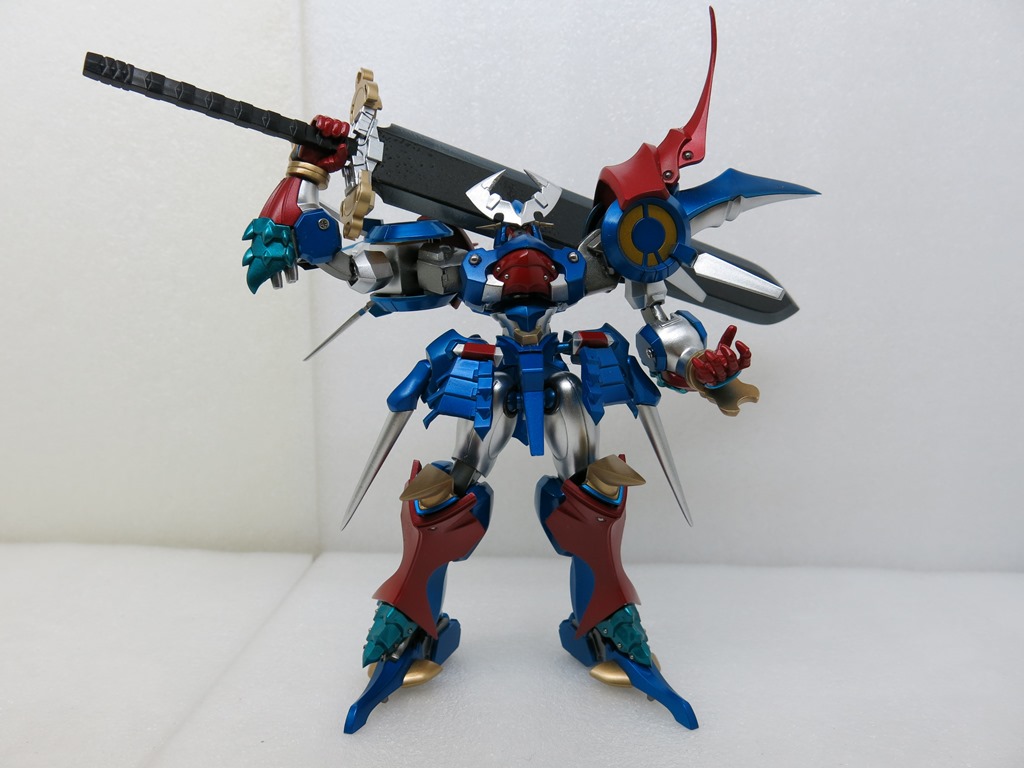
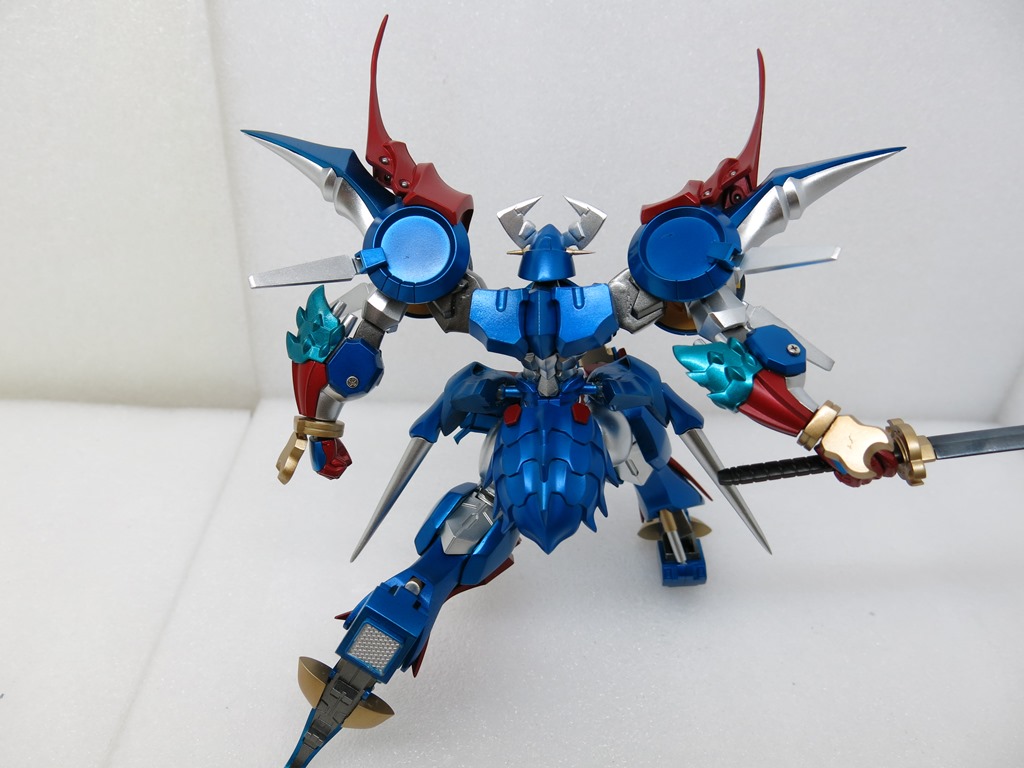
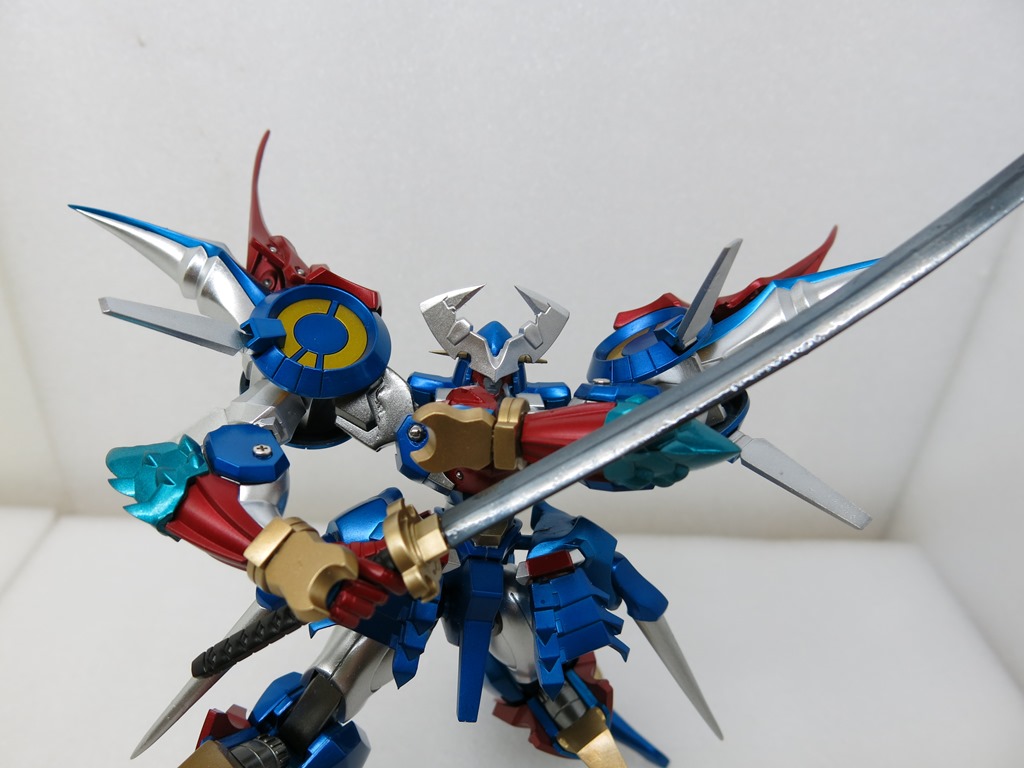
Flamboyant sword-drawing pose
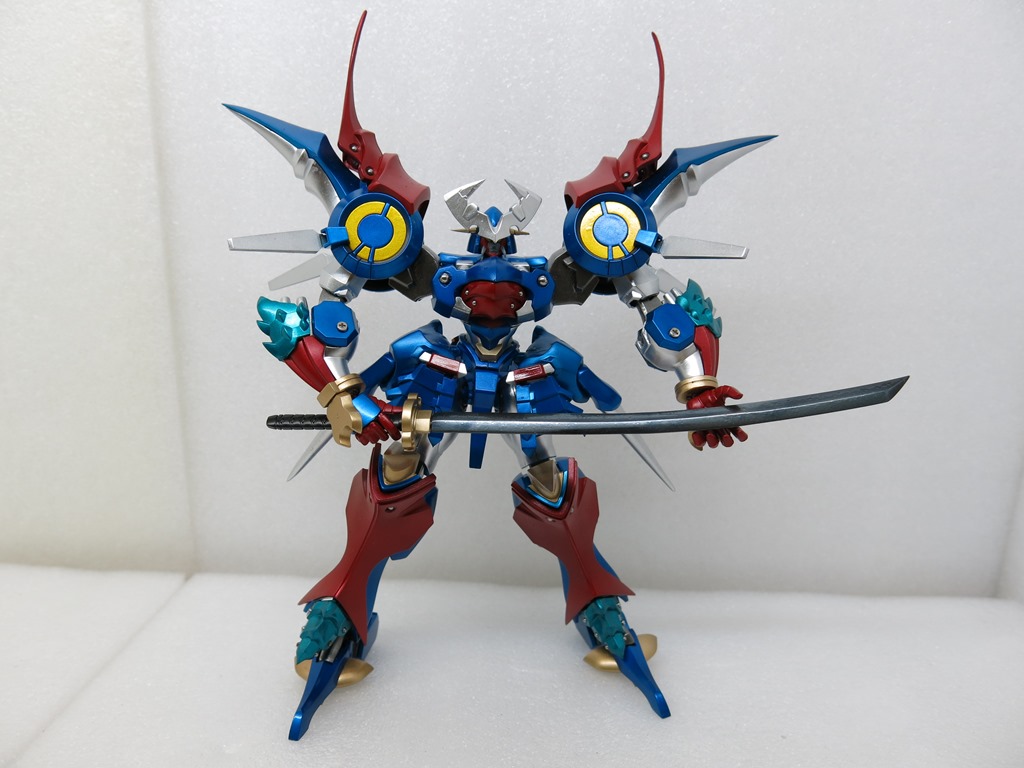
Weapons showcase:
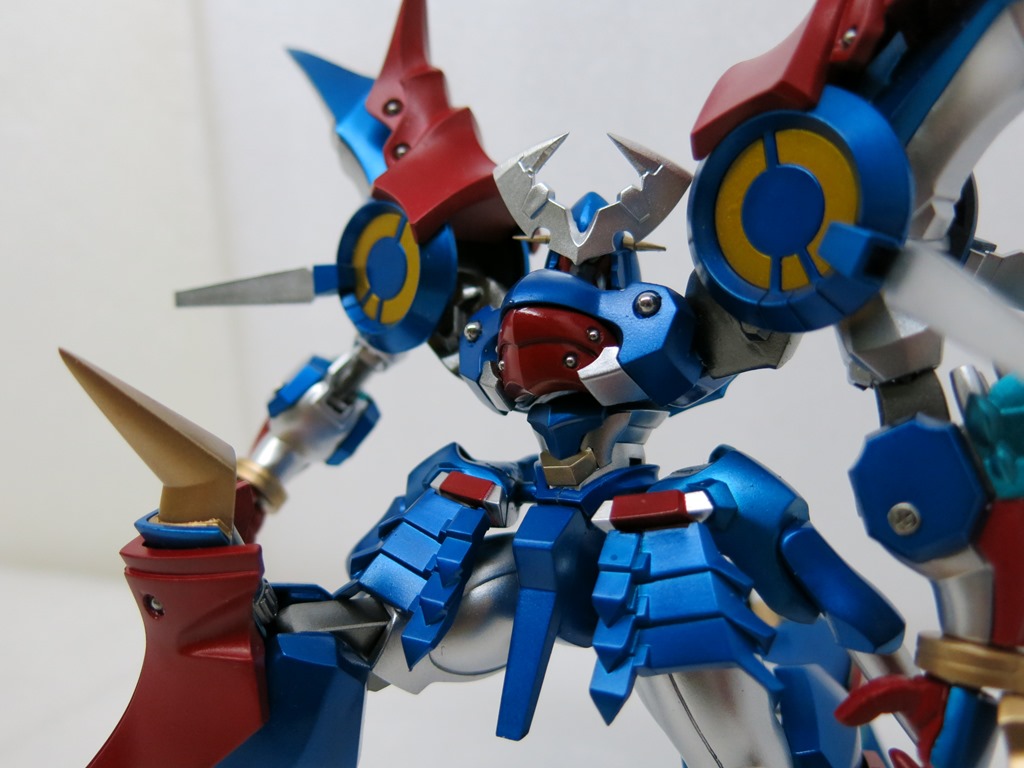
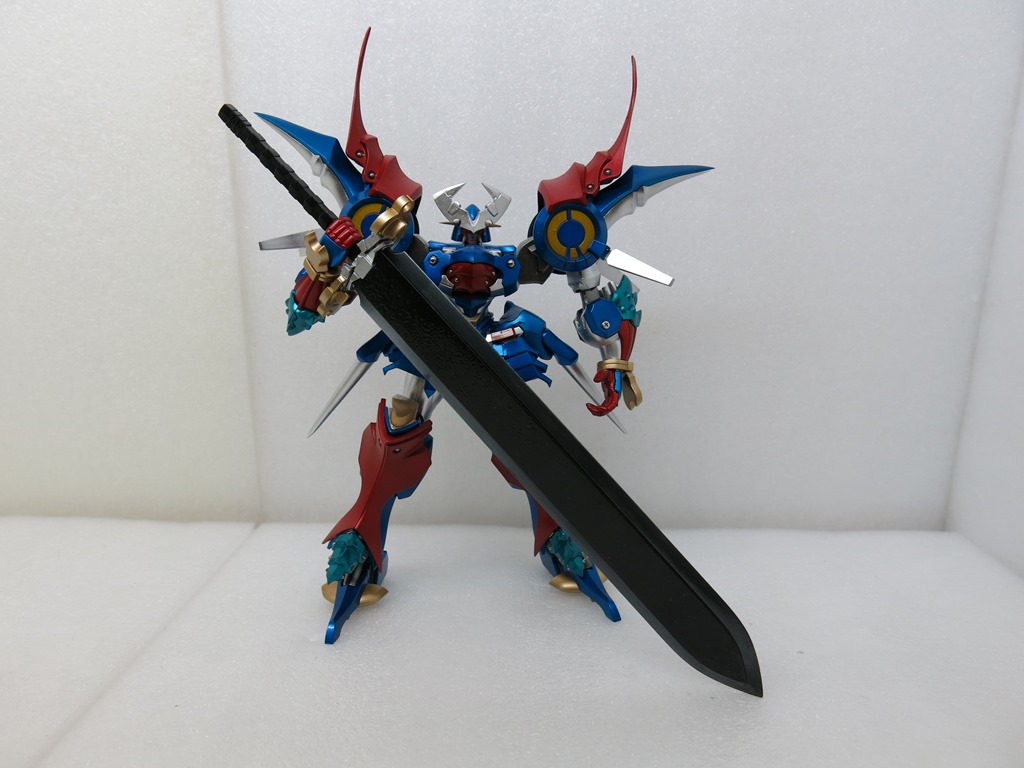
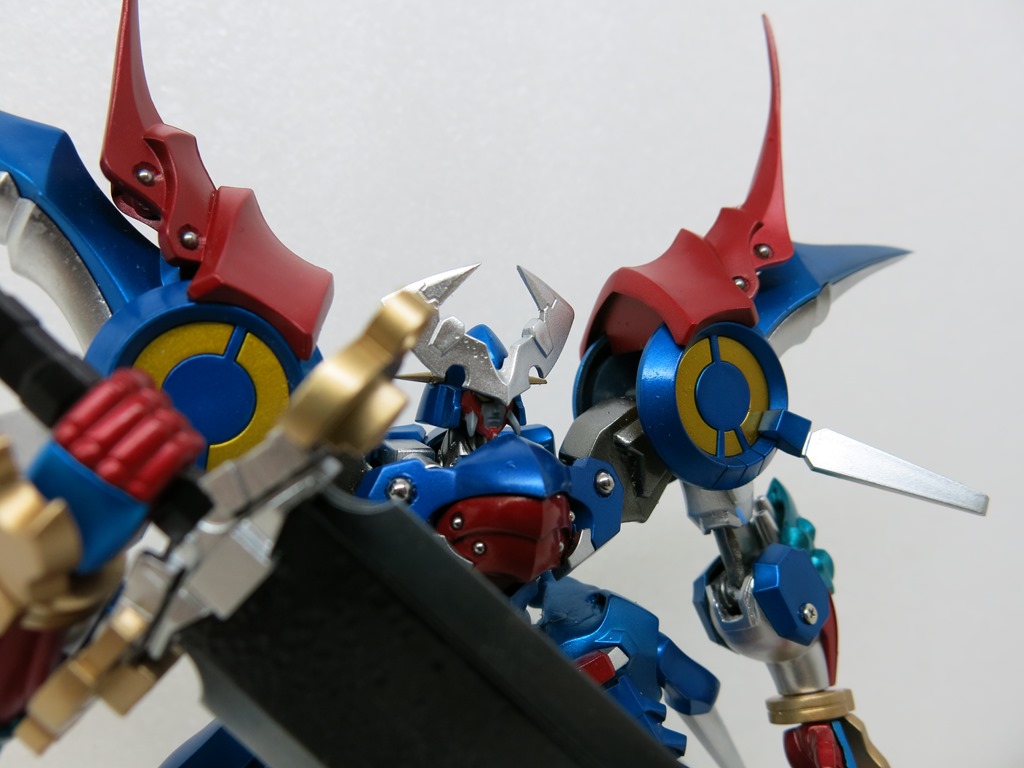
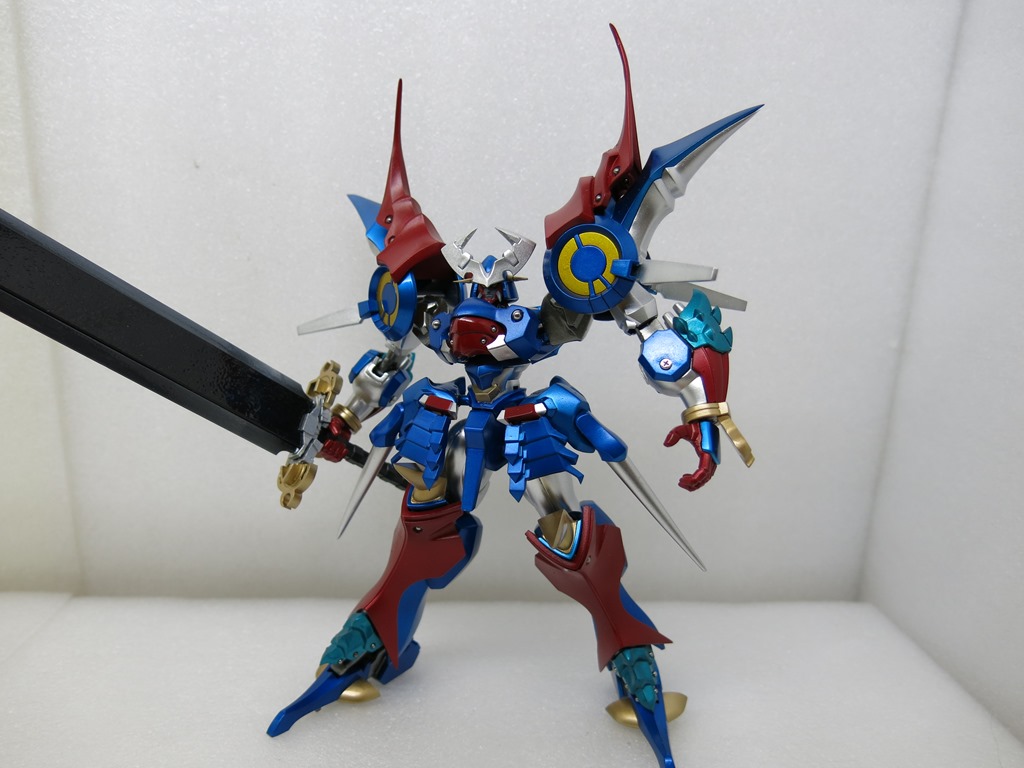
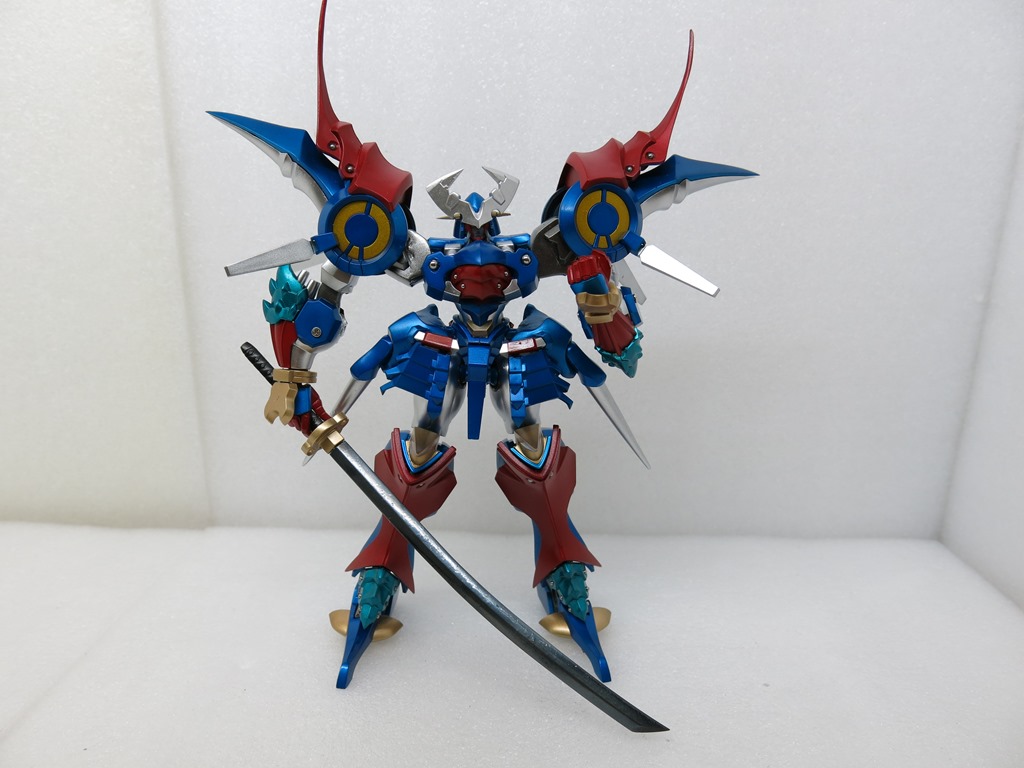
Dygenguar Boxing Mode:
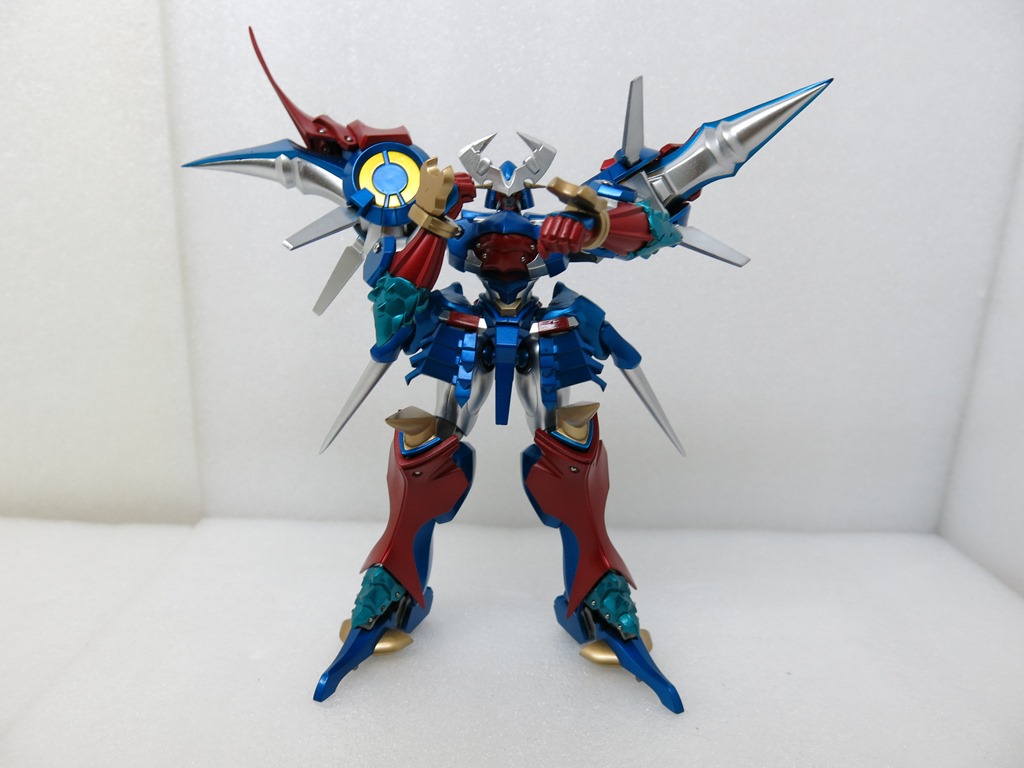
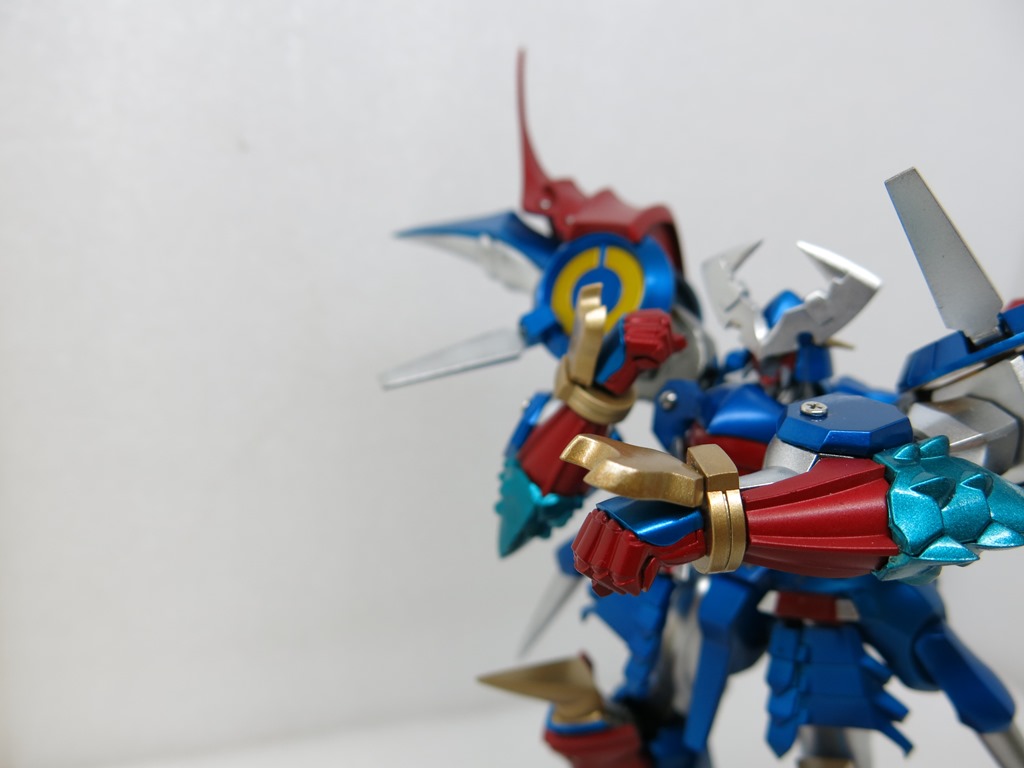
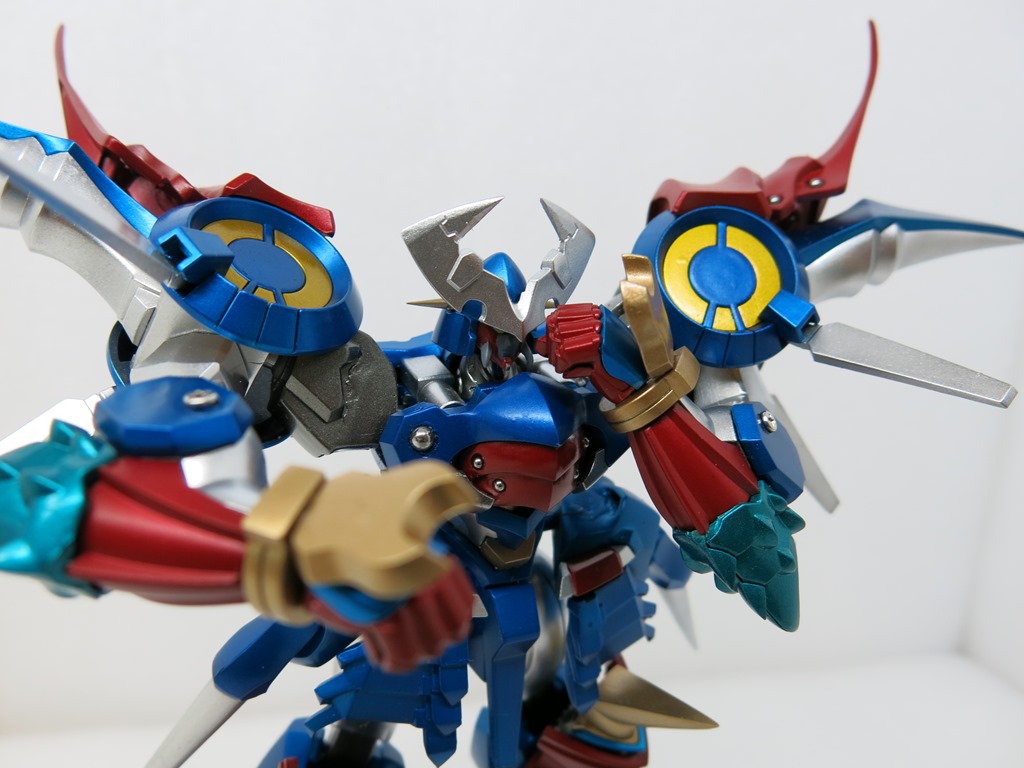
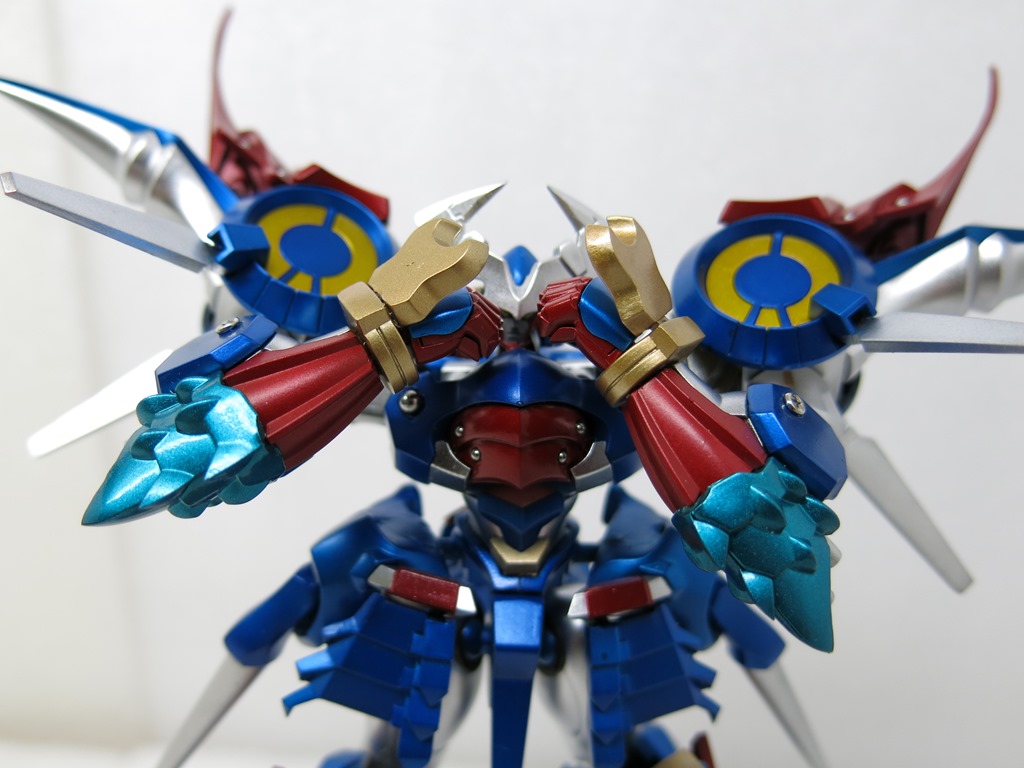
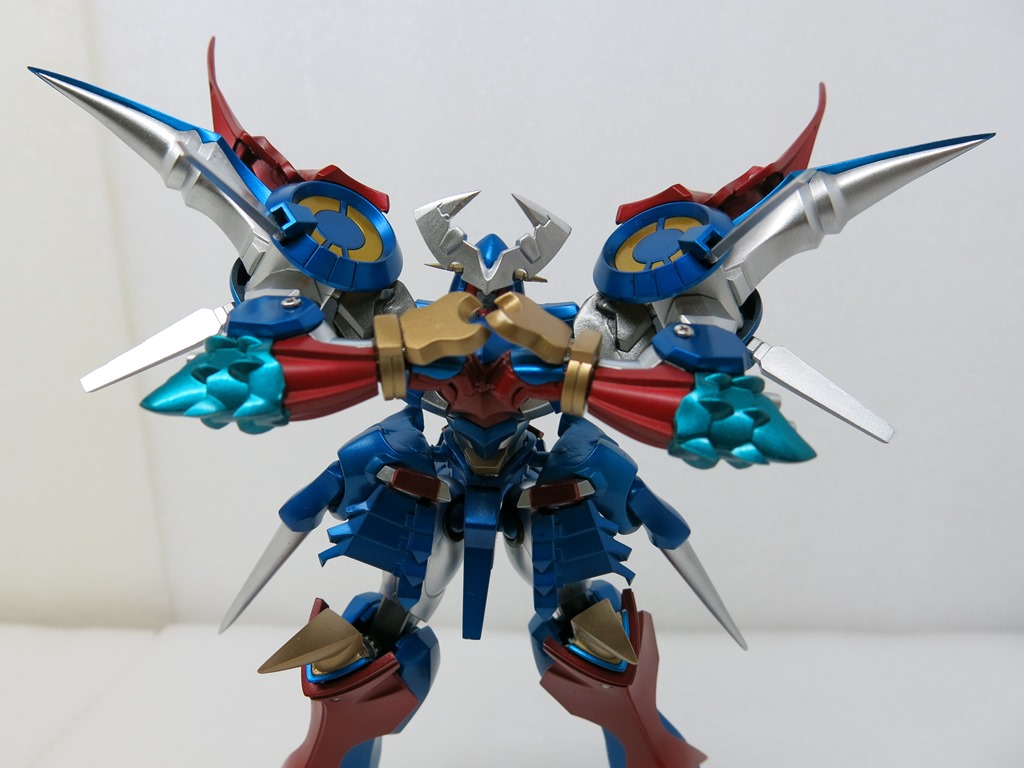
Three-view shots: Extended sharp points, steel beads, and screws together elevate the overall presence tremendously.
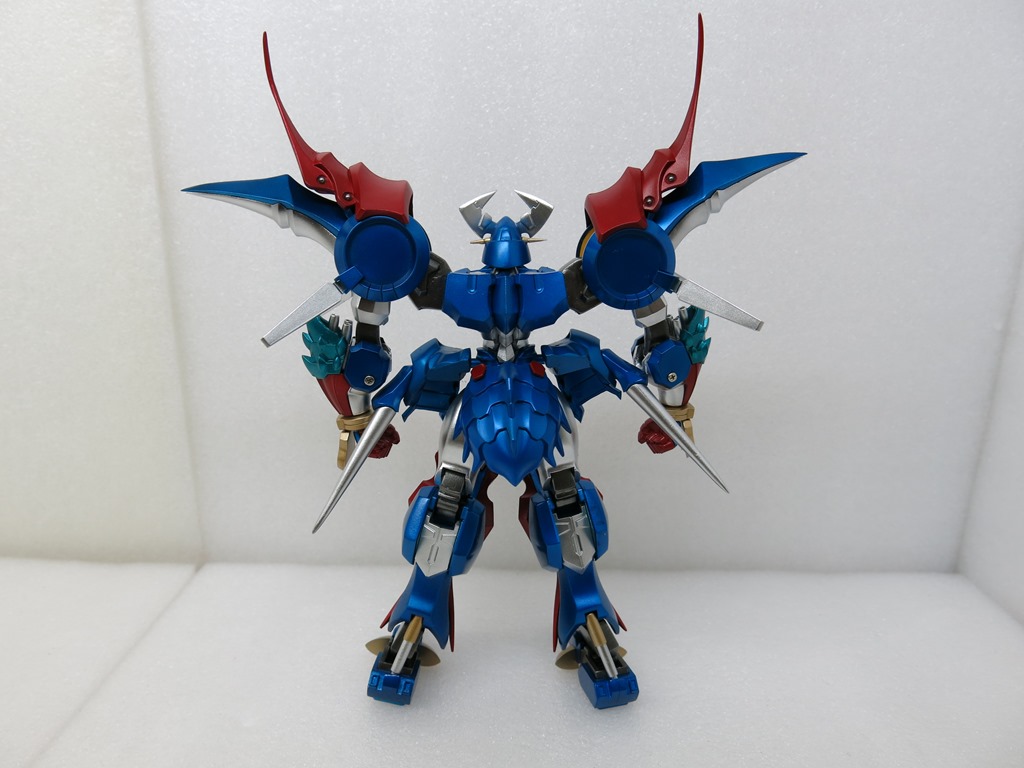
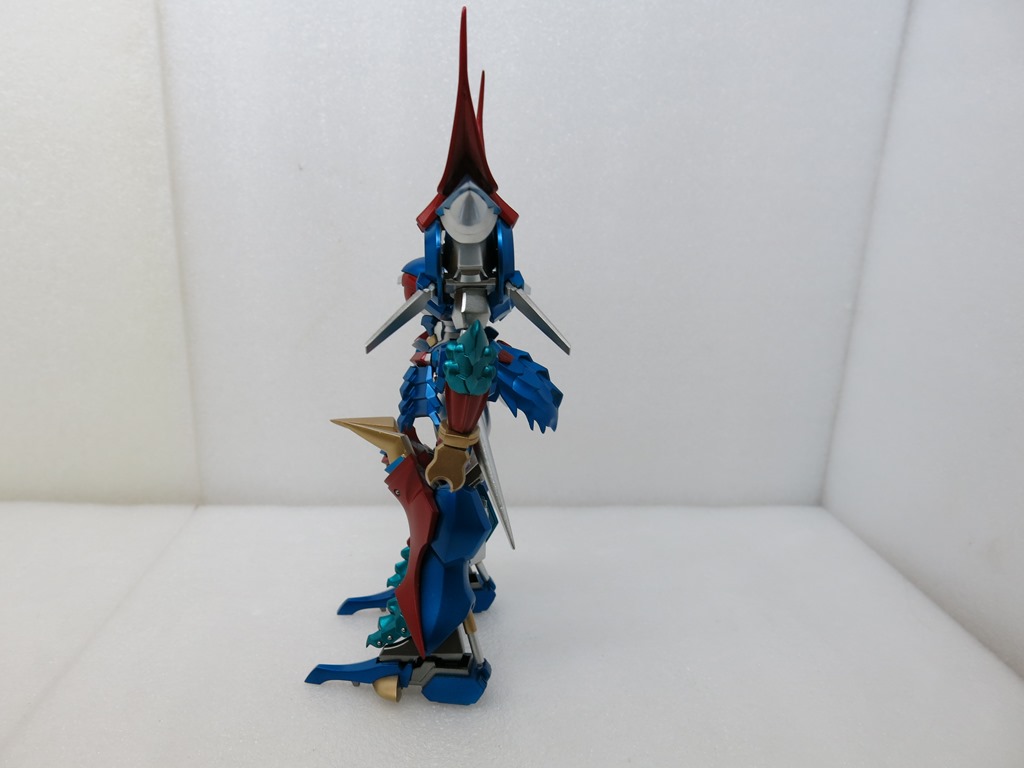
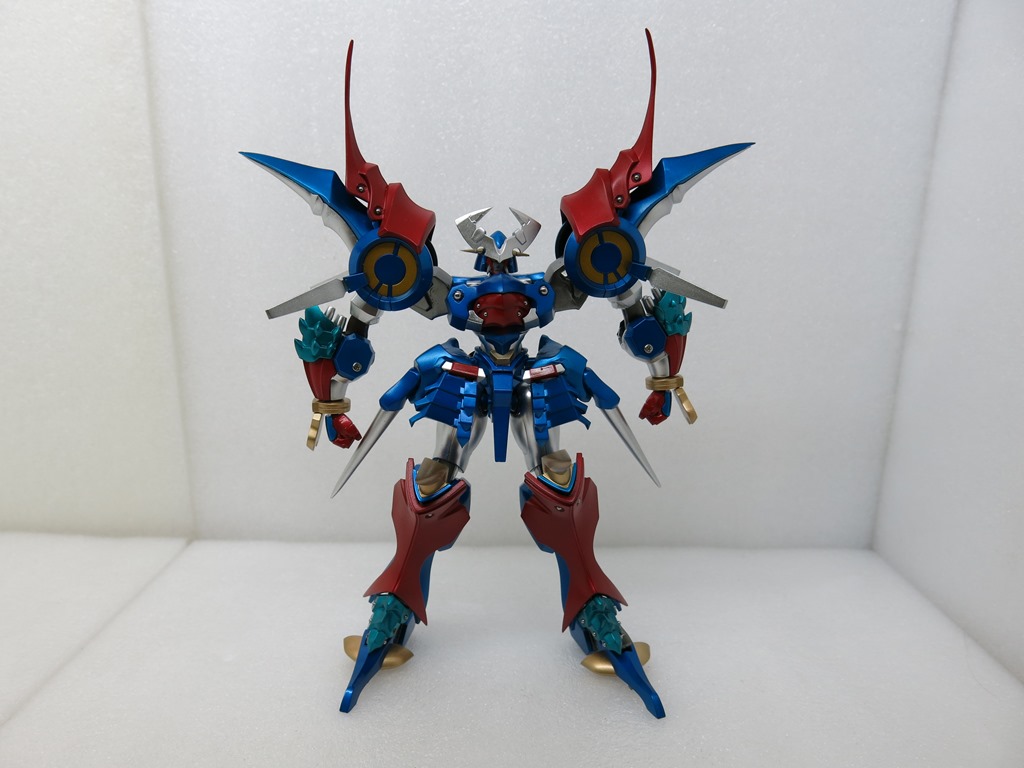
Mission accomplished! I hope everyone enjoys the build.
Support Independent Perspectives & In-Depth Insights
Every thoughtful analysis and candid critique comes from our dedication to truth and quality. We choose not to follow sensational algorithms or clickbait headlines.
Sustaining independent research requires reader support. Make a one-time or monthly contribution, securely processed by Google.
Payments secured by Google · Manage or cancel anytime in your Google Account

Comments