
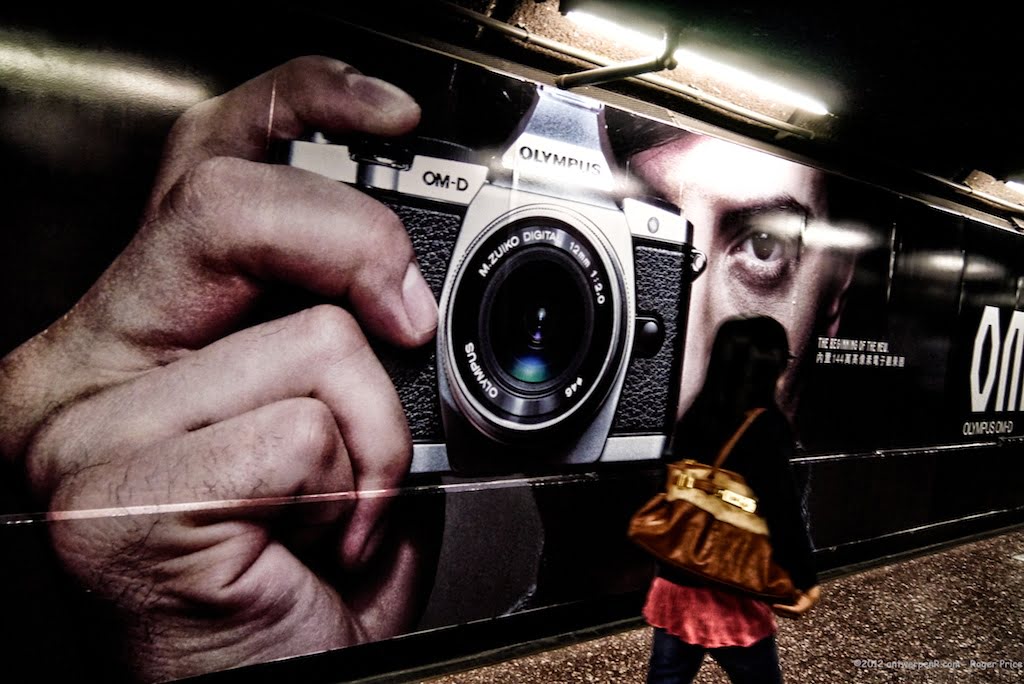
Lonely Planet is one of the world’s most widely read travel guide publishers, celebrated for both depth and practicality. If you are an active backpacker or dream of world exploration, chances are a well-thumbed copy already rests on your bookshelf.
Drawing from interviews with veteran travel photojournalists, Lonely Planet summarized five core photography techniques for travelers. These principles apply to everyday photography as well, emphasizing speed and adaptability.
Unlike studio photography, travel photography grapples with fast-shifting real-world environments. Fleeting moments happen in a blink; capturing a usable candid image—even with slight motion blur—is infinitely more valuable than missing the shot entirely.
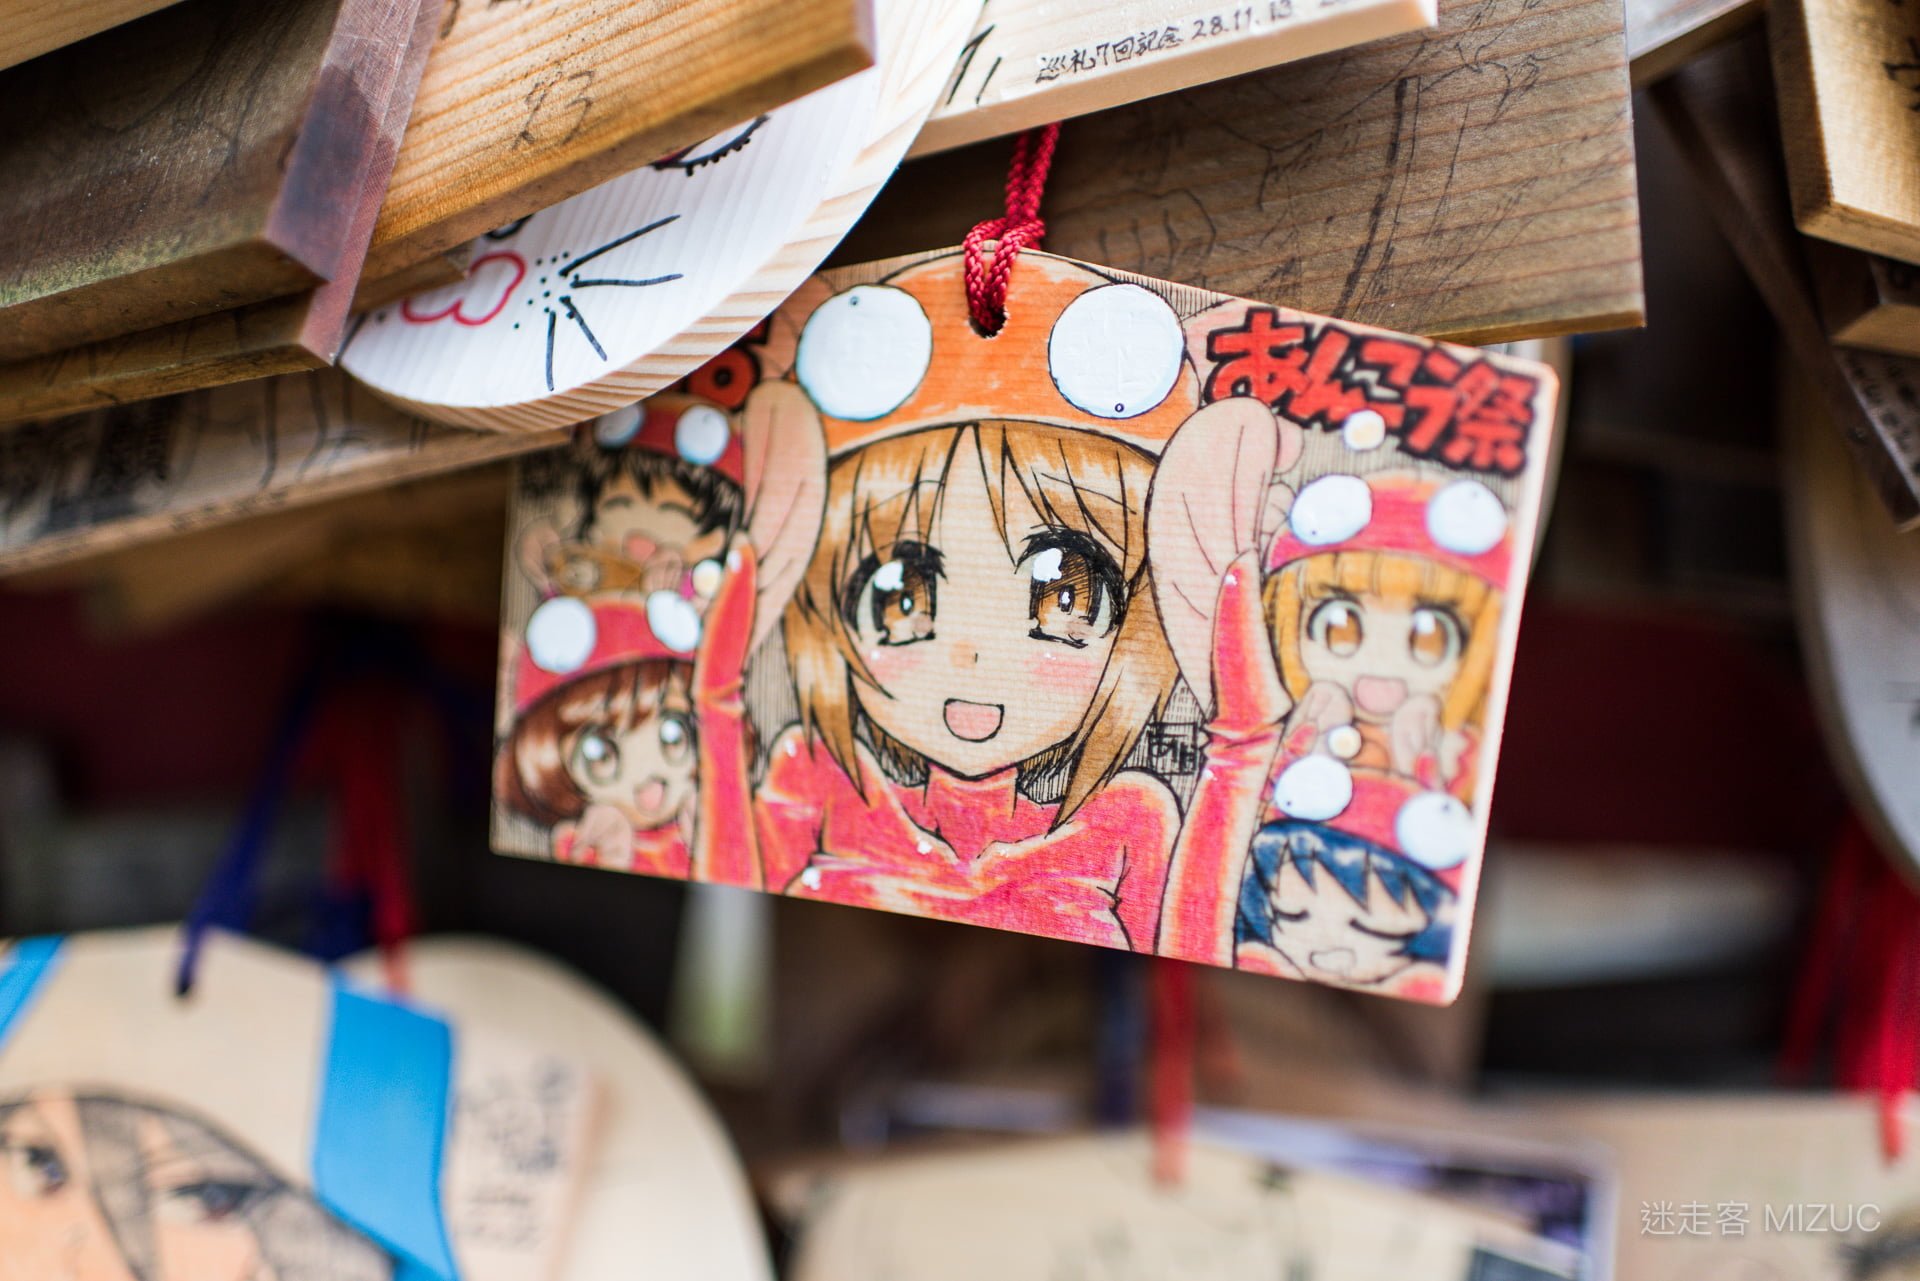
Anime Pilgrimage Landmark: Oarai Isosaki Shrine (Ibaraki Prefecture, Photo / Mizuc)
Here are the 5+1 Essential Field Techniques for travel photography:
- Master Aperture Priority (A/Av Mode)
- Calibrate ISO Sensitivity Judiciously
- Leverage Auto Exposure Lock (AE-L) and Focus Lock
- Master Exposure Compensation (EV Bias)
- Shoot in Uncompressed RAW
- Ensure Precise, Calibrated Focus
1. Aperture Priority (A / Av Mode)
While camera exposure modes include Program, Shutter Priority, and Manual, for travel I strongly recommend Aperture Priority (A mode).
Aperture directly dictates depth of field and sharpness across focal planes. In low-light environments where shallow depth of field is acceptable, open the aperture wide (e.g., f/1.4 or f/2.8). When shooting vast landscapes demanding edge-to-edge sharpness, stop down to between f/8 and f/11 (avoiding extreme diffraction beyond f/16).
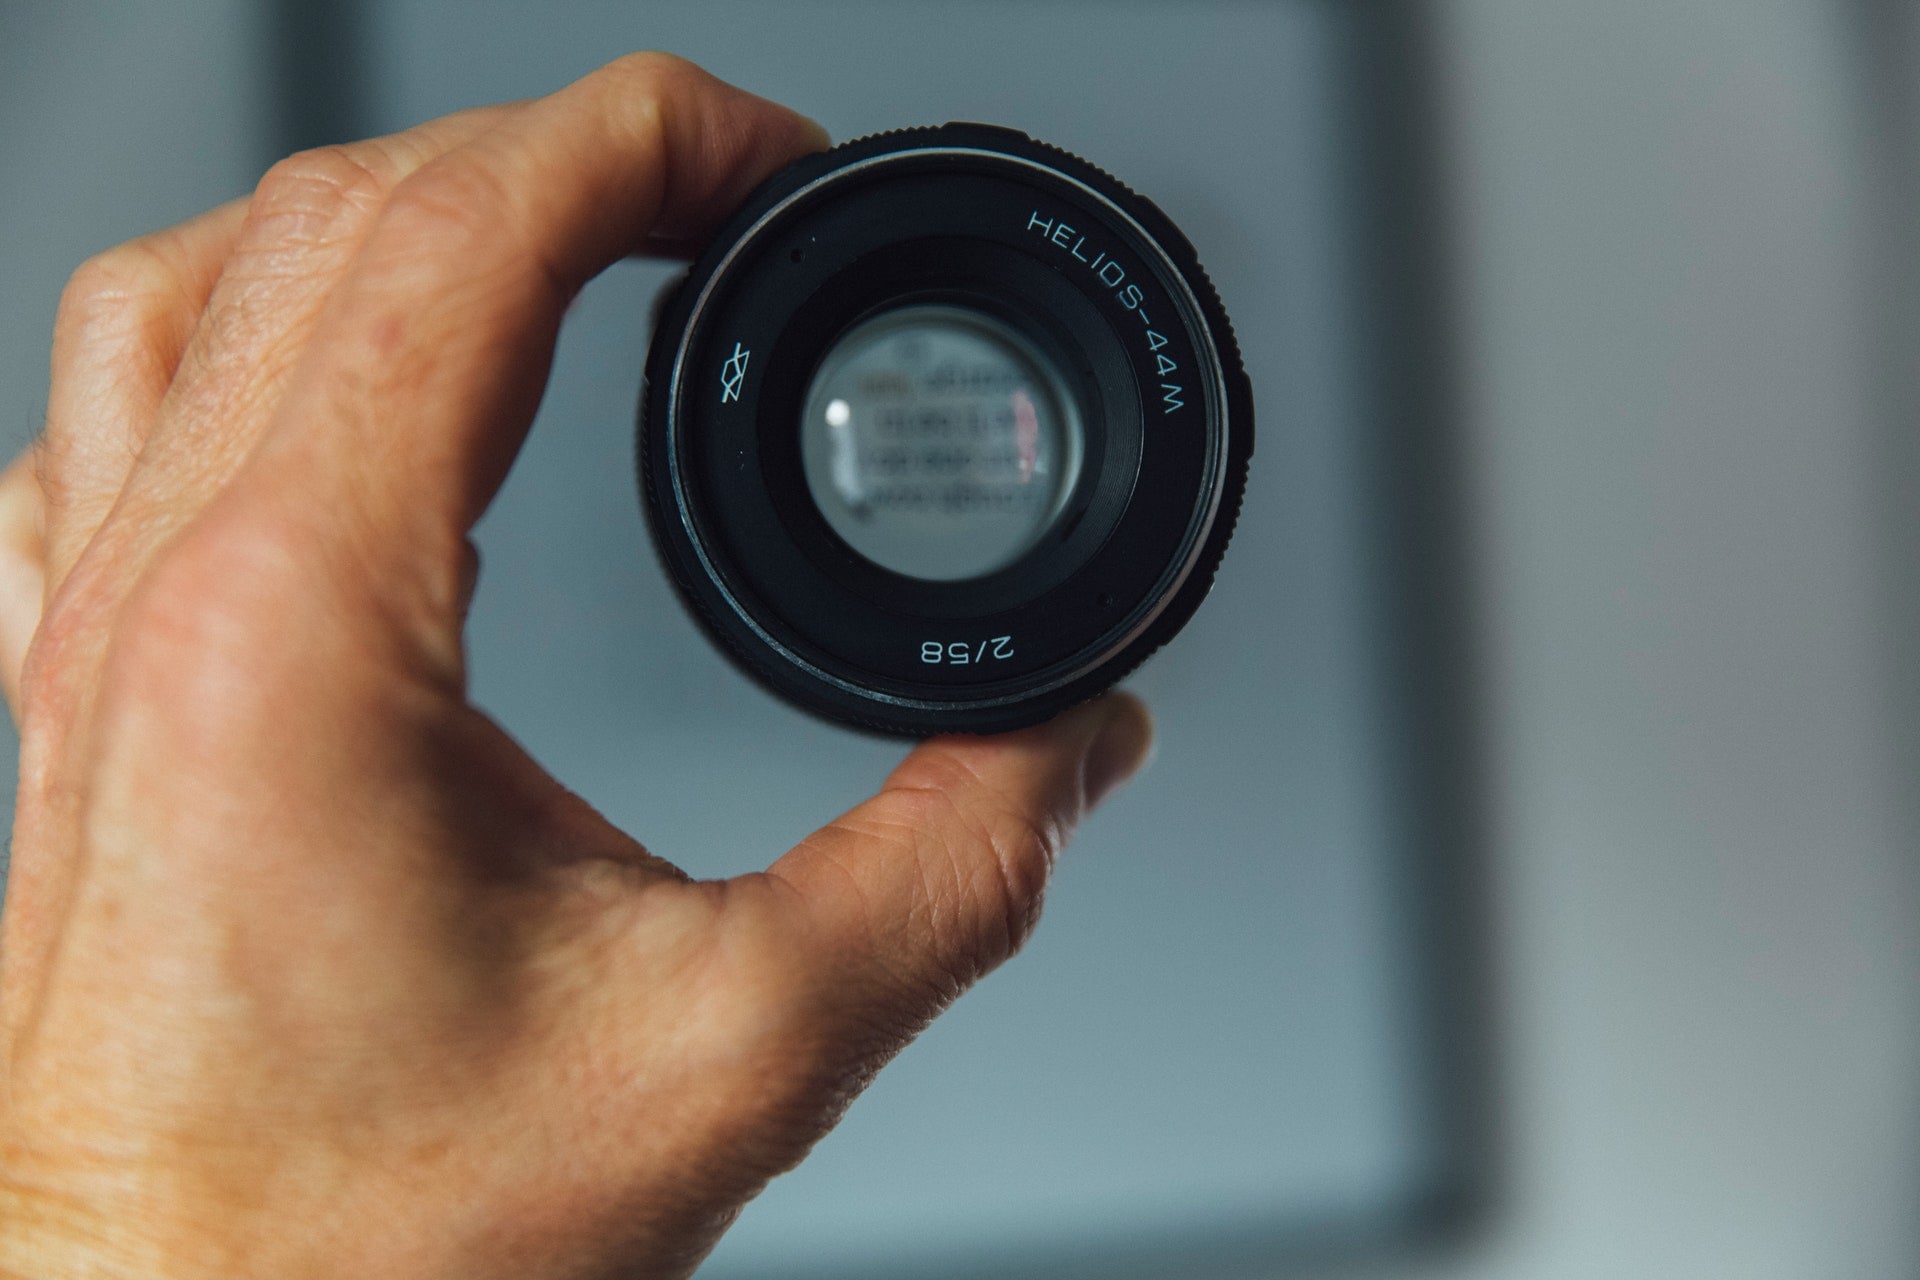
Whenever conditions permit, resting your baseline aperture around f/8 to f/11 provides a sweet spot for optical resolution while leaving ample latitude to adjust up or down quickly. In rapidly changing situations, automated Program (P) mode remains a practical fallback.
2. Calibrate ISO Sensitivity Judiciously
ISO represents the final hurdle of digital sensor fidelity. The rule of thumb: low ISO yields maximum image clarity and dynamic range, while high ISO introduces digital chroma and luminance noise.
Whenever ambient light permits, keep ISO at the lowest native sensitivity (ISO 64 to 100 on high-end full-frame sensors; ISO 200 on baseline crop bodies). In bright daylight, keep ISO under 200–400.
Indoors or under dim evening skies where shutter speeds drop below handheld thresholds, increase sensitivity to ISO 640–1600. When candid street scenes shift rapidly, enabling Auto ISO with a designated minimum shutter threshold is completely legitimate—capturing a sharp moment with some digital grain is far better than losing it to motion blur.
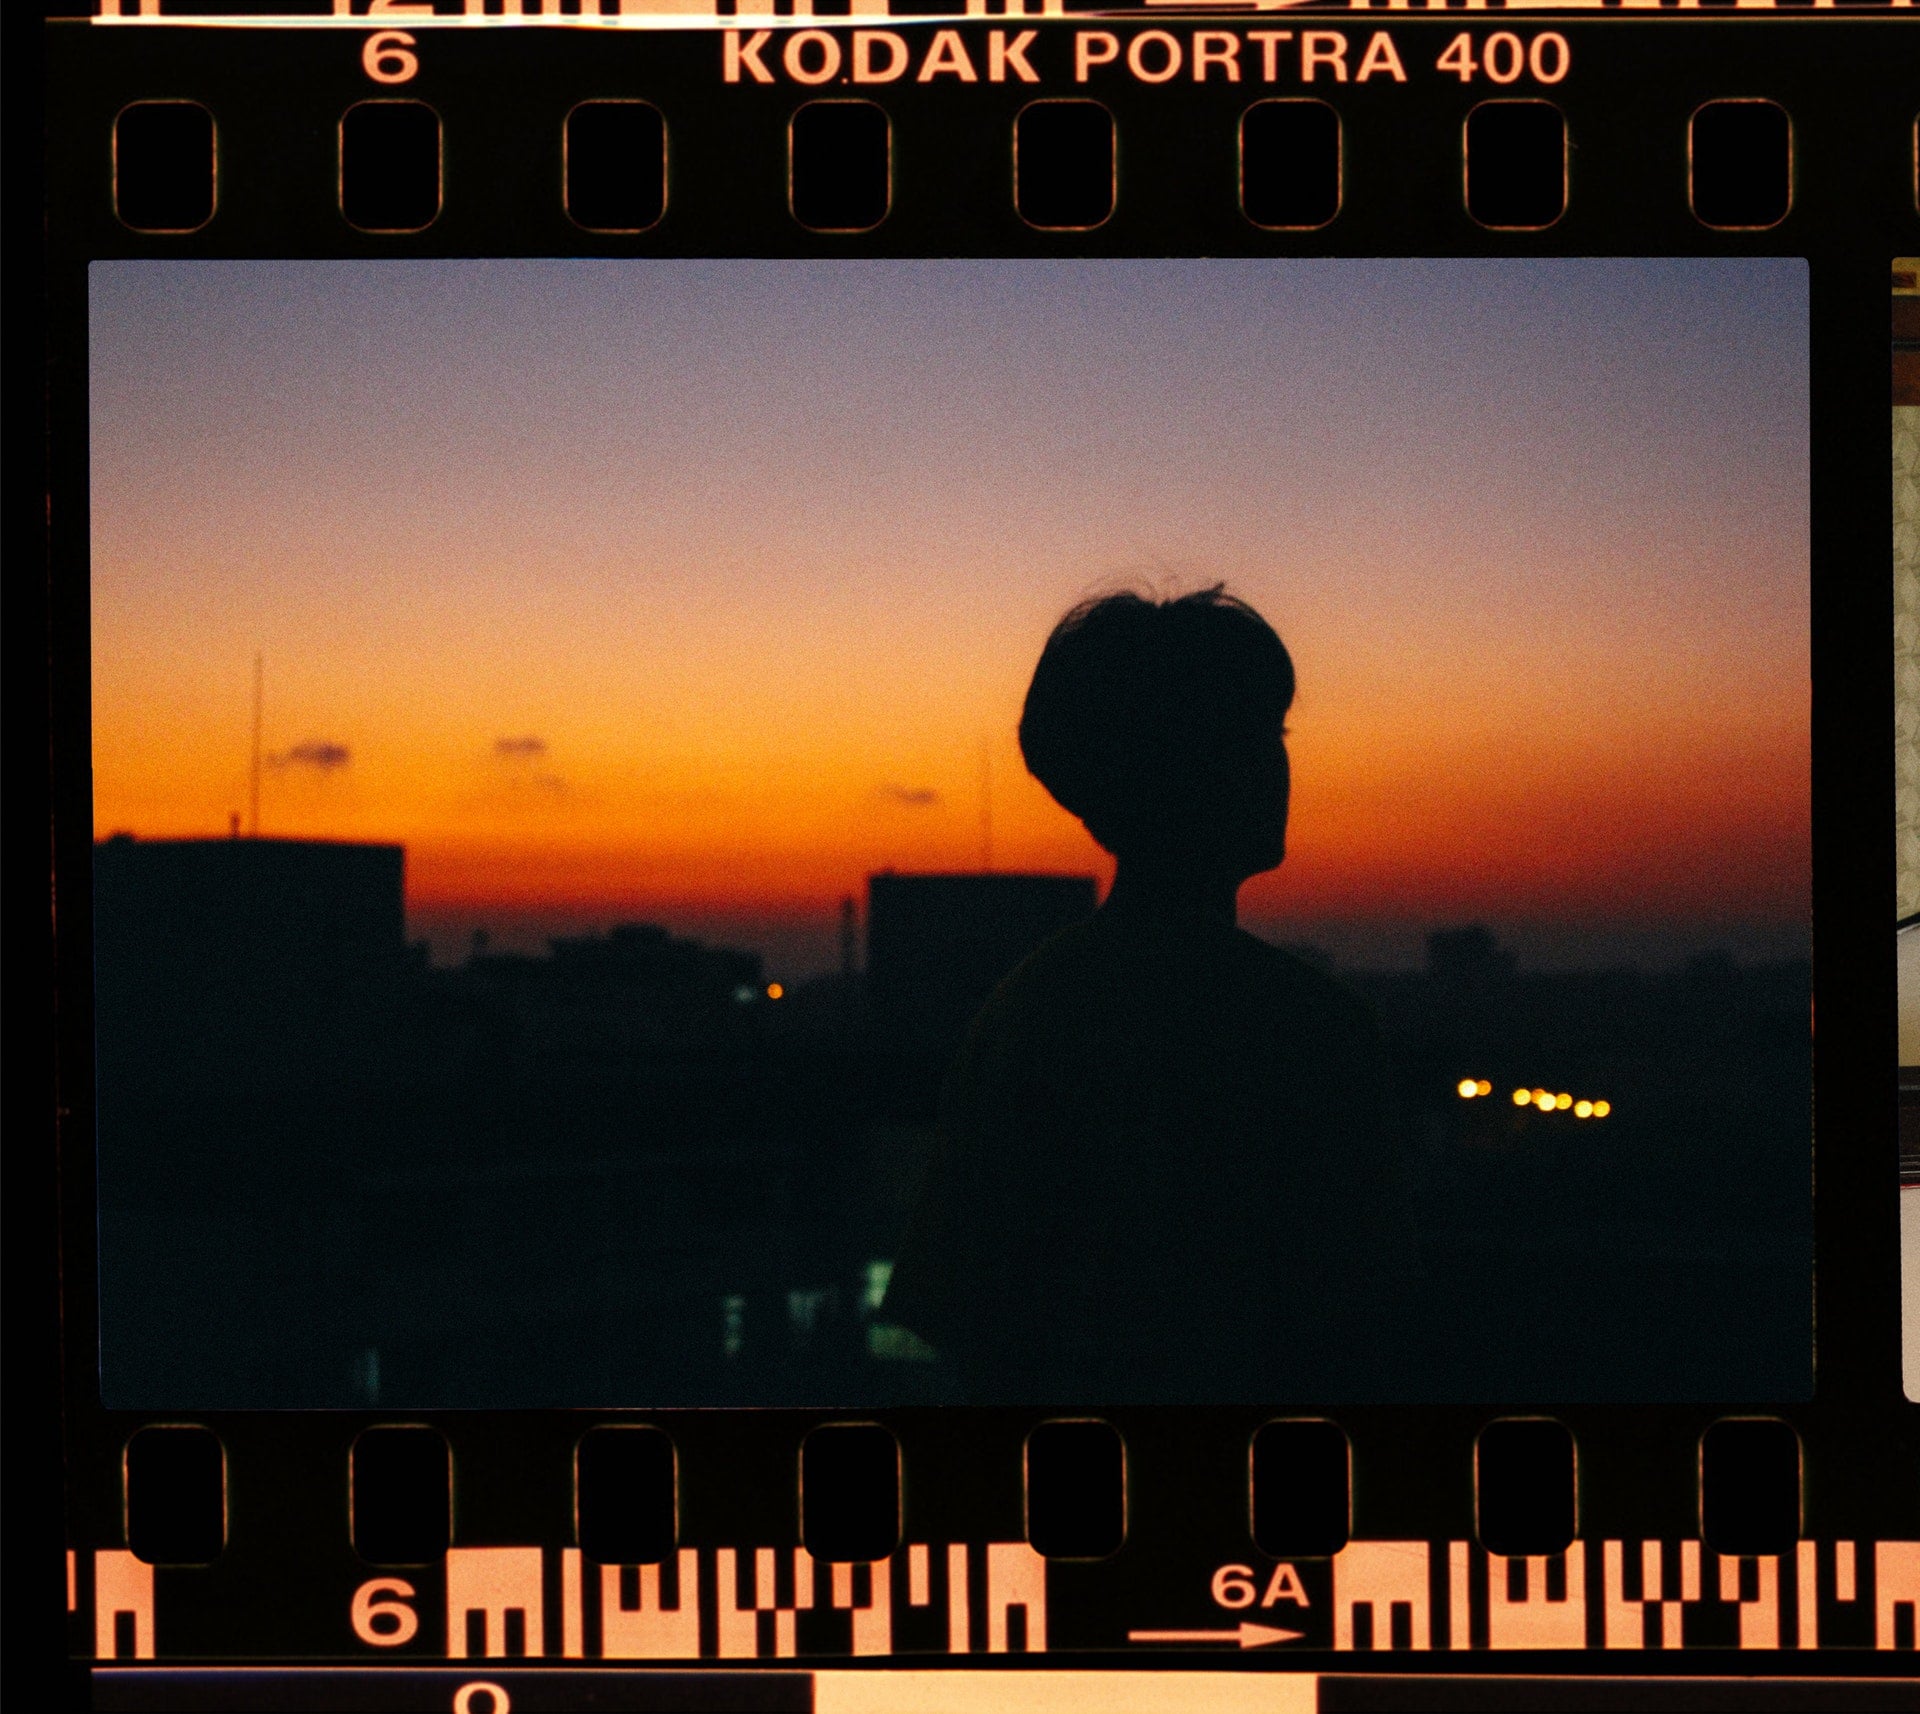
3. Auto Exposure Lock (AE-L) and Focus Lock (AF-L)
Mastering your camera’s AE-L (Auto Exposure Lock) button is vital for travel. Street scenes change rapidly, and locking your metering settings allows you to pre-emptively dial in exposures.
For example, when waiting for a subject to walk into a sunlit archway, you can meter off an identical patch of light, engage AE-L, and wait to trigger the shutter the instant the subject enters the frame.
On my Nikon D810, the rear AE-L/AF-L button is configured specifically for Exposure Lock only. This preserves stable exposure across a series of frames under uniform lighting, while letting the autofocus re-acquire subjects dynamically without getting stuck on old focal planes.
4. Master Exposure Compensation (EV Adjustment)
Modern matrix and evaluative metering systems calculate average 18% middle-gray reflectance. In high-contrast environments—such as dazzling white snowscapes or bright beaches—the camera’s meter assumes the scene is overly bright and underexposes the shot. Conversely, dark nighttime alleyways fool meters into overexposing shadows.
Follow this classic rule: add positive EV (+0.7 to +1.3 EV) for bright white scenes (add white to white), and apply negative EV (-0.7 to -1.3 EV) for predominantly dark backgrounds.
Because modern digital sensors boast superior highlight and shadow dynamic range, slightly overexposing without clipping highlights (ETTR: Expose to the Right) captures richer shadow detail that can be cleaned up cleanly in post-processing.
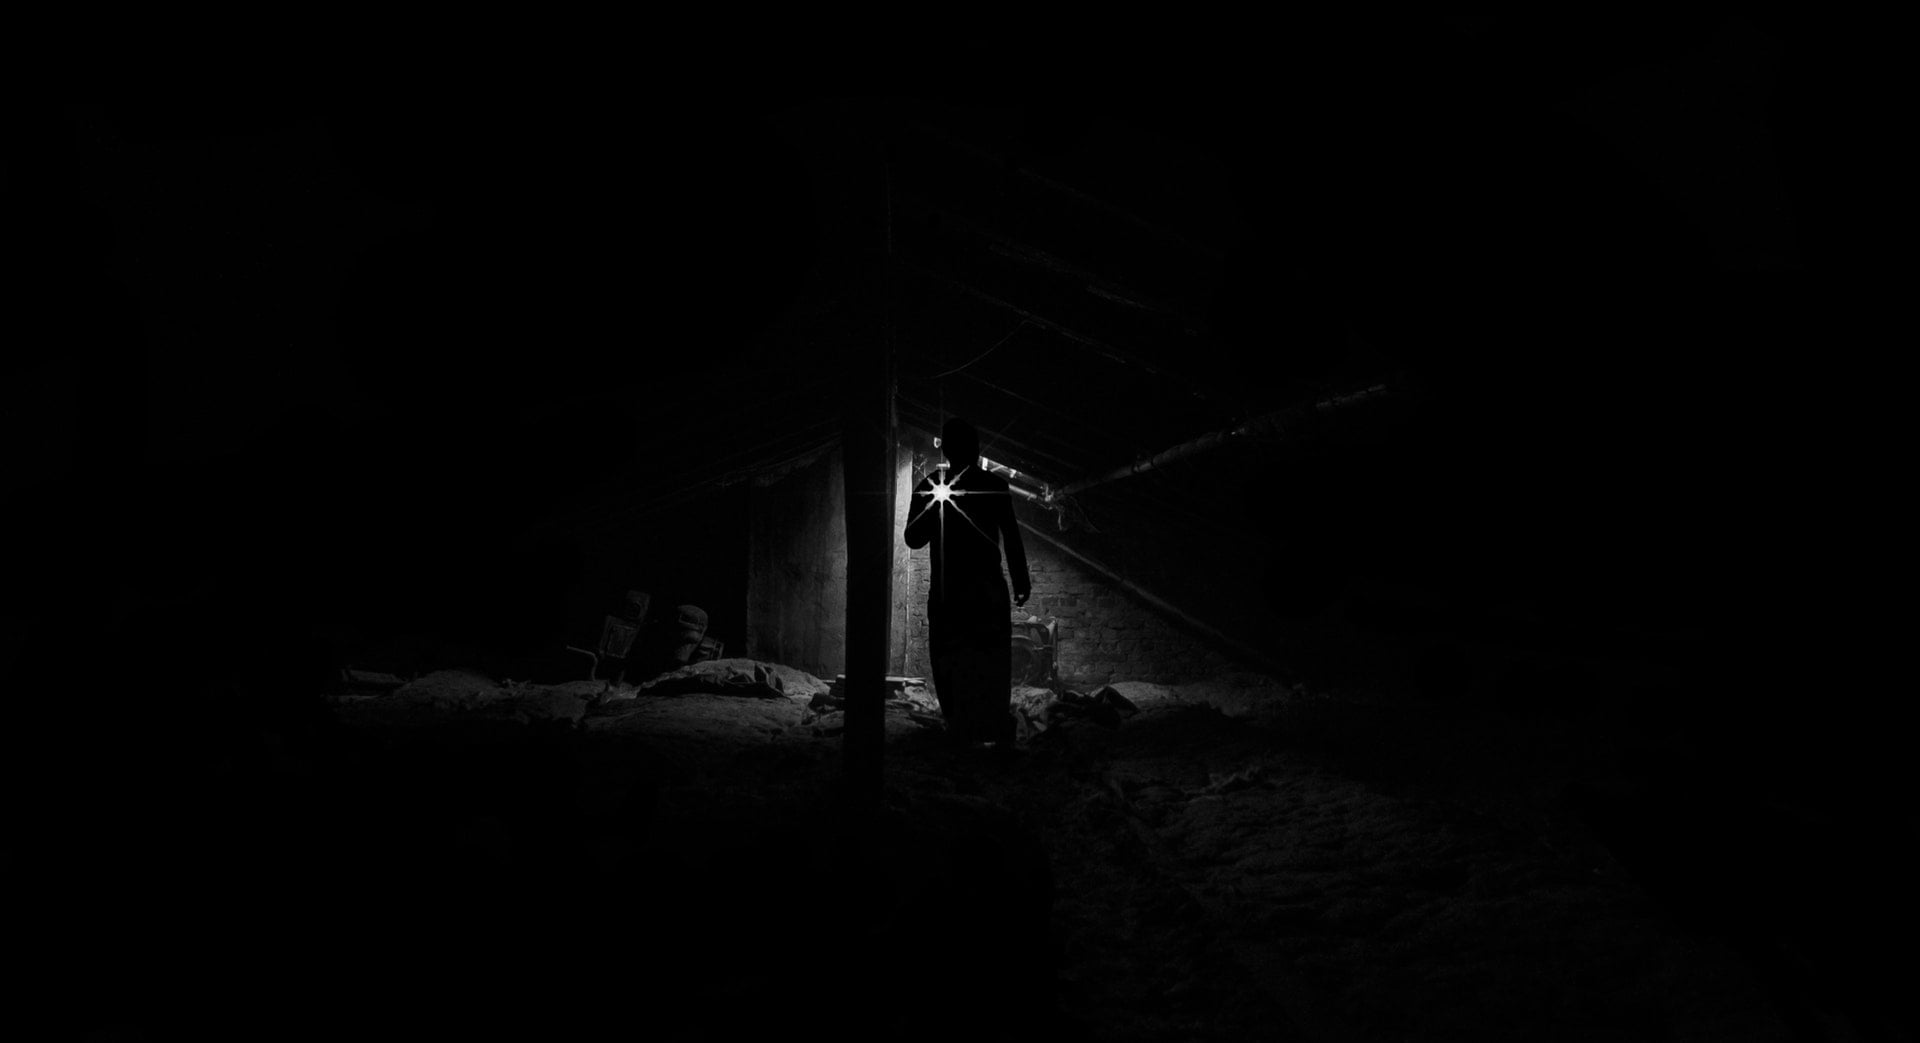
5. Shoot in Uncompressed RAW
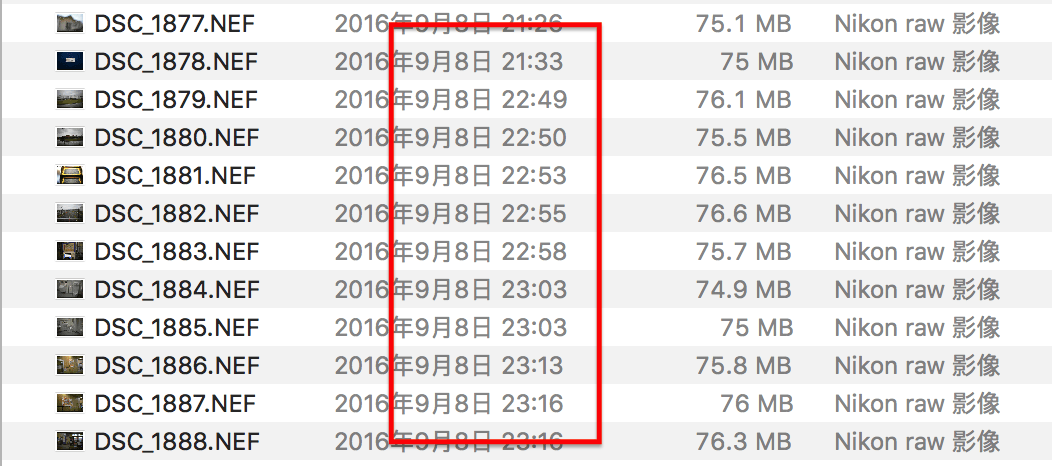
RAW represents unprocessed sensor data directly from the camera. While RAW files occupy substantial storage, they preserve maximum bit depth, wide dynamic range, and non-destructive white balance flexibility.
On long journeys where memory card capacity runs low, dropping down to fine high-resolution JPEG is an acceptable pragmatic compromise, but whenever possible, shooting RAW guarantees your best shots can be fully realized during digital darkroom development.
6. Ensure Precise, Calibrated Focus
My essential bonus tip is learning to verify and calibrate true focus accuracy.
A close friend recently invested in high-end photographic gear and joined portrait workshops. Reviewing his images, however, something felt consistently off—edges were perpetually soft. Inspecting his setup revealed a subtle front-focus discrepancy between his fast prime lens and camera body, meaning the phase-detect autofocus was misaligning the focal plane.
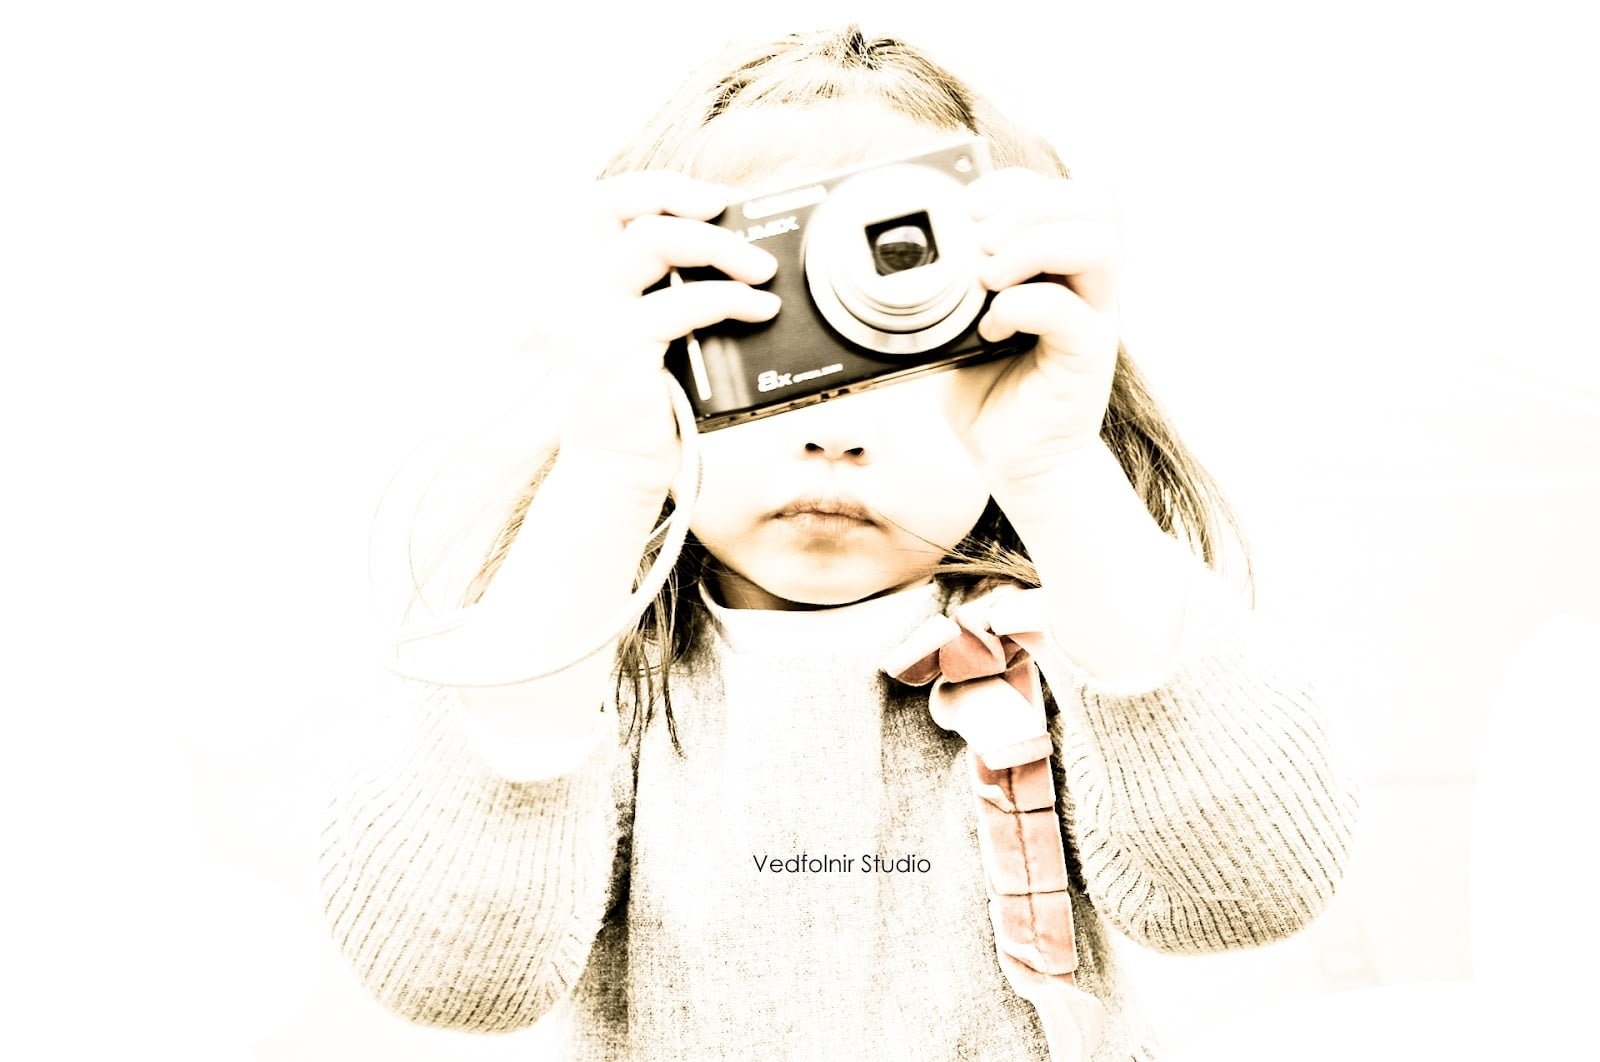
Photo / Jinliang Lin
Using in-camera AF Fine-Tune (or calibration tools like the Spyder LensCal target), we calibrated the micro-focus offset, immediately restoring biting sharpness across wide-open apertures.
Before embarking on significant journeys, verify your lenses are properly calibrated. Review test shots on the LCD at 100% magnification to confirm that critical focus locks onto the eyes of your subjects. Mastering razor-sharp focus is the fundamental foundation upon which all creative photography rests.
Support Independent Perspectives & In-Depth Insights
Every thoughtful analysis and candid critique comes from our dedication to truth and quality. We choose not to follow sensational algorithms or clickbait headlines.
Sustaining independent research requires reader support. Make a one-time or monthly contribution, securely processed by Google.
Payments secured by Google · Manage or cancel anytime in your Google Account


Comments