
Today, we are taking an in-depth look at Microsoft’s flagship operating system—“Windows 10”—providing a comprehensive step-by-step upgrade and installation walkthrough!
Windows 10 has been praised by Microsoft as a generational milestone, uniting the dependable workflow of Windows 7 with the modern touch versatility of Windows 8. If your PC is currently running Windows 7 or Windows 8.1 and you’d like to experience this new OS, simply follow this guide to complete a seamless upgrade.
1. Launching the Official Upgrade Tool and Pre-Checks
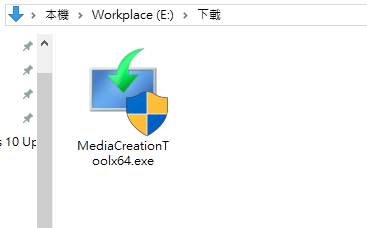
The safest and most reliable method to upgrade to Windows 10 is via Microsoft’s official “Media Creation Tool.”
After running the installer, select “Upgrade this PC now.” The tool will connect to Microsoft servers in the background to download the latest Windows 10 installation files.

Once the download is verified, the setup will present the official “Applicable notices and license terms.” Review the terms and click Accept to proceed.
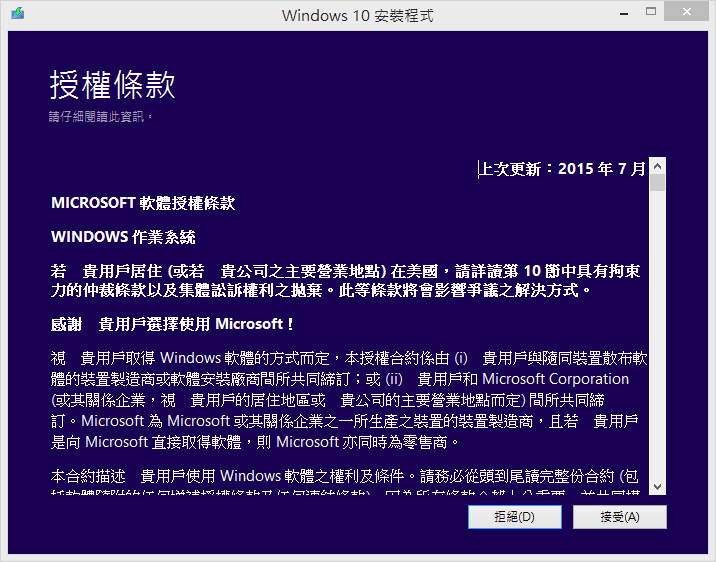
The setup wizard will then run “Getting updates,” contacting Windows Update servers to download compatible device drivers and essential security rollups to ensure optimal hardware compatibility during setup.

Once compatibility checks pass, the tool will display “Making sure you’re ready to install,” followed by a summary screen confirming “Ready to install Windows 10” and your current retention preferences.

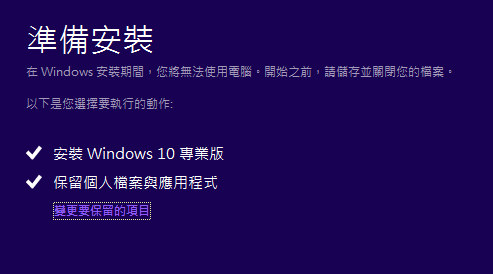
2. What Data Can You Keep When Upgrading to Windows 10?
Before clicking “Install,” pay close attention to the “Change what to keep” link. Your available options depend on the version of Windows currently installed on your PC:
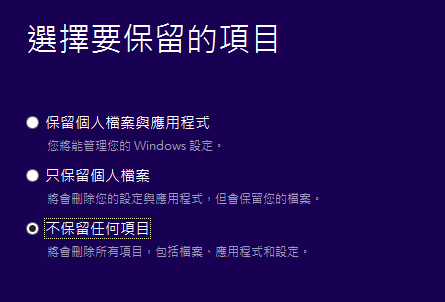
There are three primary retention tiers:
- Keep personal files and apps:
The easiest, pain-free upgrade option. This preserves system settings, desktop backgrounds, browser favorites, and all user files located in folders like Desktop, Documents, and Downloads. Most compatible desktop applications will launch seamlessly right after the upgrade. - Keep personal files only:
This retains documents, photos, and files in your user profile directory, while wiping out all installed third-party programs. This is ideal if your current system has accumulated bloatware over years of use and needs a fresh start without sacrificing personal documents. - Nothing (Clean Install):
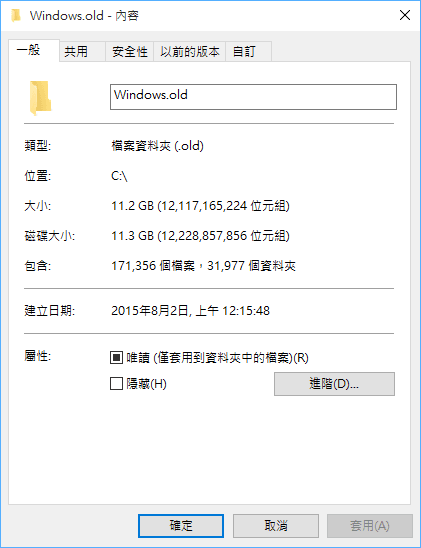
Completely wipes all installed software, settings, and apps from the system drive. Legacy personal files will be archived into aWindows.oldfolder on the root of your C drive.
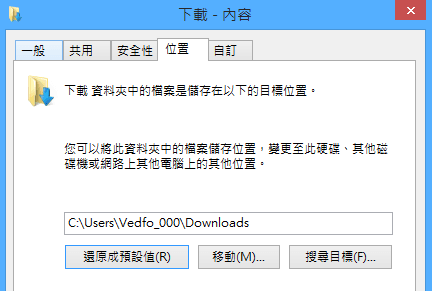
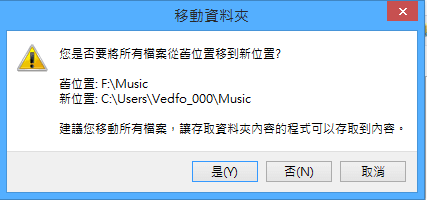
Additionally, review the disk allocation of default folders such as Downloads. If needed, relocate storage paths to an alternate partition beforehand to ensure your system partition has plenty of free space for the installation.
3. Tour of the Redesigned Windows 10 Interface and Core Features
During installation, the computer will automatically reboot several times. After roughly 30 to 60 minutes, you will be greeted by the refreshed Windows 10 desktop!

1. The Triumphant Return of the Start Menu
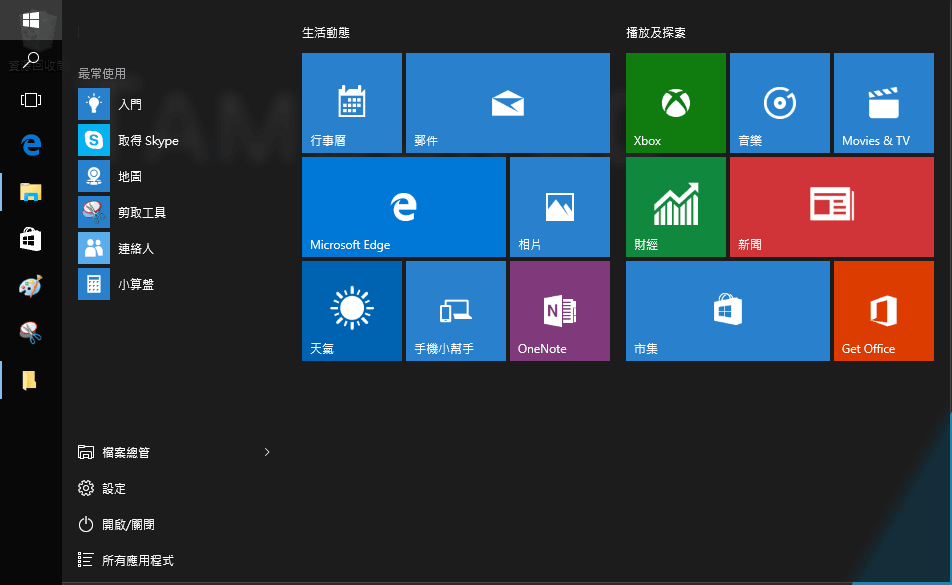
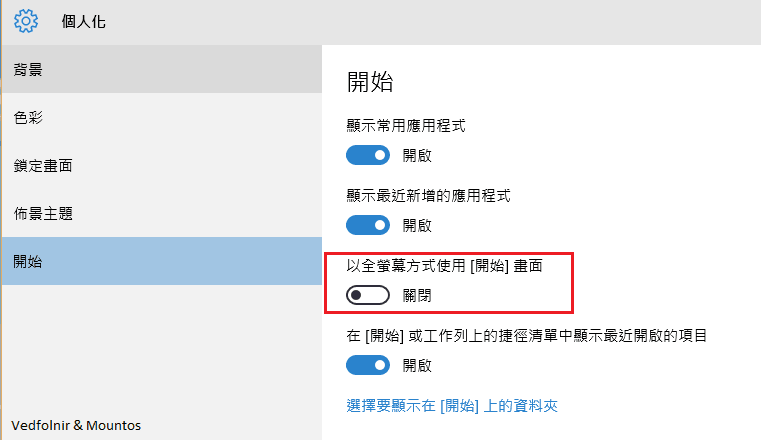
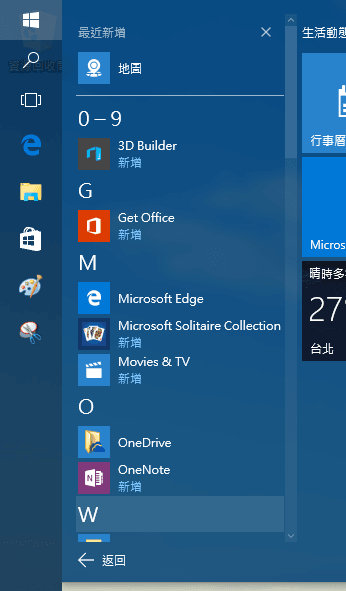
Following widespread pushback over Windows 8 removing the traditional Start button, Windows 10 introduces a hybrid design: the left column provides a familiar list of installed applications and system shortcuts, while the right side seamlessly integrates resizable, customizable Live Tiles.
2. Modern, Clean File Explorer
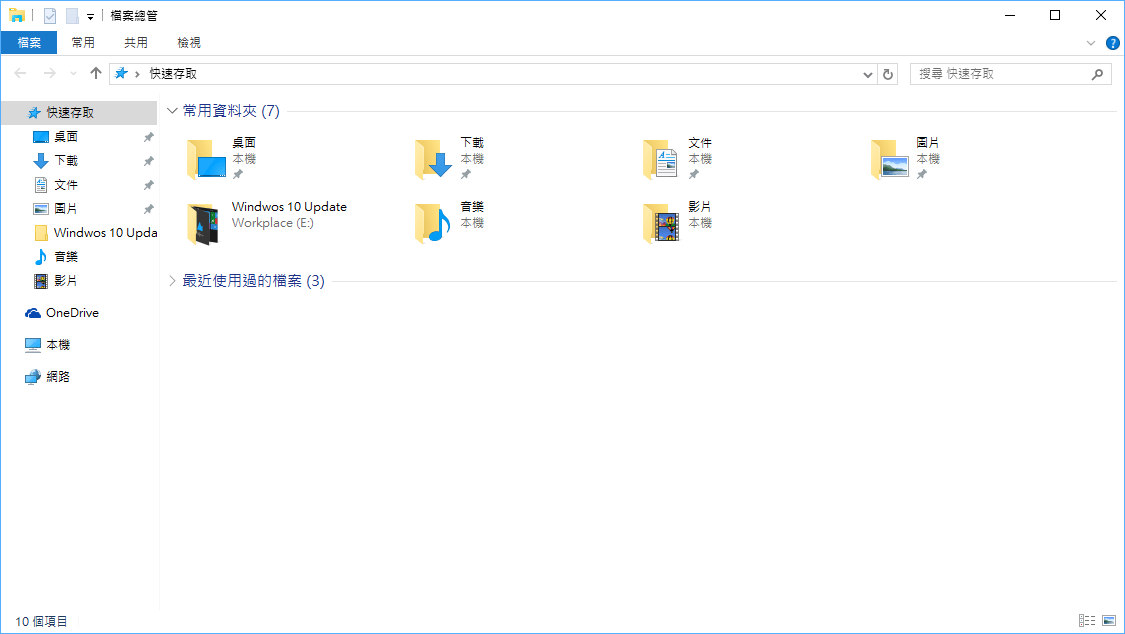
File Explorer features crisp flat iconography alongside a new “Quick Access” panel in the left sidebar, which automatically pins frequently accessed folders and recent files.
3. Multi-Desktop Virtual Workspaces (Task View)
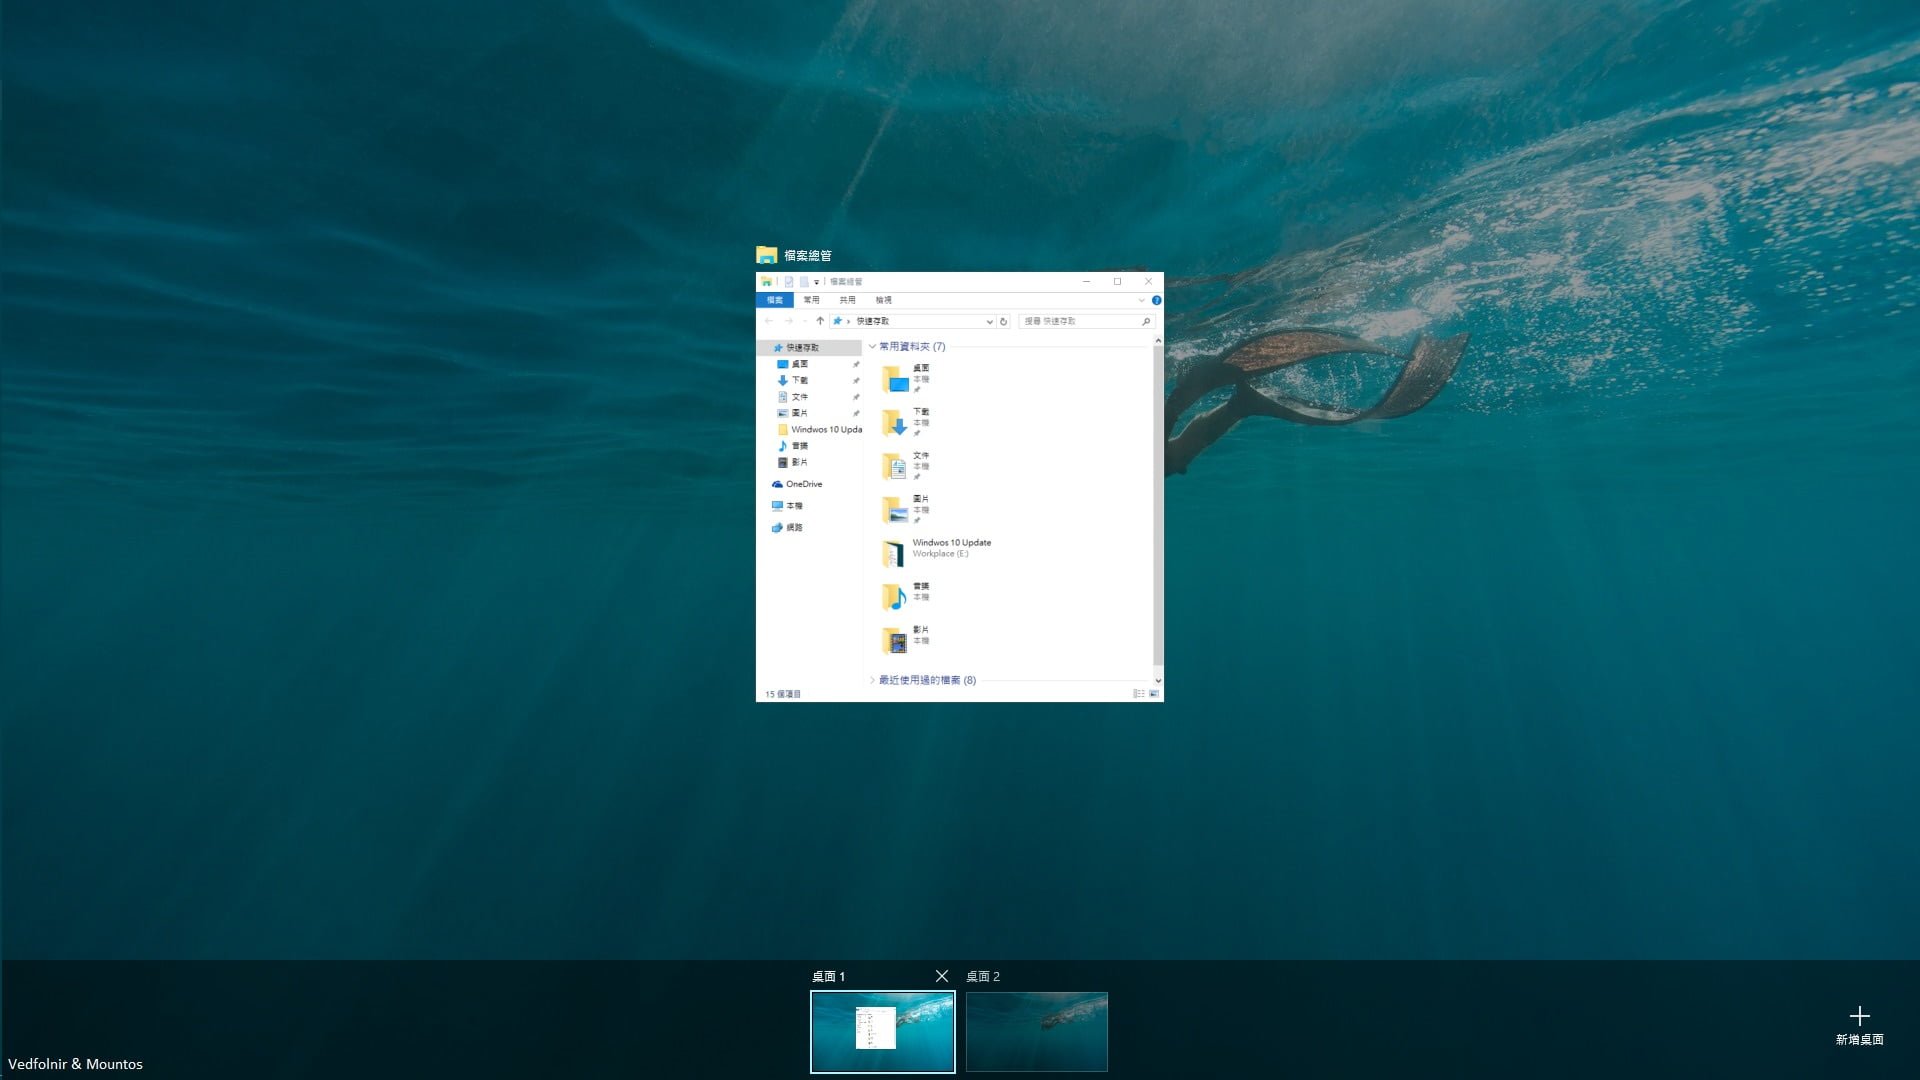
One of the biggest productivity upgrades in Windows 10! Clicking the Task View icon on the taskbar (or pressing Win + Tab) reveals all running windows and lets you spin up independent virtual desktops across the top—allowing you to separate work, entertainment, and reading into distinct spaces.

4. Dual-Track Settings App and Classic Control Panel
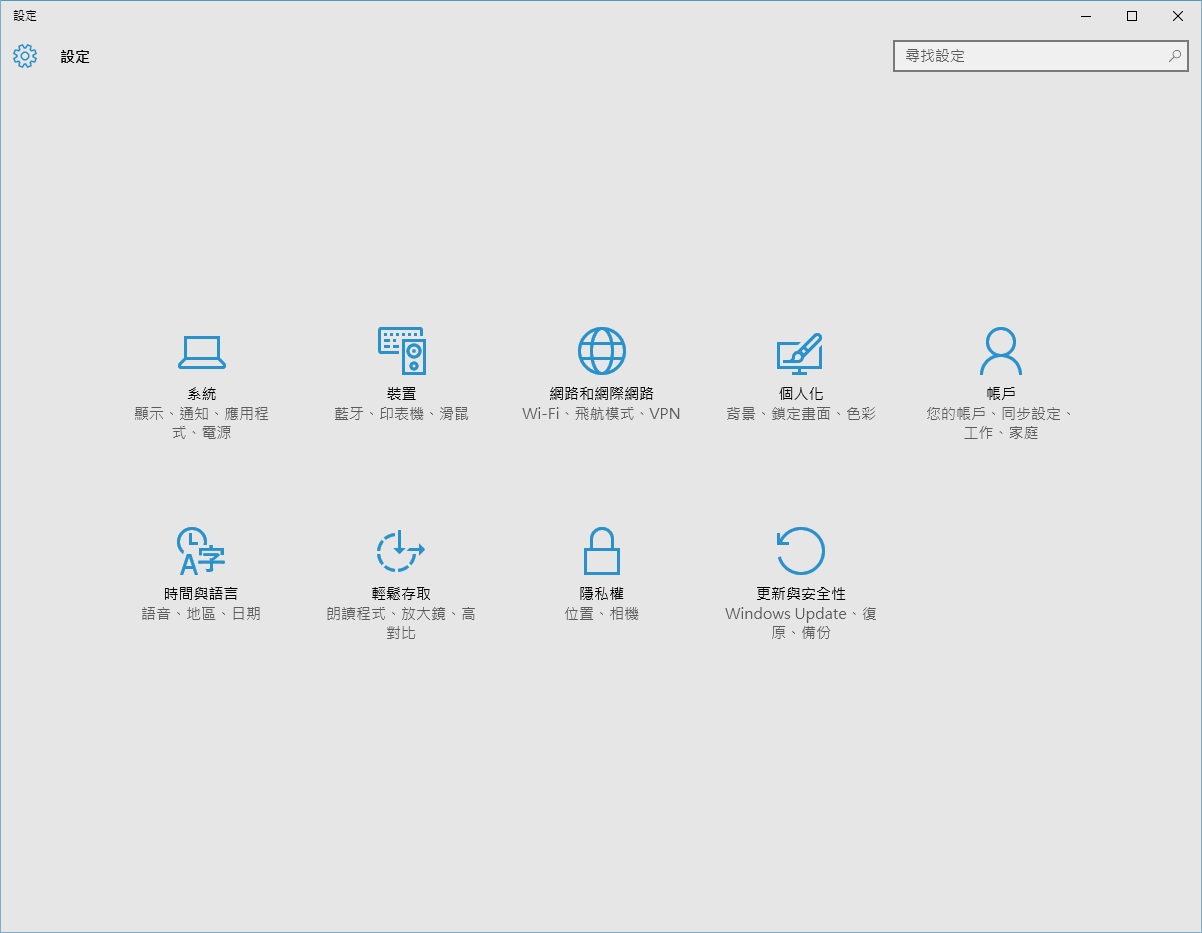
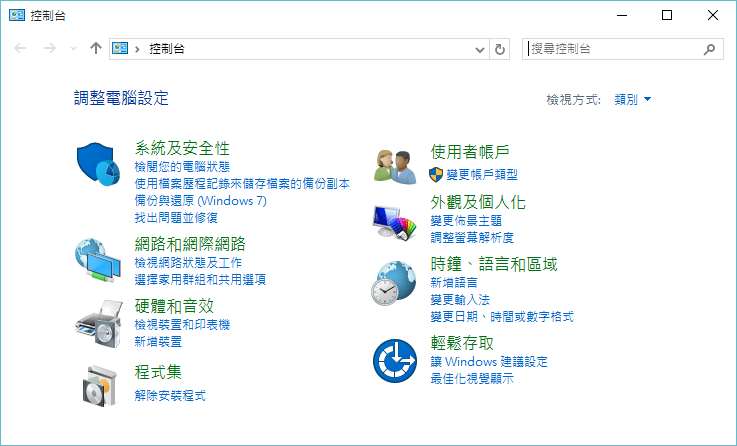
For system administration, Windows 10 provides a touch-friendly, streamlined “Settings” app while fully retaining the legacy Control Panel for advanced power users. Right-clicking the Start button brings up the handy Quick Link menu (Win + X).

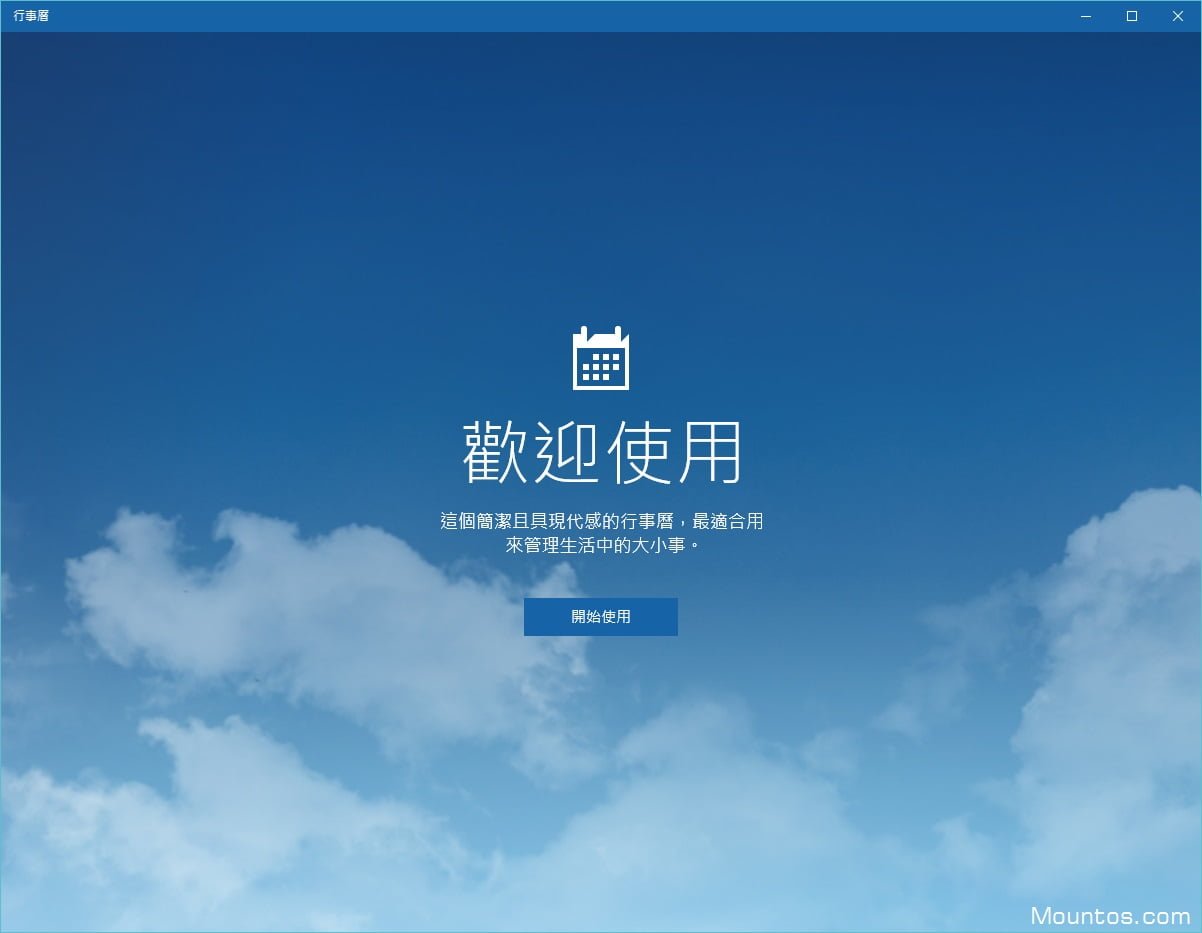
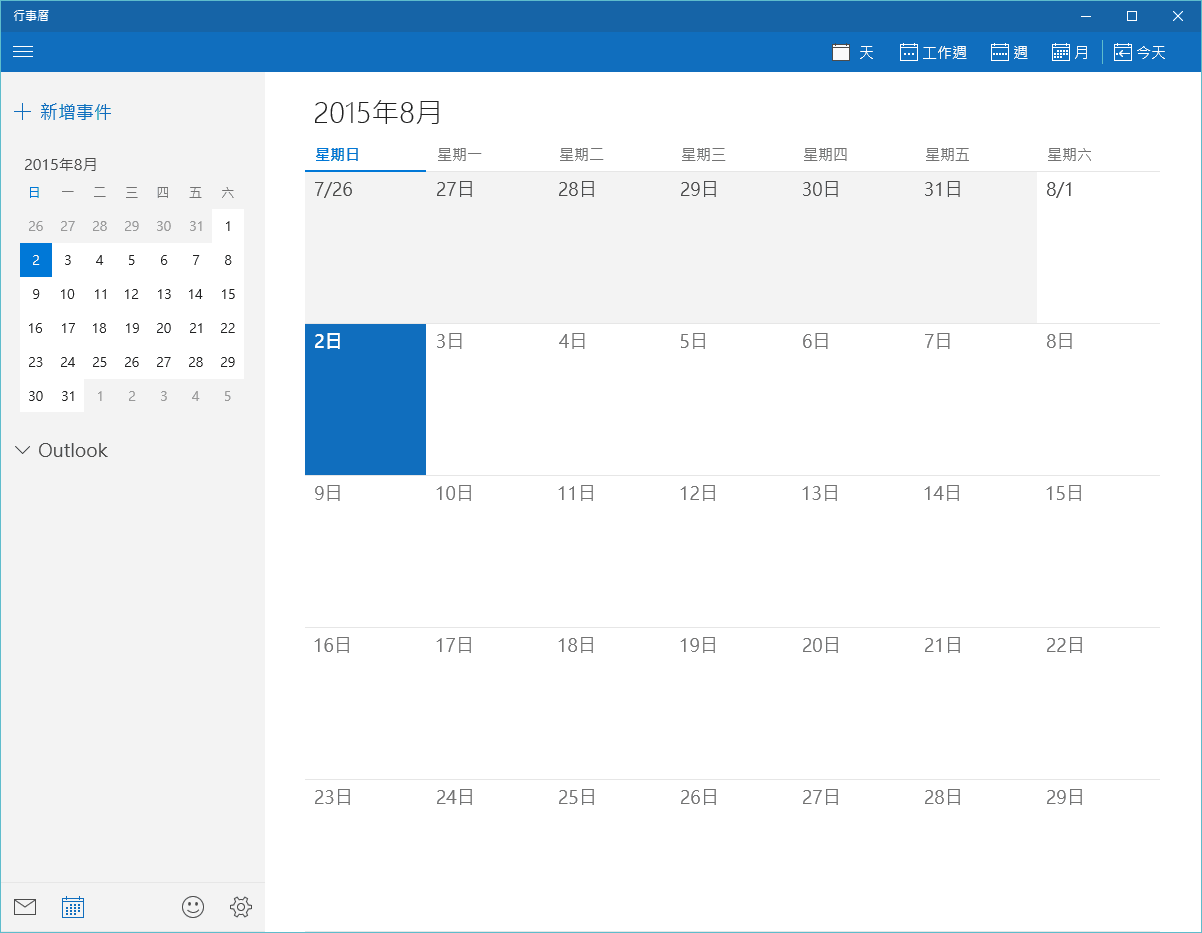
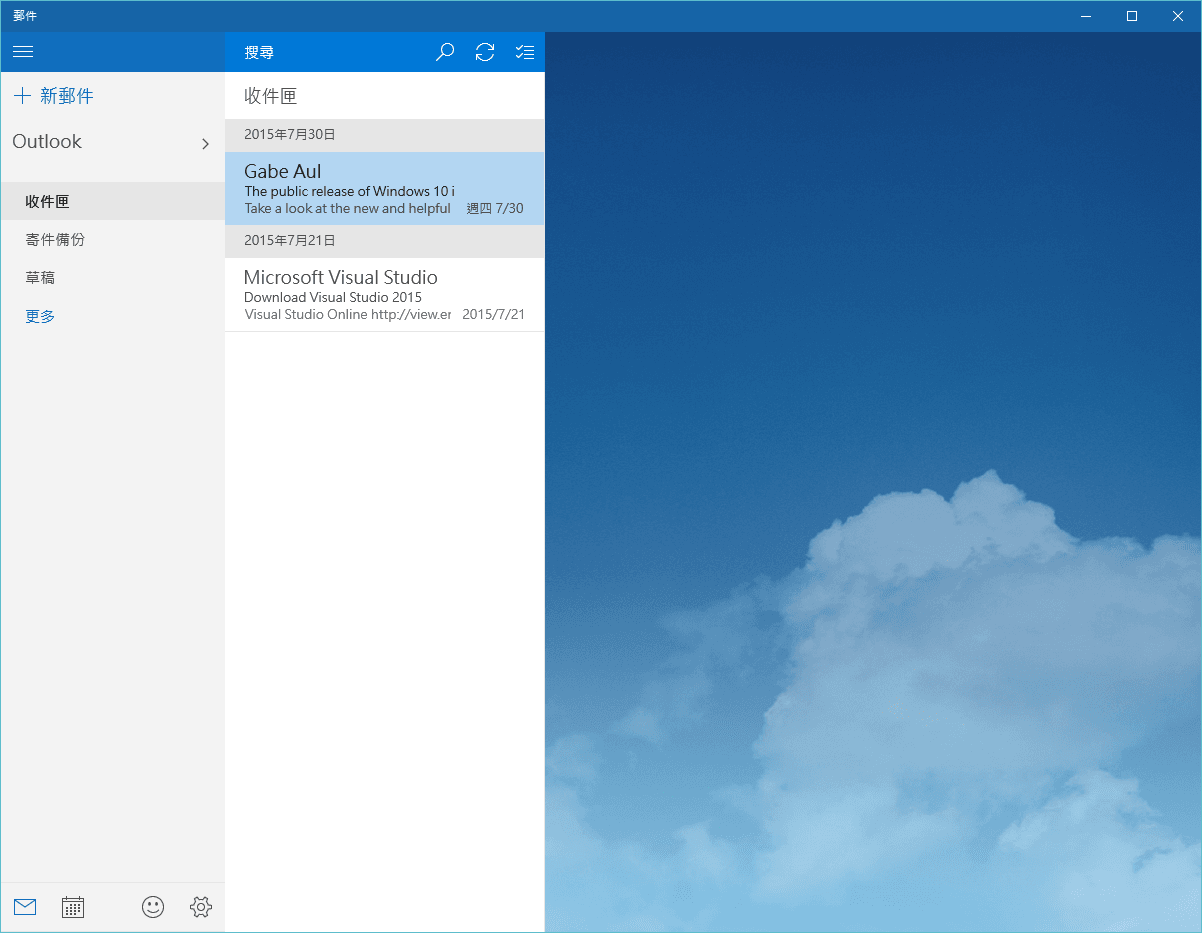
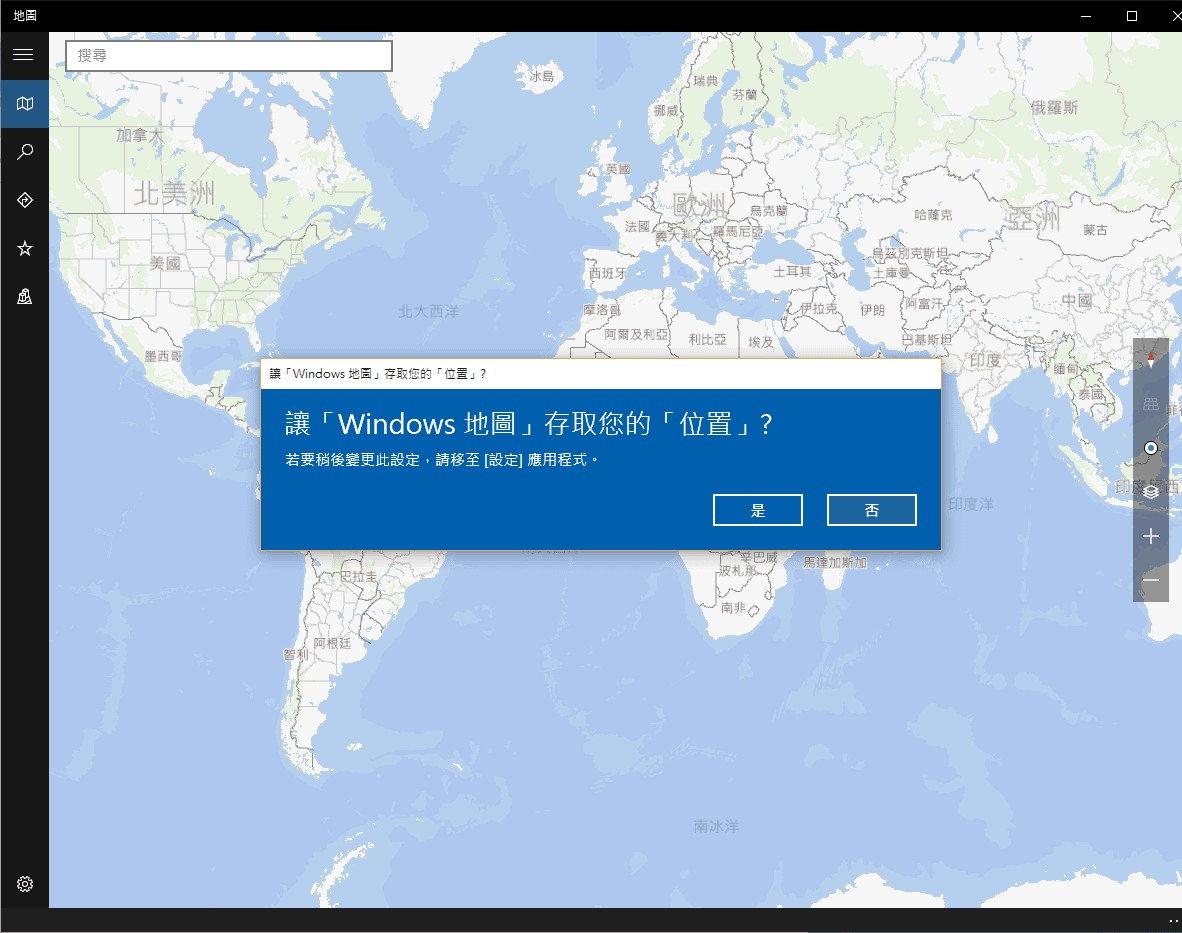
5. Built-in Productivity and Lifestyle Apps
Windows 10 revamps its core native application suite:
- Calendar: Supports multiple calendar synchronizations, custom color labeling, and a clean month view.
- Mail: Features multi-account inbox integration and quick swipe actions.
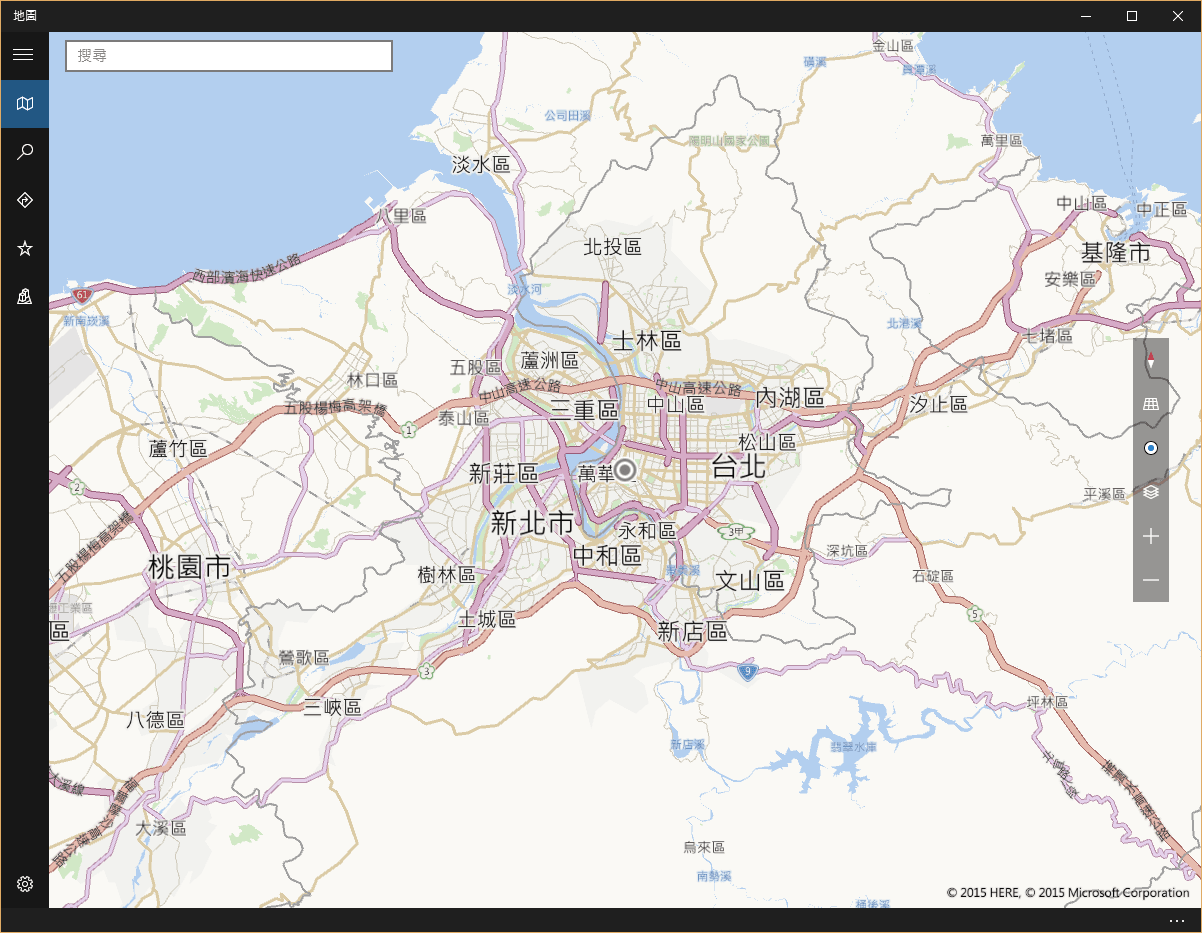
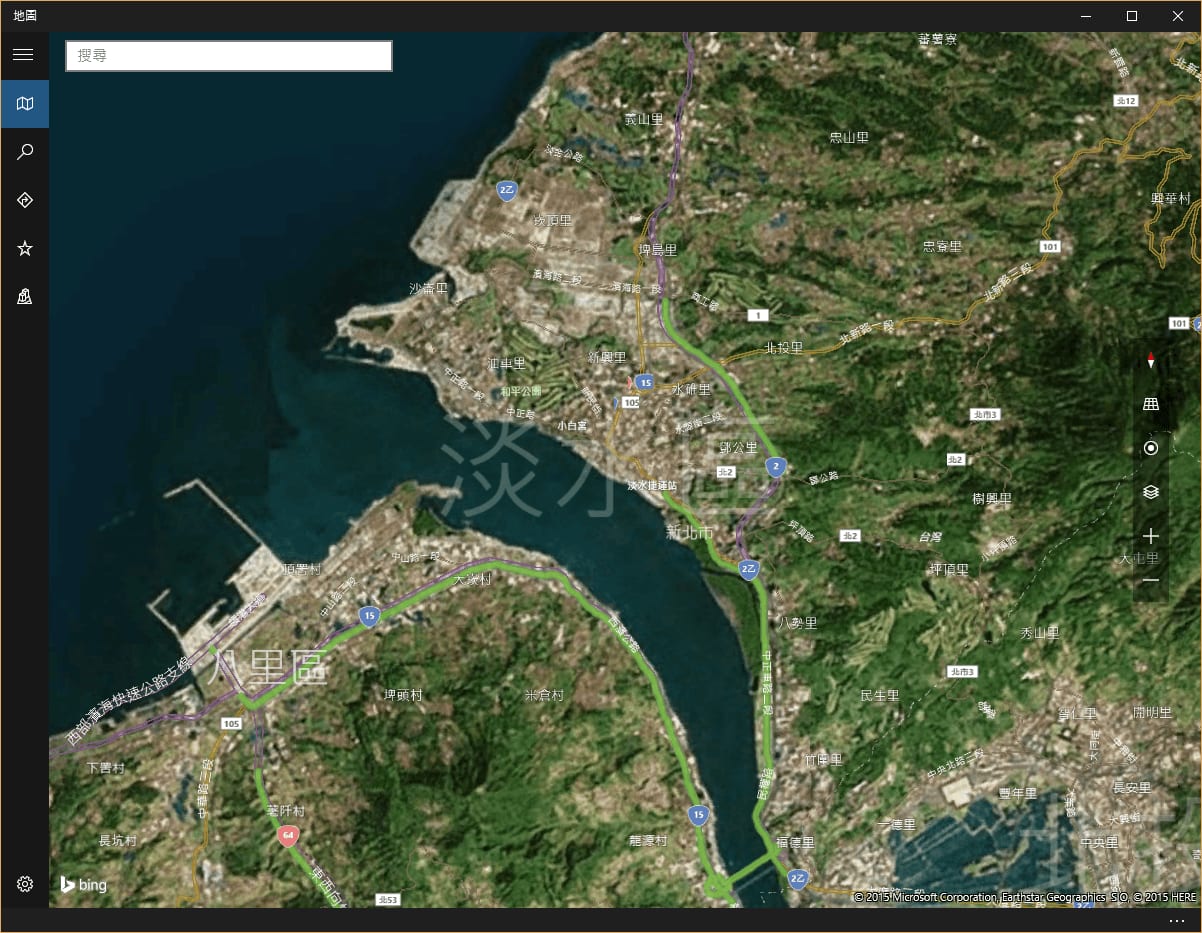
- Maps: Powered by Bing Maps, providing precise geolocation, high-res satellite imagery, and live traffic telemetry on major roadways.

4. Essential Post-Upgrade Maintenance: Reclaiming Windows.old Disk Space
After finishing the upgrade, checking your C drive will likely reveal significantly less free space, alongside a bulky folder named Windows.old in the drive root.
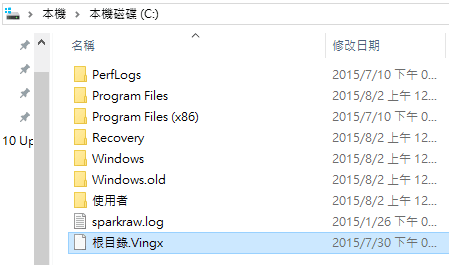
This folder is Microsoft’s built-in rollback safeguard. Within 30 days of upgrading, if you encounter critical hardware incompatibilities or software issues, you can roll back to your previous Windows version in one click.
However, once you have tested the new installation for several days and confirmed everything runs smoothly, this 20GB–40GB directory simply ties up valuable drive capacity.
How to Properly Clean Up Windows.old:
- Do not simply press Delete on
Windows.oldin File Explorer (permission locks will trigger errors). - Right-click your C drive ➔ Select Properties ➔ Click Disk Cleanup.
- In the Disk Cleanup window, click Clean up system files.
- Check the box for “Previous Windows installation(s).”
- Click OK. The operating system will safely and completely remove
Windows.old, recovering gigabytes of storage space!
Conclusion
In our hands-on testing, Windows 10 proved remarkably polished across system responsiveness, taskbar multitasking, and cross-application stability.
If you are still on the fence about leaving your legacy Windows setup behind, now is an excellent time to take advantage of the official upgrade paths and upgrade your machine to this capable, modern operating system!
Support Independent Perspectives & In-Depth Insights
Every thoughtful analysis and candid critique comes from our dedication to truth and quality. We choose not to follow sensational algorithms or clickbait headlines.
Sustaining independent research requires reader support. Make a one-time or monthly contribution, securely processed by Google.
Payments secured by Google · Manage or cancel anytime in your Google Account

Comments