

Ever since Google announced that website security would factor into search ranking algorithms, website owners and bloggers have rushed to install SSL encryption certificates across their domains.
SSL (Secure Sockets Layer) encrypts incoming and outgoing communications using 128-bit or 256-bit cryptography, safeguarding sensitive user data from eavesdropping.
In this guide, we’ll walk through the process of properly enabling SSL and forcing HTTPS on a WordPress website.
If you run a simple personal blog without user logins, you might wonder whether encrypting your traffic is truly necessary. While the direct practical risk might seem minimal, Google favors secure websites with an SEO ranking boost—making the transition well worth the effort.
Before modifying your WordPress configuration, you must obtain an SSL Certificate. There are three main ways to acquire an SSL certificate: self-signed certificates, free certificates (such as Let’s Encrypt), and commercial paid certificates. For details on sourcing one, see our guide: “How to Obtain an SSL Certificate to Boost Website Security and SEO Rankings”.
Once the certificate is issued and configured on your web server, follow these steps to complete the WordPress migration.
Step-by-Step Guide to Enabling SSL in WordPress
Step 1: Update WordPress Site URLs
Log into your WordPress admin dashboard and navigate to Settings ➔ General.
Step 2: Change URLs from HTTP to HTTPS
As shown in Figure 1, update both the WordPress Address (URL) and the Site Address (URL) to start with https://.
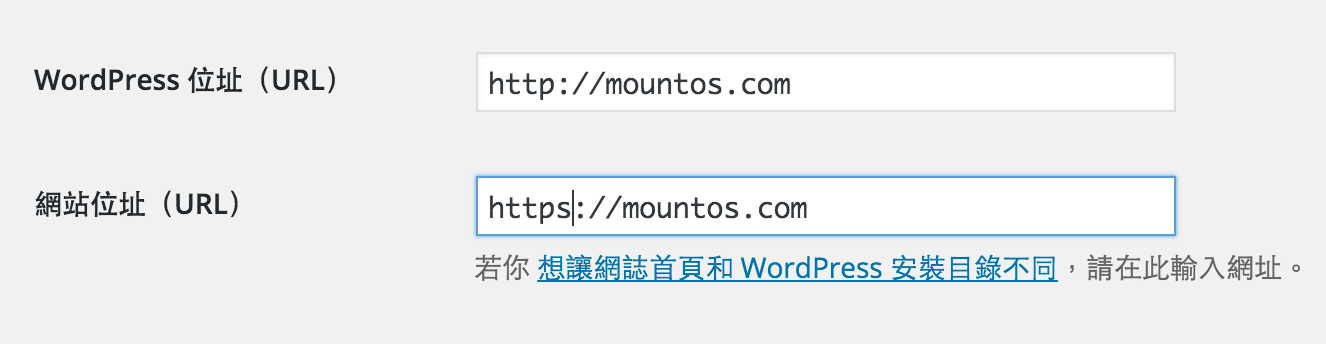 Figure 1: Updating site URLs under General Settings.
As long as your web server and reverse proxy are properly configured, opening your site via https:// should now load successfully. However, you will likely notice broken images or missing stylesheets. This occurs because existing media files and internal assets are still hardcoded with http://, triggering mixed-content security warnings. Any newly uploaded media files will automatically use https://, but legacy database entries must be updated.
Step 3: Update Media URLs in the Database
To replace legacy HTTP image links across past posts, log into phpMyAdmin, select your WordPress database, and open the SQL tab. Paste the following query into the SQL execution box and click Go (as shown in Figure 2):
UPDATE wp_posts
SET post_content = ( Replace (post_content, 'http://', 'https://') )
WHERE Instr(post_content, 'jpeg') > 0
OR Instr(post_content, 'jpg') > 0
OR Instr(post_content, 'gif') > 0
OR Instr(post_content, 'png') > 0;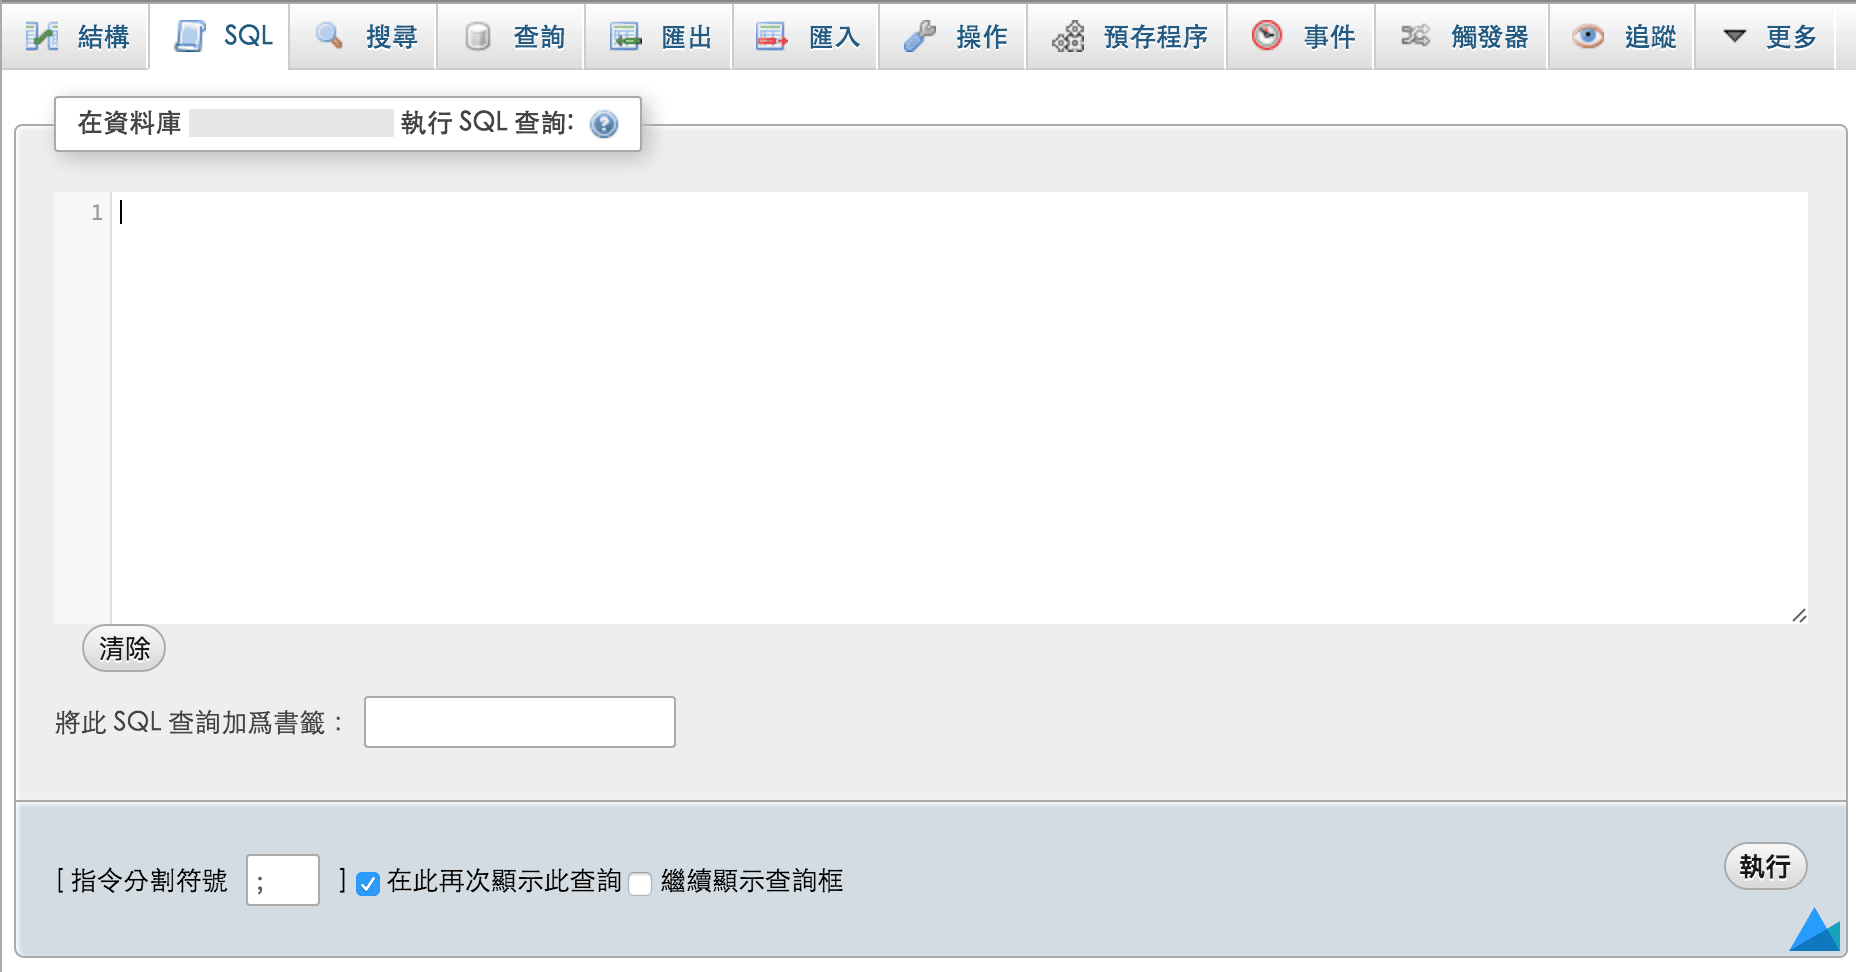 Figure 2: Running the SQL update query.
Once the query completes, phpMyAdmin will report the number of updated rows.
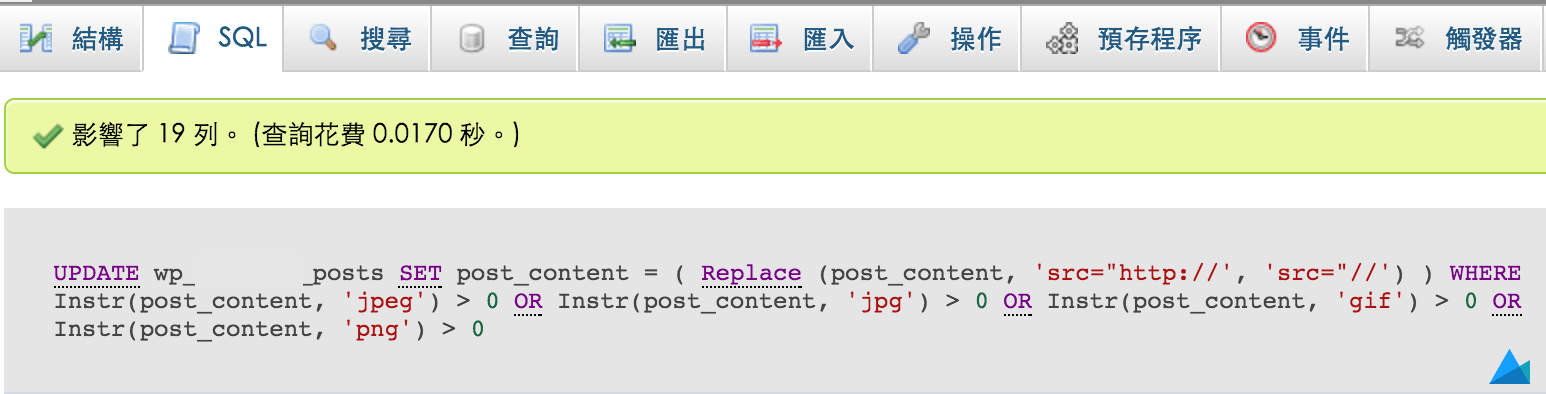 Figure 3: Database update confirmation.
Step 4: Force HTTPS via .htaccess
Finally, connect to your web server and open the .htaccess file located in your WordPress root directory. Add the following rewrite rules to redirect all incoming HTTP requests to HTTPS:
RewriteEngine On
RewriteCond %{HTTPS} off
RewriteRule (.*) https://%{HTTP_HOST}%{REQUEST_URI} [R,L]
With these steps completed, your WordPress site should now seamlessly operate over HTTPS. Test the website in an incognito window or alternate browser to confirm that the green padlock appears and that all pages and assets render without mixed-content errors.
Support Independent Perspectives & In-Depth Insights
Every thoughtful analysis and candid critique comes from our dedication to truth and quality. We choose not to follow sensational algorithms or clickbait headlines.
Sustaining independent research requires reader support. Make a one-time or monthly contribution, securely processed by Google.
Payments secured by Google · Manage or cancel anytime in your Google Account




Comments