
Ever since Google announced that whether a website supports SSL/TLS (HTTPS) secure browsing would factor into search ranking algorithms, numerous website owners and bloggers have proactively upgraded to support the green 🔒 HTTPS padlock. In this guide, I will demonstrate how to request and install free SSL certificates on a web server using Certbot (with WordPress support).
I previously wrote an article titled Tutorial on Purchasing SSL Security Certificates: Enhancing Security and SEO Ranking for Your Website/Blog, which covered buying commercial certificates. While paid options can be convenient, free certificates are readily available today. For example, “Let’s Encrypt” is currently the world’s largest free certificate authority (CA), and Certbot makes it straightforward to obtain and install certificates on your server.
Obtaining Free SSL Certificates from Let’s Encrypt
Step 1: Install Git
sudo apt-get update
sudo apt-get upgrade
sudo apt-get install git
Step 2: Install Certbot
cd /tmp
git clone https://github.com/certbot/certbot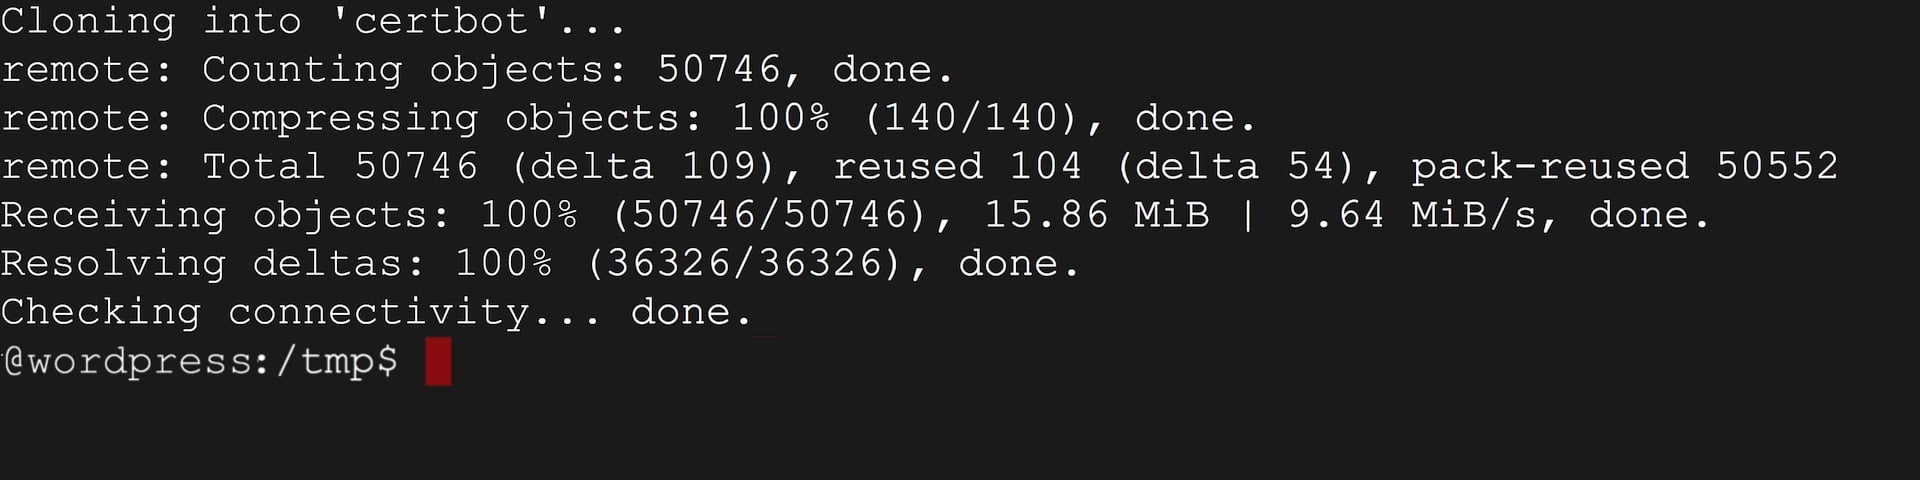
Step 3: Request Free SSL Certificates via Certbot
cd certbot
./certbot-auto
During execution, when prompted with "Do you want to continue? [Y/n]", type "Y" and press Enter to continue.
If you encounter an error like the one below, do not worry. Automated scripts cannot account for every server environment; we can simply complete the subsequent steps manually.
Failed to find executable apache2ctl in PATH: /opt/bitnami/varnish/bin:/opt/bitnami/sqlite/bin:/opt/bitnami/php/bin:/opt/bitnami/mysql/bin:/opt/bitnami/apache2/bin:/opt/bitnami/common/bin:/usr/local/sbin:/usr/local/bin:/usr/sbin:/usr/bin:/sbin:/binTo resolve this issue, run the following command directly from within the certbot directory:
./certbot-auto certonly --webroot -w /var/html/www/ -d DOMAIN🔥 Important Notes:
- Replace
/var/html/wwwwith the actual path to your server’s WordPress document root. - Replace
DOMAINwith your actual domain name.
After executing the command above, the system will ask for your email address. Enter the dedicated email address you want associated with certificate notices. After that, you will see two simple confirmation prompts; type "A" and "Y" respectively to confirm.
If you hit a "DNS problem: SERVFAIL looking up A for DOMAIN" error, check whether your domain registrar’s (such as NameCheap) DNS settings have propagated properly. If they look correct, check if DNSSEC is enabled; try temporarily disabling it if necessary.
Once the issuance succeeds, you will see output similar to this:
IMPORTANT NOTES:
 - Congratulations! Your certificate and chain have been saved at:
   /etc/letsencrypt/live/DOMAIN.com/fullchain.pem
   Your key file has been saved at:
   /etc/letsencrypt/live/DOMAIN.com/privkey.pem
   Your cert will expire on 2018-03-08. To obtain a new or tweaked version of
   this certificate in the future, simply run certbot-auto again. To
   non-interactively renew *all* of your certificates, run "certbot-auto renew"
Certbot file descriptions:
privkey.pem: The private key for your certificate.fullchain.pem: The certificate file used in most server software.chain.pem: Used for OCSP stapling in Nginx >=1.3.7.cert.pem: SSL certificate (will break many server configurations, and should not be used without reading further documentation).
Installing the SSL Certificate on a Linux Web Server
After acquiring the Let’s Encrypt SSL certificate files, the next step is installing them onto your web server so your domain can serve encrypted HTTPS traffic properly.
Please note: While the certificate issuance process is standard across systems, web server configurations differ significantly depending on your Linux distribution, web server stack, and packaging. I recommend using the steps below as a baseline and tweaking them to match your environment (the following walkthrough uses a Bitnami WordPress stack as an example).
If your workflow provides server.crt and server.key directly, you can copy them straight to the destination directory, for instance:
sudo cp /etc/lego/certificates/DOMAIN.crt /opt/bitnami/apache2/conf/server.crt
sudo cp /etc/lego/certificates/DOMAIN.key /opt/bitnami/apache2/conf/server.key
🔥 Important:
- Adjust
/etc/lego/...to your actual source path (e.g.,/etc/letsencrypt/live/DOMAIN.com/...). - Adjust
/opt/bitnami/apache2/...to your actual server path (e.g.,/etc/apache2/ssl/...).
Because Let’s Encrypt issues PEM-encoded CA files (cert.pem, fullchain.pem, and privkey.pem), some manual editing or mapping is required:
- Copy the contents of
cert.pemintoserver.crt. - Copy the contents of
fullchain.pemintoserver-ca.crt. - Copy the contents of
privkey.pemintoserver.key.
Note: If these files do not yet exist on your server, create them manually. Some server templates only include server.crt and server.key out of the box, requiring you to create server-ca.crt (the intermediate CA certificate chain file) and update the Apache configuration (e.g., httpd.conf or bitnami.conf). You will typically find configuration blocks like:
<VirtualHost default:443>
 DocumentRoot "/opt/bitnami/apache2/htdocs"
 SSLEngine on
 SSLCertificateFile "/opt/bitnami/apache2/conf/server.crt"
 SSLCertificateKeyFile "/opt/bitnami/apache2/conf/server.key"
Add the following directive below SSLCertificateKeyFile:
SSLCACertificateFile "/opt/bitnami/apache2/conf/server-ca.crt"🔥 Note: Across various stack distributions, config files with identical names may reside in similar directory paths while serving different purposes or overriding one another. This depends entirely on the stack architecture. Always consult your specific stack documentation to identify the exact configuration file referencing
server.crt.
Once the files and configuration are saved, restart the Apache web server:
sudo /etc/init.d/apache2 restartOnce restarted, you should be able to open your website or blog securely over HTTPS. Keep in mind that Let’s Encrypt certificates are valid for 90 days, requiring renewal every 3 months to maintain uninterrupted secure browsing. While this requires automated or scheduled renewals, the zero-cost price tag makes it well worth the setup.
How to Renew SSL Certificates
After logging into your Linux server, navigate to the Certbot directory and execute the following command to renew your certificates. Afterward, update your server files according to the steps described earlier if they are not symlinked:
./certbot-auto renewFurther Reading
- Certbot: Where are my certificates?
- Recommended website/blog server: Bluehost.
Support Independent Perspectives & In-Depth Insights
Every thoughtful analysis and candid critique comes from our dedication to truth and quality. We choose not to follow sensational algorithms or clickbait headlines.
Sustaining independent research requires reader support. Make a one-time or monthly contribution, securely processed by Google.
Payments secured by Google · Manage or cancel anytime in your Google Account



Comments