
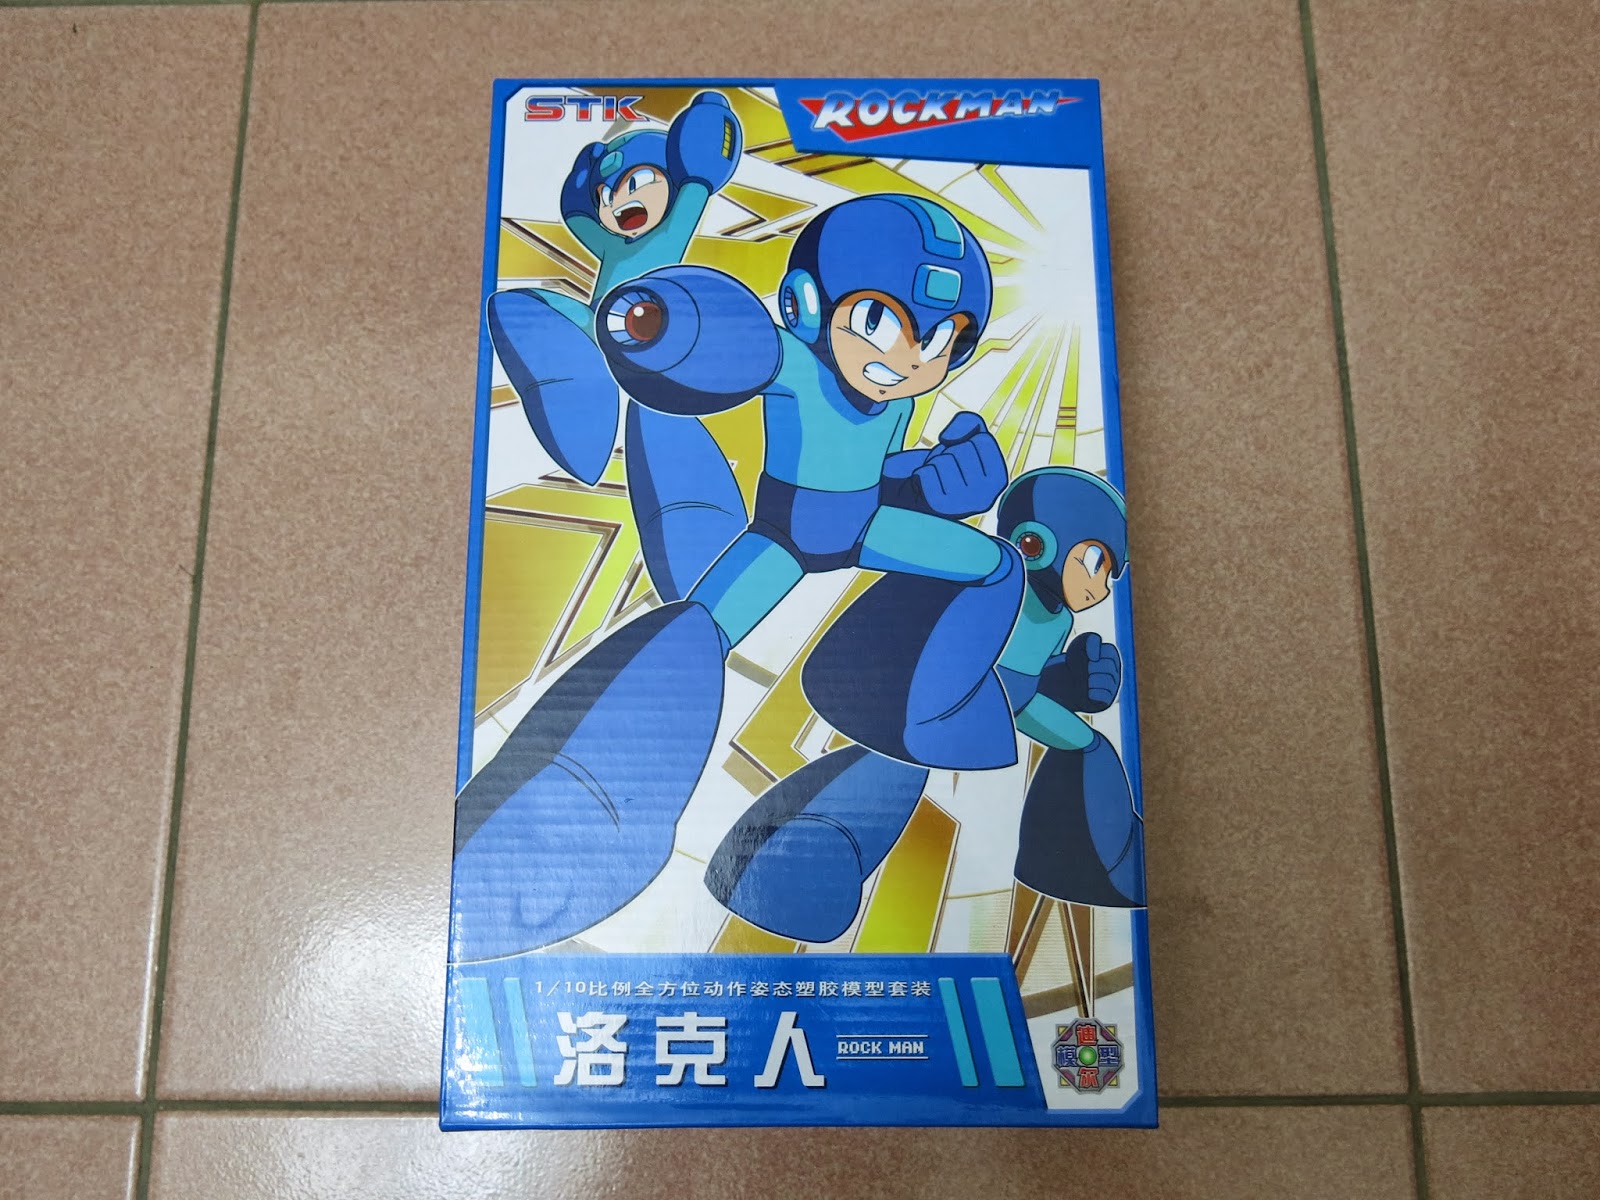
Shanzhai (knockoff or bootleg)—this term has been wildly popular across the mainland over recent years, initially referring mostly to consumer electronics. Over the past few years, however, the scale model kit hobby has steadily fallen under its sway too. The single biggest draw of mainland Chinese model kits is undeniably their rock-bottom price.
Typically, Chinese bootleg kits cost less than half the price of authentic originals, sometimes even slashing down to one-third.
The kit Joseph is showcasing below was acquired for barely one-fourth the price of the original—quite an alluring bargain on paper.
Ever since Joseph started building Kotobukiya model kits, I have felt that Kotobukiya’s pricing is… obscenely expensive.
Consequently, I’ve always wanted to buy a bootleg kit from across the strait to test-build. Yet despite the tempting price tag, I harbored several major concerns:
- Plastic material quality and brittleness.
- Excessive use of oily mold release agents.
- Assembly fit and seam alignment.
- Severity of sink marks and plastic shrinkage.
- Flashing and mold-parting step misalignments.
- Peg and socket tolerances.
Even though cheap, 500 to 600 NTD is still real money. If you spend that cash only to find the kit unbuildable, it feels like tossing money into a murky pond. That’s why I had hesitated to pull the trigger.
Until today. After dropping my wife off at work, Joseph swung by a hobby shop near Taipei City Hall MRT Station. I originally just wanted to pick up a few bottles of paint, but while browsing the aisles, I suddenly spotted a mainland bootleg “Mega Man” kit. I had wanted to build Kotobukiya’s Mega Man for ages, but the Japanese original’s 800 NTD price tag was hard to swallow.
When it comes to Mega Man, who doesn’t know him? And this box was selling for a mere 220 NTD—insanely cheap! At this price, even if the quality was utter garbage, it wouldn’t break my heart. I immediately grabbed the box and checked out at the register.
My current ongoing build is a project commissioned by my wife, which means no other model is allowed to cut the line. However, burning with curiosity about the bootleg’s quality, I used the downtime while stripping chrome plating on another kit to test-fit this Mega Man.
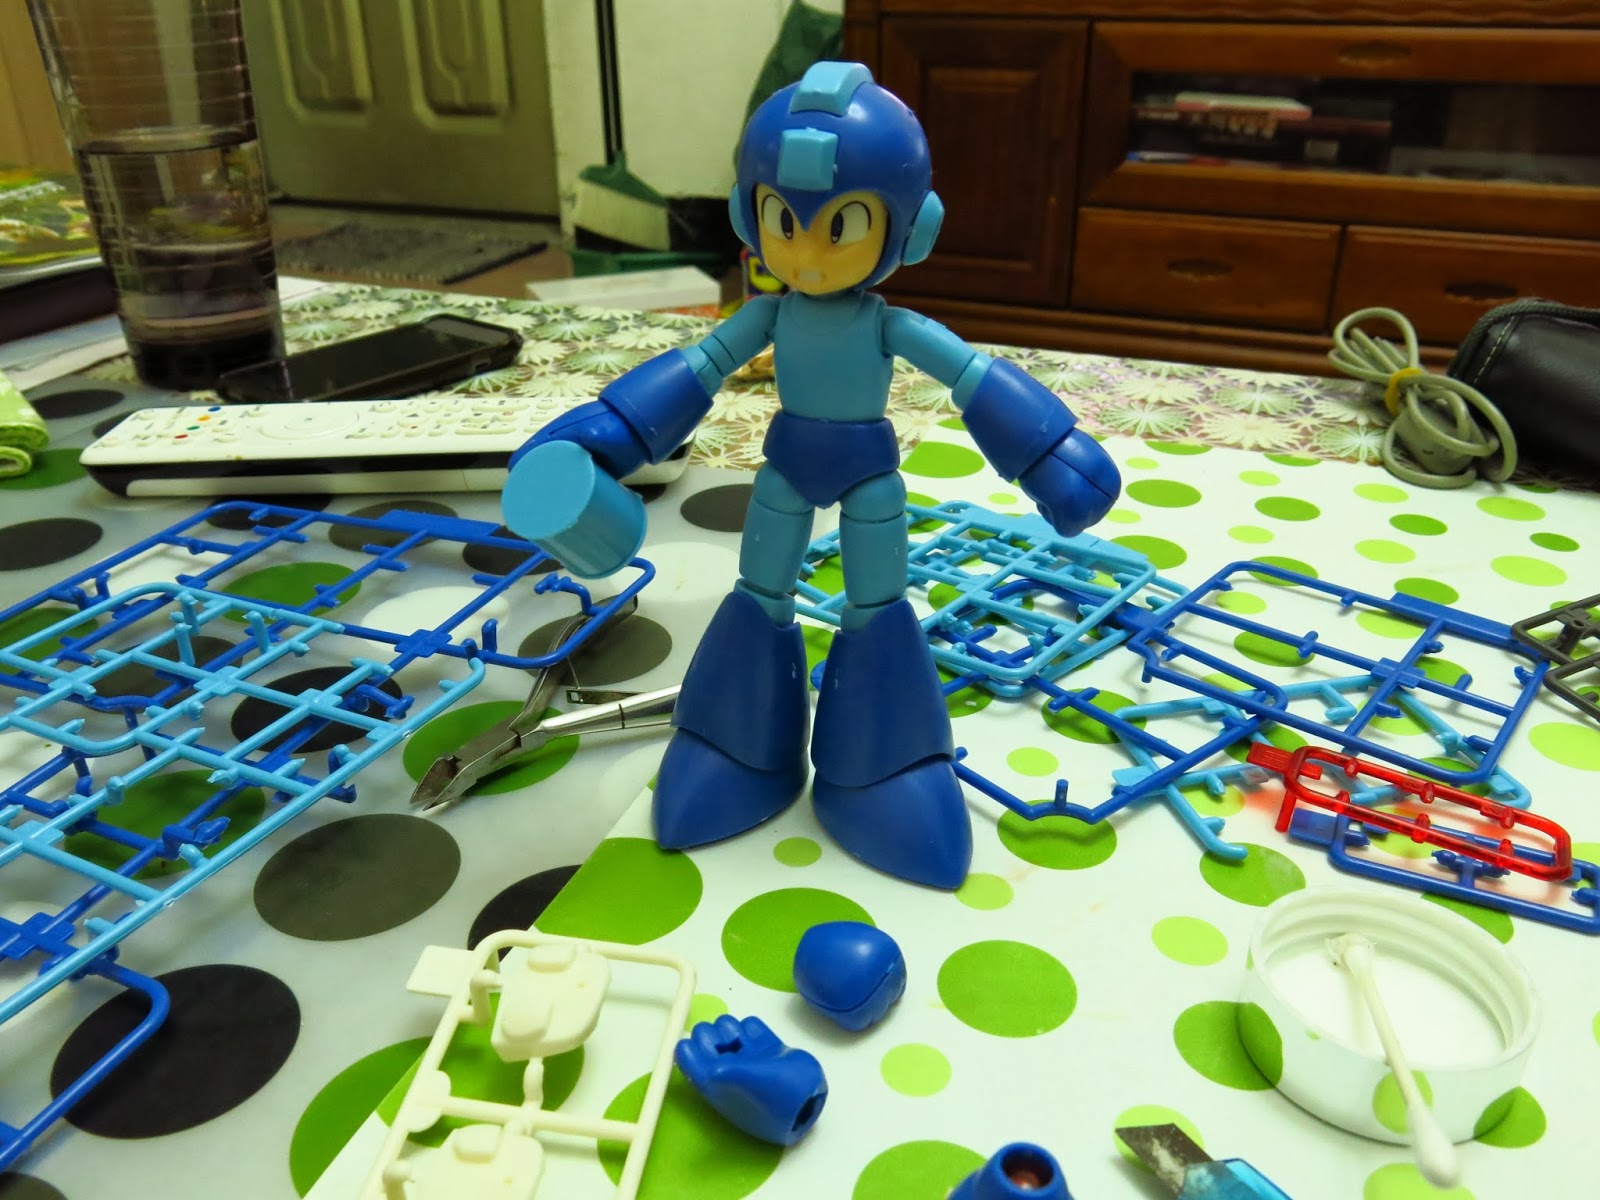
Mega Man
Here is the snap-fit journey for Mega Man. After reading through, you will completely understand why it is so dirt cheap.
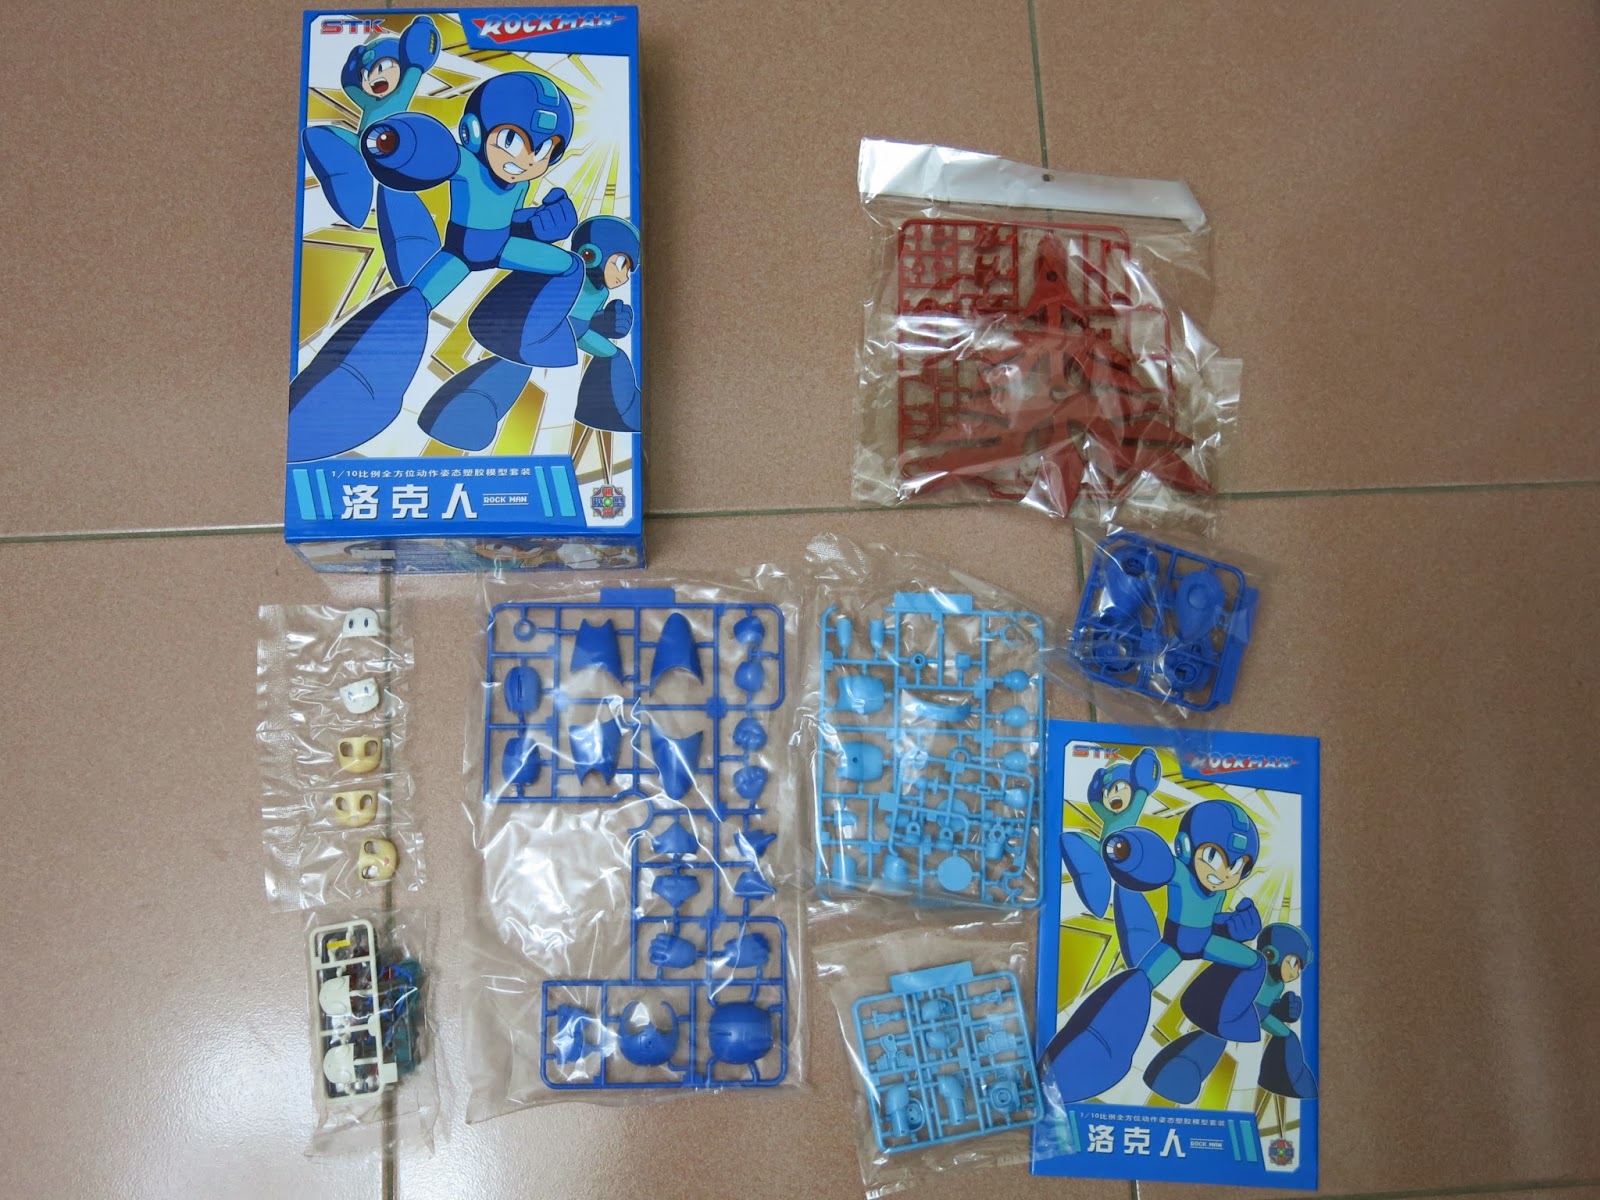
Contents layout
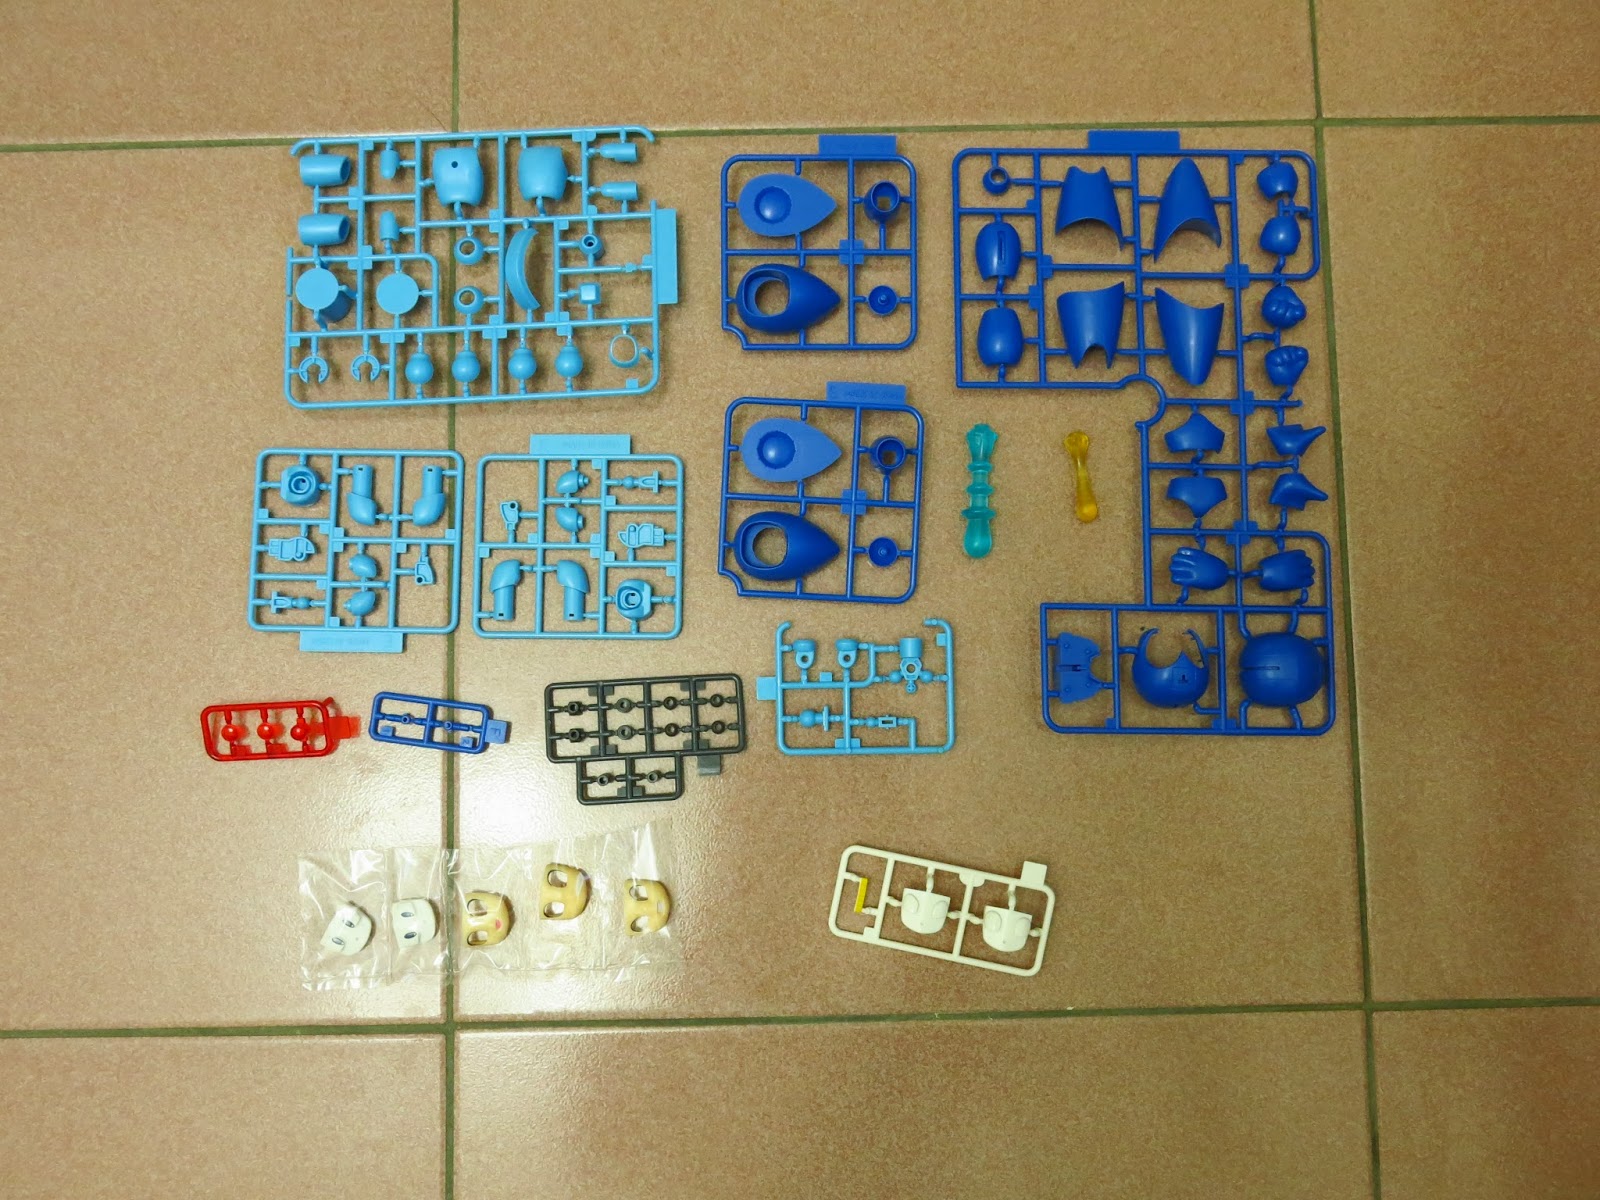
Parts runner overview
Right after popping the box open, a pungent chemical stench of mold release agent immediately assaulted my nostrils. Clearly, their mold tooling technology is still crude, relying heavily on excessive mold release spray to eject parts.
The contents don’t differ much from the original, except no sticker sheet was included. Not that it matters, since I wouldn’t use stickers anyway.
The simplified Chinese characters in the manual felt quite unfamiliar to read.
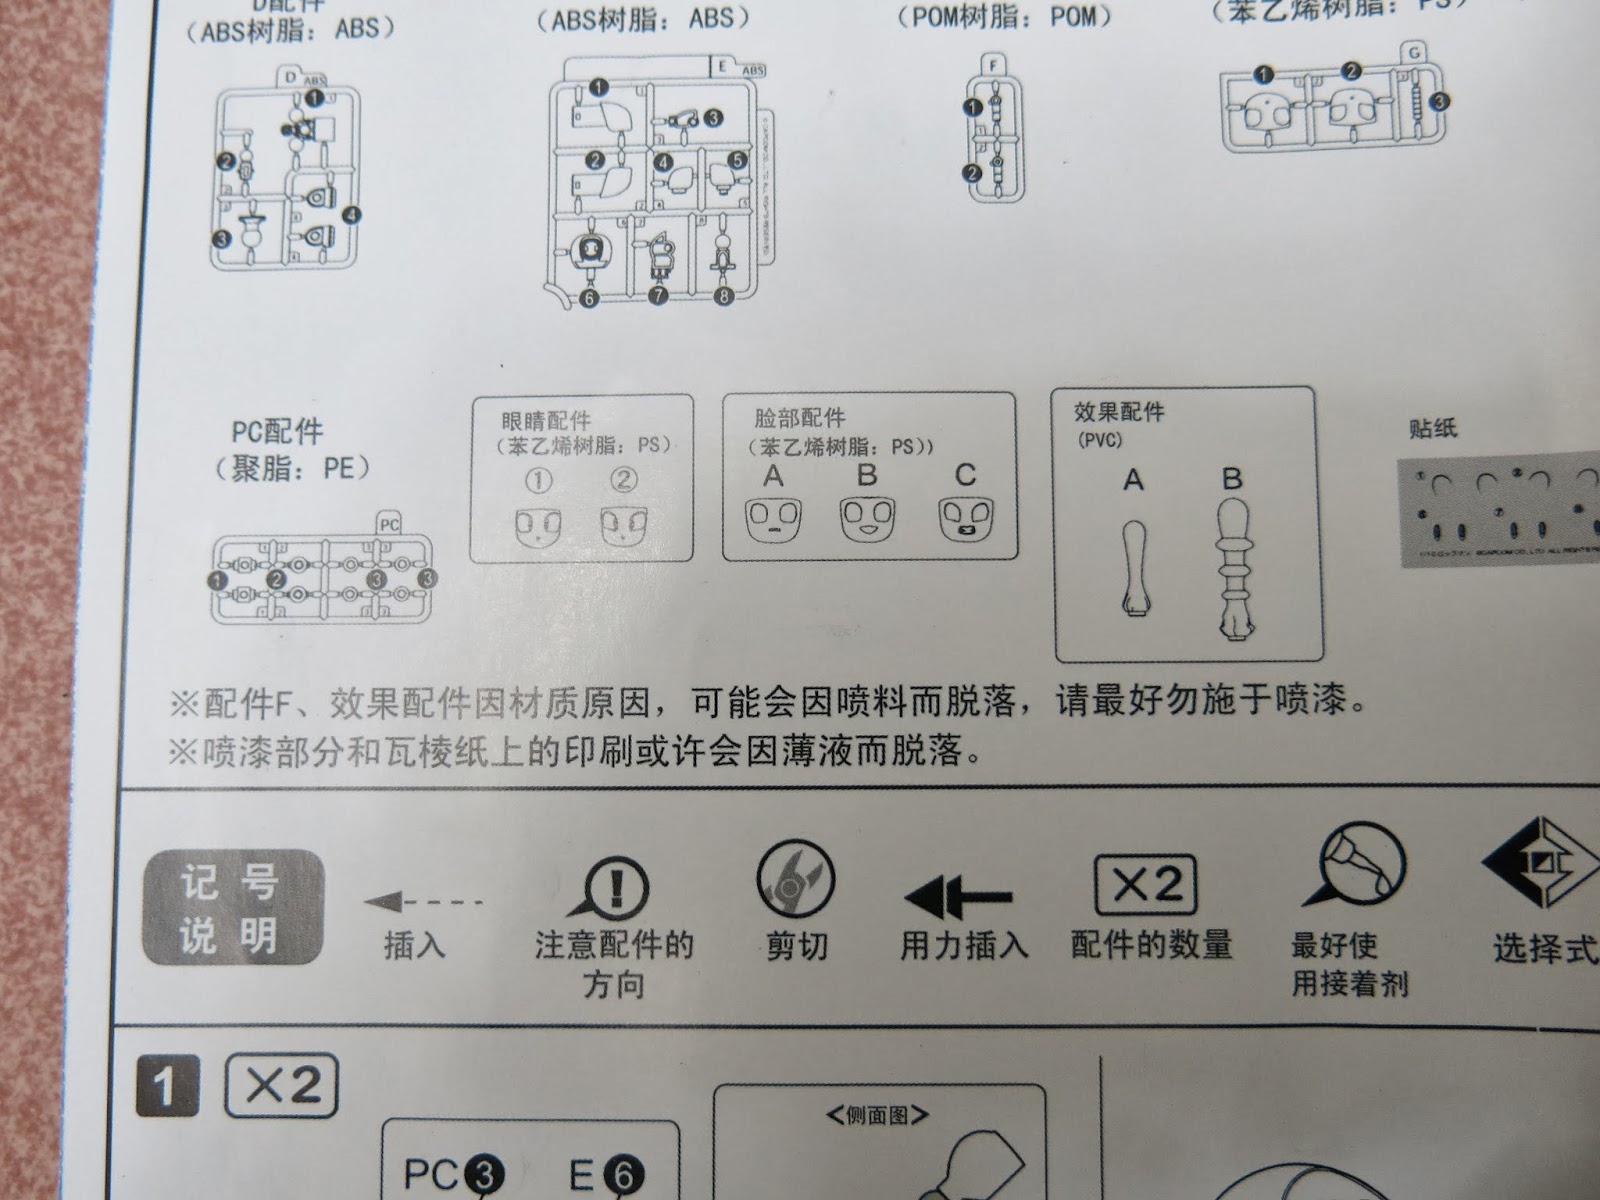
Instruction manual
Did anyone notice that the plastic packaging bags have a cloudy, milky-white tint?

Plastic bags used for knockoffs
Surprisingly many faceplates: alongside two tampo-printed eyes, they actually provided two blank ones for DIY painting.
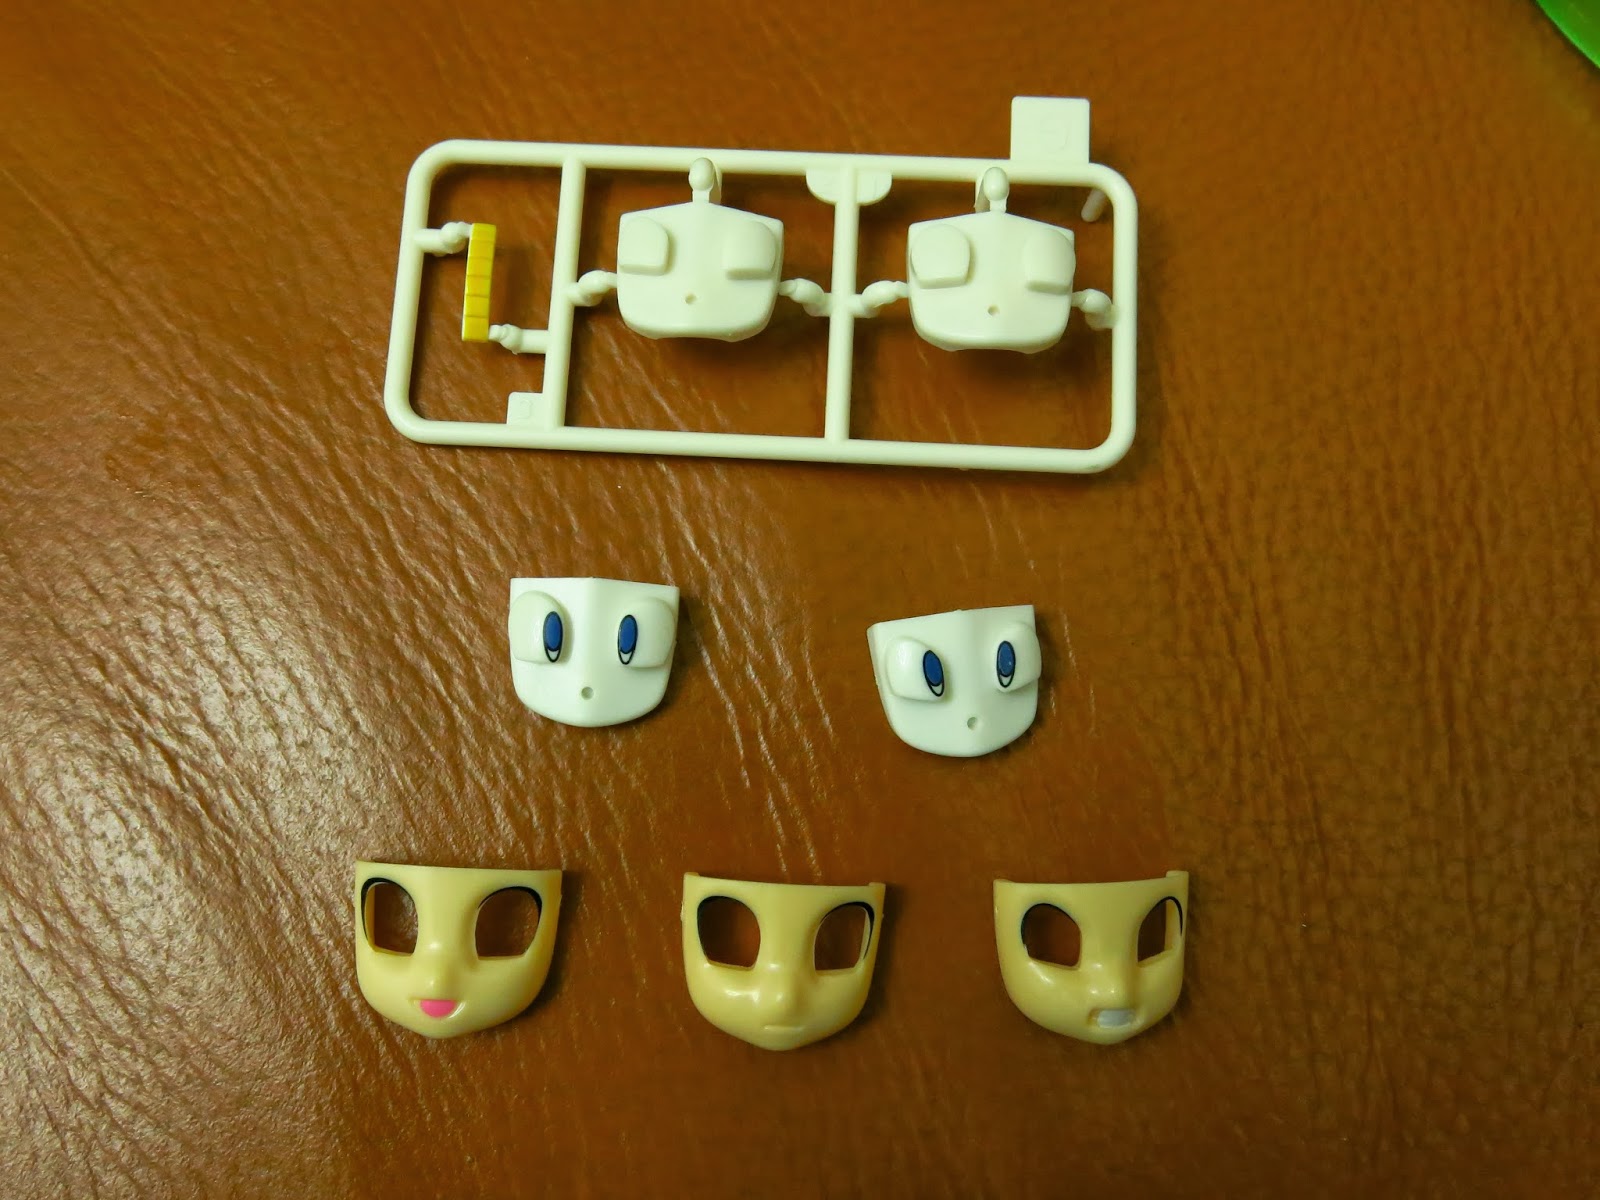
Faceplate parts
Sink marks showed up in places that should never shrink. Worse yet, the mold surface had received zero polishing—the texture is shockingly rough.
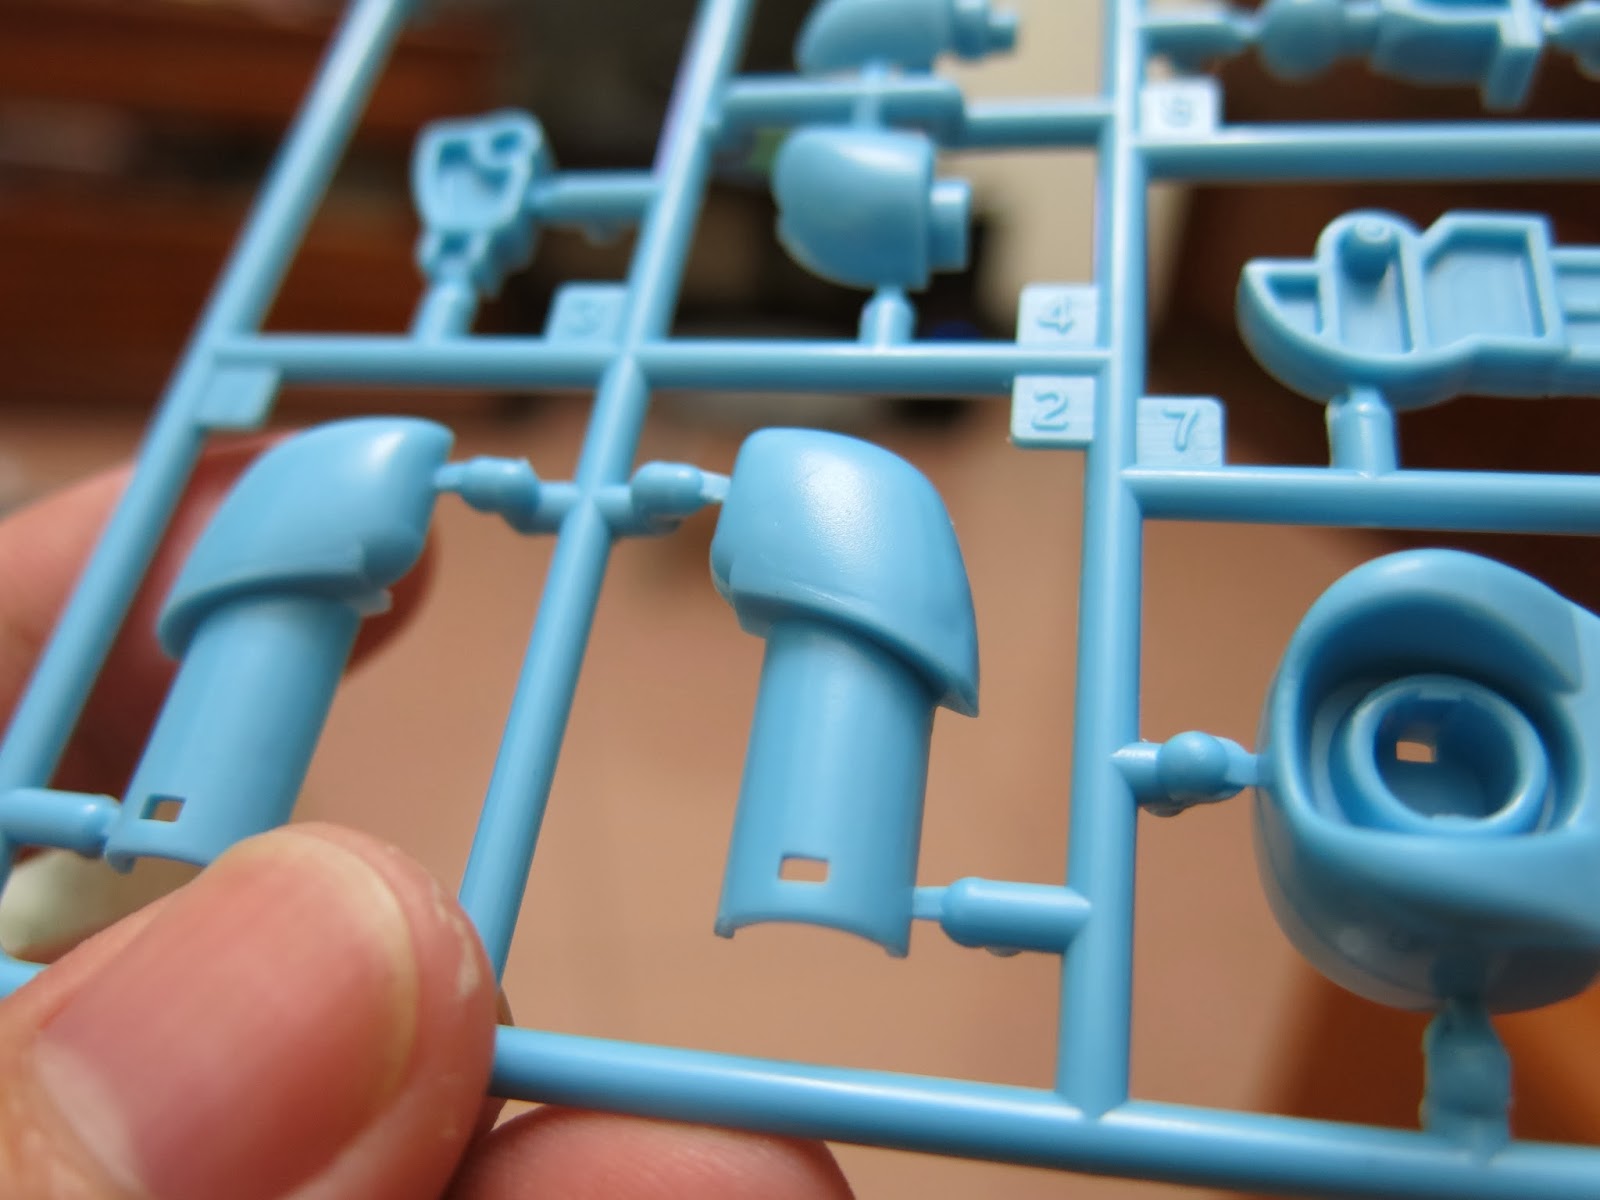
Nasty sink marks
Excess flash spilled even inside internal peg holes. It looks like even a basic test fit will require heavy sanding and cleanup.
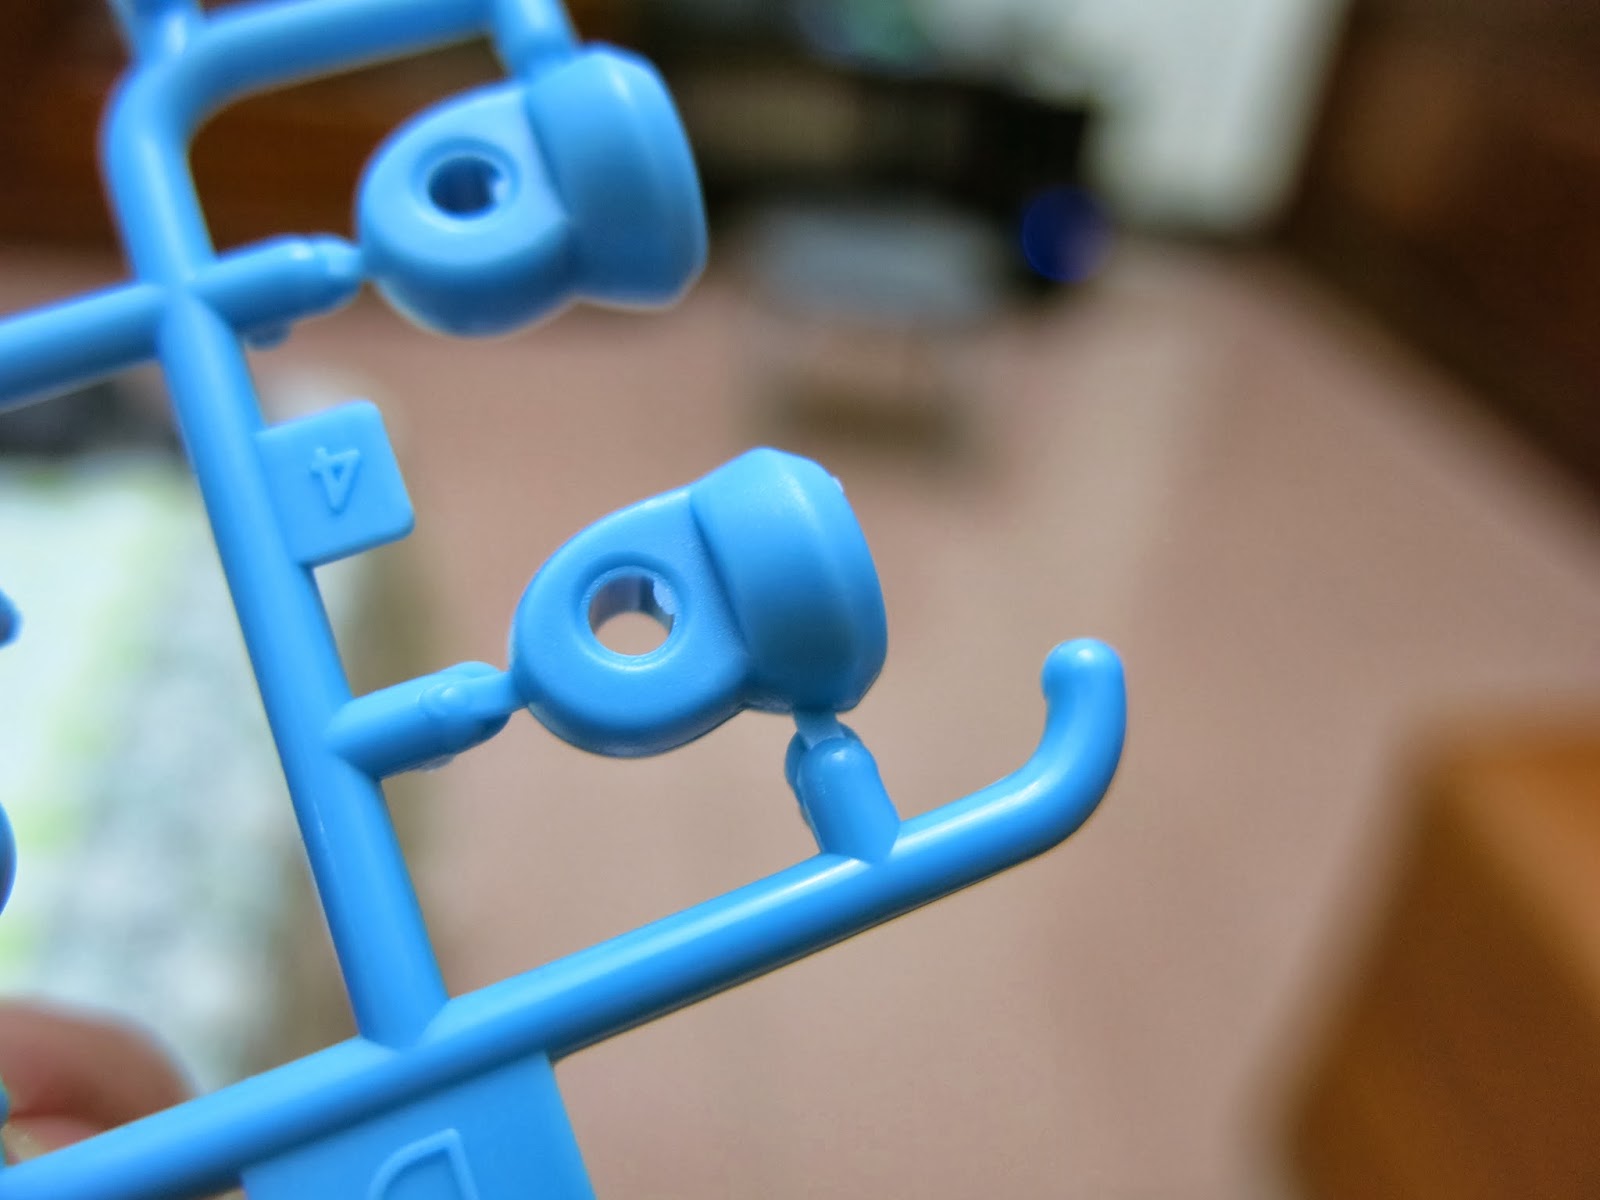
Heavy flash
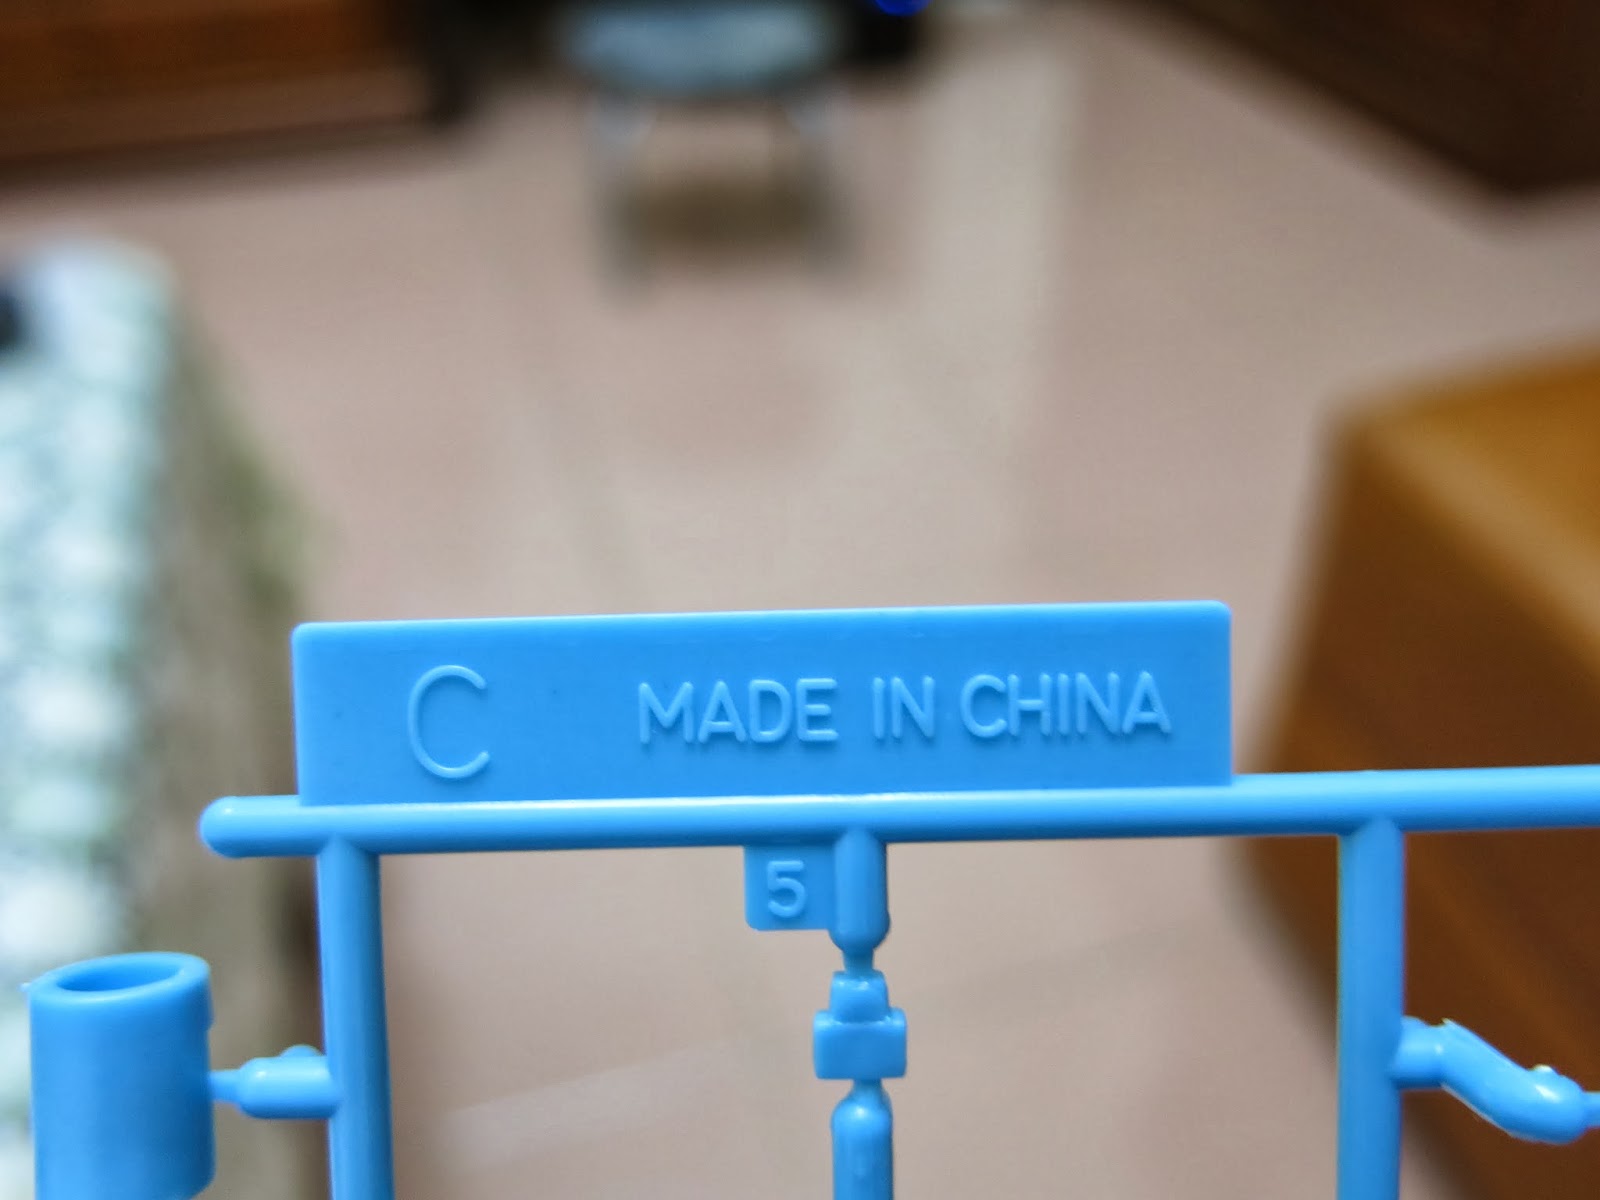
The runner identification tag only says “Made in China.” Production date, tooling version, and company branding are nowhere to be found.
MADE IN CHINA
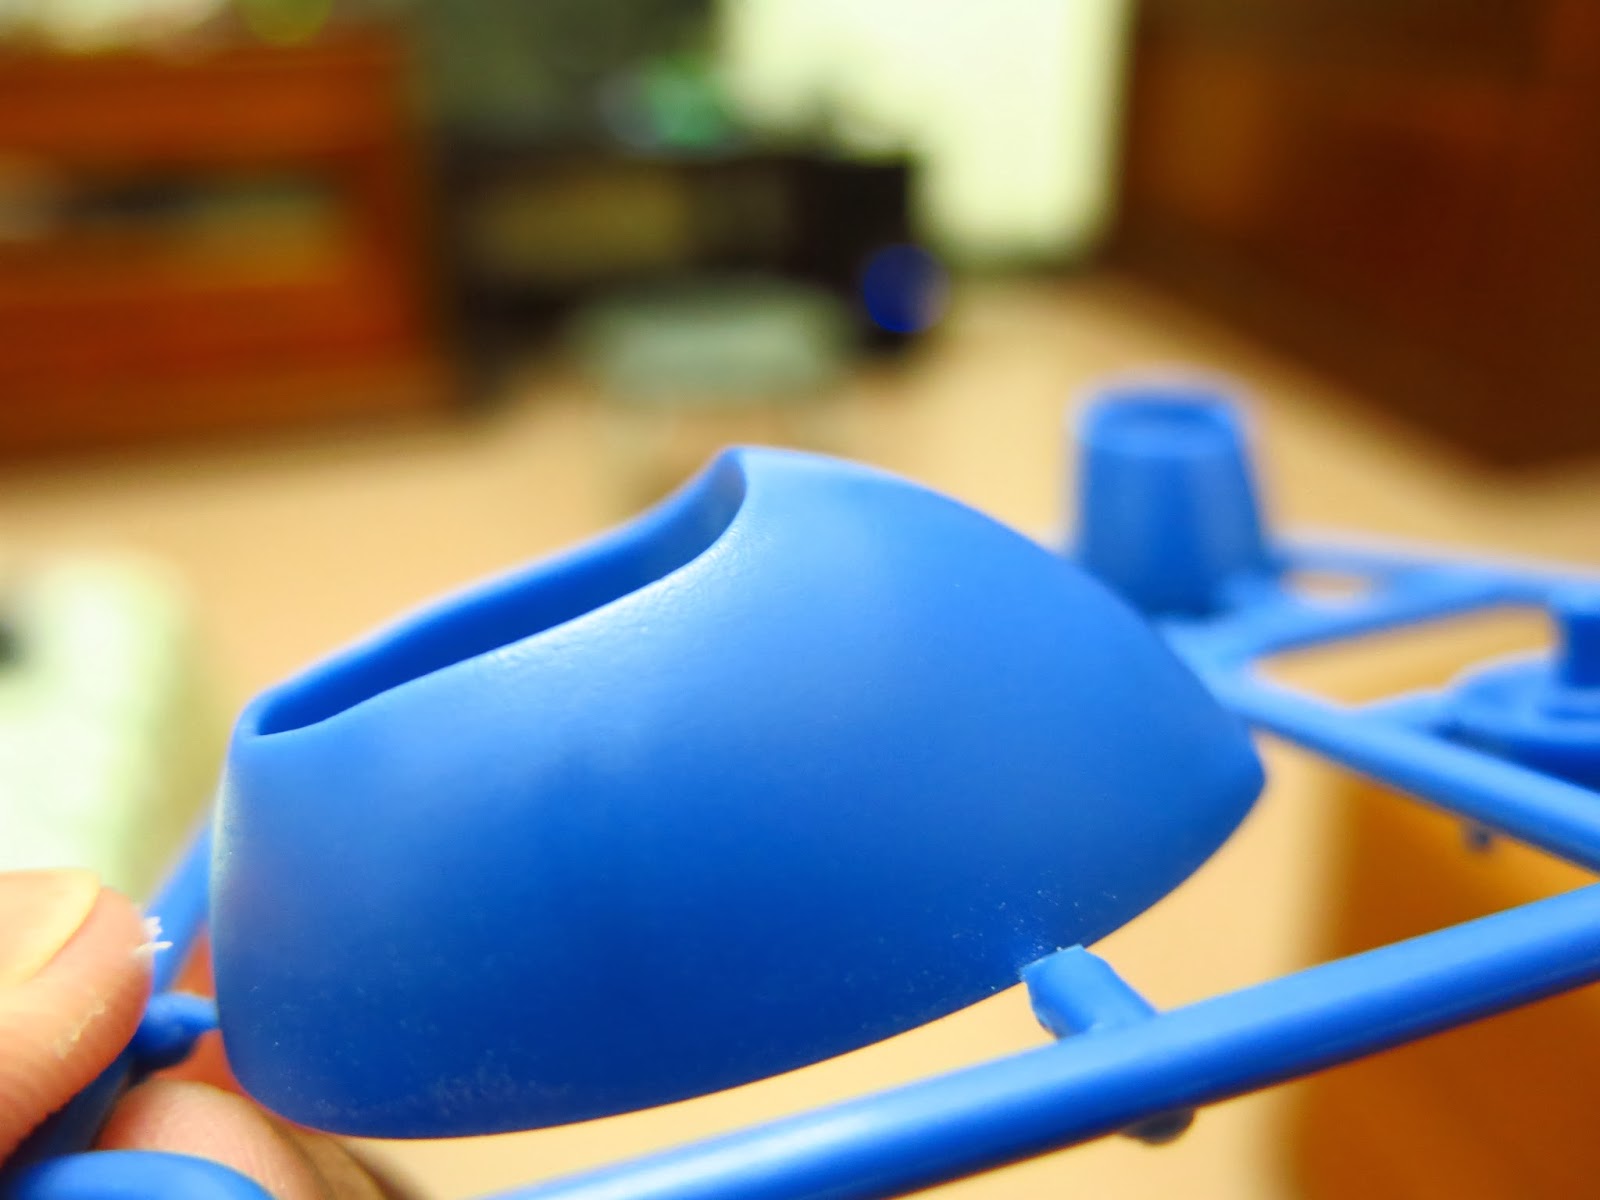
The foot pieces are equally bumpy and uneven, with stress whitening clearly visible near the bottom.
Foot details
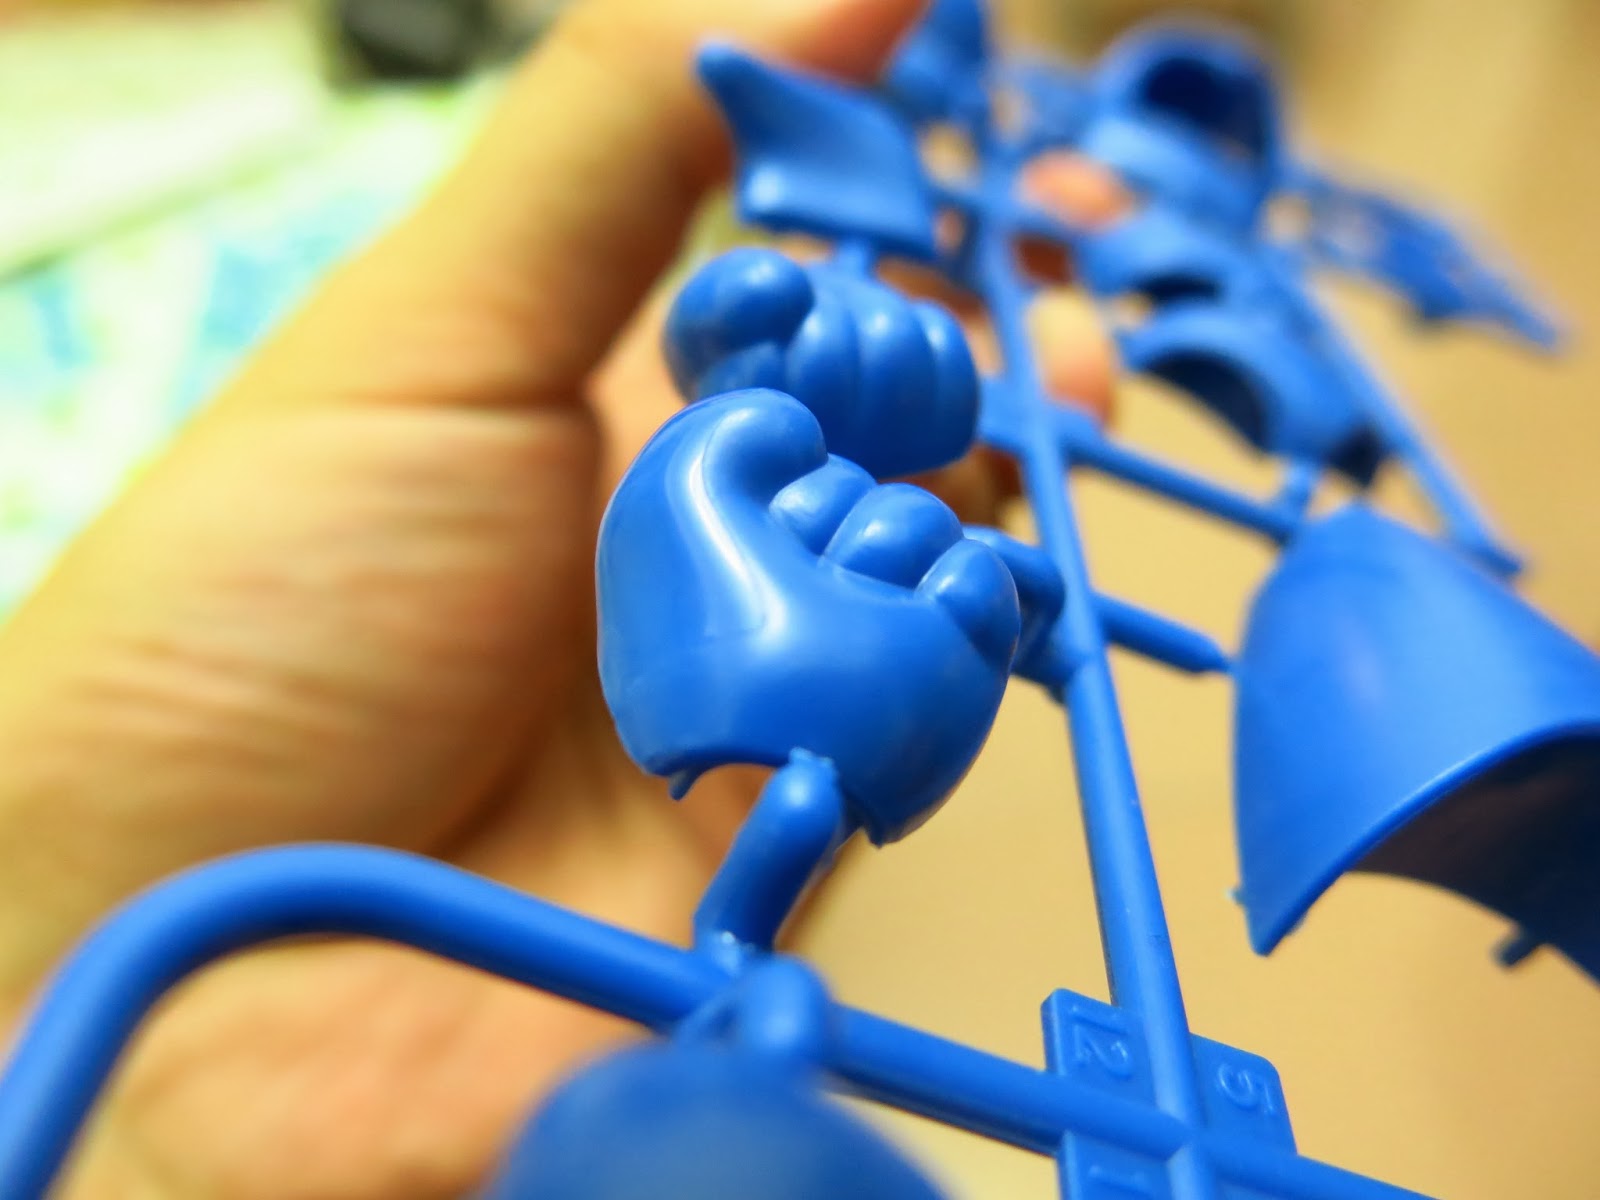
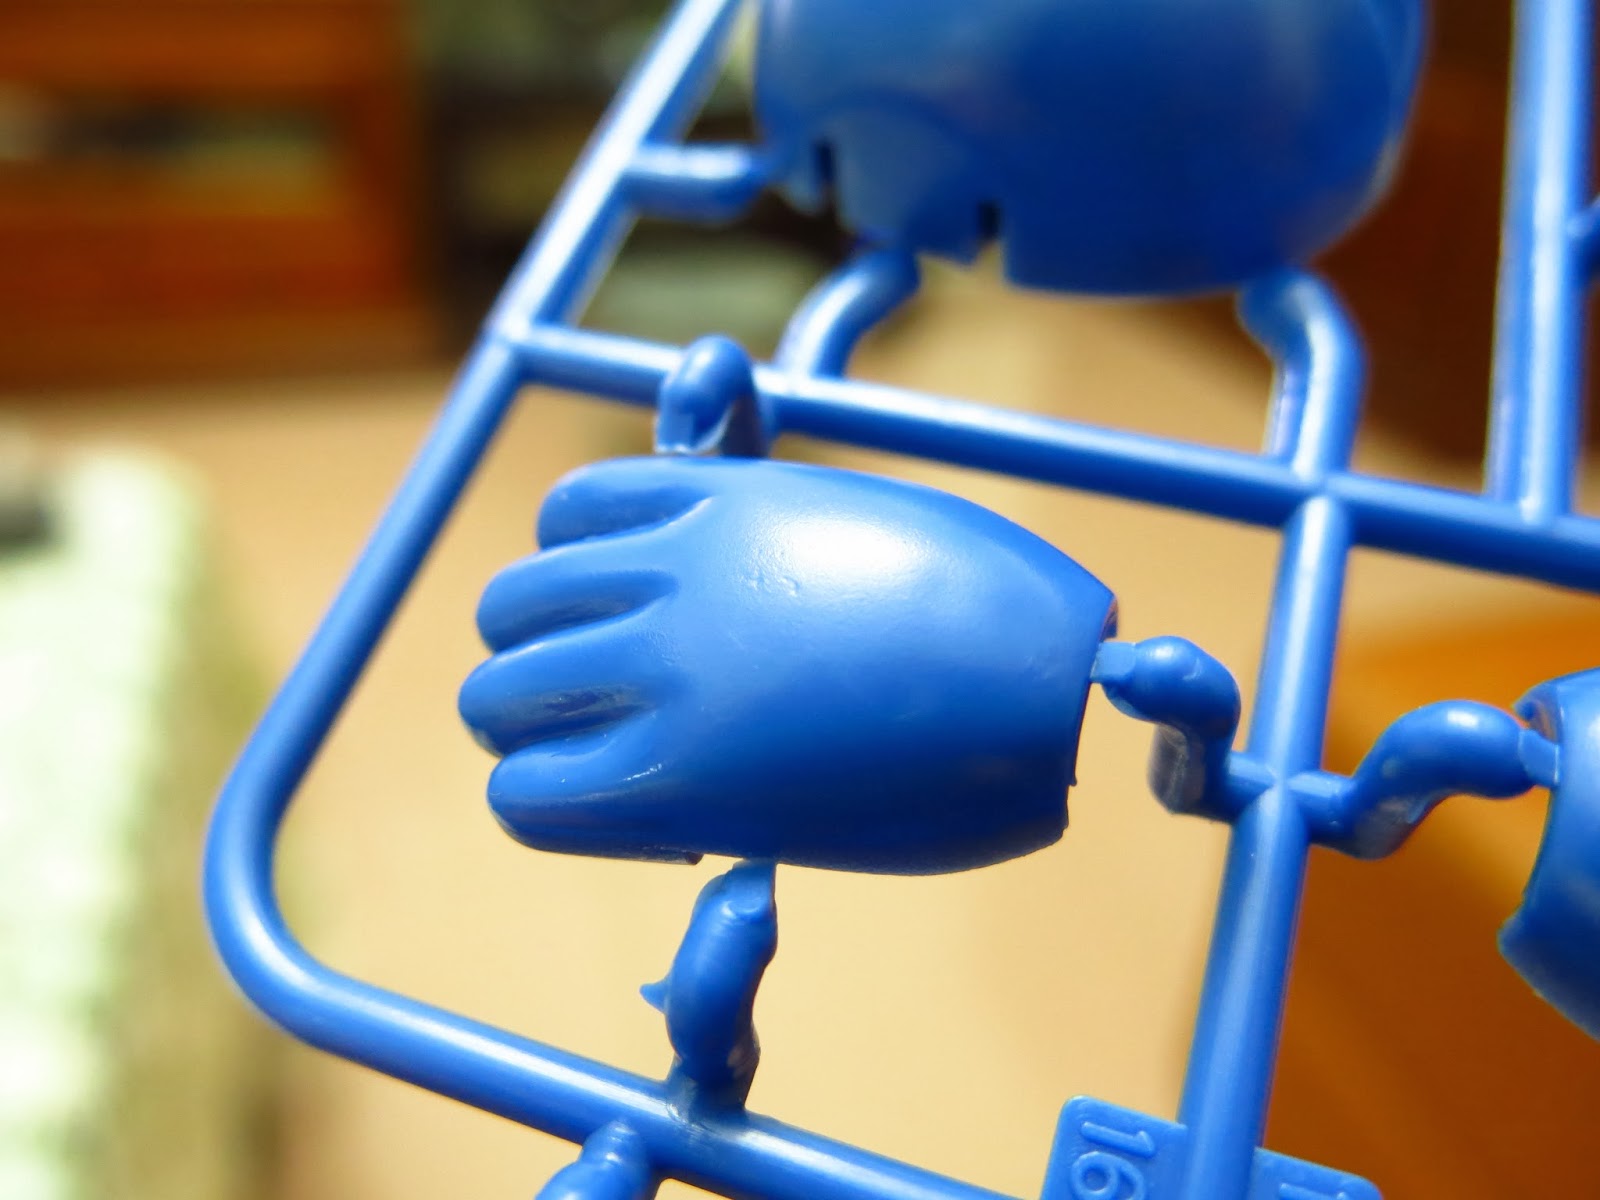
The arm parts are in even worse shape: bumpy, warped, and featuring mold repair weld scars. That kind of scarring usually only happens when using scrap-grade repaired molds.
On the clenched fist, the left half is glossy while the right half is matte. The two halves of the mold weren’t even processed uniformly!
Arm details
Arm details close-up
The gate nubs on the translucent effect parts are atrocious, and parting lines were left untreated.
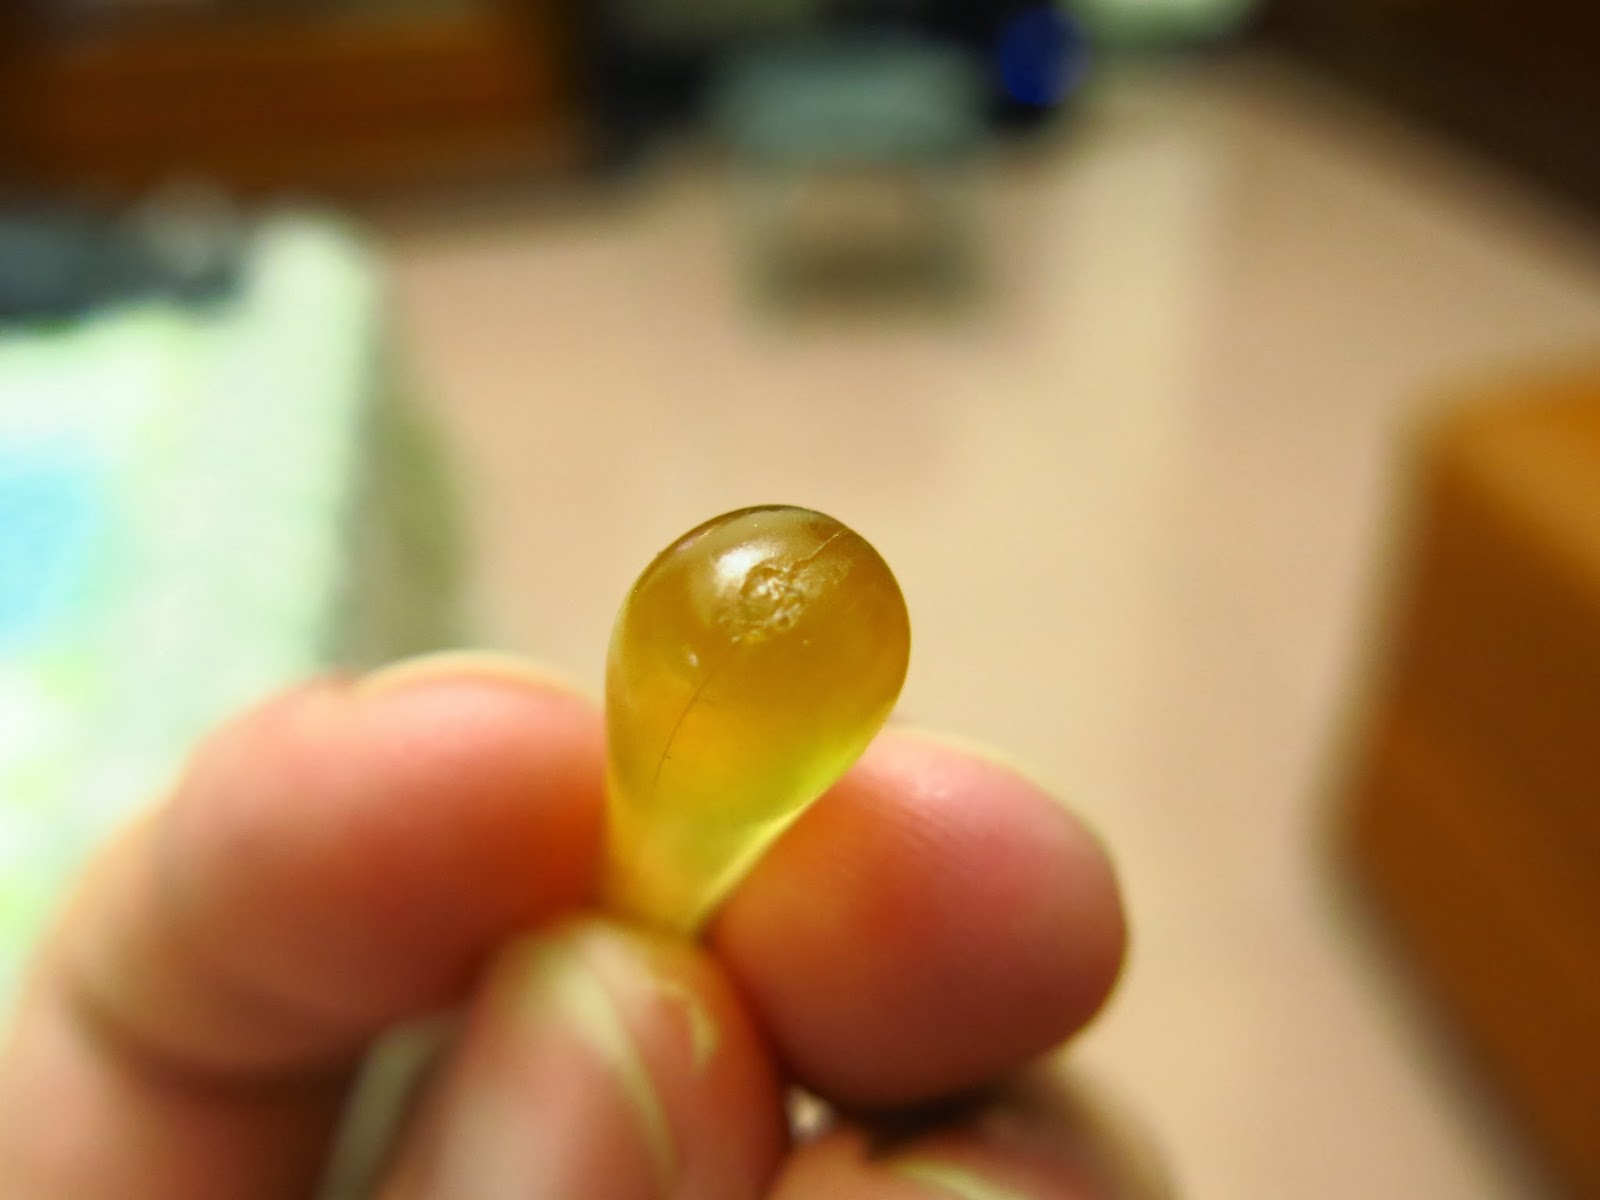
Terrible gate nub placement
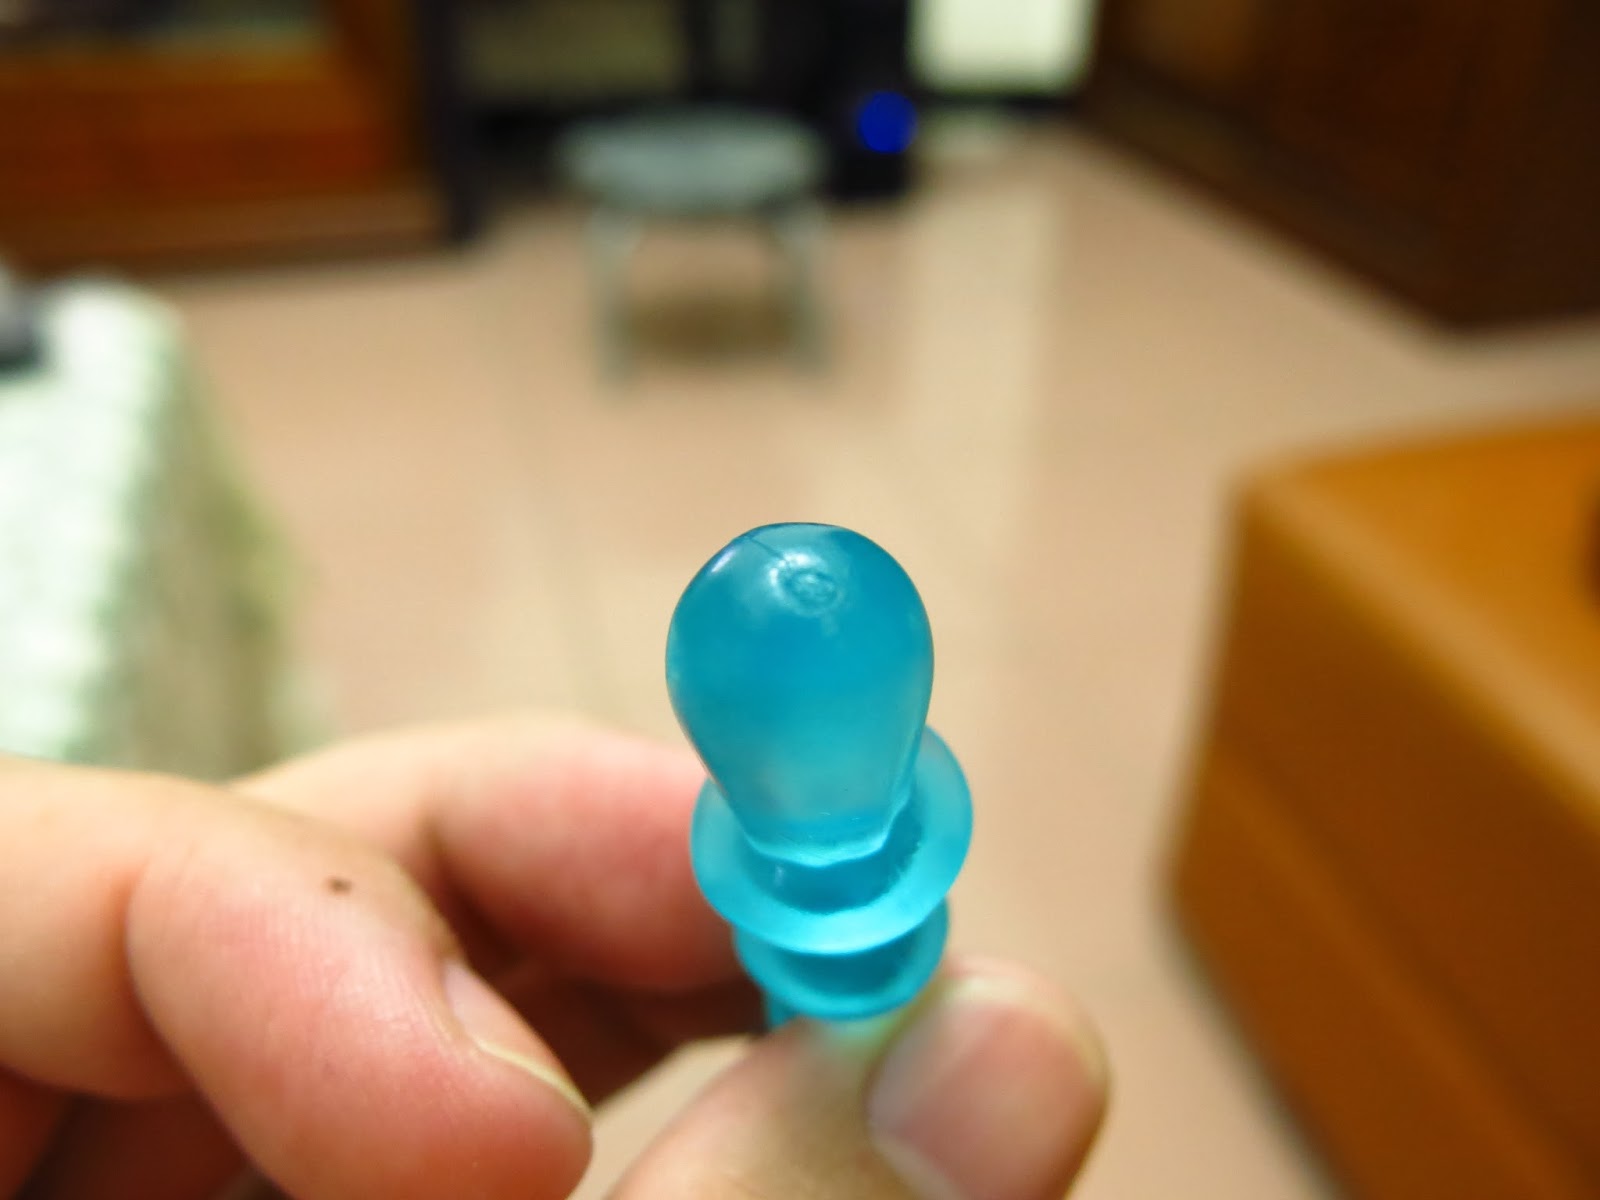
Terrible gate nub placement
While this part came pre-painted, the paint mask was misaligned and the color itself is awful.
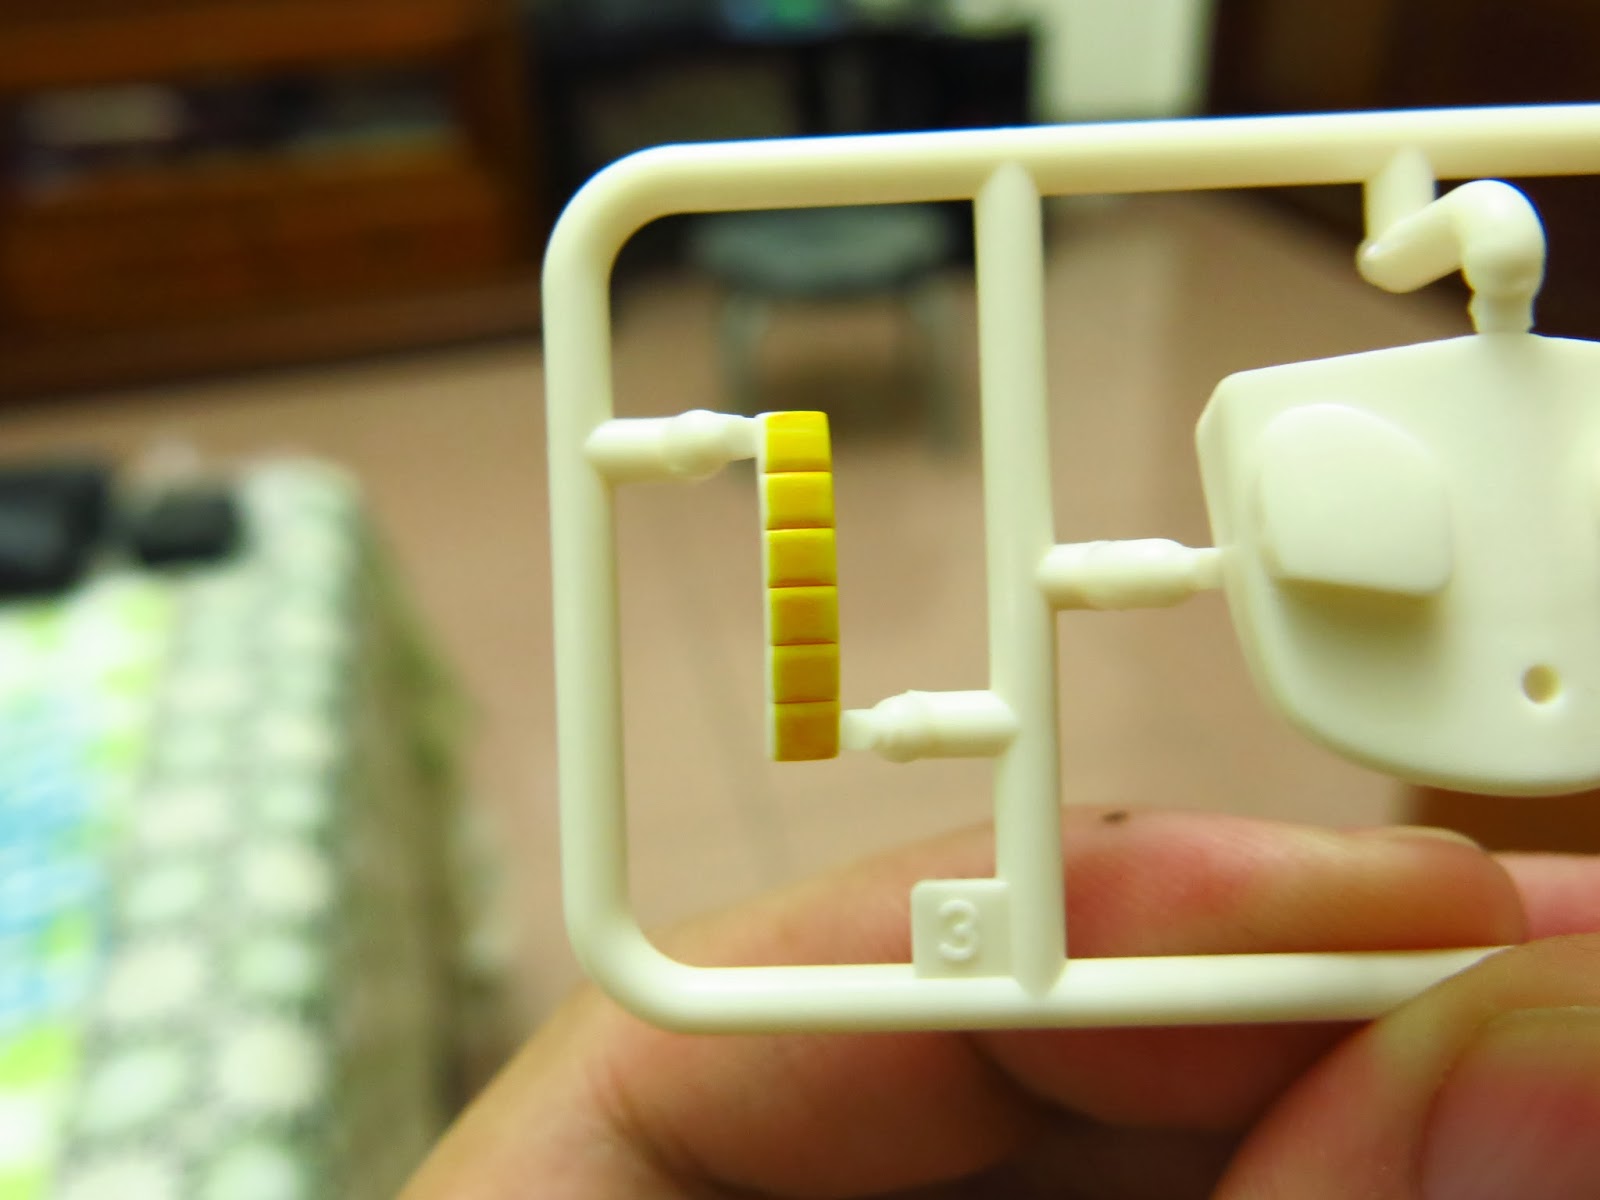
Shoddy factory pre-paint
Additional Kit Defects
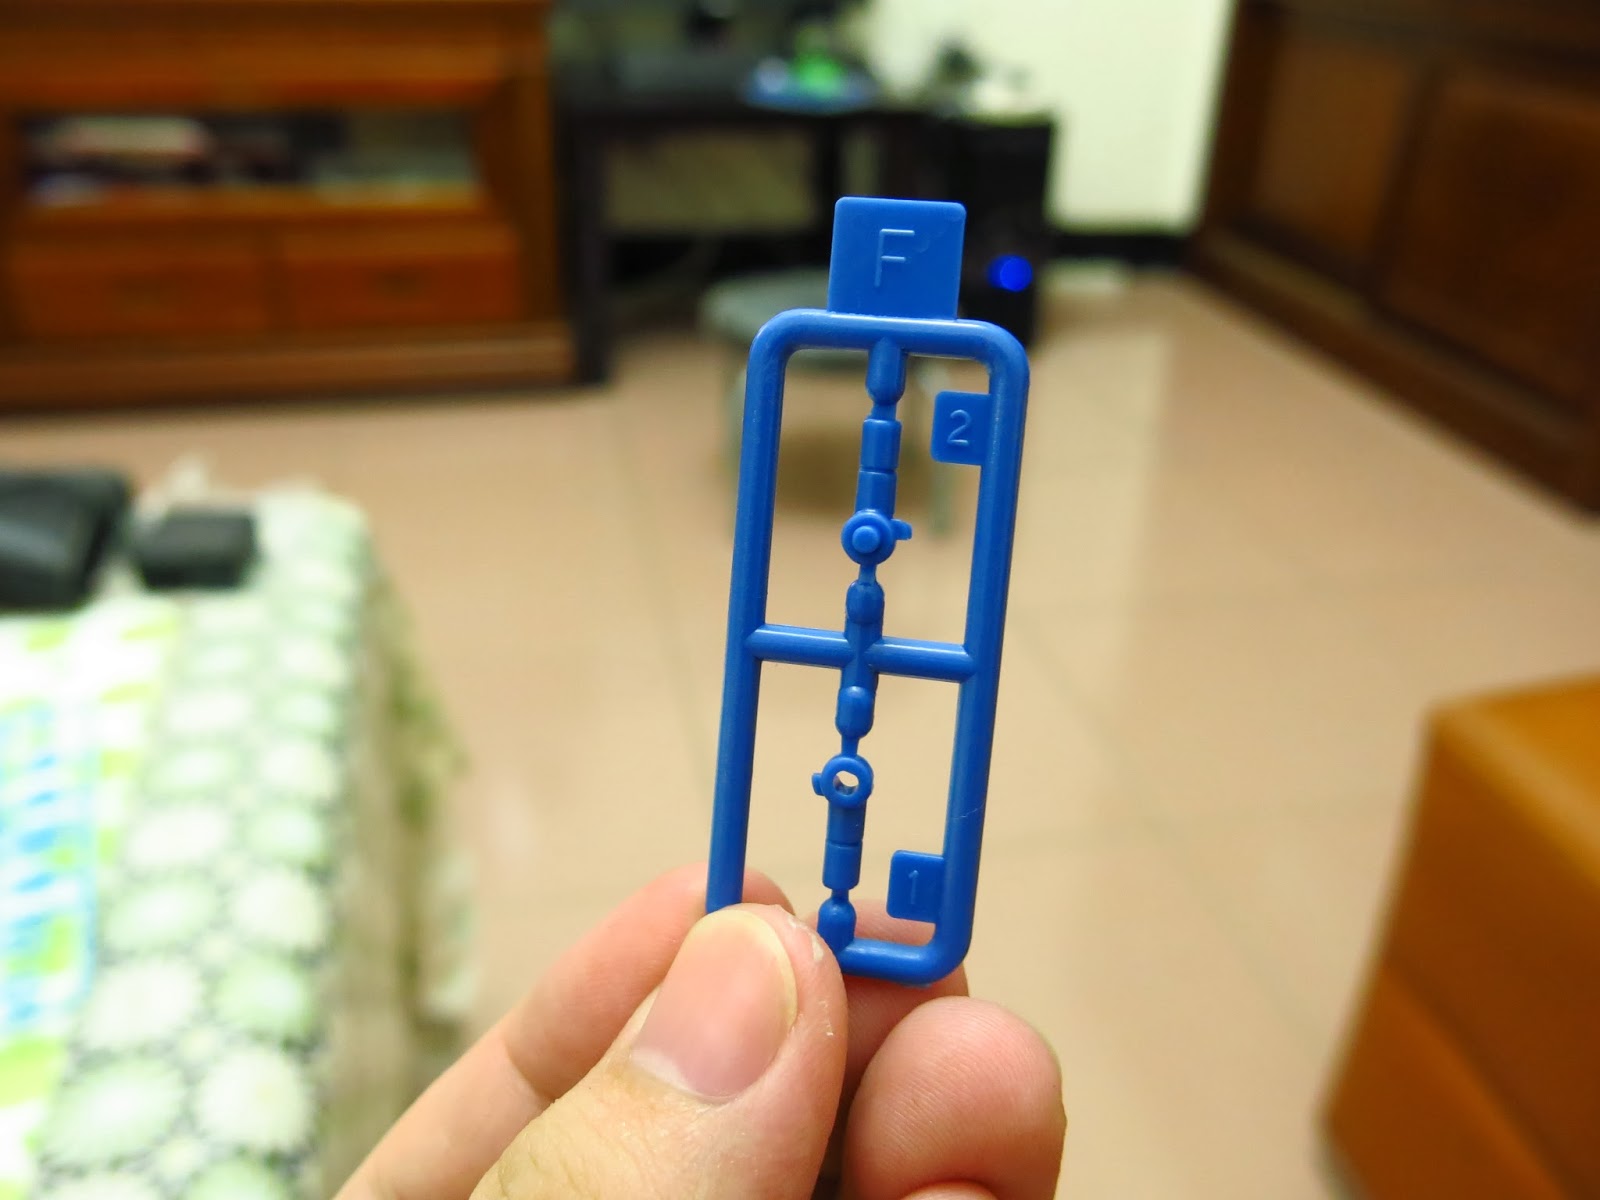
The gate runner connection is almost as thick as the part itself.
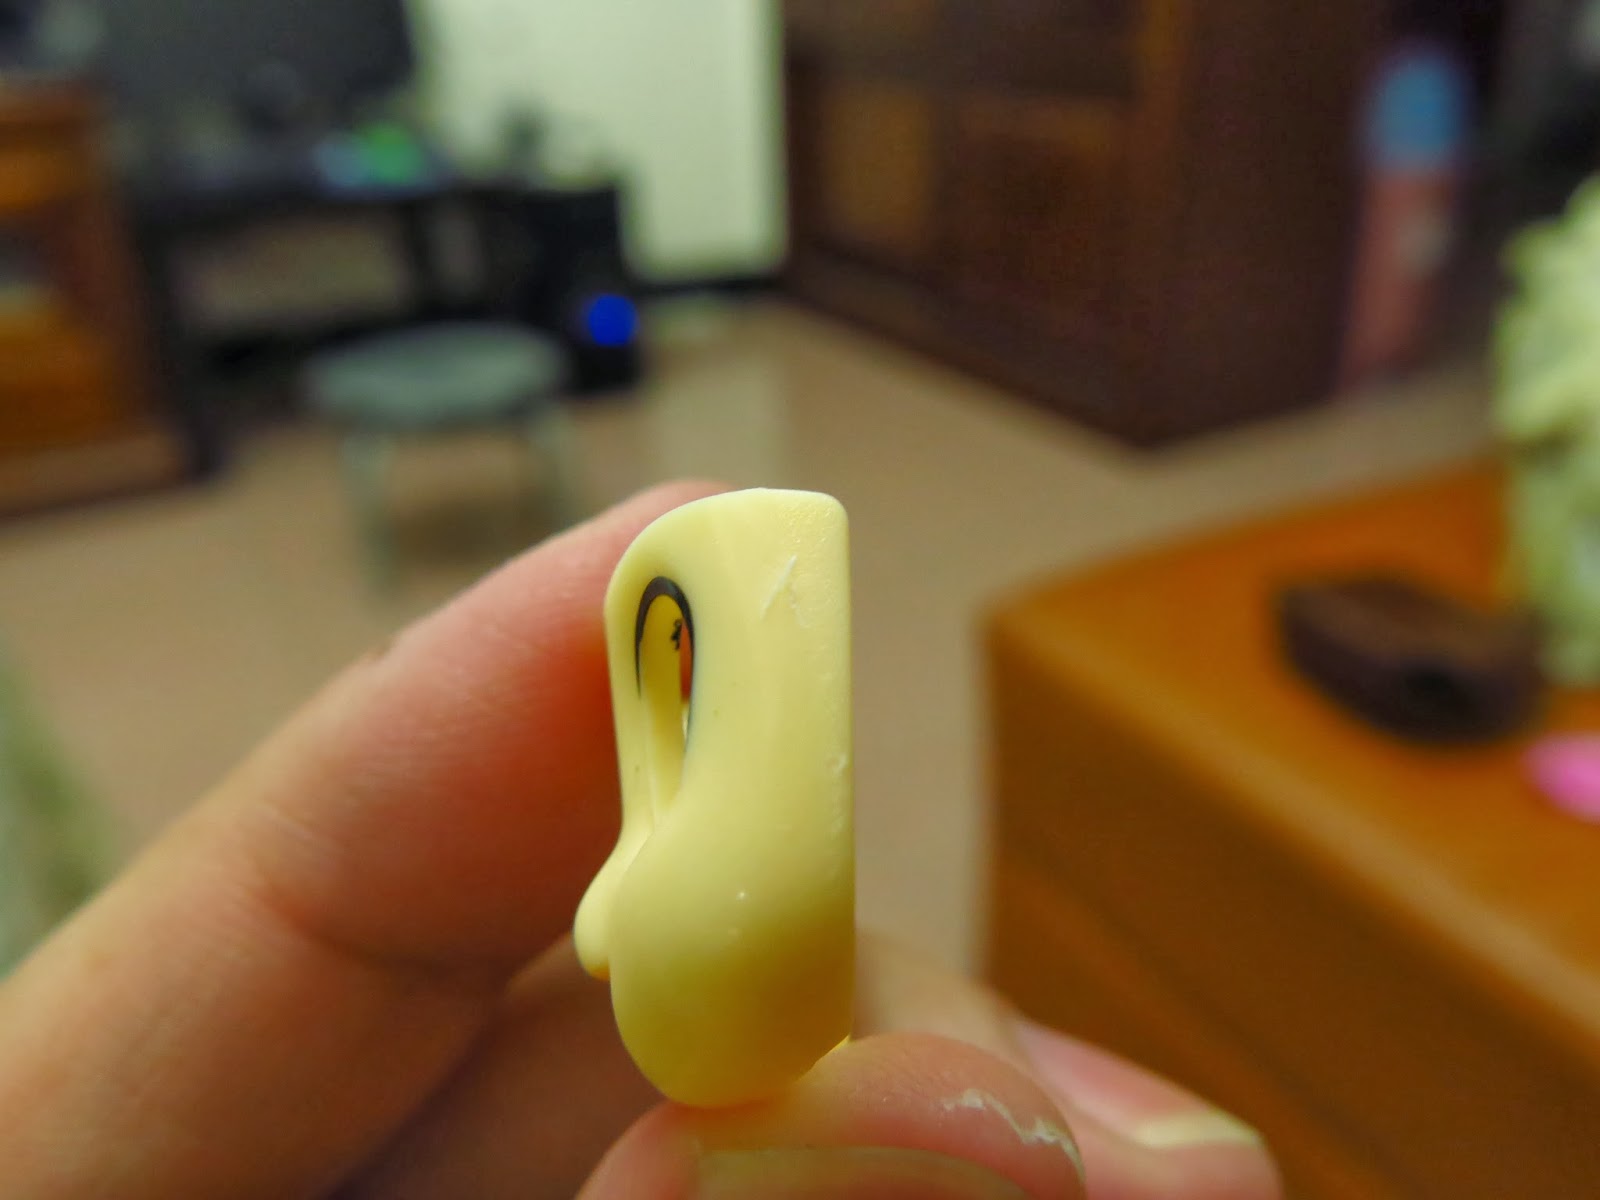
The side profile of the faceplate is just as disastrous.
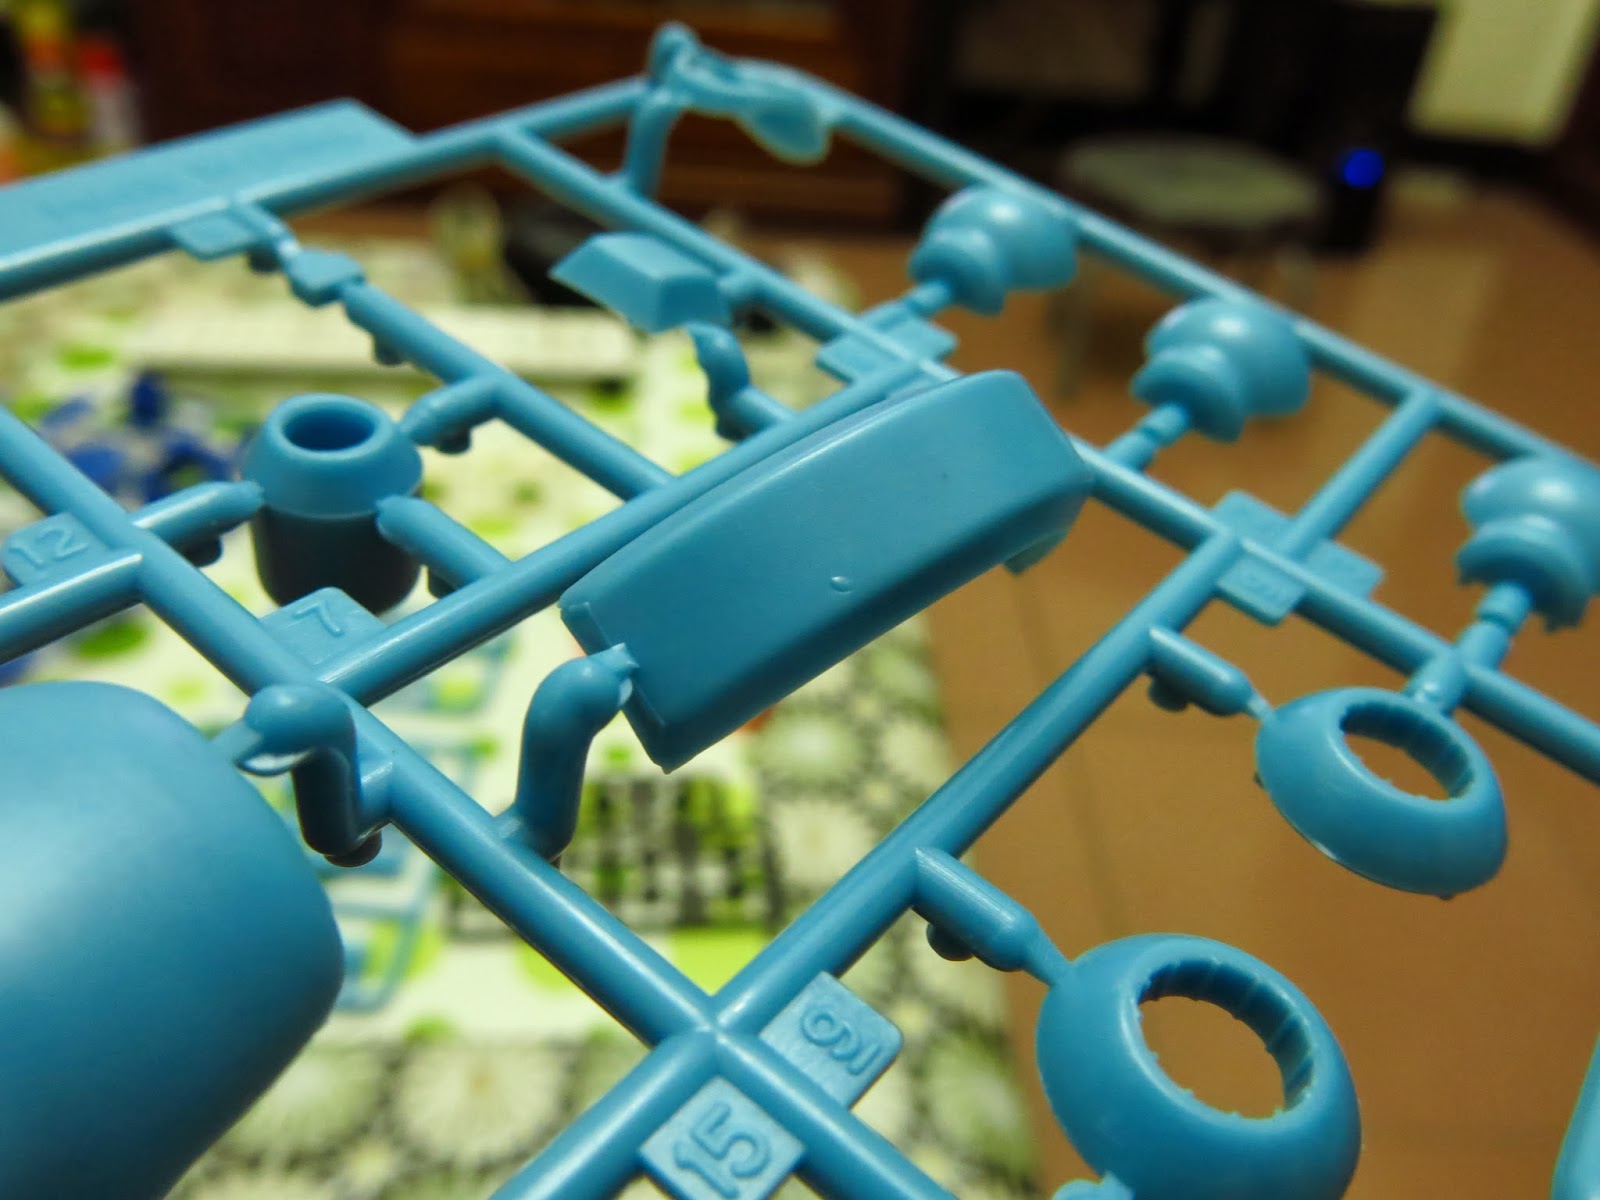
Scratches on the mold caused raised burrs on the plastic surface.
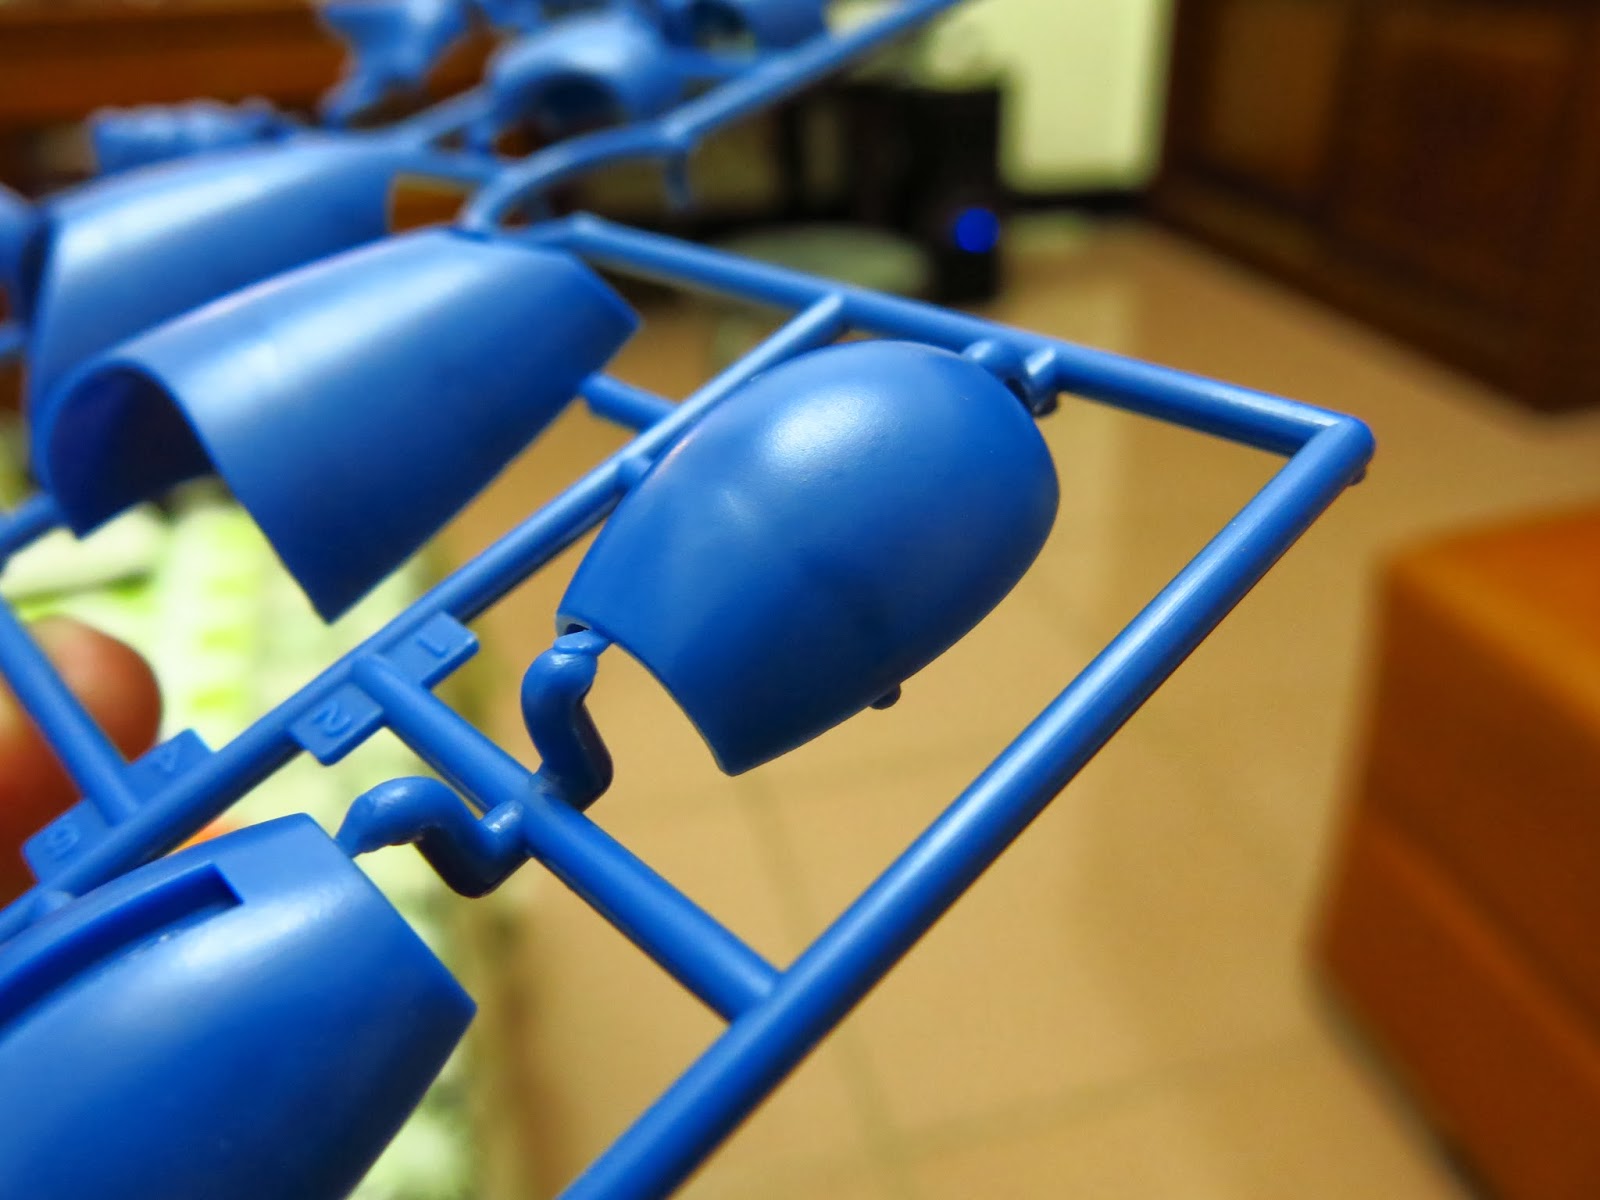
This sink mark is truly a classic—it shrank an entire ring inward. Someone unaware might think it was an intentional sci-fi detail.
Phew… so many defects just looking at the runners. Let’s start snap-fitting and see what horrific assembly tolerances await.
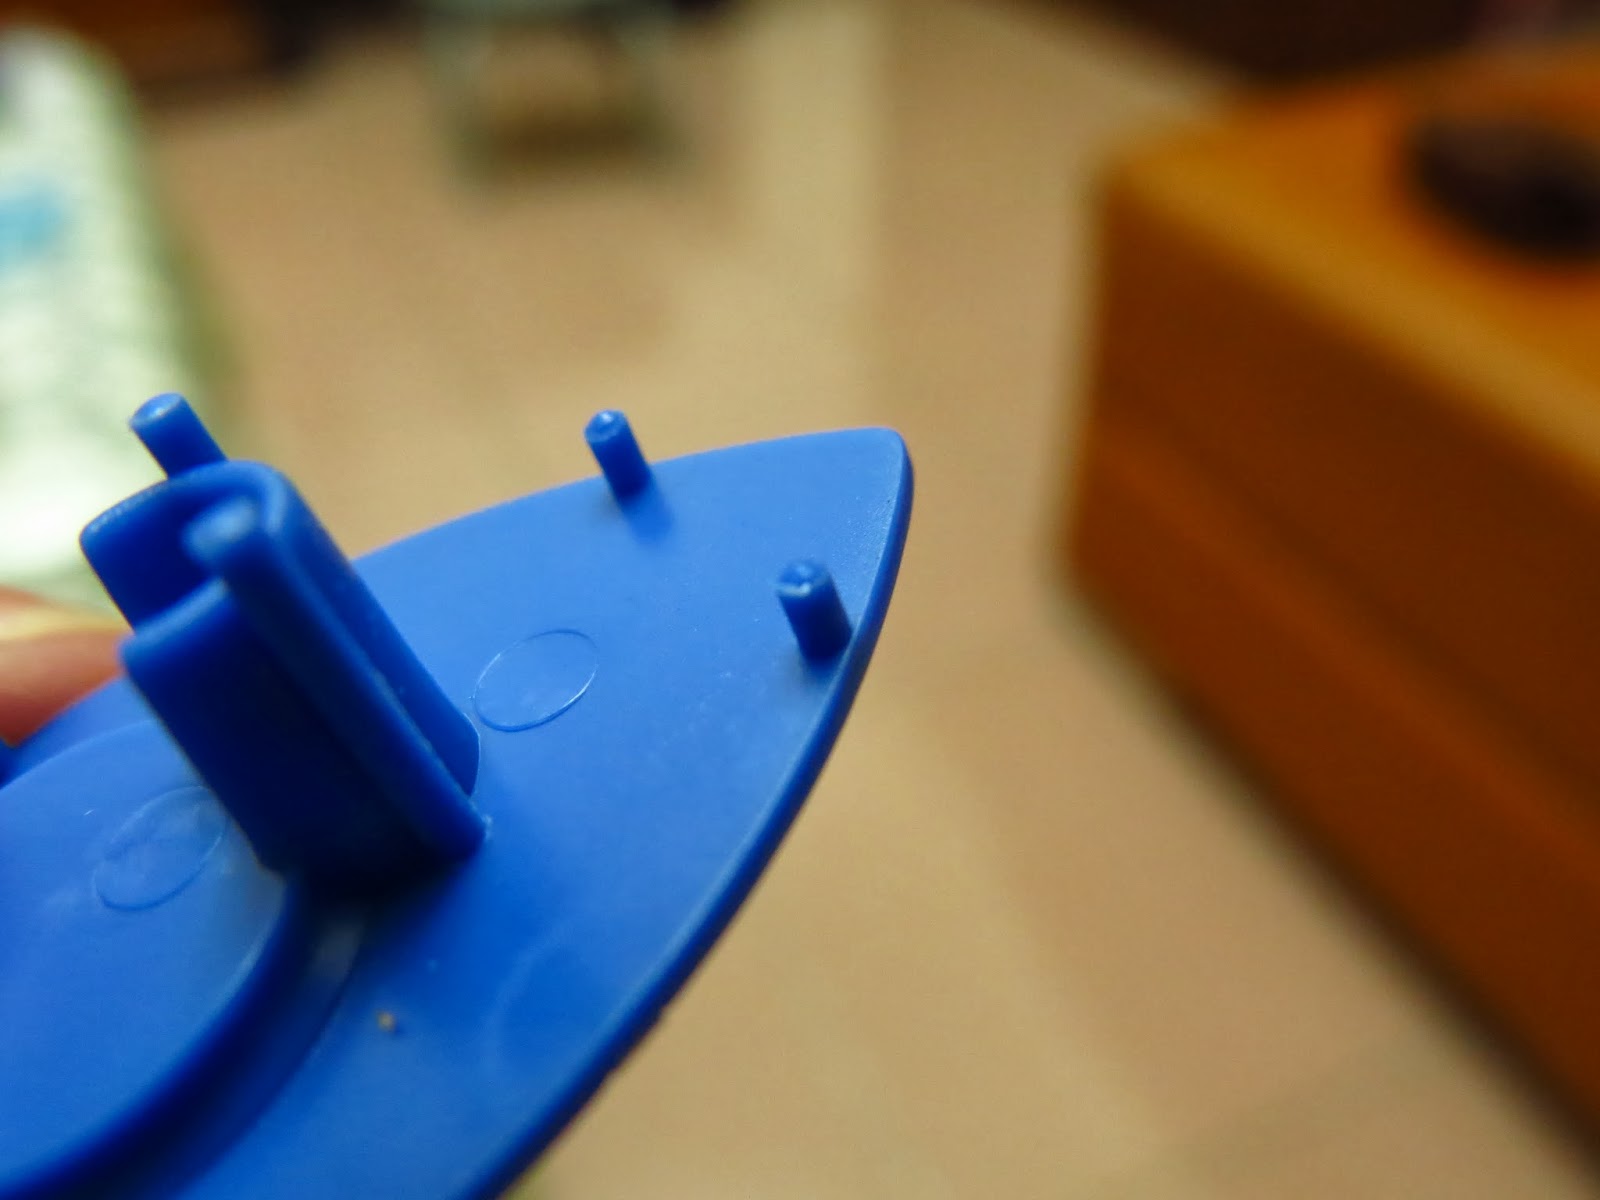
Good grief. Even the connection pegs have thick flashing; I had to bust out sandpaper just for a test fit.
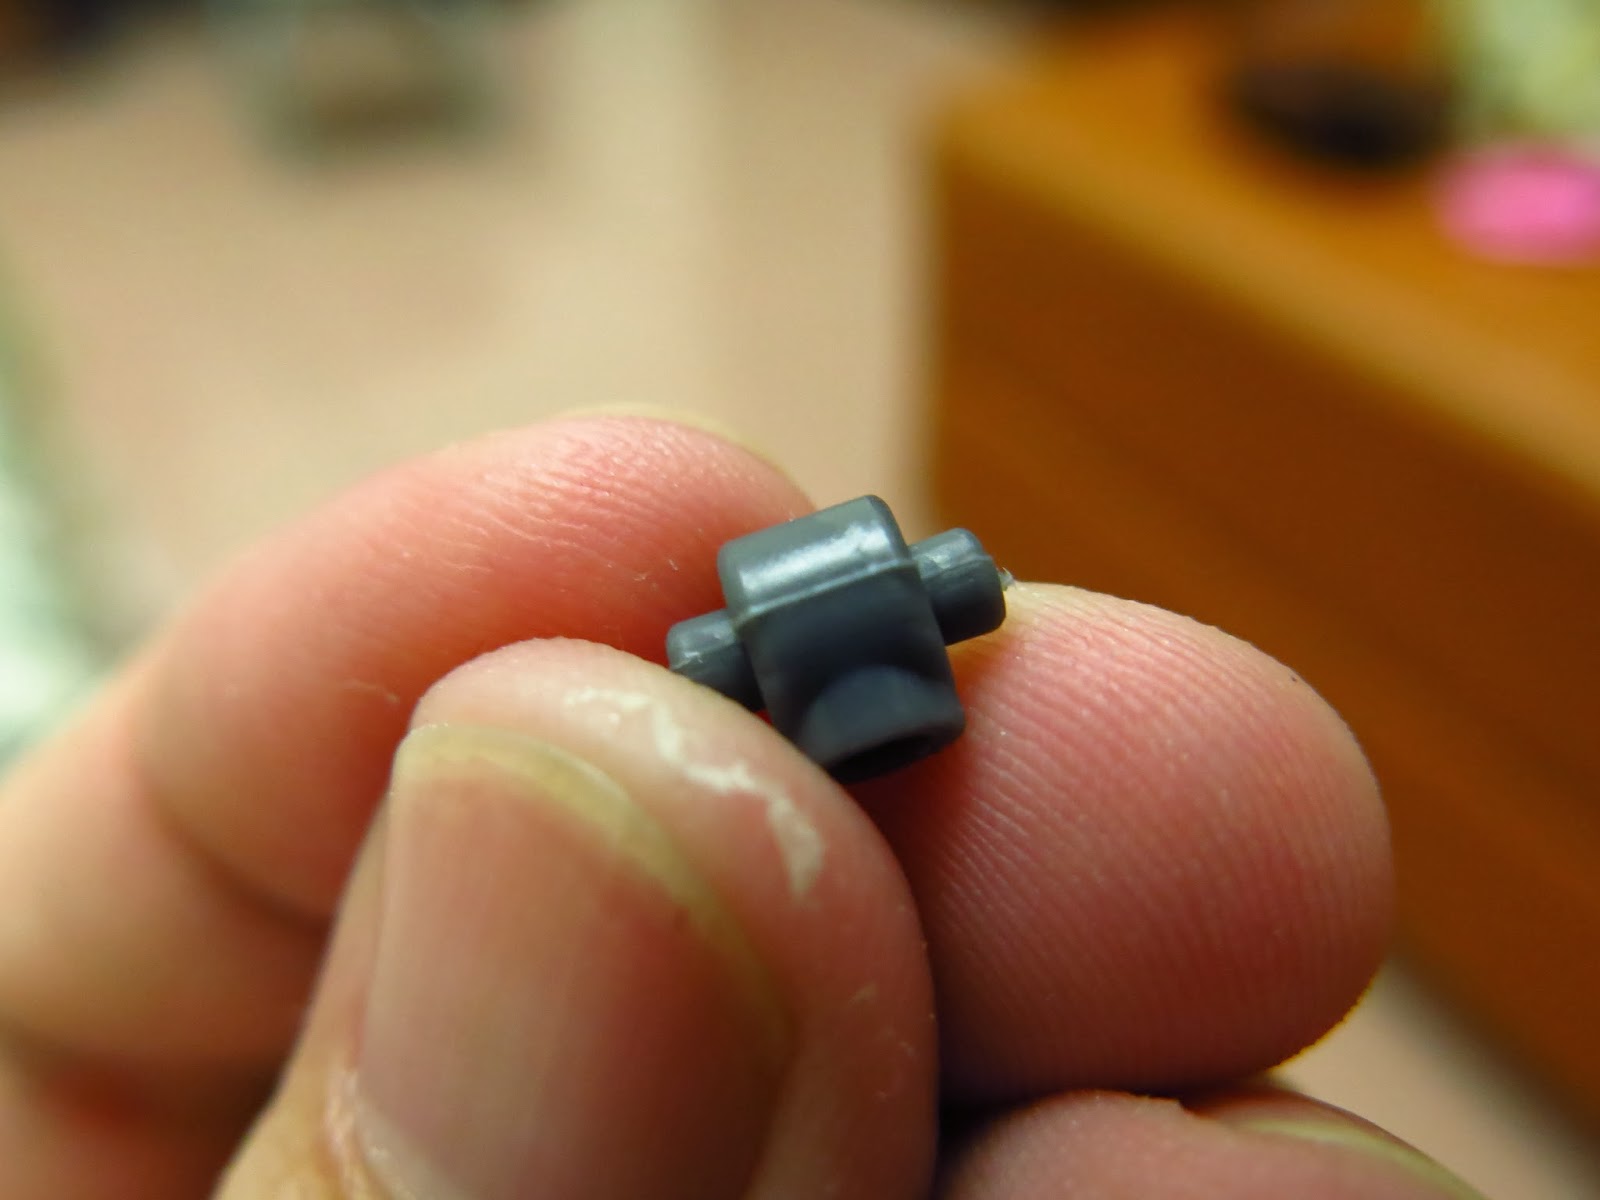
Even the polycap runner is ruined; this is the first time I’ve ever seen polycaps with such massive parting flash.
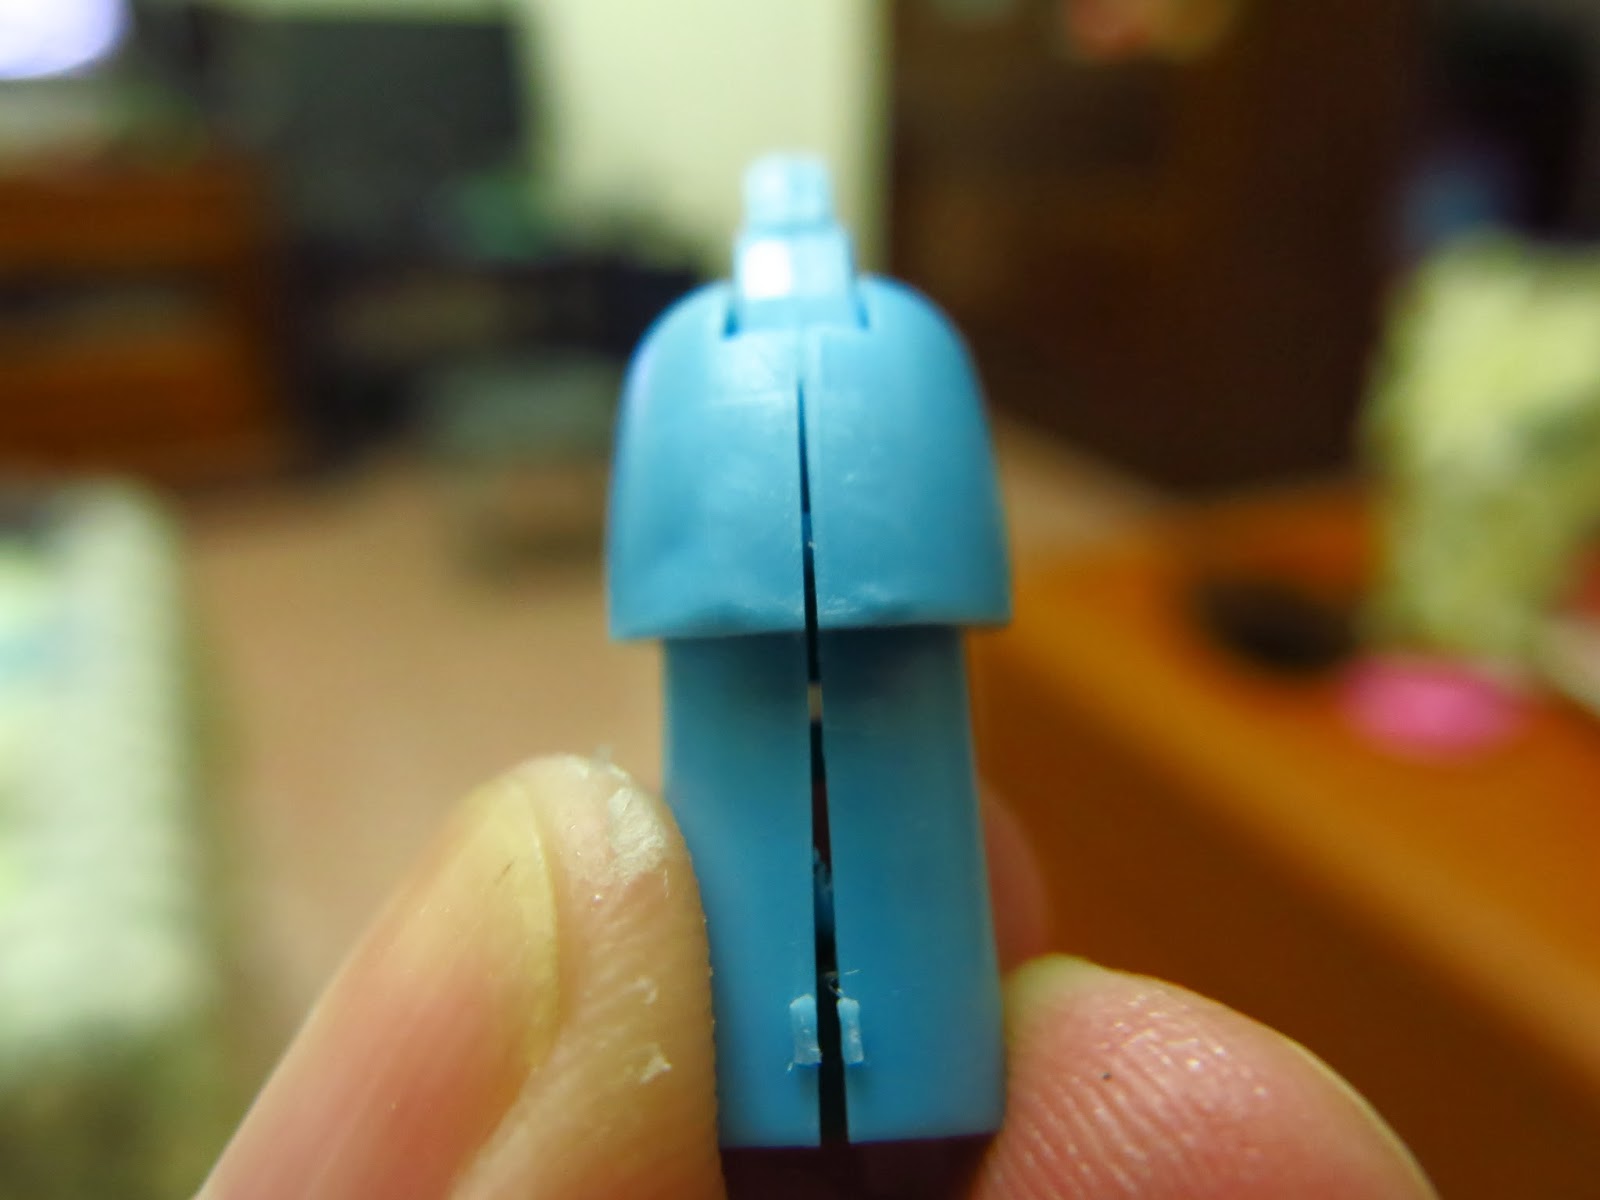
Uh… this is pressed completely flush, yet look at that gap. Where on earth is it binding? (Scratching head)
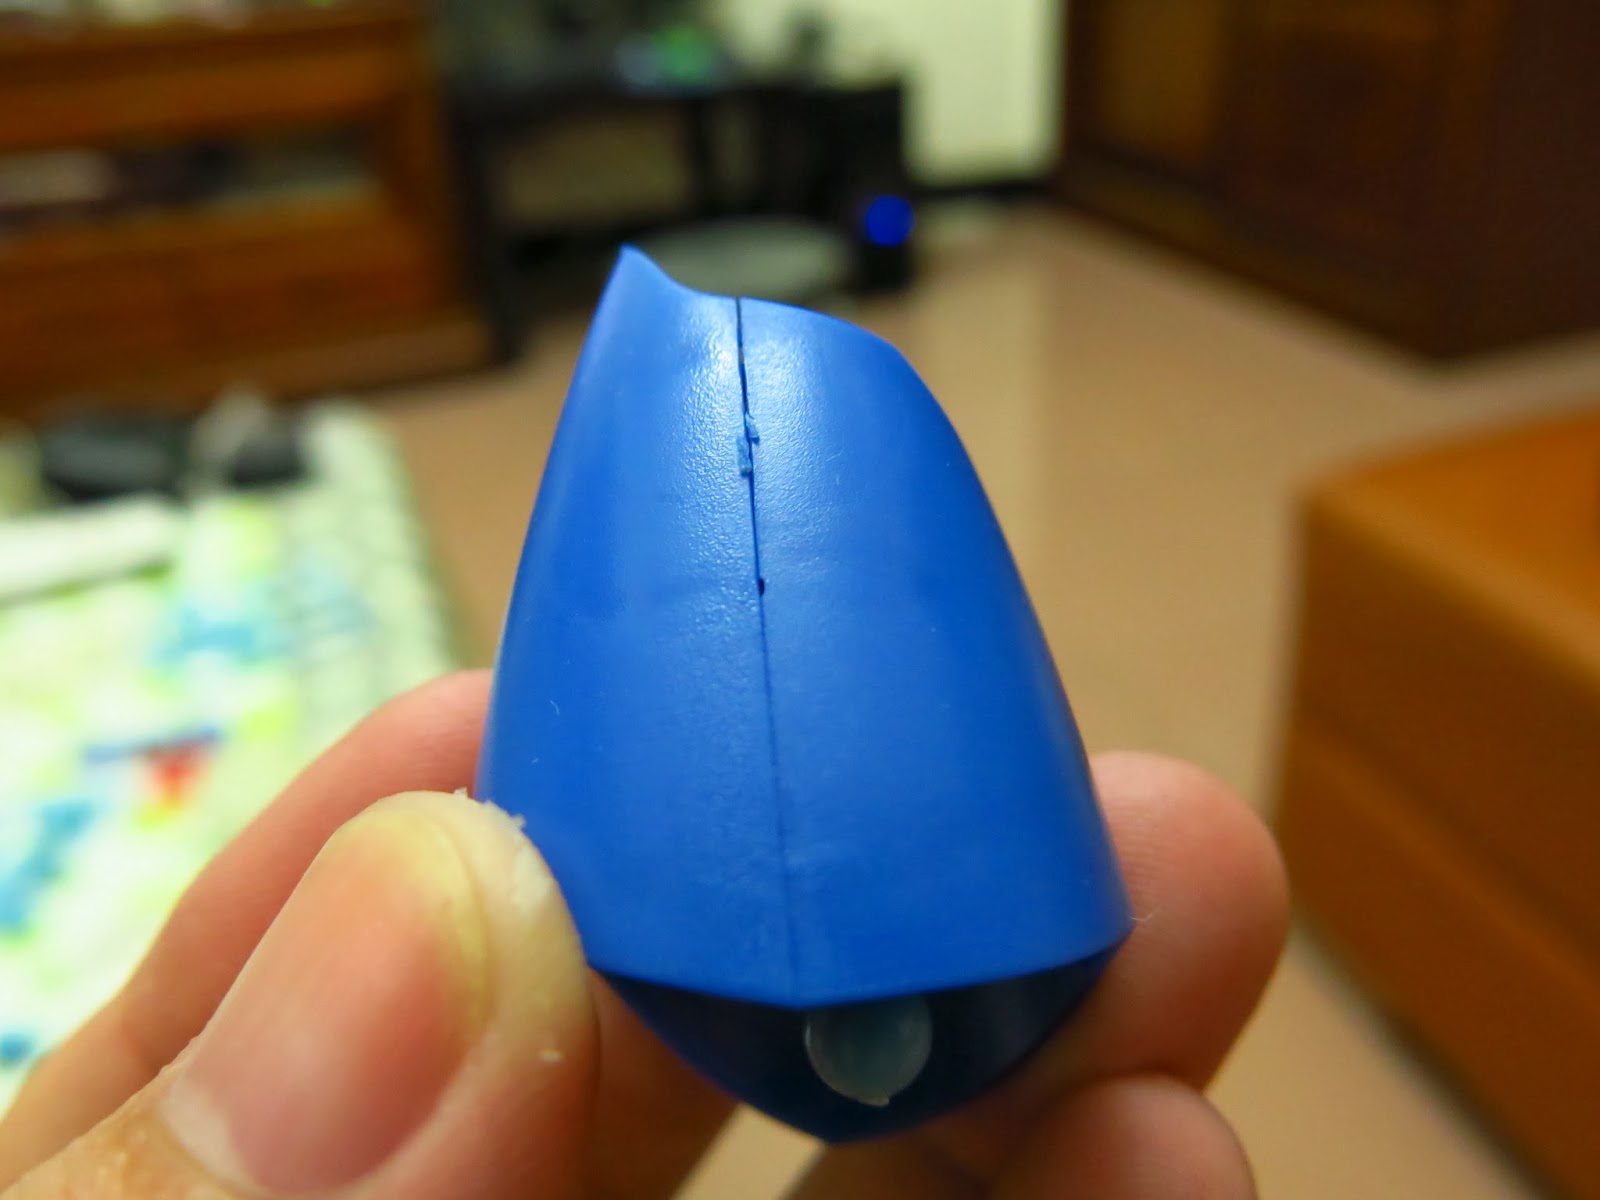
Same story here: pressed firmly shut yet still a huge gap, and the surface desperately needs a heavy sanding overhaul.
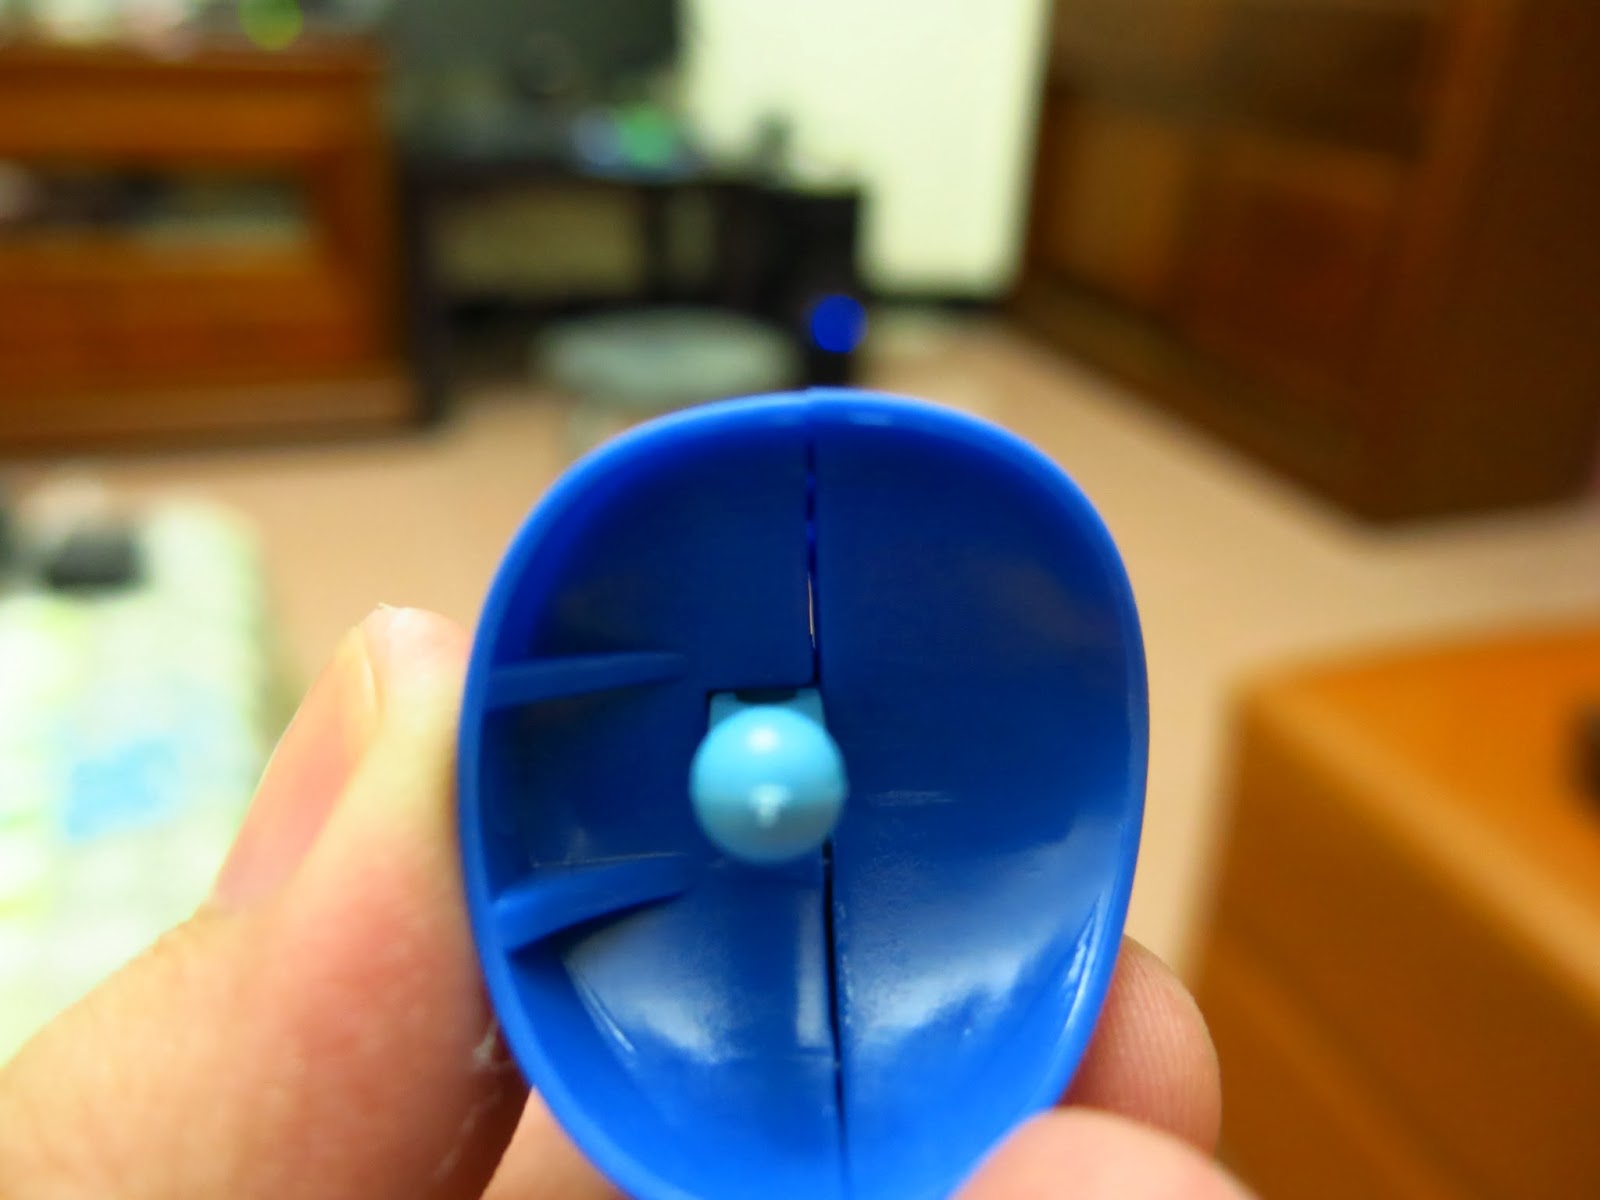
Never mind the terrible fit—light actually shines right through the seam… (Wry smile)
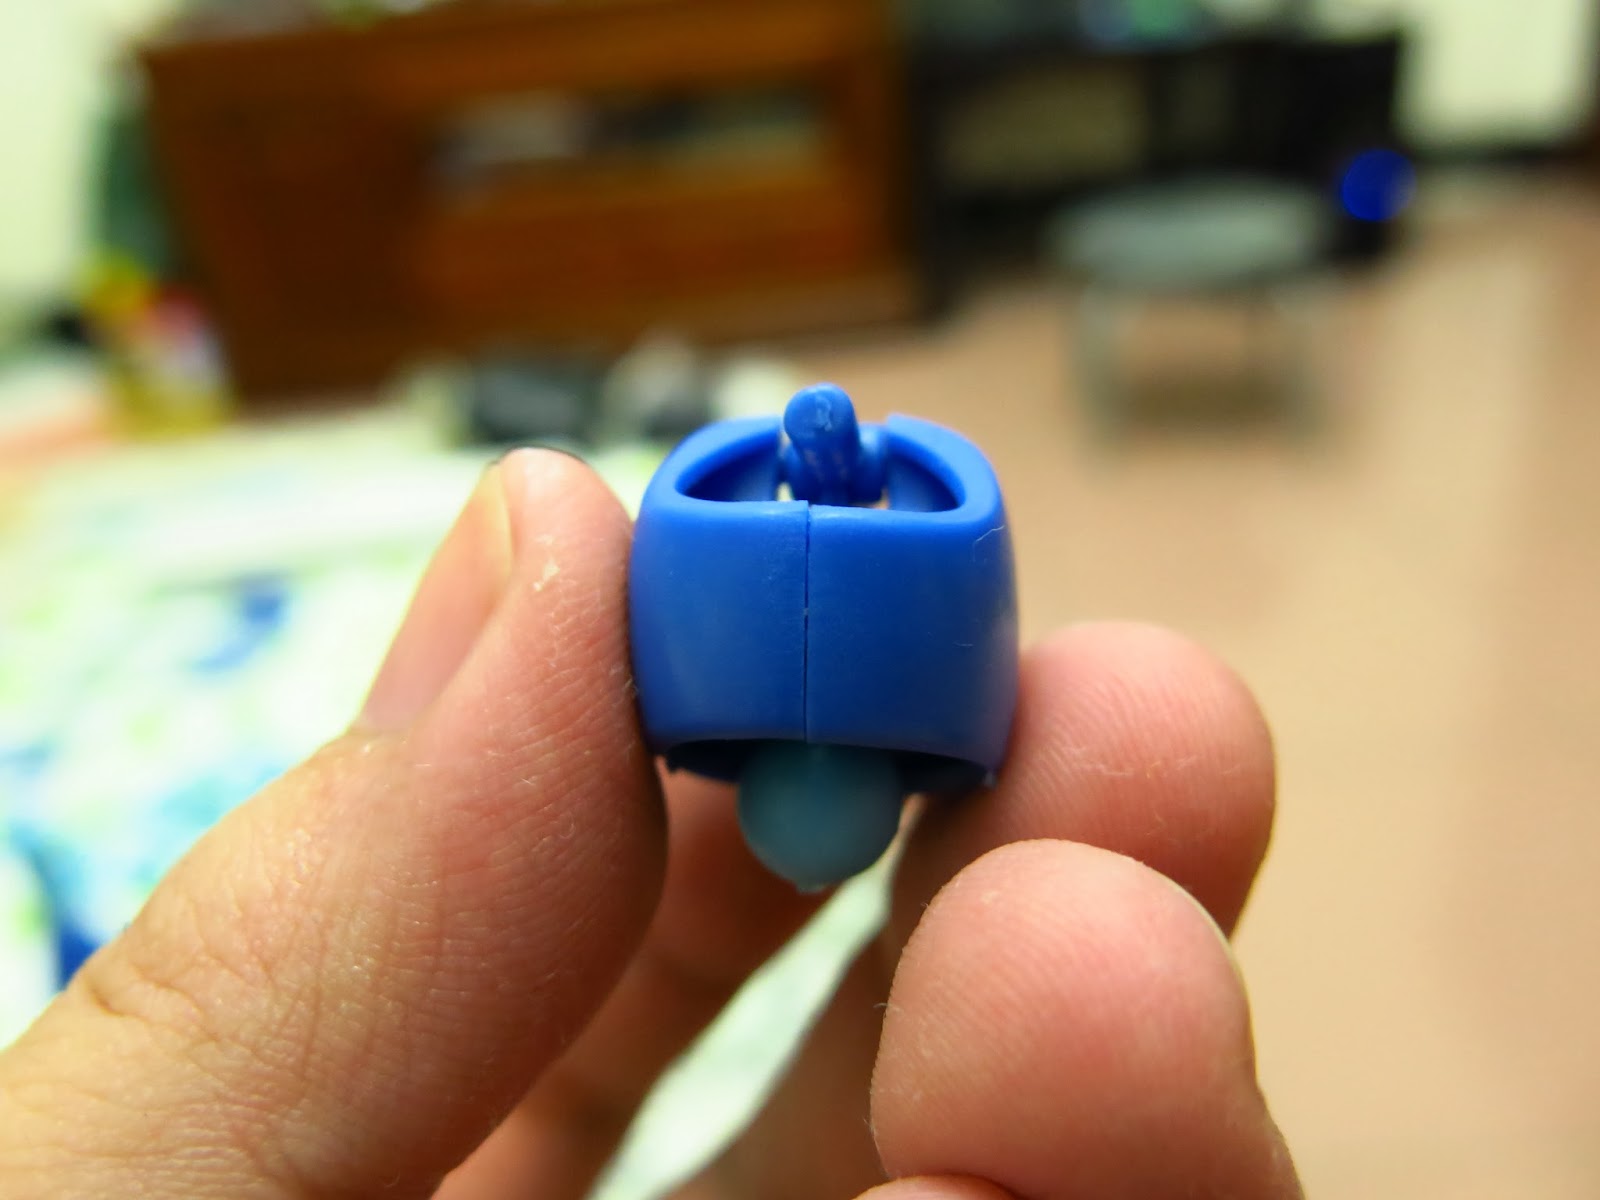
Can you see this? The waist pieces not only fail to close, but there is also a jarring height step between them.
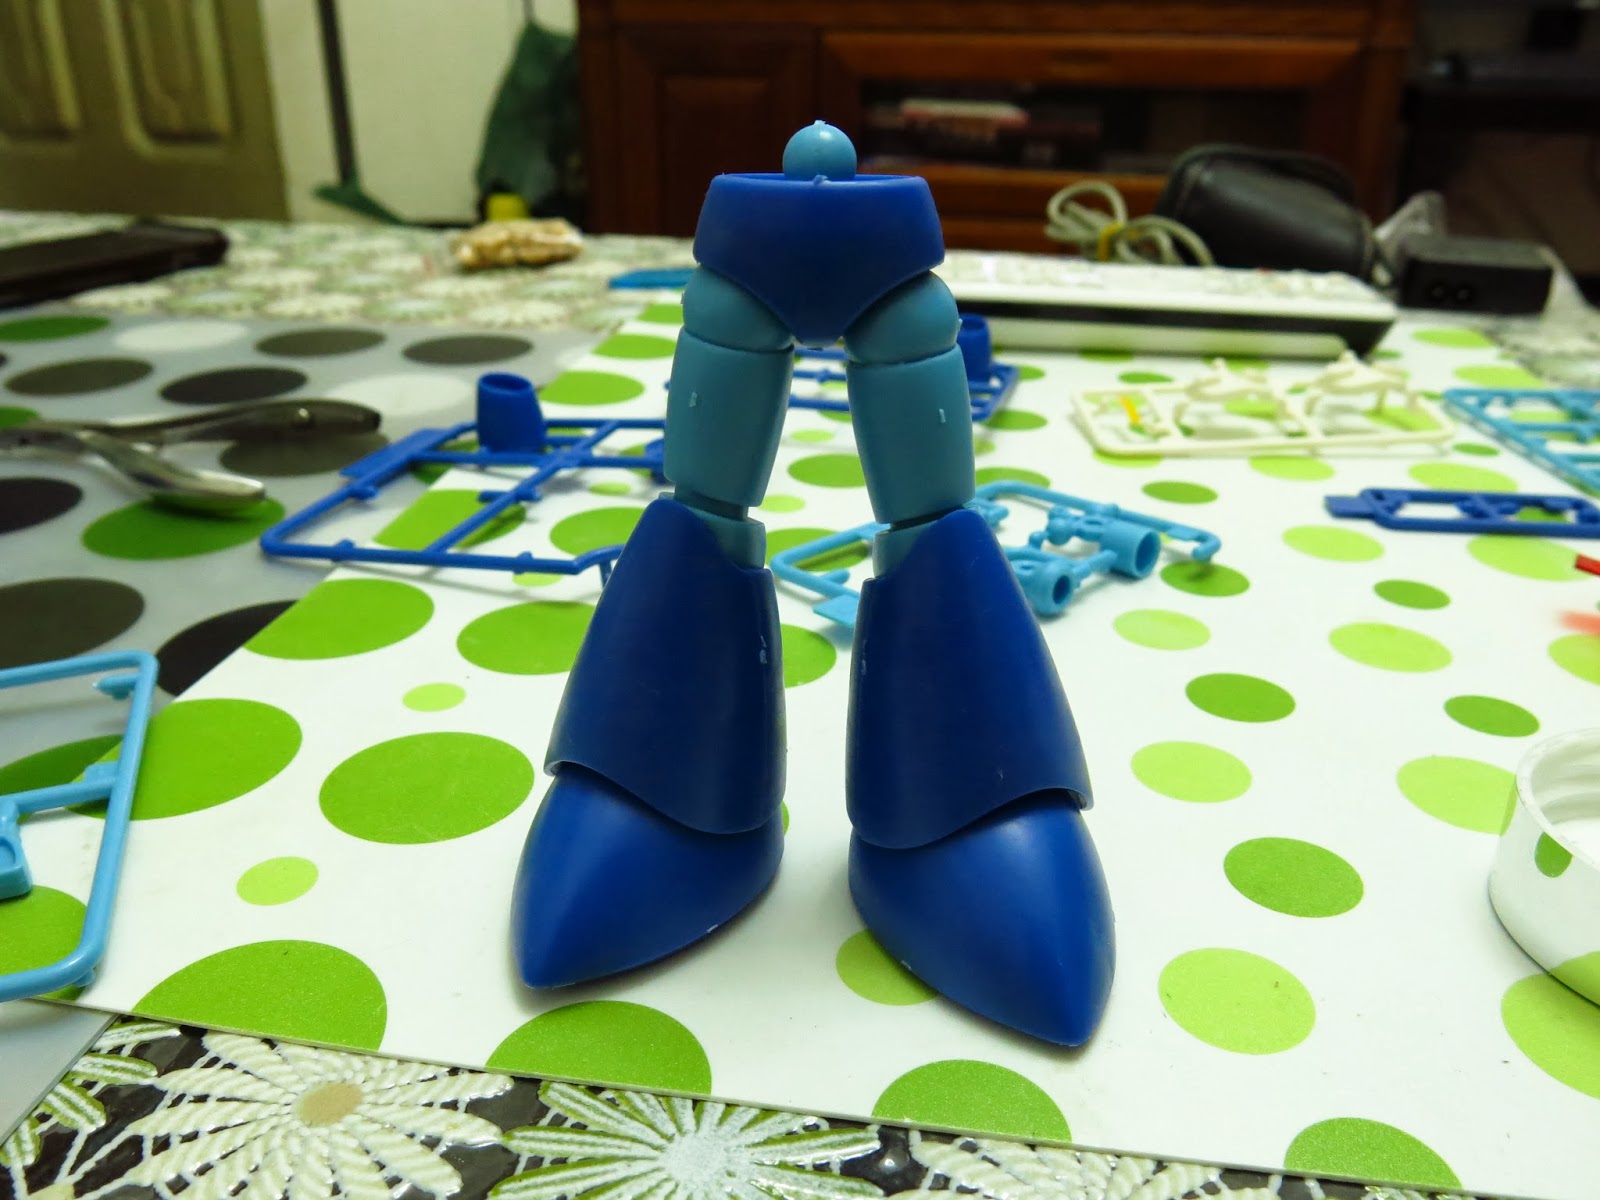
After over an hour of enduring these tribulations, the lower torso is finally assembled.
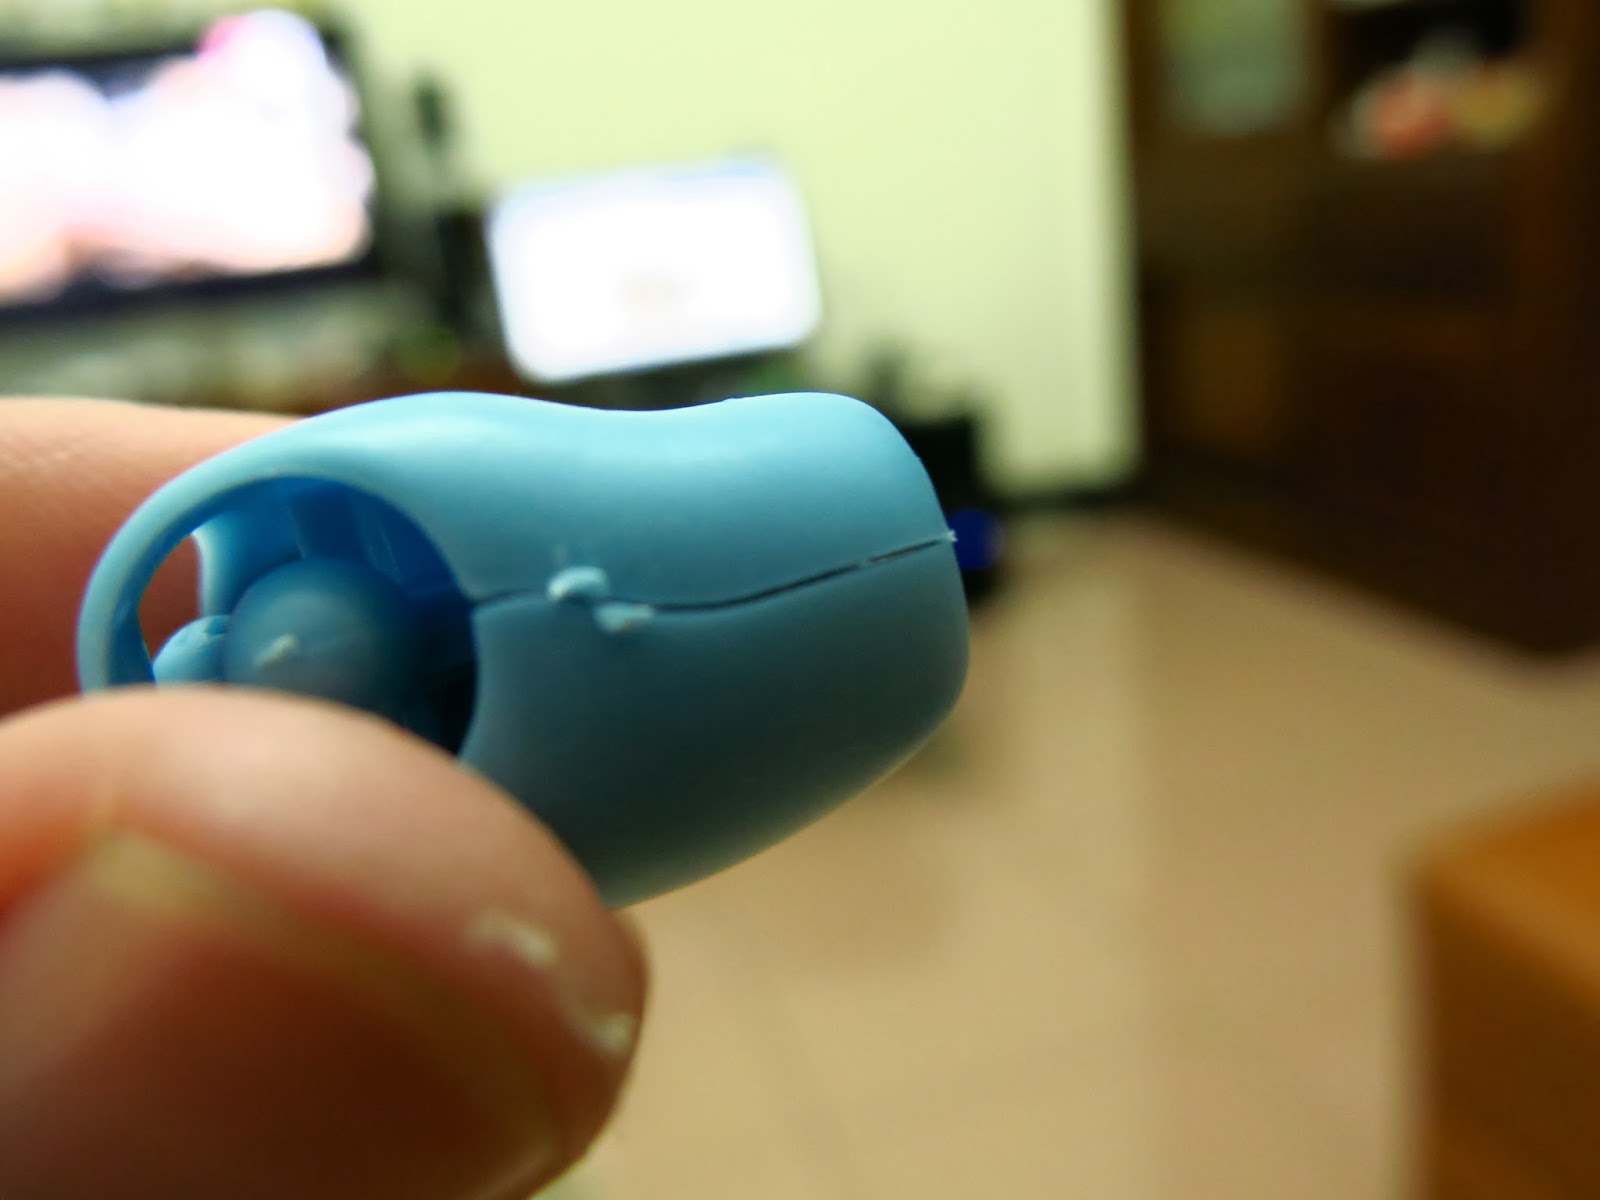
You guessed it—the chest armor pieces don’t close flush either.
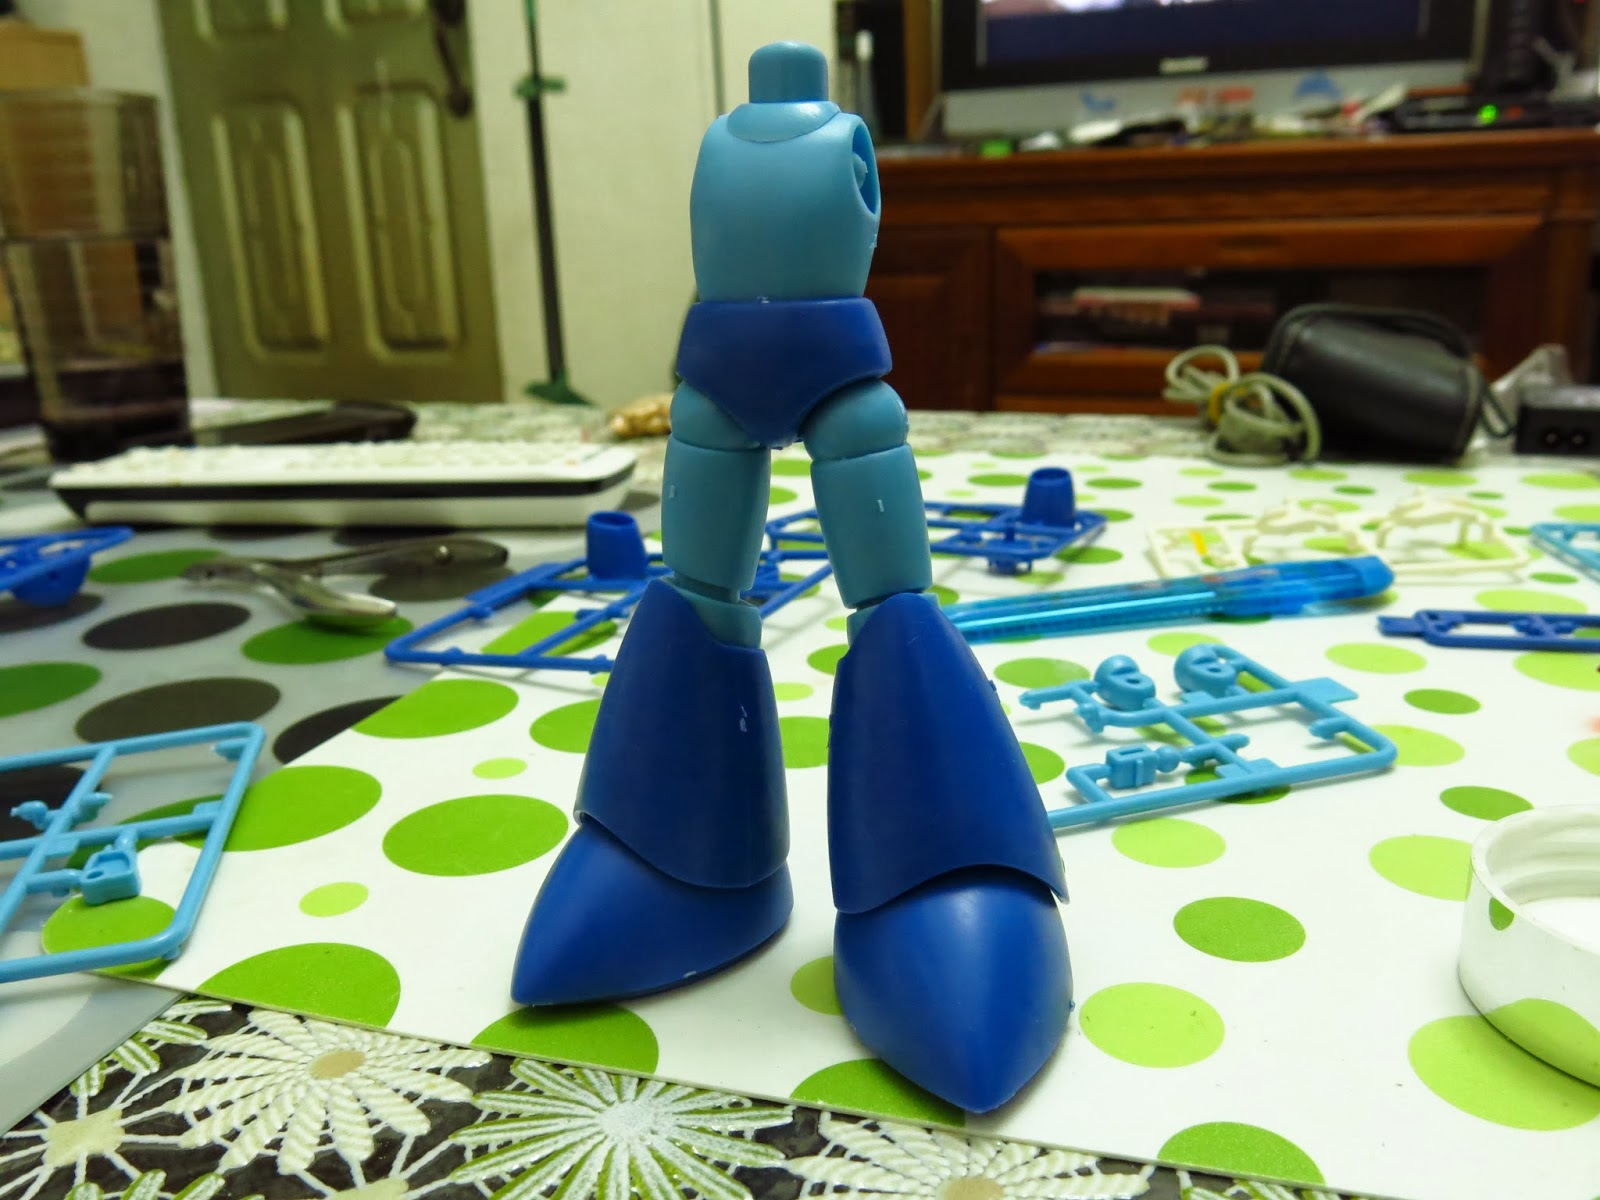
Well, at this stage it at least resembles about 30% of the Japanese original.
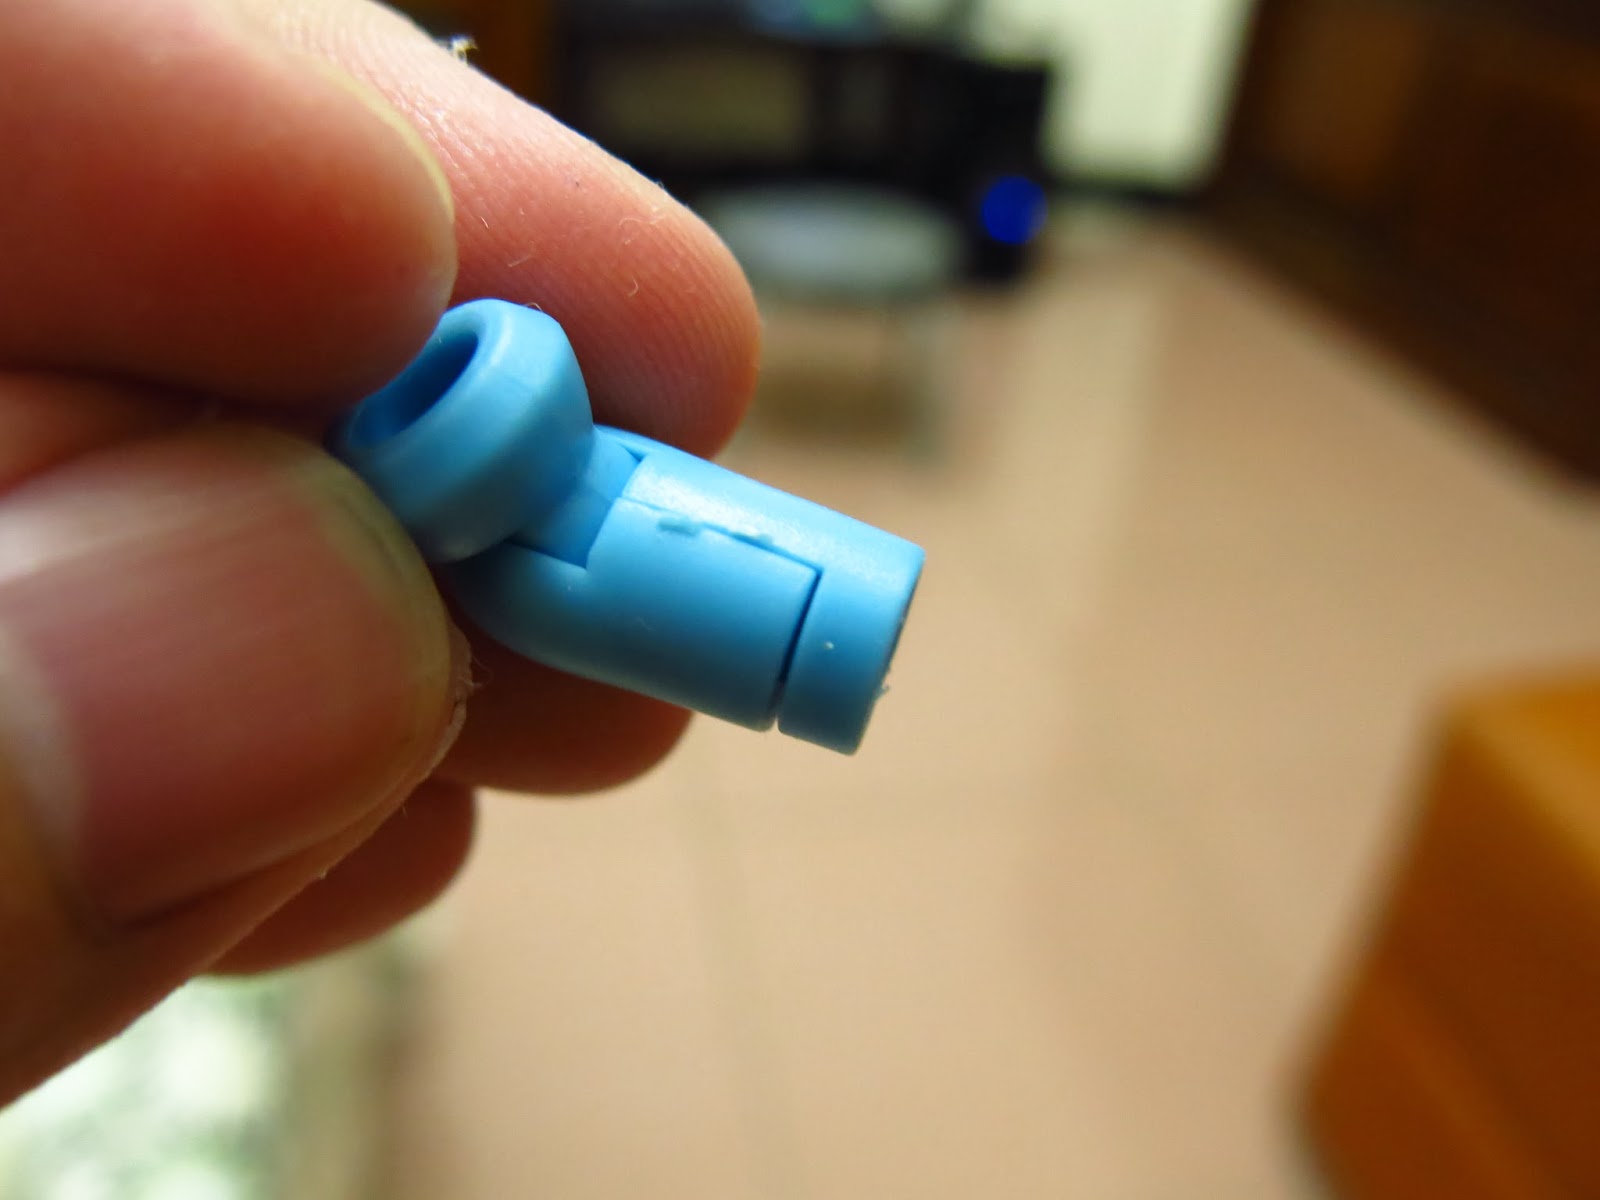
Yeah… since the whole body fails to close flush, it would be weird if the arms fit properly, but this canyon of a seam is just absurd.
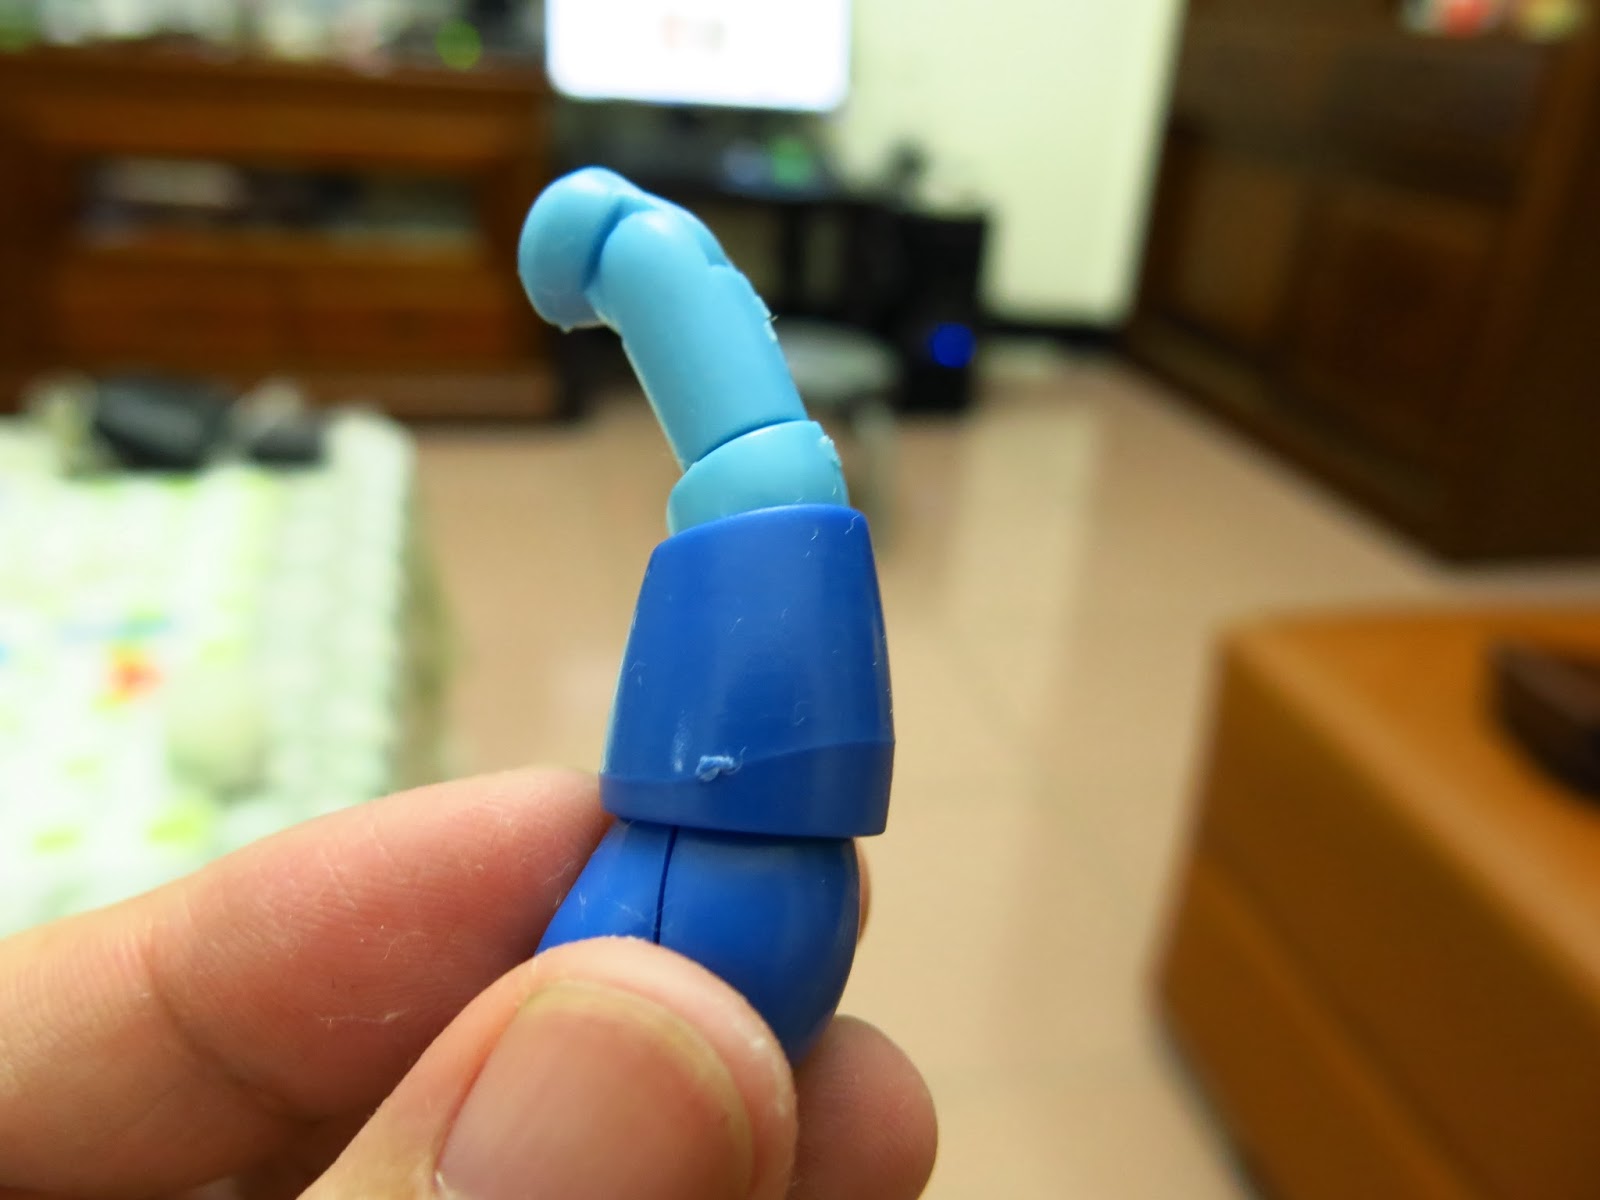
An utterly wretched arm assembly.
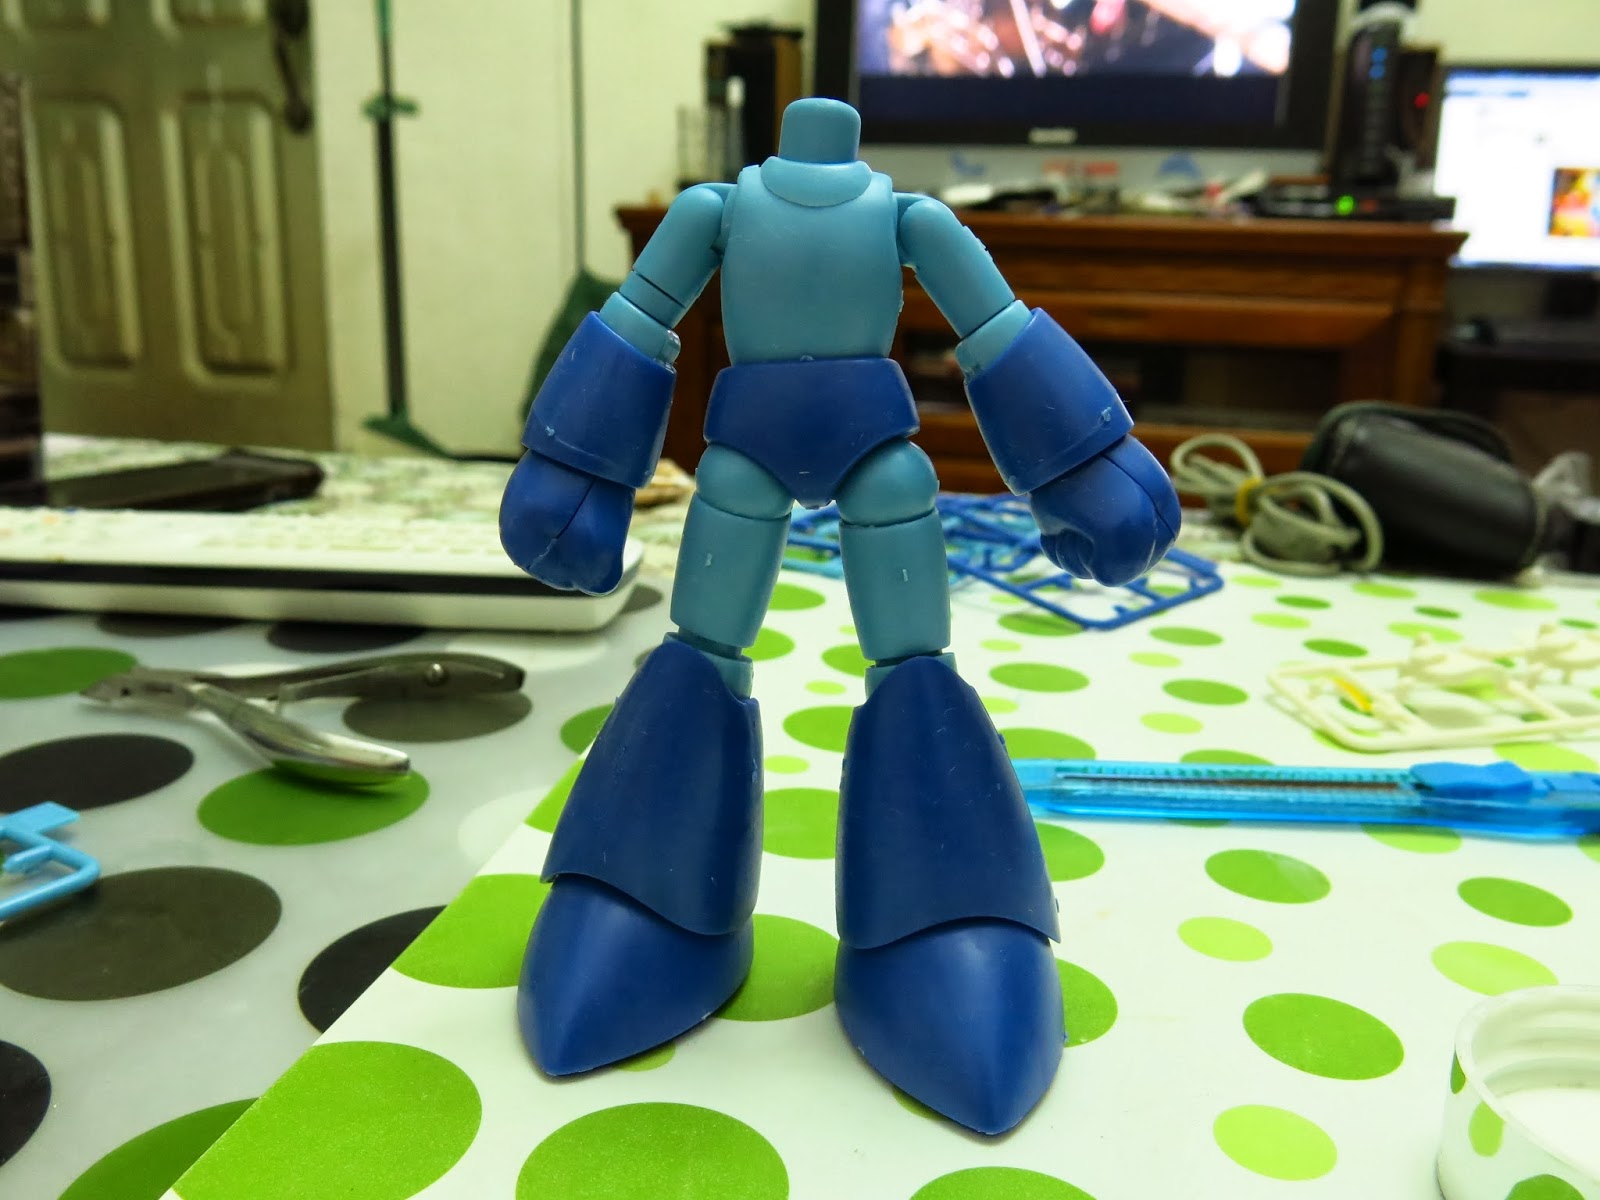
Reaching this stage should bring joy, yet why do I feel so infuriated?
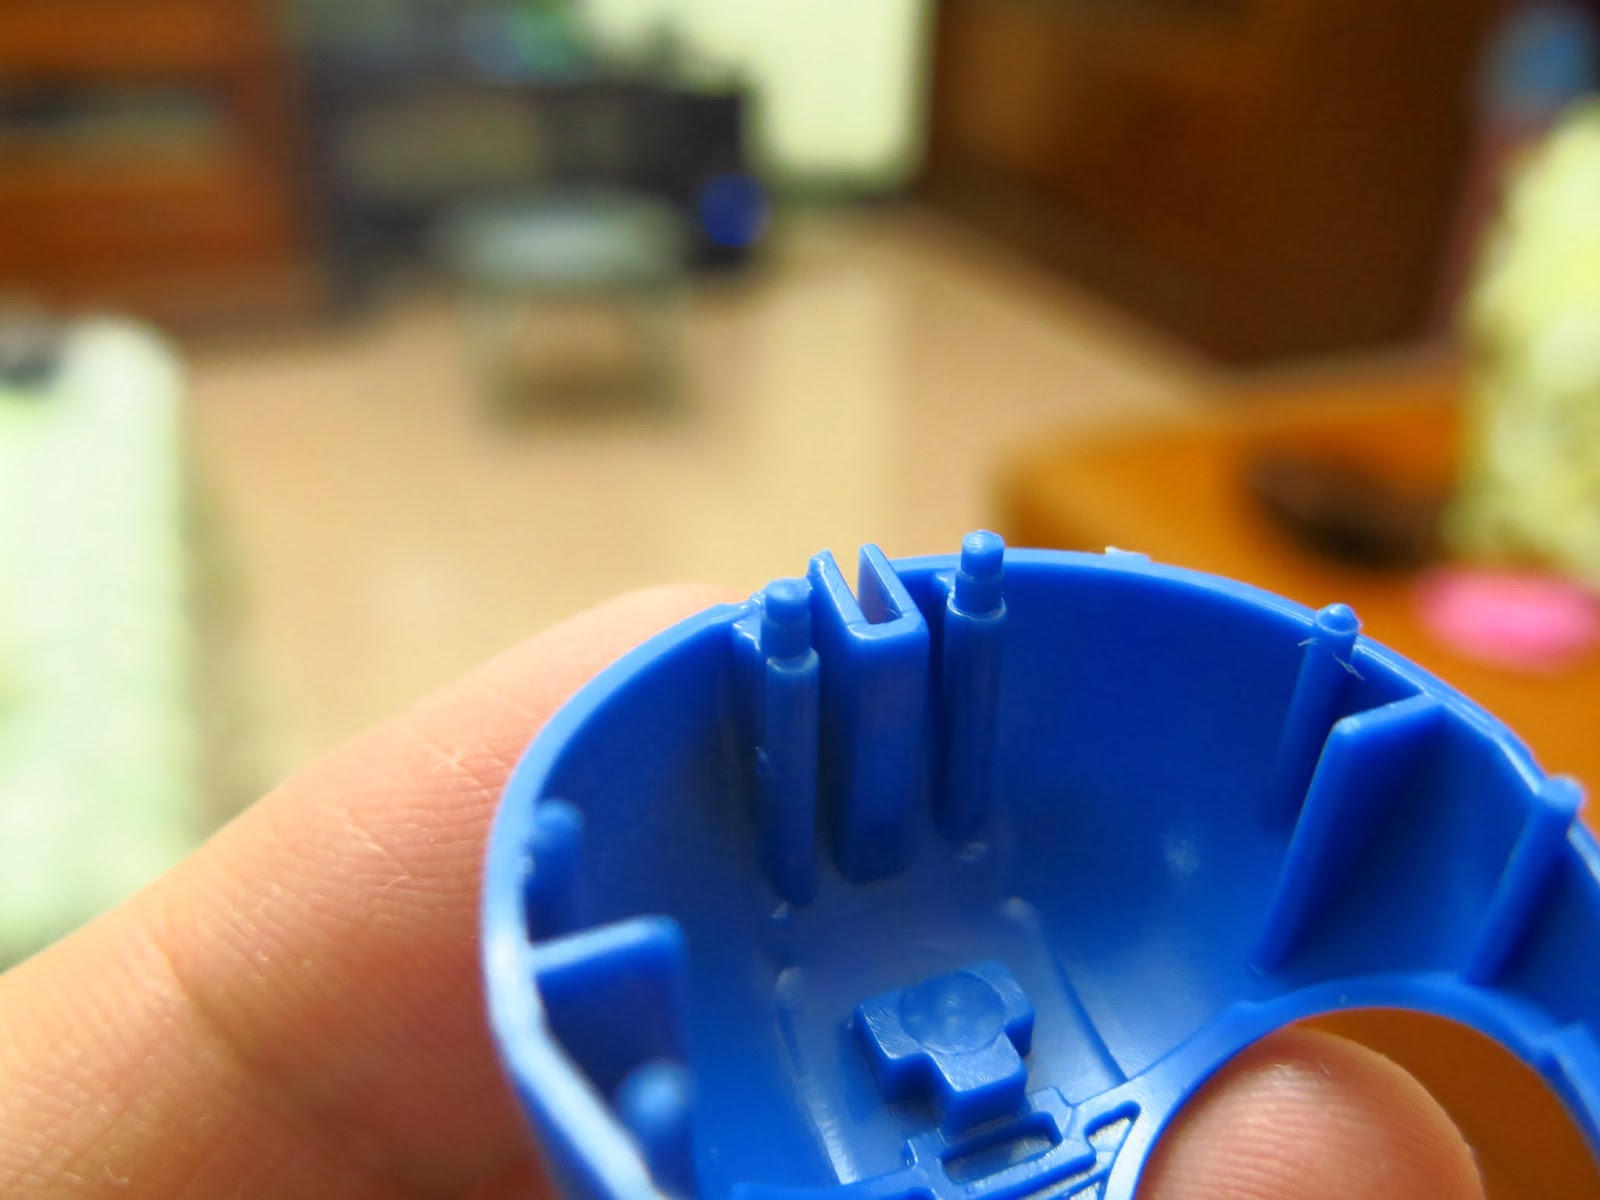
Every single peg on the helmet is warped; even for a mock-up, every single pin had to be sanded down.
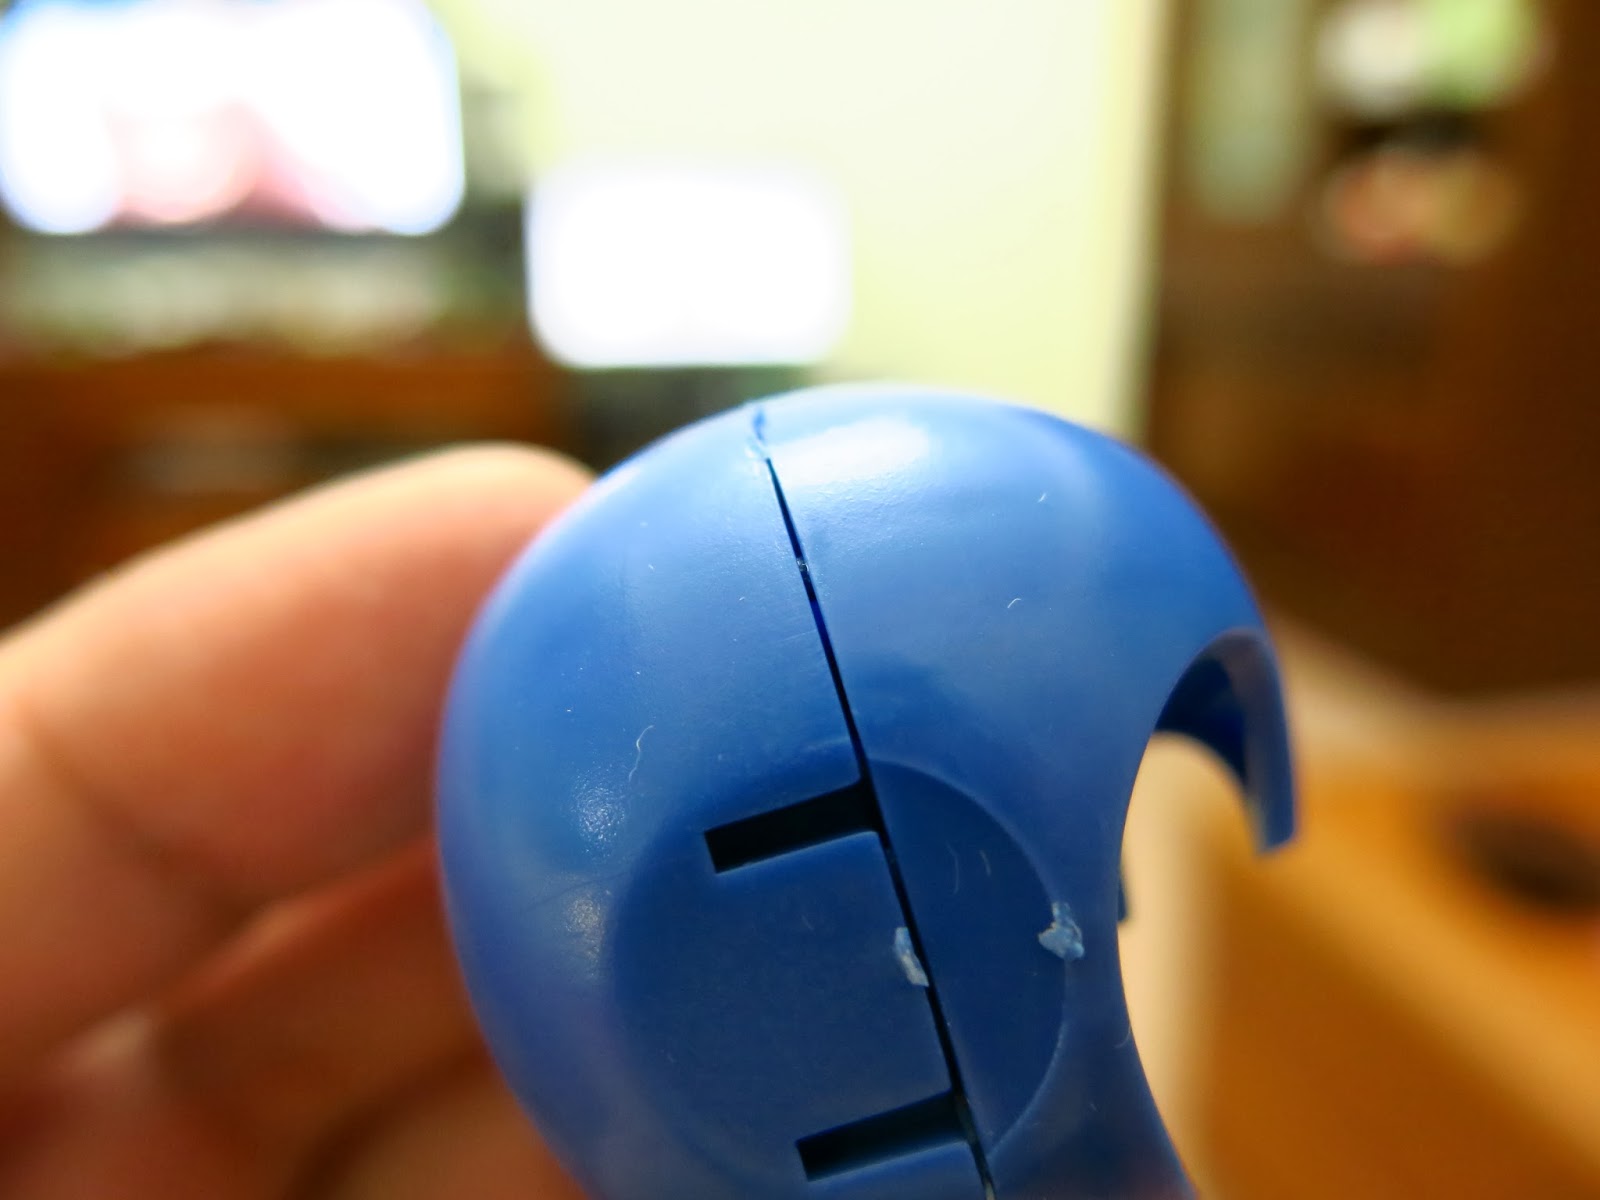
Naturally, it doesn’t close flush.
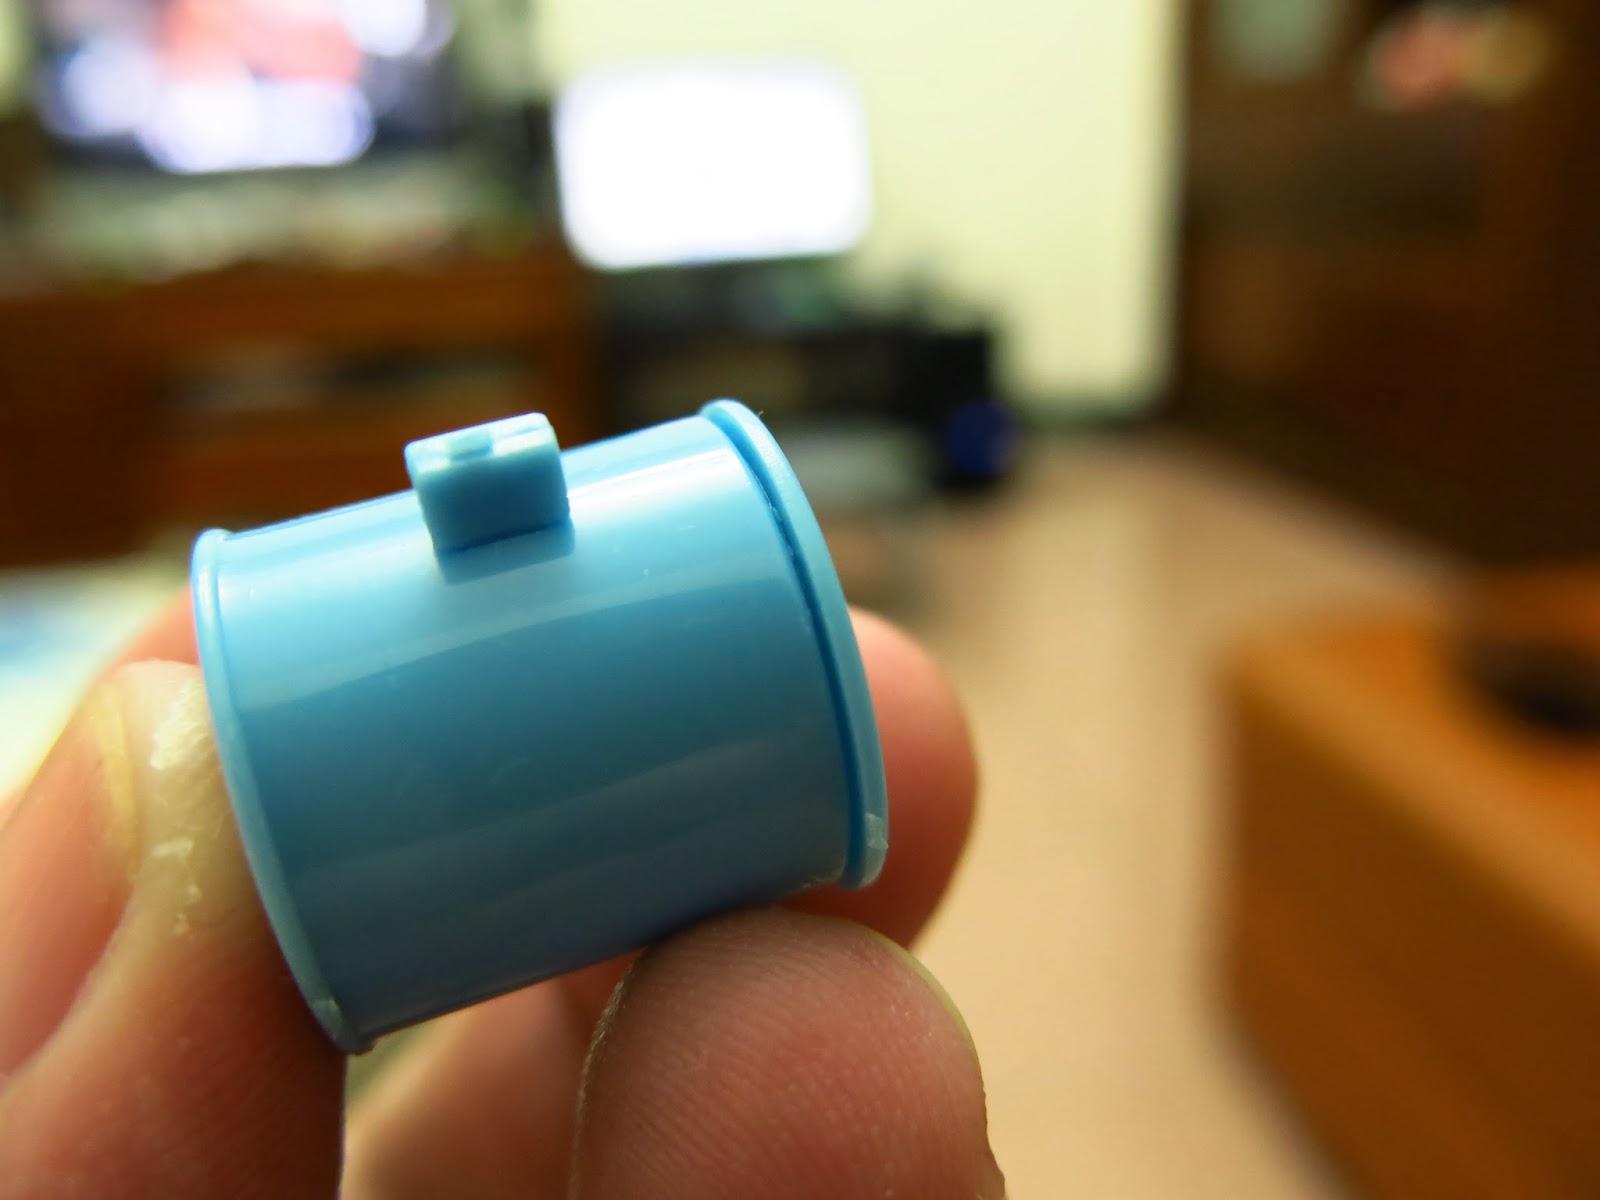
Even the E-Tank—a component requiring zero mold complexity—ended up looking like this.
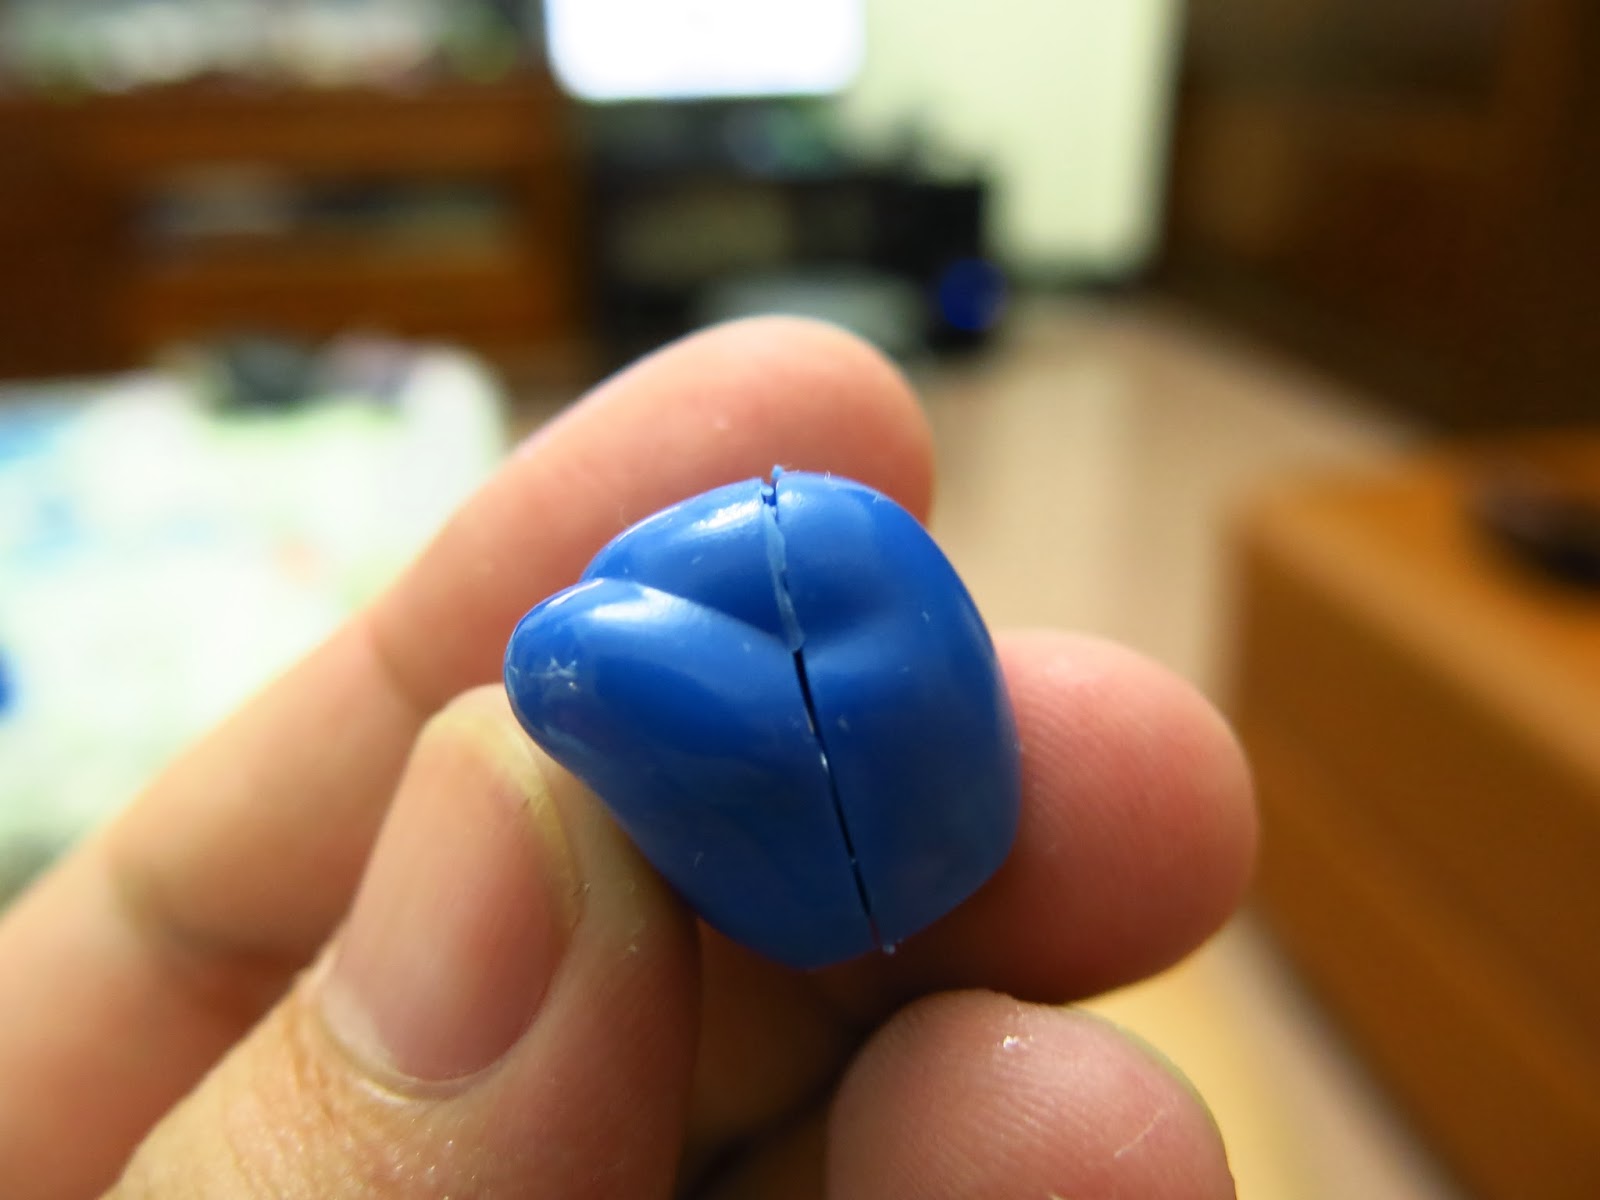
This fist piece leaves me completely speechless…
Regarding a severed palm crease (simian crease), Chinese folklore has curious superstitions: A man with a severed crease on his left palm “commands military seals,” meaning he will become a great general; a severed line on the right palm “guards the treasury,” becoming a titan of industry; if both palms are severed, he either becomes a legendary hero or a ruthless bandit.
Women with severed creases were superstitiously believed to be born bearing “cleavers,” bringing bad fortune to parents and descendants alike. So that’s how Mega Man became a legendary hero!
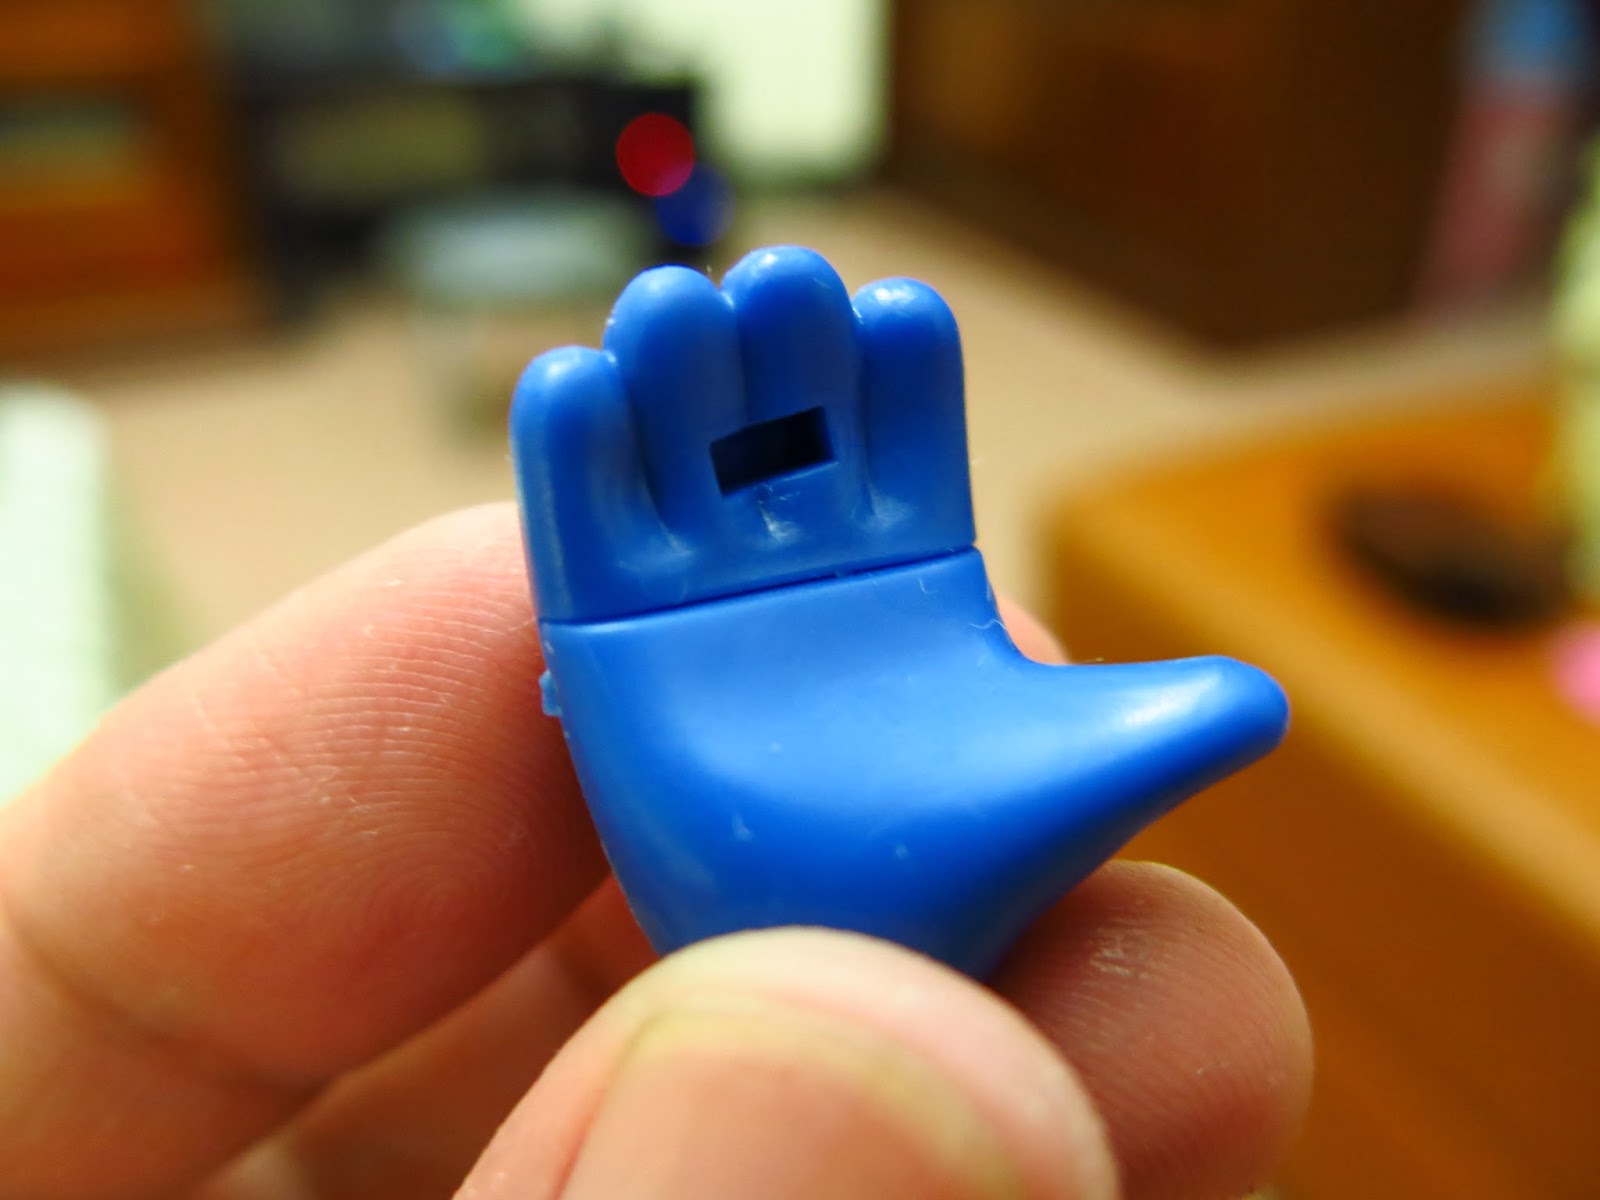
Mega Man’s severed palm crease
Next, a trio of helmet shots showcasing the glorious tooling.
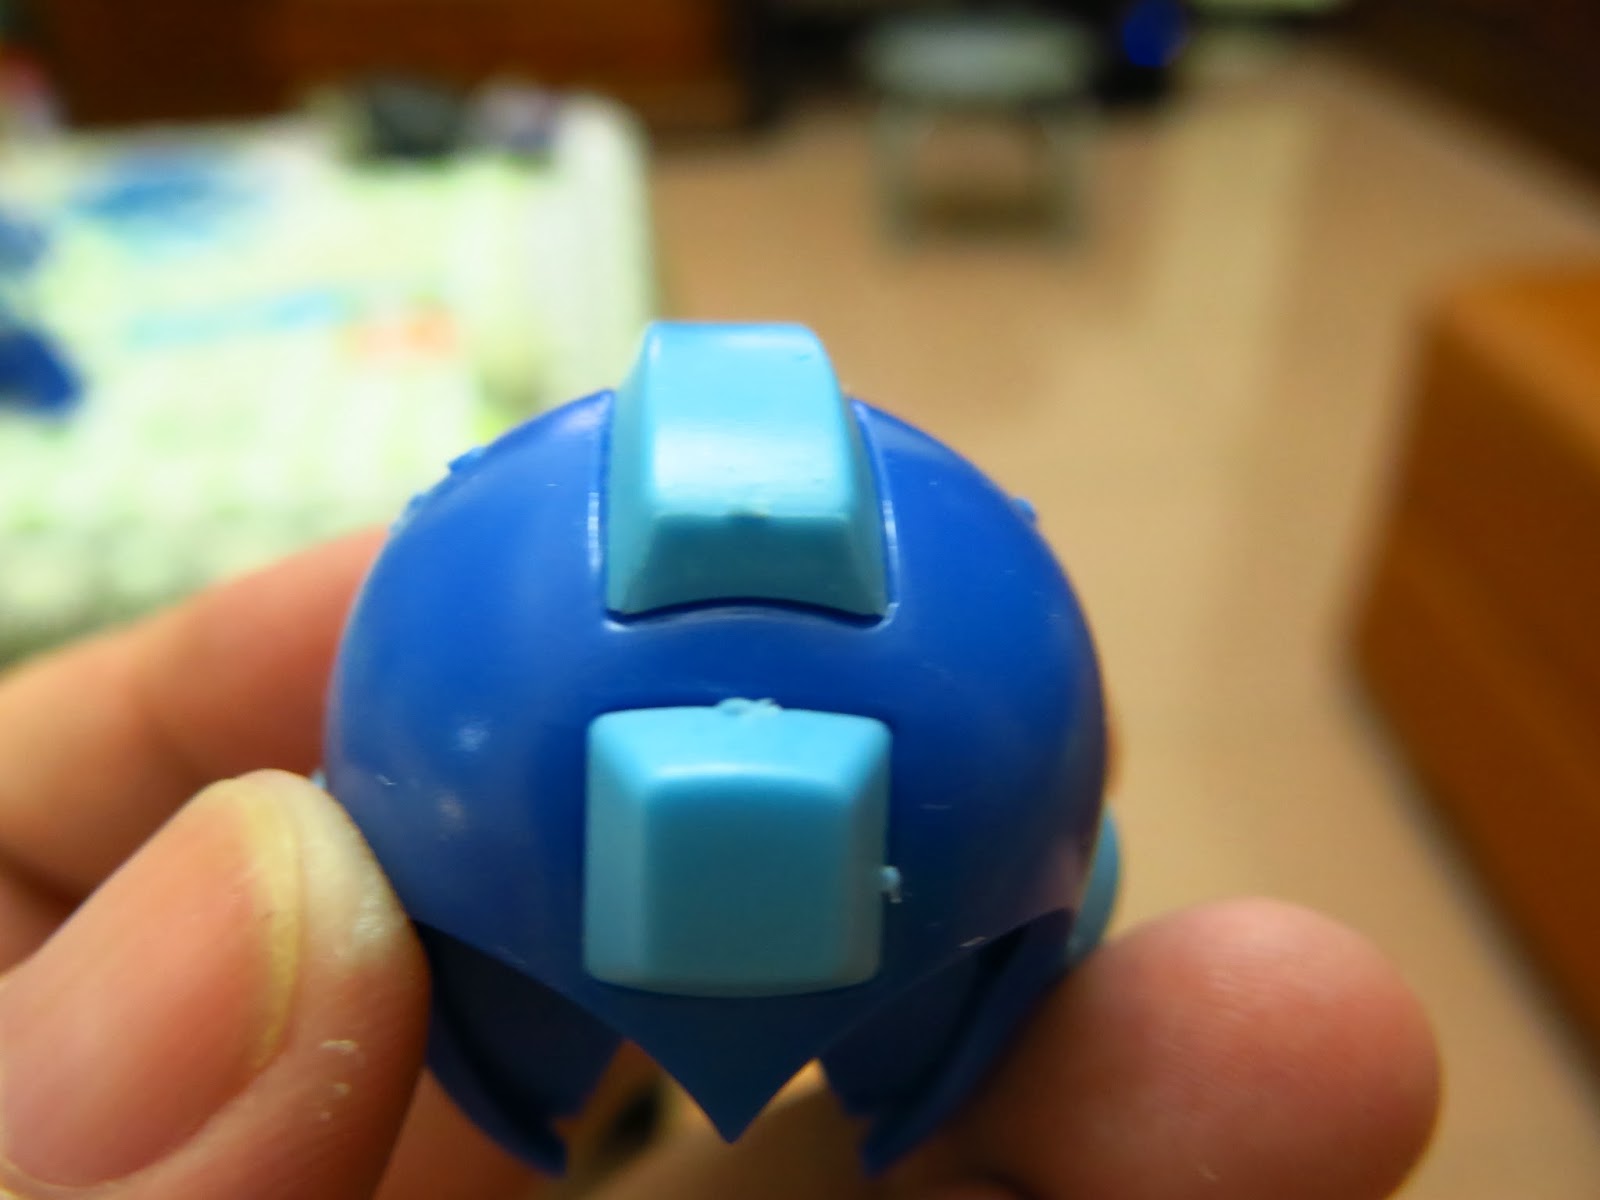
Helmet tooling classic
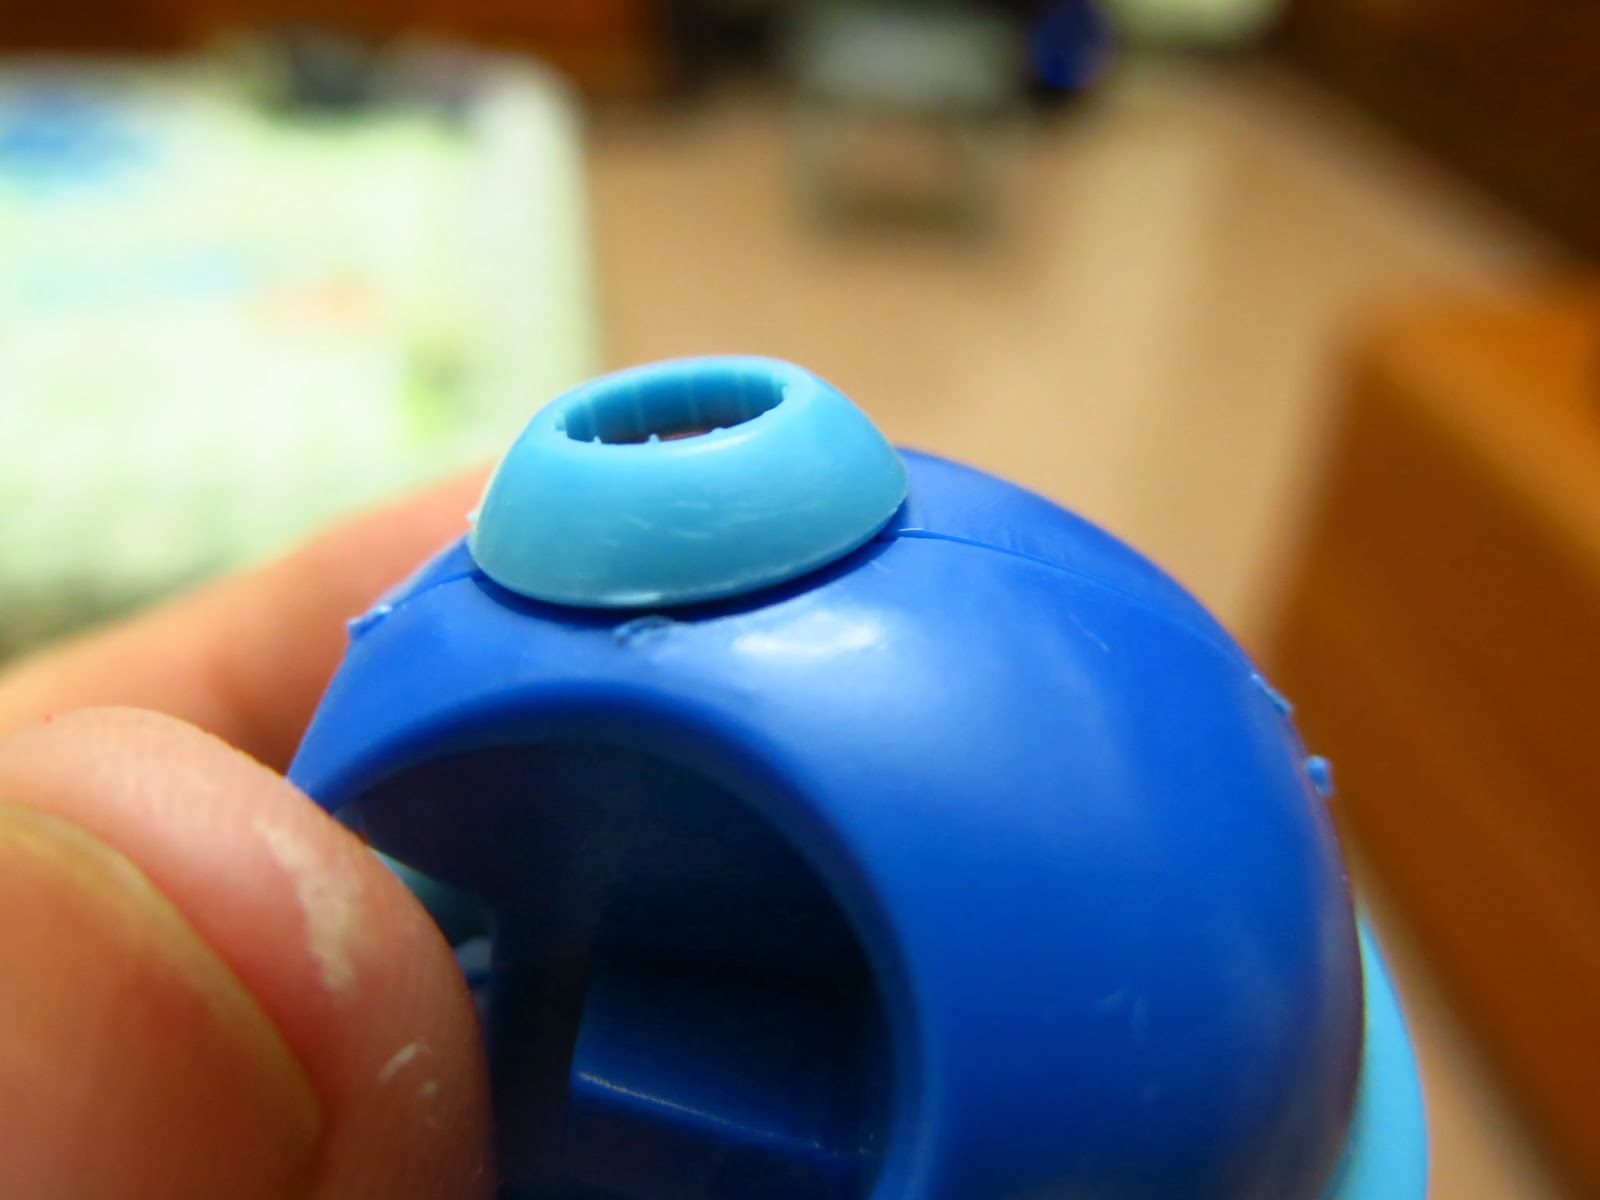
Helmet tooling classic
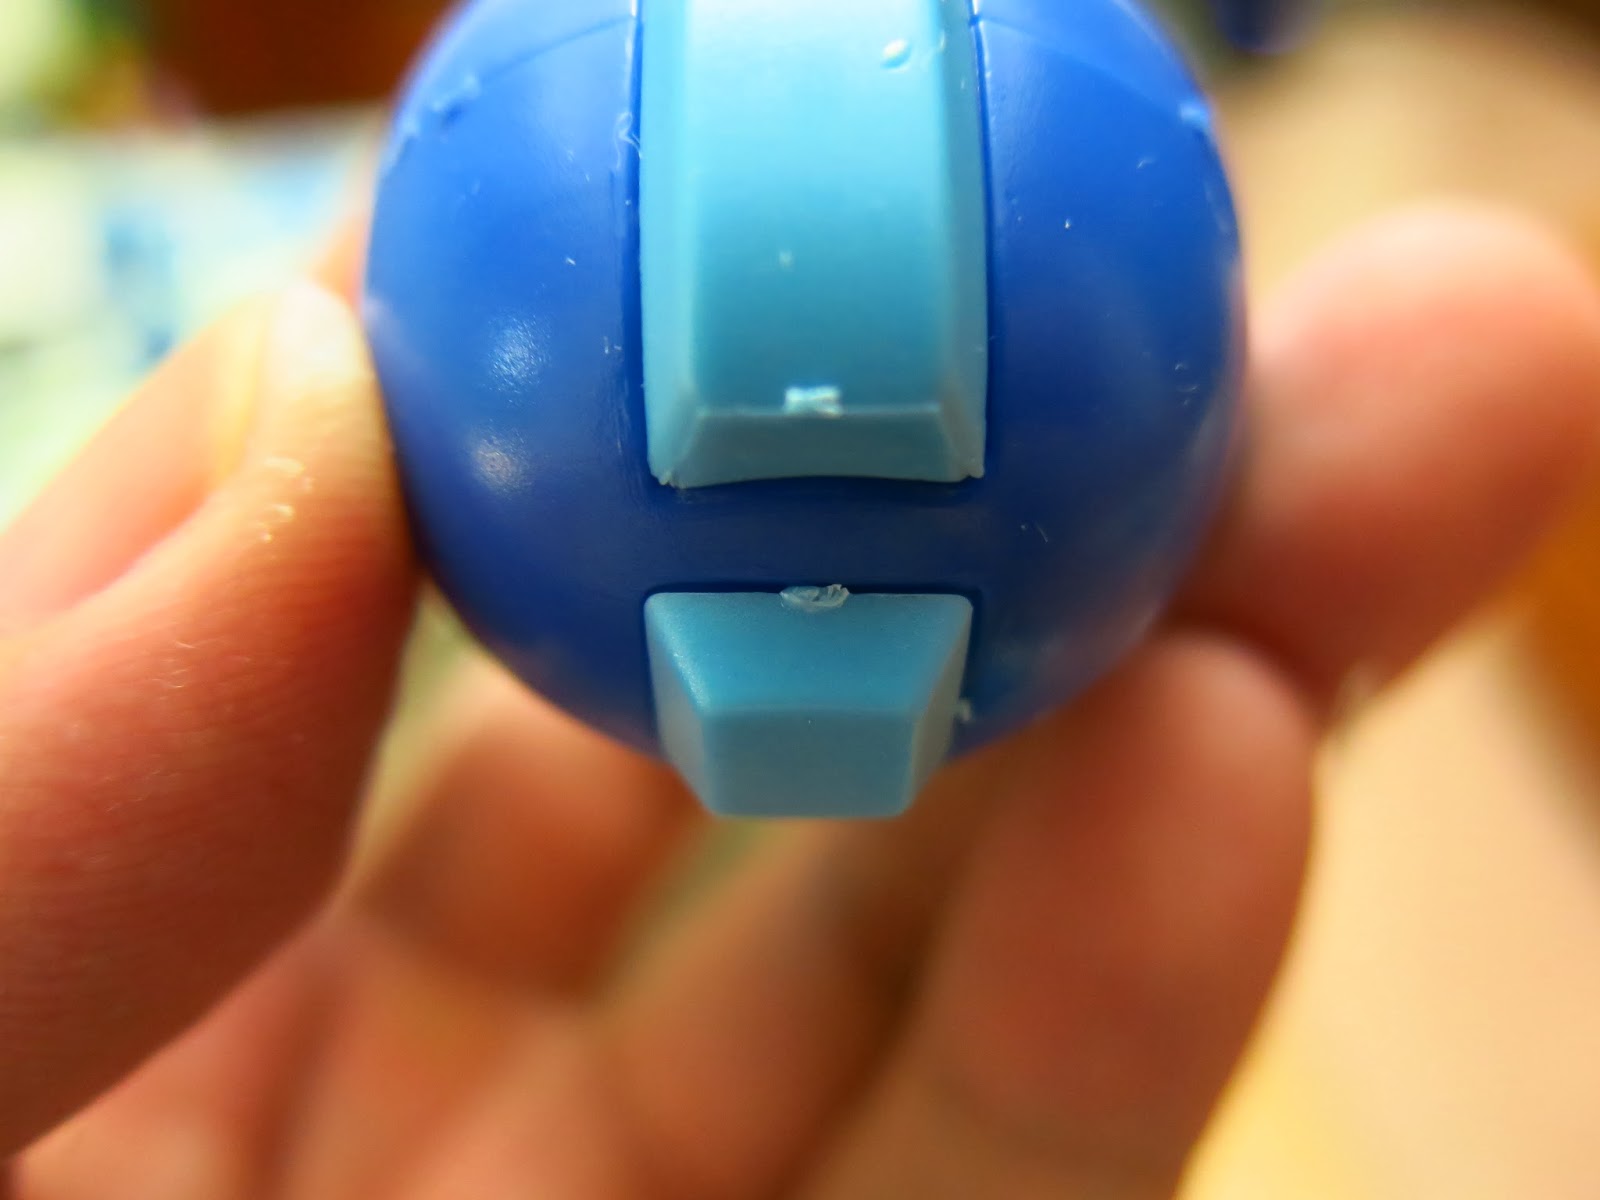
Helmet tooling classic
Finally finished. (Tears of exhaustion!)
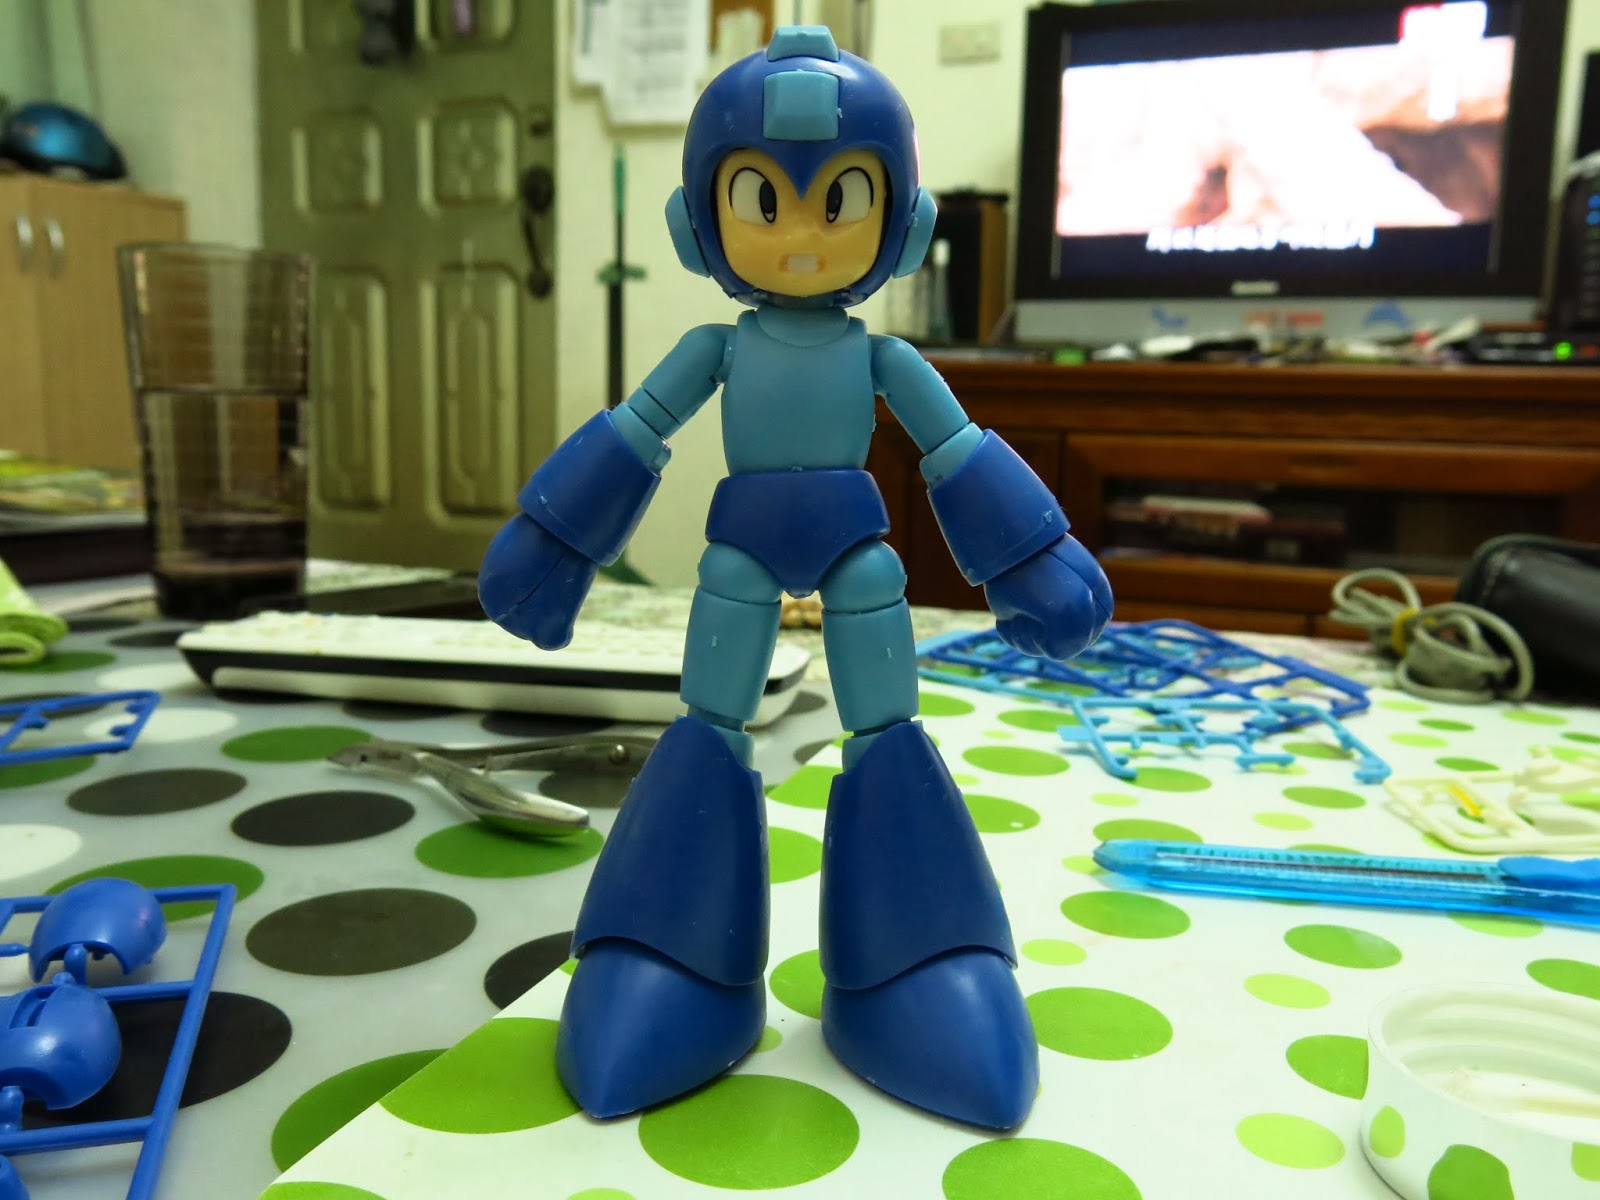
Completed snap-fit assembly
Glancing up at the clock, it’s already 10:00 PM.
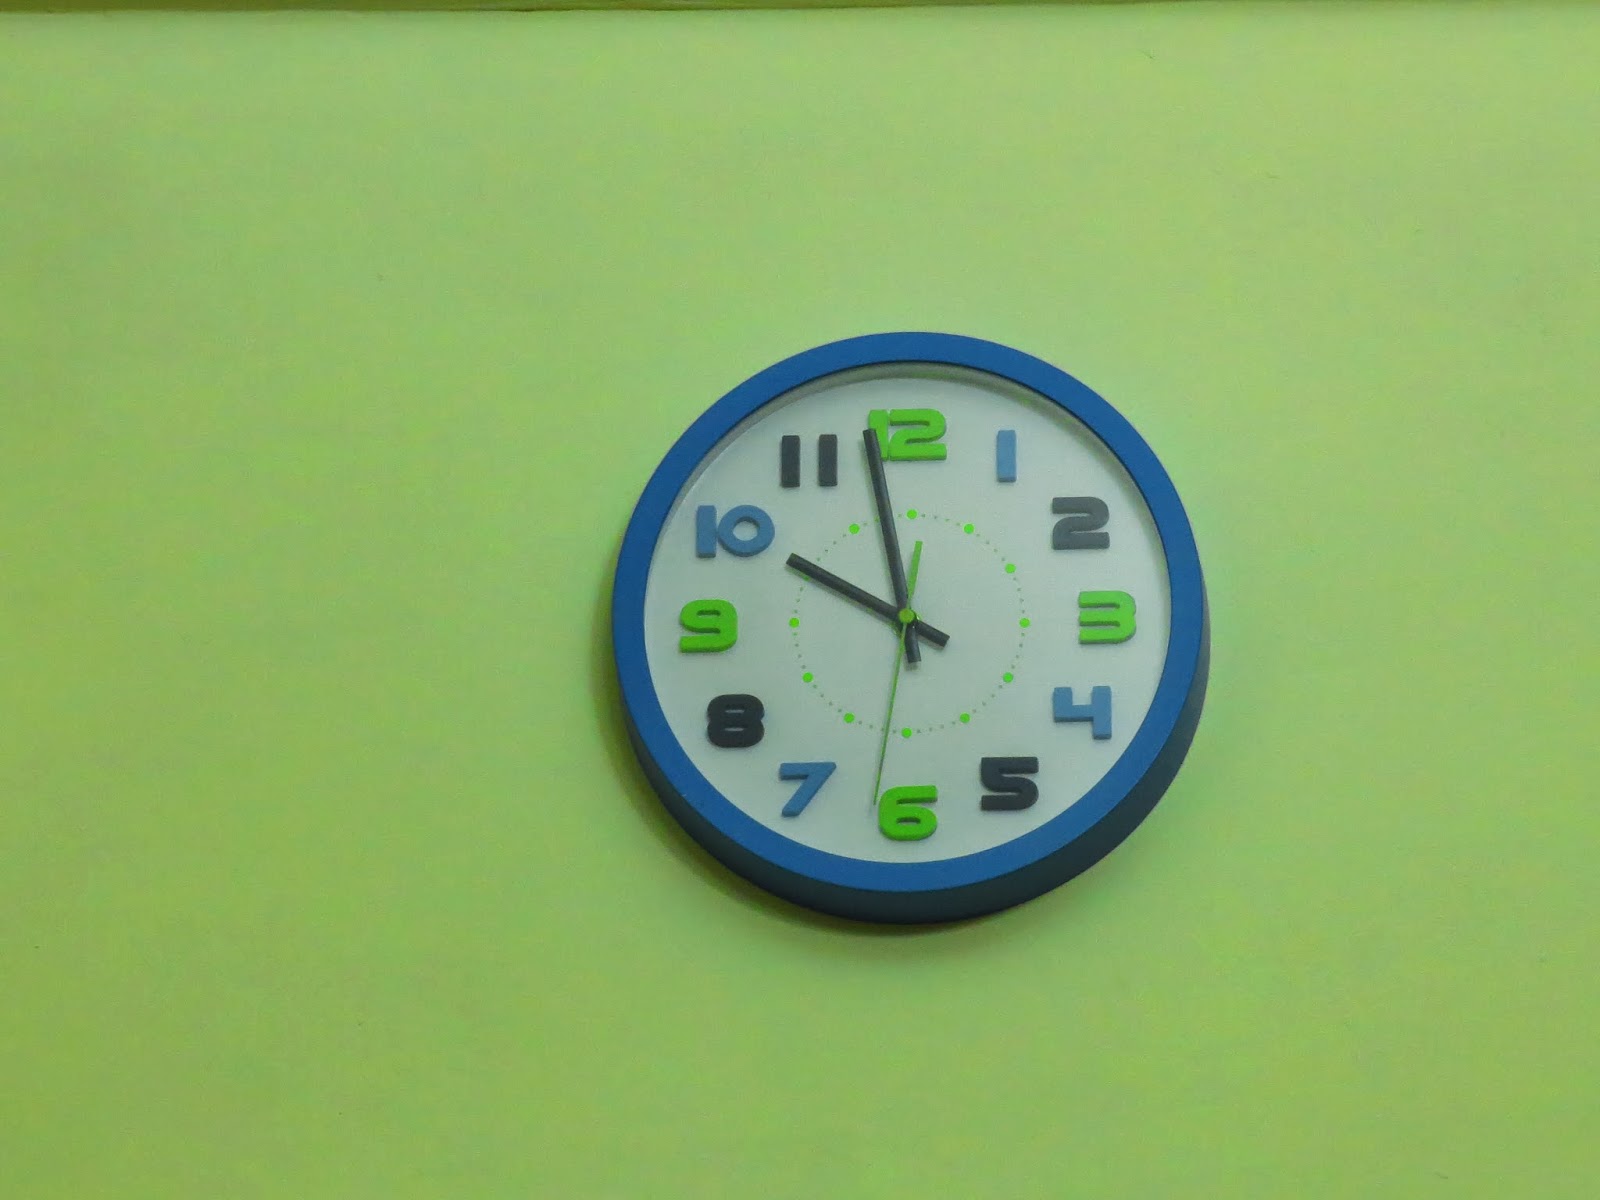
Clock showing 10:00 PM
Just snap-fitting this thing took three agonizing hours. Good grief, thank goodness I didn’t buy the bootleg Lightning Saix, or I would have wept while sanding and puttying!
The quality is vastly worse than imagined—it can practically only be described as “garbage.” I’ll have to shelve this project for now and slowly fix it up after finishing my automotive model.
Build Summary:
This kit is strictly NOT recommended for pure snap-fitters or beginners.
Aside from being cheap, literally nothing about this kit is praiseworthy: brittle plastic, misaligned pins and sockets, loose or overly tight joints, step discrepancies, gaping seams, massive flashing…
That being said, it is not completely unbuildable—it simply requires tenfold the time in filling, pinning, and reshaping.
If you only plan to build it straight out of the box, it’s not merely ugly; it’s practically unviewable.
However, if your goal is to grind and sharpen your advanced modeling skills, buying one is actually great practice: fixing this single kit will force you through nearly every fundamental modeling technique in existence, and even if you ruin it, your wallet won’t feel a sting.
Support Independent Perspectives & In-Depth Insights
Every thoughtful analysis and candid critique comes from our dedication to truth and quality. We choose not to follow sensational algorithms or clickbait headlines.
Sustaining independent research requires reader support. Make a one-time or monthly contribution, securely processed by Google.
Payments secured by Google · Manage or cancel anytime in your Google Account

Comments