
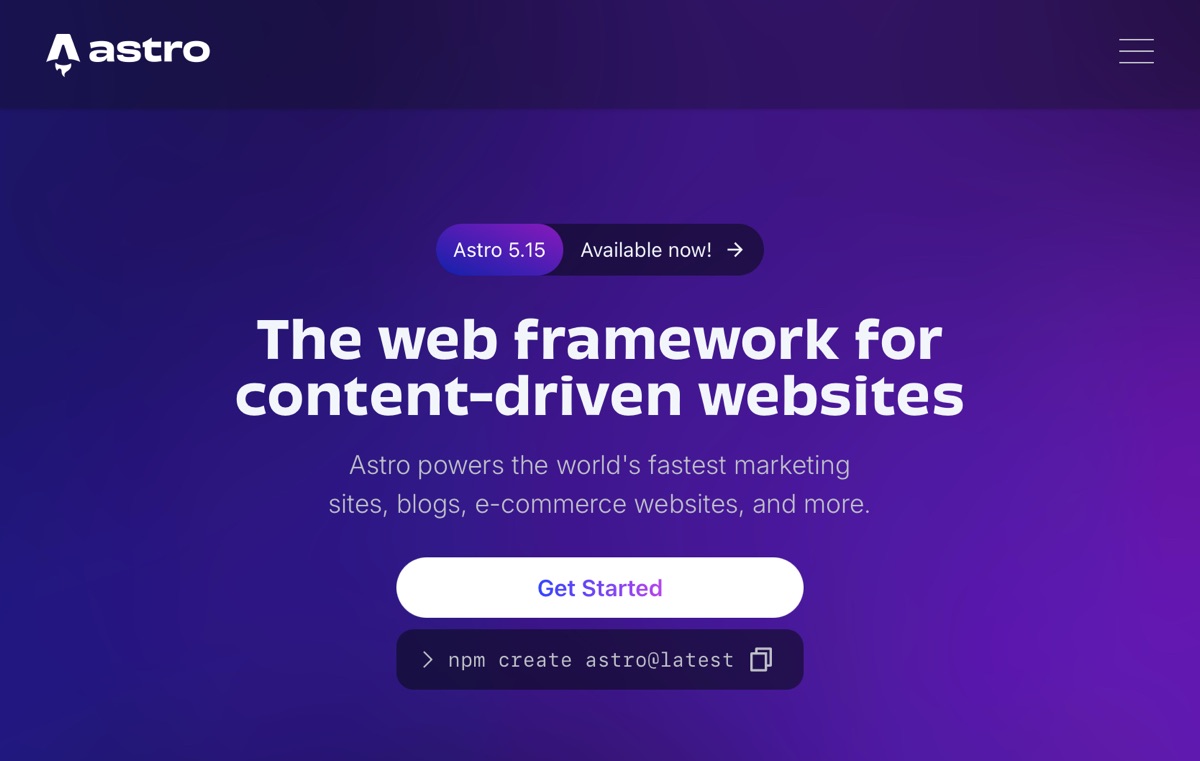
When exploring the modern static site framework Astro, local setup hurdles—such as outdated macOS versions or conflicting Node.js installations—can stall progress. GitHub Codespaces solves this by spinning up a complete browser-based Linux runtime preloaded with modern toolchains.
Codespaces delivers a fully integrated VS Code IDE in your browser with dedicated terminal access, allowing you to build, debug, and maintain your web project from any machine, anytime, anywhere.
🚀 Scaffolding Astro in GitHub Codespaces
Step 1: Launch Your Codespace Environment
Prerequisites:
- An active GitHub account.
- An initialized repository for your Astro web project (e.g.,
Mountos/web).
Creating the Codespace:
- Navigate to your repository page on GitHub (
https://github.com/Mountos/web). - Click the green < > Code dropdown button.
- Switch to the Codespaces tab.
- Click Create codespace on main.
GitHub provisions a dedicated cloud VM container within minutes.
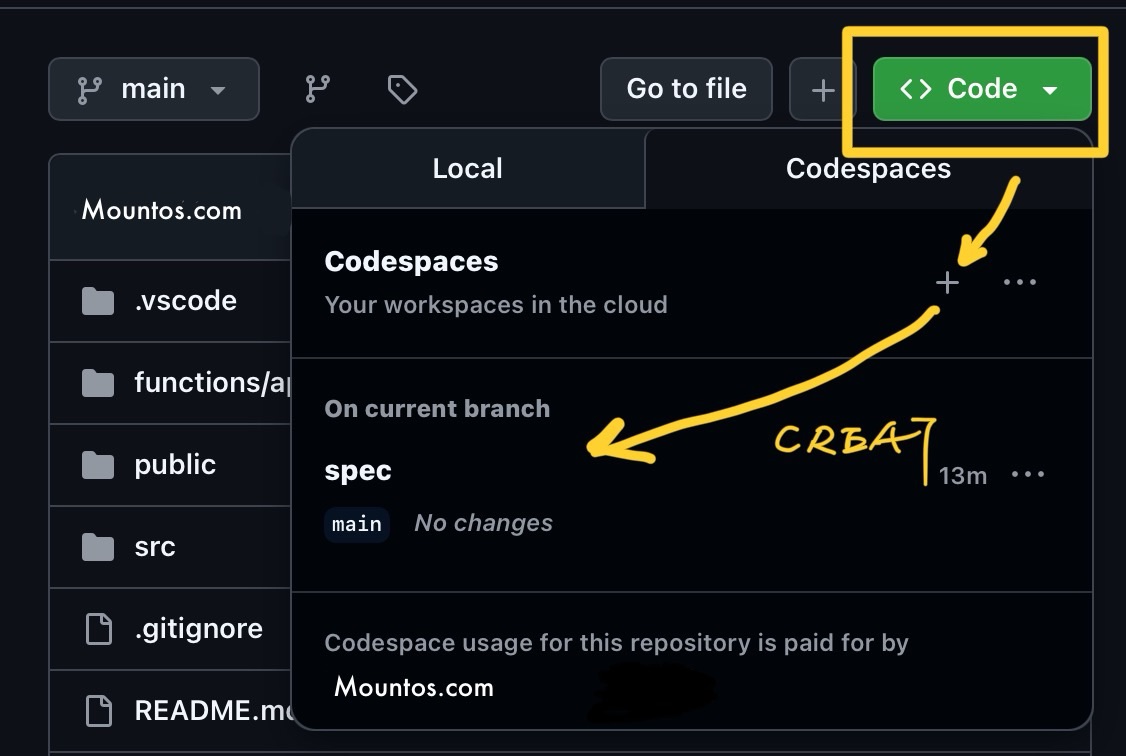
Launching GitHub Codespaces directly from the repository interface.
Once initialized, a browser-based VS Code environment appears, complete with an integrated terminal at the bottom.
Step 2: Initialize Astro via the CLI
Because Codespaces comes pre-equipped with Node.js, npm, and Git, you can immediately issue terminal commands.
Verify your current directory is the root of your workspace:
cd /workspaces/web # or your custom workspace nameExecute the official Astro installation wizard in the current directory:
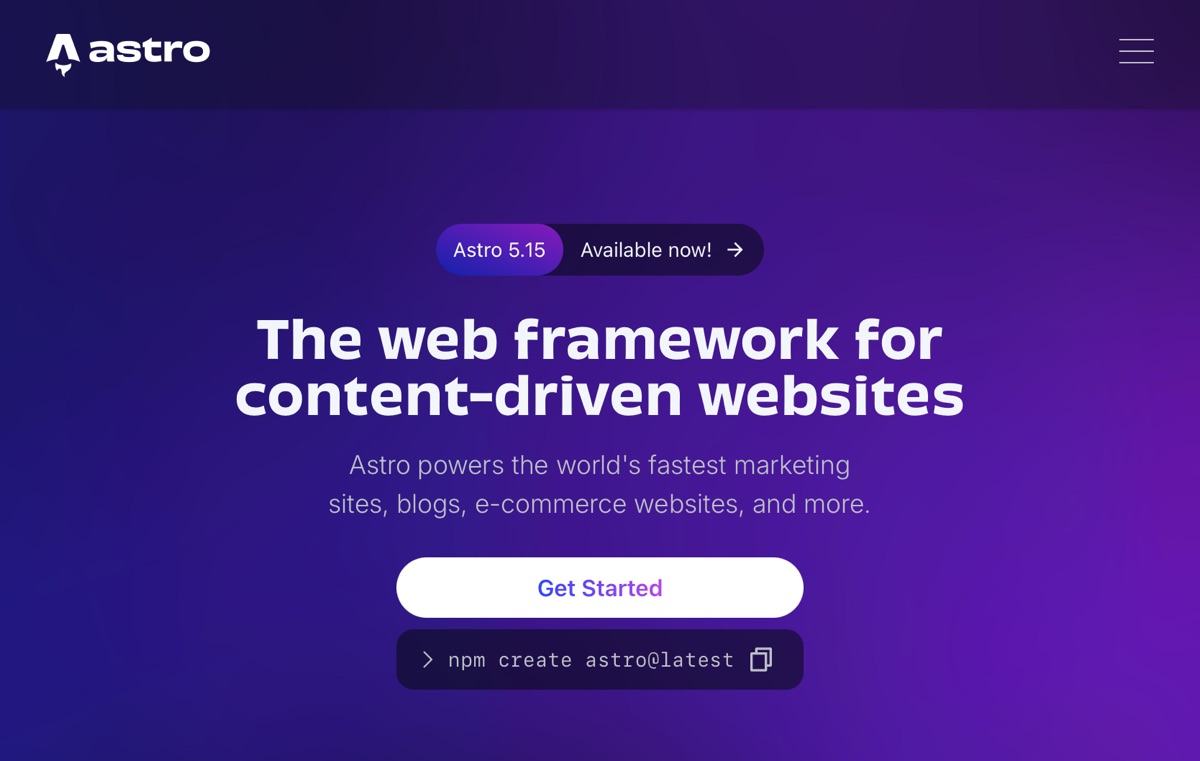
npm create astro@latest .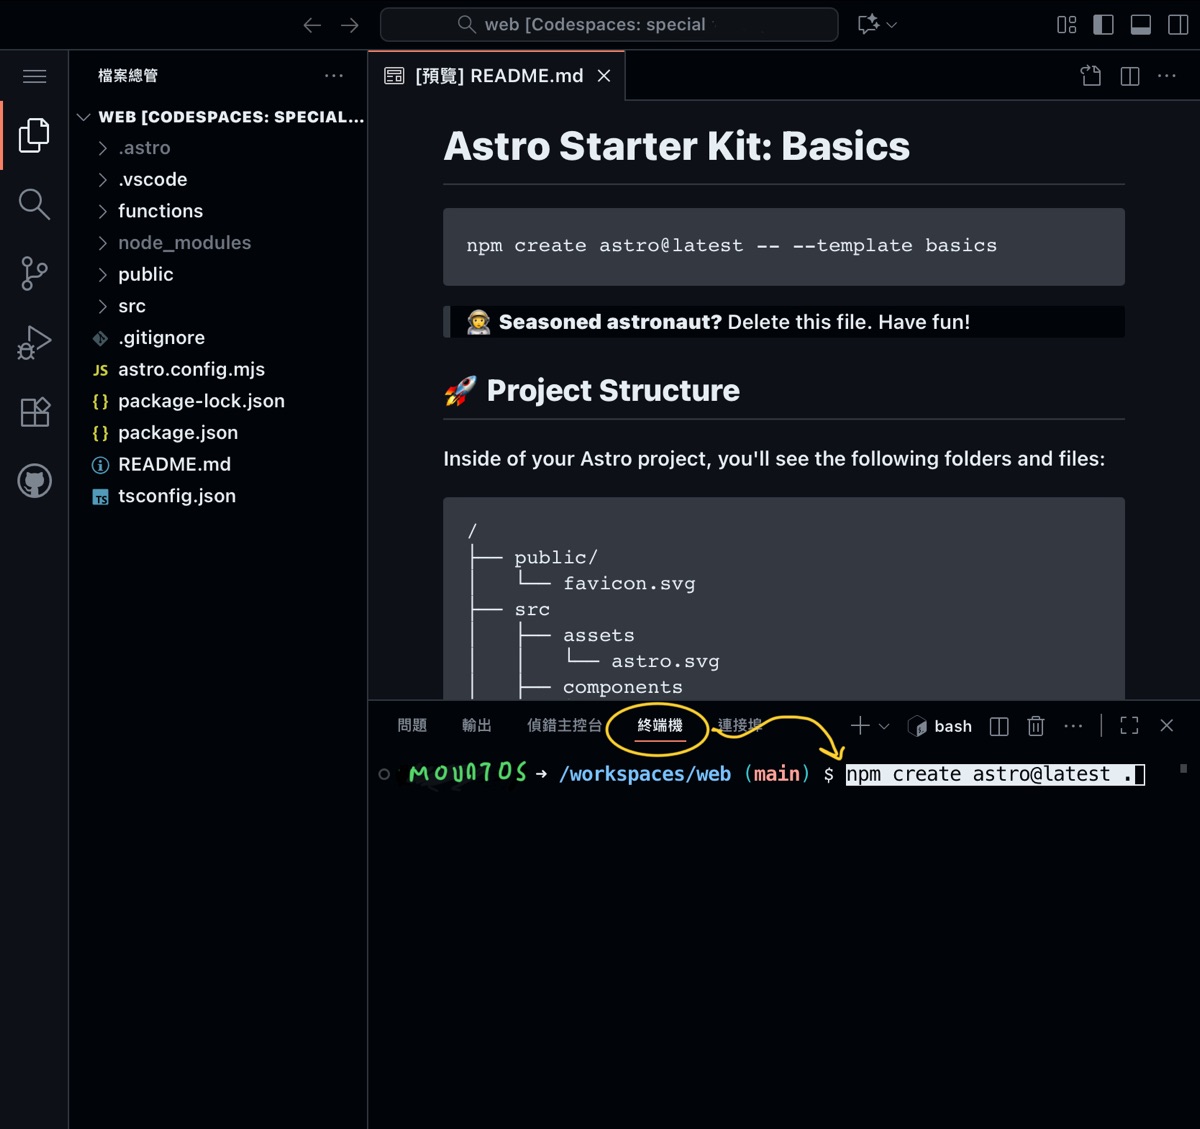
Executing the Astro installation CLI within the Codespaces terminal.
Interactive Prompt Choices:
- Where should we create your new project?:
.(current directory) - How would you like to start your new project?: Choose
Blogas a solid foundation - Include sample files?:
Yes - Install dependencies?:
Yes - Initialize a new git repository?:
No(since the Git repository is already active)
(Optional) Install React integration for headless CMS tools such as Decap CMS:
npx astro add reactStep 3: Instant Live Preview with Port Forwarding
Codespaces automatically manages cloud port forwarding without requiring manual firewall configuration.
Start the local Astro dev server:
npm run devCodespaces detects that the local web server is listening on port 4321. A notification appears in the lower-right corner offering to Open in Browser. Clicking this opens a secure ephemeral URL displaying your live Astro site with active Hot Module Replacement.
Step 4: Commit and Push Changes to GitHub
- Click the Source Control icon on the left sidebar in VS Code.
- Review the generated files (
package.json,astro.config.mjs,src/). - Type a descriptive commit message (e.g.,
feat: Initial Astro project setup in Codespaces). - Click Commit & Push.
With the code pushed to GitHub, your project is primed for seamless automated deployment to edge platforms such as Cloudflare Pages.
Support Independent Perspectives & In-Depth Insights
Every thoughtful analysis and candid critique comes from our dedication to truth and quality. We choose not to follow sensational algorithms or clickbait headlines.
Sustaining independent research requires reader support. Make a one-time or monthly contribution, securely processed by Google.
Payments secured by Google · Manage or cancel anytime in your Google Account

Comments