
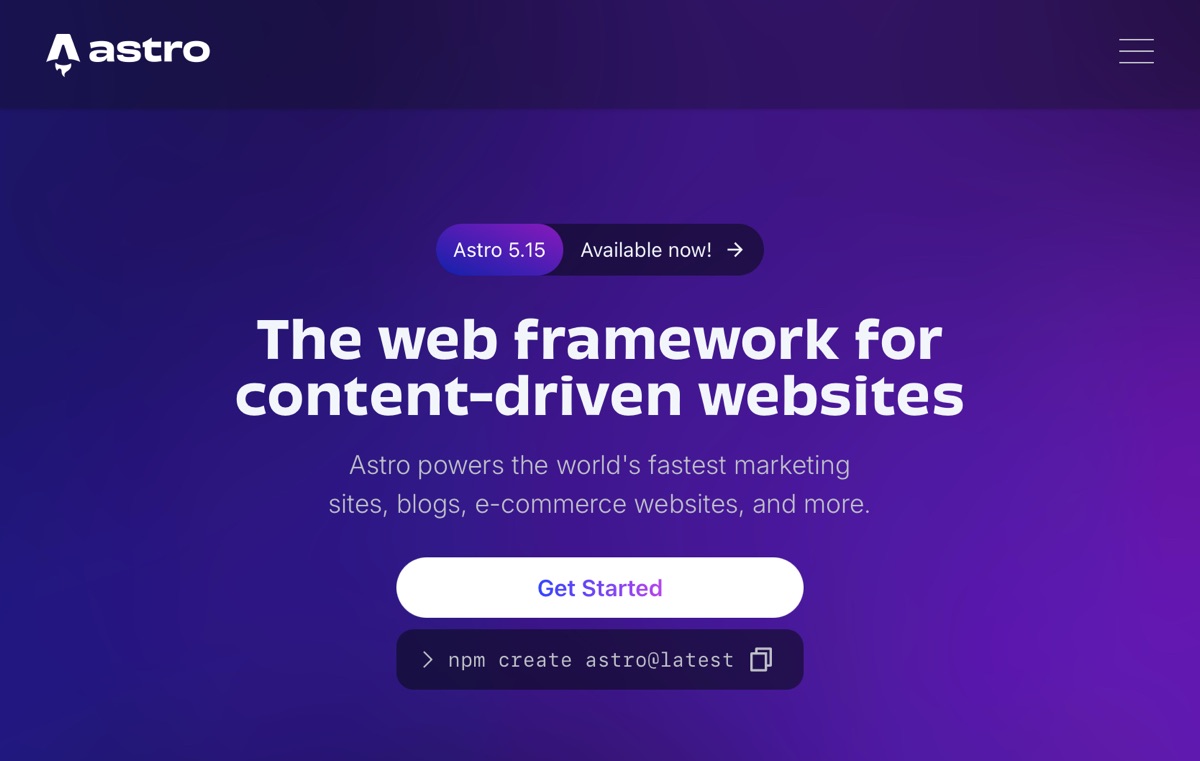
Astro has quickly established itself as a premier modern static site generator and web framework, acclaimed for zero-JS-by-default performance and outstanding developer experience. This tutorial covers setting up an Astro development environment from scratch on Apple macOS, structuring pages, and configuring CI/CD automation with Cloudflare Pages.
🚀 Environment Setup
1. Install Essential Tooling
Install Homebrew package manager (if not already present):
/bin/bash -c "$(curl -fsSL https://raw.githubusercontent.com/Homebrew/install/HEAD/install.sh)"Install Node.js (Astro requires Node.js 18.17.1 or higher):
brew install nodeVerify the installation:
node --version
npm --version
2. Scaffold an Astro Project
Create a new workspace using the official wizard:
npm create astro@latest my-astro-siteNavigate into your project folder and ensure dependencies are installed:
cd my-astro-site
npm install
🛠️ Development Workflow
Launch the Local Development Server
Run the development server:
npm run devOpen http://localhost:4321 in your browser. Astro provides instant Hot Module Replacement (HMR) so changes reflect in real time.
Project Structure Overview
my-astro-site/
├── src/
│   ├── pages/          # File-based routing components
│   ├── layouts/        # Page layouts and shared chrome
│   └── components/     # Reusable UI components
├── public/             # Static non-compiled assets
└── astro.config.mjs    # Framework configuration file
Adding New Pages
Create .astro or .md files directly inside src/pages/:
---
// src/pages/about.astro
---
<html>
  <head>
    <title>About Us</title>
  </head>
  <body>
    <h1>Welcome to Astro!</h1>
    <p>This is a statically generated page.</p>
    <p>Mountos Code Lab</p>
  </body>
</html>
📦 Production Builds
Compiling Static Output
Generate optimized production artifacts:
npm run buildCompiled HTML, CSS, and client assets are generated in the dist/ directory, ready for deployment to any edge CDN or static host.
Local Production Preview
Verify build results locally before publishing:
npm run preview☁️ Deploying to Cloudflare Pages
1. Deployment Configuration
Create a wrangler.toml file in the root directory:
name = "my-astro-site"
compatibility_date = "2024-01-01"

[pages]
build_command = "npm run build"
build_output_dir = "dist"
2. Push Code to GitHub
Initialize Git and push your repository:
git init
git add .
git commit -m "Initial Astro project"

git remote add origin https://github.com/your-username/your-repo-name.git
git push -u origin main
3. Connect Cloudflare Pages
- Log into your Cloudflare Dashboard.
- Navigate to Workers & Pages.
- Select Create application → Pages.
- Authorize and connect your GitHub repository.
- Configure the build parameters:
- Framework preset: Astro
- Build command:
npm run build - Build output directory:
dist
4. Continuous Deployment
Subsequent Git pushes to your connected branch will trigger automatic builds:
git add .
git commit -m "Update site content"
git push origin main
💡 Practical Optimization Tips
Custom Domain Routing
In your Cloudflare Pages project dashboard, open Custom domains to link your root or subdomain with zero-cost SSL provisioning.
Environment Variables
Configure private build-time API keys and tokens securely under Settings → Environment variables.
Bundle Size Auditing
Analyze production bundle chunks:
npm run build && npx bundle-analyzer dist/_astro/🎯 Summary
The development and deployment lifecycle is remarkably streamlined:
- Local Development:
npm run dev - Version Control: Push changes to GitHub
- Automated Edge Hosting: Cloudflare Pages handles global distribution
The synergy of Astro and Cloudflare Pages delivers high performance, zero server management overhead, and generous free tier capabilities.
Support Independent Perspectives & In-Depth Insights
Every thoughtful analysis and candid critique comes from our dedication to truth and quality. We choose not to follow sensational algorithms or clickbait headlines.
Sustaining independent research requires reader support. Make a one-time or monthly contribution, securely processed by Google.
Payments secured by Google · Manage or cancel anytime in your Google Account

Comments