
Although Joomla stands among the top three Content Management Systems (CMS) on the web, its built-in default templates are rather plain and monotonous. If you’re looking to bring a stylish, dynamic look to your website, this step-by-step tutorial will guide you through the process.
Well-known web hosting providers such as GoDaddy or Bluehost offer paid template options for CMS platforms like Joomla and WordPress. However, these themes don’t come cheap—often priced at least $45 each—and offer limited variety.
Consequently, finding a solid repository for quality “free” templates is an essential preparatory task for web developers. Today, we’re taking a look at a popular free template repository called “Joomla24”.
Introducing Joomla24: Free Theme Download Repository
Joomla24 once held an Alexa global rank of 9,990, enjoying significant popularity among website creators worldwide.
The platform hosts an extensive library of free templates. It is crucial to remember that different Joomla versions only support their matching template editions. Joomla24 categorizes themes by Joomla! 1.5, Joomla! 2.5, and Joomla! 3.x. Among these, the Joomla! 3.x series delivers the best modern user interface and responsiveness. (At the time of writing, GoDaddy’s stable Joomla release was on 2.5, so this guide focuses on 2.5 to avoid unexpected compatibility issues.)
Once you’ve chosen your preferred template on Joomla24, download the .zip archive directly to your computer.
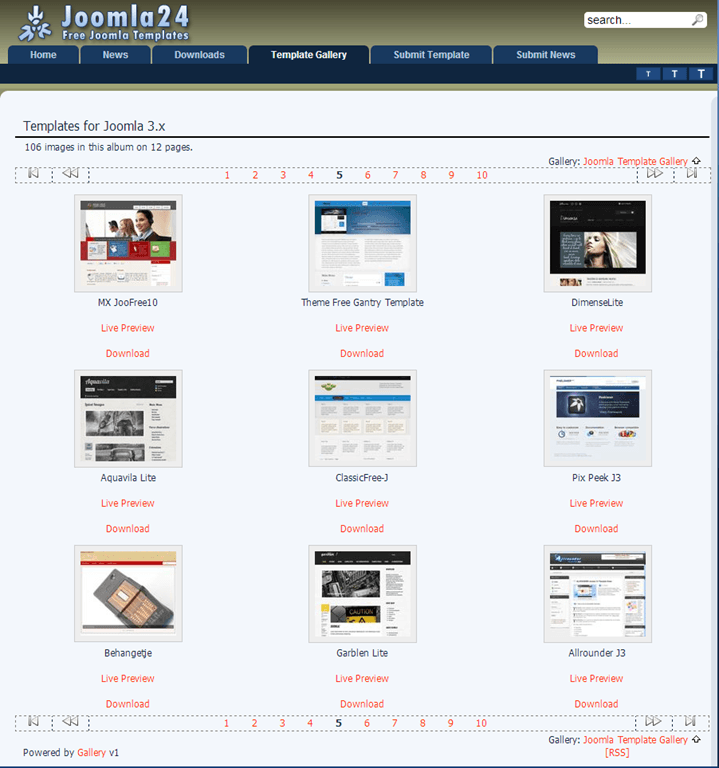 Joomla24’s bustling marketplace interface.
Step-by-Step Joomla Template Installation
Log into your Joomla server’s backend administration panel.
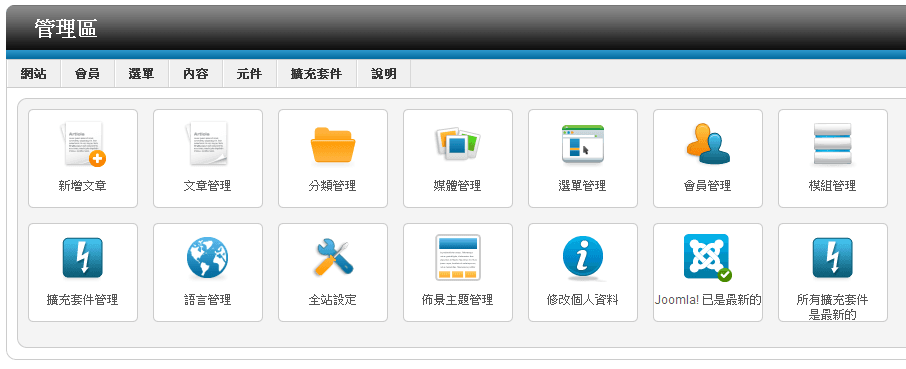 Joomla Administrator Dashboard.
In the top menu bar, click on “Extensions” and select “Extension Manager” from the dropdown.
The Extension Manager provides three installation methods: “Upload Package File”, “Install from Directory”, and “Install from URL”. Since we have already downloaded the template archive onto our local computer, simply click “Choose File”, navigate to the downloaded .zip archive, and select it.
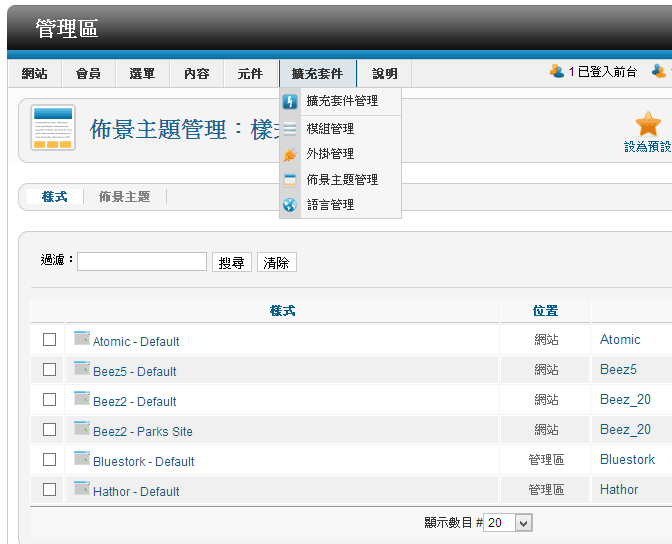 Joomla Extension Manager interface.
Next, click the “Upload & Install” button.
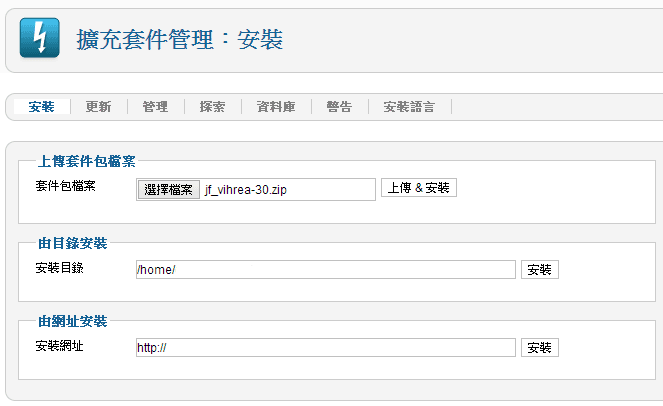 Joomla Extension installation progress screen.
Once Joomla finishes installing the package successfully, a confirmation screen appears showing template details, preview thumbnails, and license information.
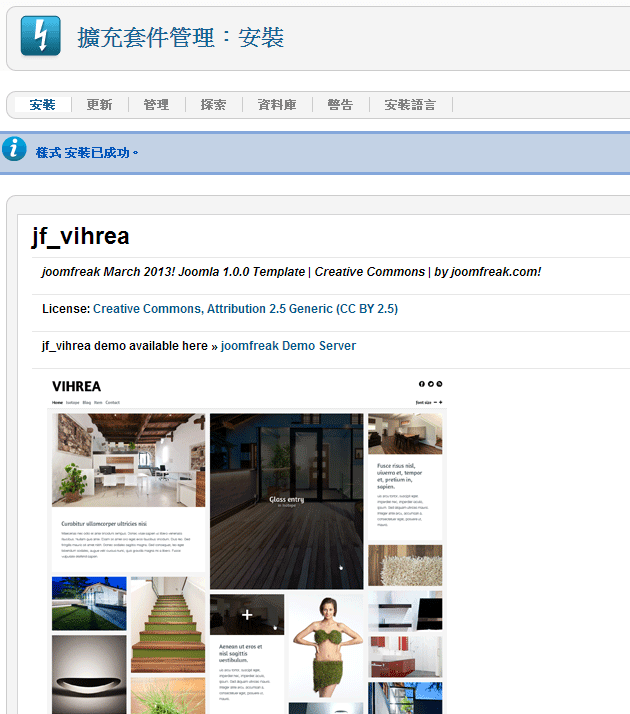 Successful installation notification banner in Joomla.
Return to the top menu, click “Extensions”, and this time select “Template Manager”. You will see your newly installed template listed among the available themes.
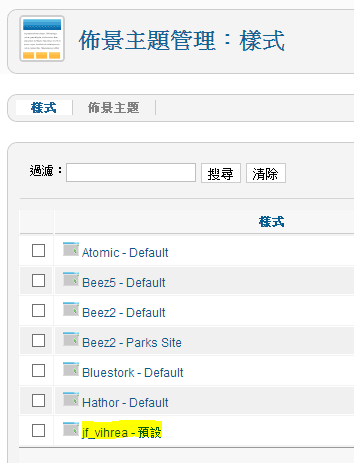 Newly added template listed in Template Manager.
Select the checkbox next to the template you want to apply, then click the “Make Default” button in the upper toolbar.
 Setting the selected theme as the default template.
Refresh your site’s frontend: the entire layout is now a complete mess completely transformed with a fresh new vibe! (Well, since a newly installed site has virtually no content yet, it naturally looks a bit bare and awkward at the beginning).
Support Independent Perspectives & In-Depth Insights
Every thoughtful analysis and candid critique comes from our dedication to truth and quality. We choose not to follow sensational algorithms or clickbait headlines.
Sustaining independent research requires reader support. Make a one-time or monthly contribution, securely processed by Google.
Payments secured by Google · Manage or cancel anytime in your Google Account



Comments