

Want to make photos captured on your Apple iPhone look dramatically better? By simply adjusting a few key parameters right inside iOS’s native Photos app, you can effortlessly craft a polished, professional aesthetic all your own!
This guide starts with a quick-reference cheat sheet so you can find settings at a glance, followed by an in-depth breakdown of every adjustment slider with real-world shooting scenarios, helping you command the creative magic of mobile post-processing.
✨ iPhone Photo Editing Quick-Reference Table
| Parameter | Function & Description | Best For / Visual Impact |
|---|---|---|
| Exposure | Controls overall brightness; brightens or darkens the entire frame. | Enhances airy translucency or emphasizes deep tonal contrast. |
| Highlights | Manages details in the brightest areas; tames blown-out lights. | Suppresses harsh glare and restores highlight textures in skies. |
| Shadows | Reveals details in dark areas without washing out the image. | Lifts murky shadows and adds dimensional layering. |
| Contrast | Adjusts difference between light and dark; adds punch or softness. | Enhances 3D depth or creates a gentle, dreamy atmosphere. |
| Saturation | Controls color intensity and vibrancy. | Intensifies vivid colors or produces a muted, vintage look. |
| Warmth | Adjusts color temperature (cooler blue vs. warmer amber). | Adds sunny warmth or a serene, cinematic cool mood. |
| Sharpness | Enhances micro-edge clarity for crisp outlines. | Makes subjects pop; use with restraint to avoid crunchy artifacts. |
| Noise Reduction | Smooths out sensor grain and speckles in low light. | Cleans up grainy night skies; avoid over-smoothing fine textures. |
| Color Balance / Tint | Fine-tunes color cast across shadows, midtones, and highlights. | Evokes specific color grades (e.g., retro warmth or teal-and-orange). |
📸 In-Depth Parameter Breakdown and Real-World Examples
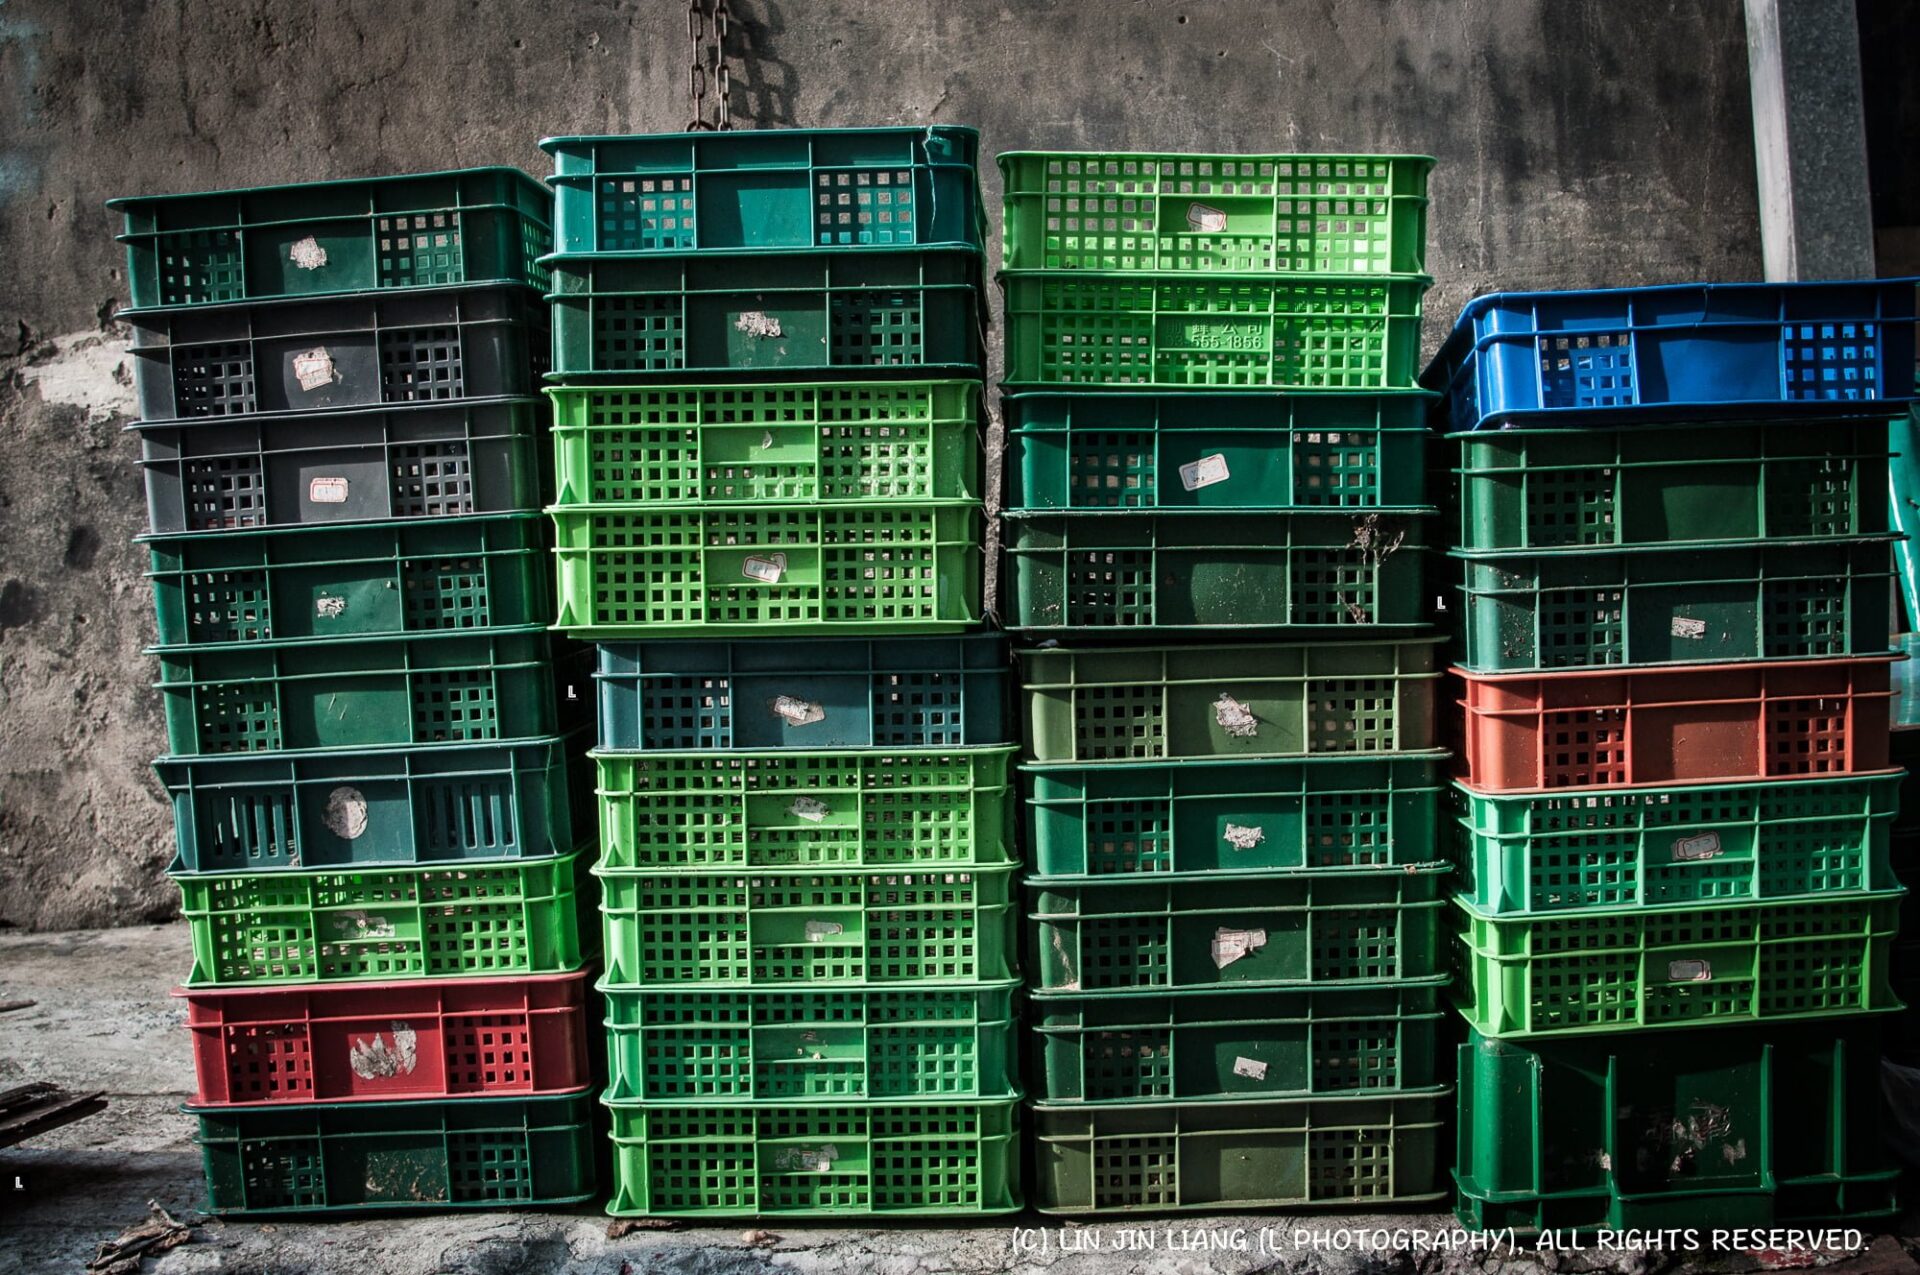
Colorful plastic baskets used for packing eggs (Photography by Jinliang LIN)
1. Exposure — Controlling Overall Brightness
Exposure controls the baseline light level of the entire image. Increasing exposure produces a bright, airy aesthetic, but pushing it too far clips highlights. Decreasing exposure deepens tones and adds moody sophistication.
✅ Practical Scenarios:
- Scenario A (Sunrise or Golden Hour): When skies are blown out, lower exposure slightly to recover cloud textures and rich golden gradients.
- Scenario B (Indoor Portraits): Raise exposure to create radiant, flattering skin tones—taking care not to overexpose facial highlights.
2. Highlights — Managing Bright Zones
The Highlights slider specifically targets bright zones such as skies, direct light sources, or white clothing. Pulling highlights down recovers blown-out information; pushing it up injects brilliant sparkle.
✅ Practical Scenario:
- Beach in Midday Sun: Pull Highlights down to suppress blinding glare off water and white sand, revealing crisp textures in waves and clouds.
3. Shadows — Unveiling Dark Details
Shadows adjusts only the darker tones in the image. Lifting shadows recovers hidden detail from dark clothing or foliage; lowering shadows deepens black levels for dramatic silhouette effects.
✅ Practical Scenario:
- Nightscapes or Low-Light Interiors: Raise Shadows moderately to bring out architectural textures from murky corners without muddying the blacks.
4. Contrast — Sculpting Dimensionality
Contrast governs the tonal separation between brights and darks. High contrast creates visual impact, sharpness, and punch. Low contrast produces a gentle, ethereal, film-like mood.
✅ Practical Scenario:
- Portrait Photography: Modestly increase Contrast to give facial contours and clothing folds a sculpted, three-dimensional presence.
5. Saturation — Dialing In Color Richness
Saturation dictates the chromatic intensity across the color spectrum. Increasing it creates vibrant energy, while desaturating leans into timeless, minimalist nostalgia.
✅ Practical Scenarios:
- Scenario A (Macro Floral Shots): Slightly bump Saturation to make vivid petals and natural hues pop off the screen.
- Scenario B (Street Documentary): Lower Saturation slightly to evoke the understated grain and palette of classic cinematic film.
6. Warmth — Shifting Color Temperature
Warmth alters the white balance. Tilting toward amber mimics sunset sunlight; tilting toward blue evokes tranquil twilight or sleek modernism.
✅ Practical Scenario:
- Sunset at the Coast: Increase Warmth to bathe the entire seascape in an opulent, golden-hour glow.
7. Sharpness — Enhancing Edge Clarity
Sharpness refines the edge definition of subjects, accentuating intricate textures. Gentle application makes the main subject stand out; excessive sharpness produces harsh halo artifacts.
✅ Practical Scenario:
- Food Photography: Add a modest touch of Sharpness to emphasize sizzling textures and delicate culinary presentation.
8. Noise Reduction — Smoothing Grain in Low Light
Noise Reduction suppresses colored pixel speckles and luminance grain common in night photography. Use it judiciously to prevent fine details from turning into a plastic smear.
✅ Practical Scenario:
- City Nightscapes: Increase Noise Reduction slightly to smooth out noisy dark night skies.
9. Color Balance & Tint — Styling Chromatic Atmosphere
Tint allows you to inject subtle magenta or green undertones, harmonizing with warm and cool balance to achieve signature film simulations.
✅ Practical Scenario:
- Snowy Winter Landscapes: Shift subtly toward cyan and blue undertones in the shadows for a pristine, crisp winter ambiance.
🌟 Recommended 3-Step Editing Workflow
- Fix the Light First (Exposure, Highlights, Shadows): Ensure balanced illumination with rich details across both highlights and shadow areas.
- Set the Color Mood (Contrast, Saturation, Warmth): Define your visual story with deliberate color temperature and tonal balance.
- Refine Fine Details (Sharpness, Noise Reduction, Tint): Polish the image’s final texture and clean up sensor artifacts.
Conclusion: Tell Your Visual Story
Whether your heart longs for bright, airy Japanese-style pastels or moody, desaturated cinematic frames, the iPhone’s built-in Photos app holds all the tools you need. Editing is never merely about making an image “cleaner”—it is about communicating mood, memory, and personal perspective.
Open your Photos app, select a favorite shot, and start crafting your unique visual narrative today!
Support Independent Perspectives & In-Depth Insights
Every thoughtful analysis and candid critique comes from our dedication to truth and quality. We choose not to follow sensational algorithms or clickbait headlines.
Sustaining independent research requires reader support. Make a one-time or monthly contribution, securely processed by Google.
Payments secured by Google · Manage or cancel anytime in your Google Account



Comments