
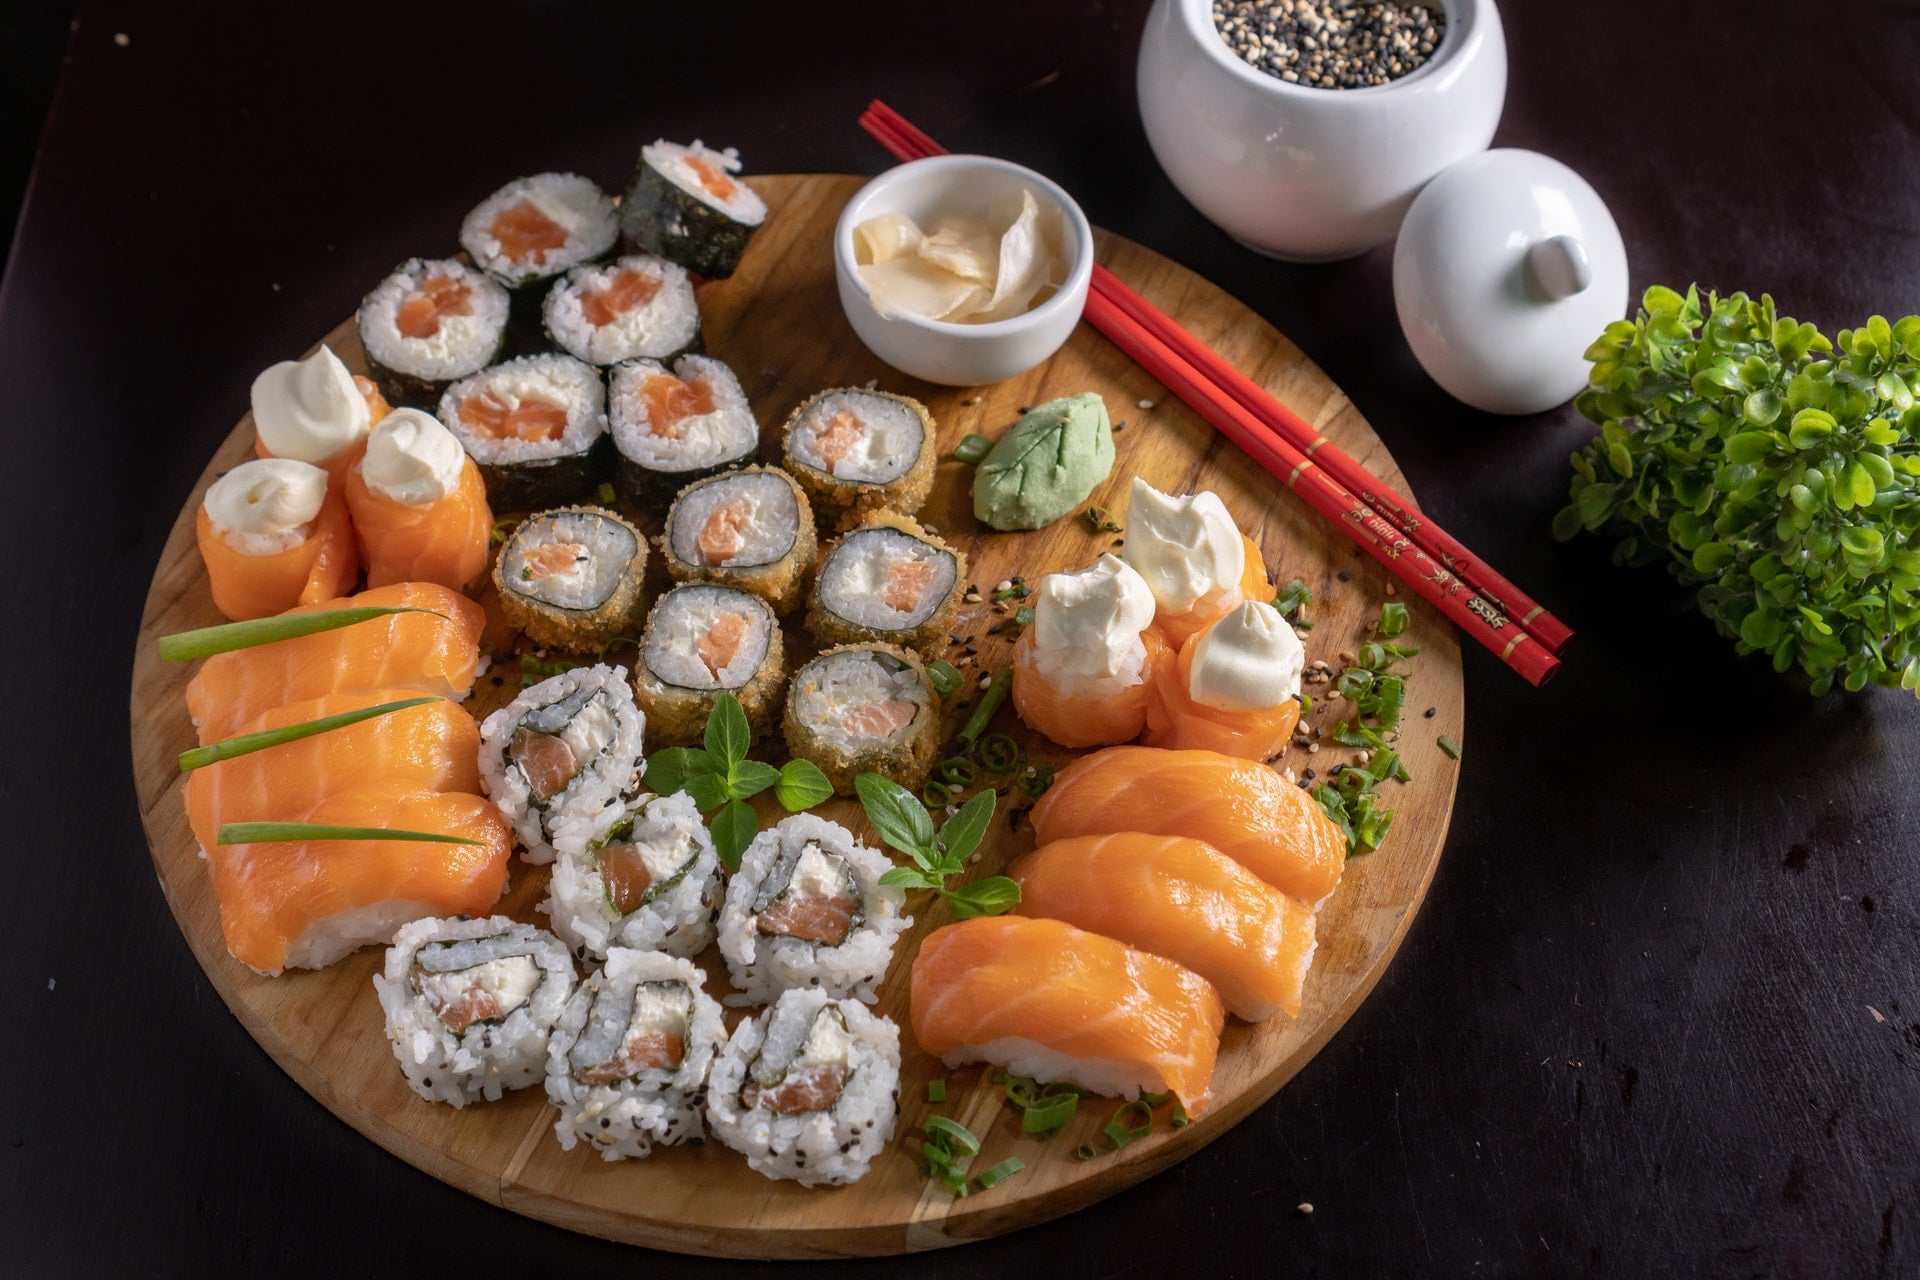
A seemingly simple bowl of white rice is often the crowning centerpiece of any great meal.
When judging a truly exquisite bowl of rice, the two definitive criteria are “moisture” and “springy chewiness” (al dente resilience). The grains should be plump and hydrated without turning mushy, offering a delightful snap on the bite while slowly releasing subtle, natural sweetness as you chew.
Many assume that achieving restaurant-grade rice—glossy, plump, with every grain standing upright—requires an expensive premium induction heating (IH) rice cooker. In truth, by mastering temperature curves, thermal convection dynamics, and post-cooking fluffing techniques, even an entry-level cooker can produce remarkably delicious white rice.
Here are 3 simple, scientifically grounded culinary secrets:
Secret 1: Add Ice Cubes for Slow Warming to Extend the “Low-Temperature Saccharification” Window
Most people cook rice using tap water at room temperature. To unlock deeper flavor and sweetness, embrace the low-temperature cooking technique of adding ice cubes.
Scientific Principles and Benefits
Rice grains are rich in starches and natural amylase enzymes. Between 40°C and 60°C, these enzymes reach peak enzymatic activity, rapidly converting tasteless raw starches into sweet maltose and glucose.
When warm or room-temperature water is heated directly, the cooker quickly speeds past this optimal temperature window, deactivating enzymes before they can do their work. Adding ice cubes decelerates the warming curve, keeping the rice in the sweet-conversion zone significantly longer. Furthermore, cold water penetrates more deeply into the rice core, yielding deeply hydrated, tender yet elastic grains.
Key Technique: Accurate Water Measurement with Ice
Because ice cubes are irregular, adding them haphazardly can distort your water-to-rice ratio, causing the rice to end up either undercooked or soggy.
- The Correct Method: Place 2 to 3 ice cubes into your measuring cup first, then pour in water until reaching the required scale mark. This accounts for the melted ice volume accurately.
- Soaking Timeline: Rinse and drain the rice thoroughly, add the iced water, let it soak for around 30 minutes, and then start your standard cooking cycle (45 to 60 minutes).
Secret 2: Heap Rice into a Center Mound to Trigger Vigorous Thermal Convection
After washing the rice and adding water, many instinctively shake the inner pot to level out the grains. Japanese rice masters do the exact opposite: mound the rice toward the center before cooking.
Vigorous Convection Makes Grains “Stand Up”
In Japanese culinary tradition, supreme rice is celebrated as 「ha-dachi」 (standing grains)—where grains stand vertically across the surface punctuated by steam vents known as 「kani-ana」 (crab holes). This proves that every grain matured in uniform, turbulent thermal convection without being crushed down.
- How to Do It: Before closing the lid, use clean fingers or a rice paddle to gently push the rice inward from the perimeter, creating a gentle “hill” that is higher in the center and shallower at the rim.
- Convection Mechanism: Heat transfers primarily through the pot walls and bottom. The shallower depth around the perimeter offers less resistance, allowing boiling water to surge upward along the edges and tumble the thicker central layer outward. This circular boiling motion heats every grain evenly, keeping them distinct and glistening.
Secret 3: Perform the “Cross-Cut Fluff” Immediately After Cooking
This is the most widely overlooked step, yet skipping it spoils even a promising batch of rice.
Waiting Until Mealtime to Stir? Too Late!
Leaving cooked rice sitting undisturbed until serving allows steam to condense against the lid and pool at the bottom. The bottom grains turn soggy, while the top surface dries out.
The moment the cooker finishes (or completes its 10–15 minute steaming rest), open the lid and fluff immediately!
The 4-Step Professional “Cross-Cut” Method
- Divide into Four Quadrants: As soon as you open the lid, use a rice paddle to slice a clean cross through the center, dividing the pot into four equal quadrants.
- Scoop and Lift from the Bottom: Follow the curved pot wall to lift the first quadrant entirely from the base, flipping it gently over.
- Slice and Fluff to Vent Steam: Use the paddle edge vertically with light slicing motions to break apart clumps without crushing grains, allowing trapped steam to dissipate rapidly into the air.
- Repeat for All Quadrants: Repeat for the remaining three sections. Four measured lifts let surplus moisture evaporate while cooler ambient air tightens the surface of each grain, sealing in a brilliant, lustrous sheen.
Bonus Guide: How to Properly Preserve Leftover Rice
If you cook a large batch, never leave leftover rice on warm mode in the cooker for hours! Extended heating dehydrates the grains, yellows their color, and gives off an unpleasant stale aroma.
To enjoy rice tomorrow or next week that tastes just as moist and aromatic as freshly cooked rice, adopt the “flash freezing method”:
- Portion While Still Warm: Right after fluffing, while the rice retains its steam and warmth, scoop single-meal portions onto heat-resistant plastic wrap or freezer-safe containers. Wrap gently; never pack or compress tightly, preserving the air pockets between grains.
- Flash Freeze After Brief Cooling: Let it cool down slightly to room temperature, then immediately place it into the freezer. Sub-zero temperatures rapidly lock in internal moisture and starch integrity, preventing starch retrogradation.
- Reheat Directly in the Microwave: When ready to eat, reheat the wrapped portion directly in the microwave without thawing at medium-high power for 2 to 3 minutes. The trapped moisture converts into high-pressure steam inside the wrap, reviving glossy, tender, springy rice.
Rice Cooking Golden Workflow Summary
| Stage | Core Technique | Scientific Purpose & Benefits |
|---|---|---|
| Preparation | Measure water with ice cubes, soak for 30 minutes | Extends saccharification window, unlocking rich natural sweetness |
| Arrangement | Heap rice into a center mound like a small hill | Stimulates circulating convection currents so grains stand upright |
| Post-Cooking | Open lid immediately to cross-cut and fluff | Vents excess trapped steam, preventing soggy bottoms and dry tops |
| Preservation | Portion gently while warm and freeze immediately | Locks moisture and arrests starch staling; reheats to freshly cooked texture |
Next time you step into the kitchen, apply these three simple techniques. You will be amazed at how everyday supermarket rice transforms into an artisan-quality culinary experience!
Support Independent Perspectives & In-Depth Insights
Every thoughtful analysis and candid critique comes from our dedication to truth and quality. We choose not to follow sensational algorithms or clickbait headlines.
Sustaining independent research requires reader support. Make a one-time or monthly contribution, securely processed by Google.
Payments secured by Google · Manage or cancel anytime in your Google Account



Comments