
Today’s recipe fixes the flour base at a convenient 300 grams, paired with the most unpretentious, elemental ingredients. This batch size is tailor-made for standard household ovens, effortlessly achieving that coveted artisanal contrast: a singing, golden, crackling crust wrapped around a moist, airy, chewy interior crumb.
Ingredients (Yields 4 Sub-Sandwich Rolls or 1 Large Rustic Loaf)
- Bread flour (high-gluten): 300g
- Pure water: 225–240g (reserve 15g to adjust according to flour absorbency)
- Fine sea salt: 5g
- Granulated sugar: 6g (solely to jump-start fermentation)
- Instant dry yeast: 3.5–5g
- Extra virgin olive oil: 6g (optional, but recommended to keep the crumb tender and moist)
Step-by-Step Instructions
Step 1: Mixing and Autolyse
- Combine dry ingredients: In a mixing bowl, blend flour, salt, sugar, and yeast thoroughly (keep the salt and yeast on opposite sides before mixing).
- Add water: Pour in water (starting with 225g) and stir with chopsticks or a spatula until a shaggy, rough dough forms.
- Key technique — Autolyse rest: Cover the bowl with plastic wrap and let it rest undisturbed for 30 minutes. This allows the flour proteins to hydrate fully, naturally developing gluten bonds with zero effort.
- Knead and incorporate oil: Transfer the rested dough to a clean work surface. Knead gently for 5–8 minutes until smooth. Add the olive oil and continue kneading until the oil is completely absorbed and the dough becomes soft, pliable, and elastic.
Step 2: First Bulk Fermentation
- Shape the dough into a smooth ball, place it into a lightly oiled bowl, and cover with plastic wrap.
- Let it ferment in a warm spot (around 28°C / 82°F) for approximately 1 to 1.5 hours, until doubled in volume.
- Poke test: Dust a finger with flour and press into the dough center. If the indentation holds its shape without collapsing or springing back immediately, fermentation is complete.
Step 3: Degassing and Shaping
- Gently press down on the dough to release large gas bubbles.
- Shape into desired rounds or oval batards, pinching the bottom seam tightly closed.
- Place onto parchment paper or into a floured proofing basket (seam side facing up).
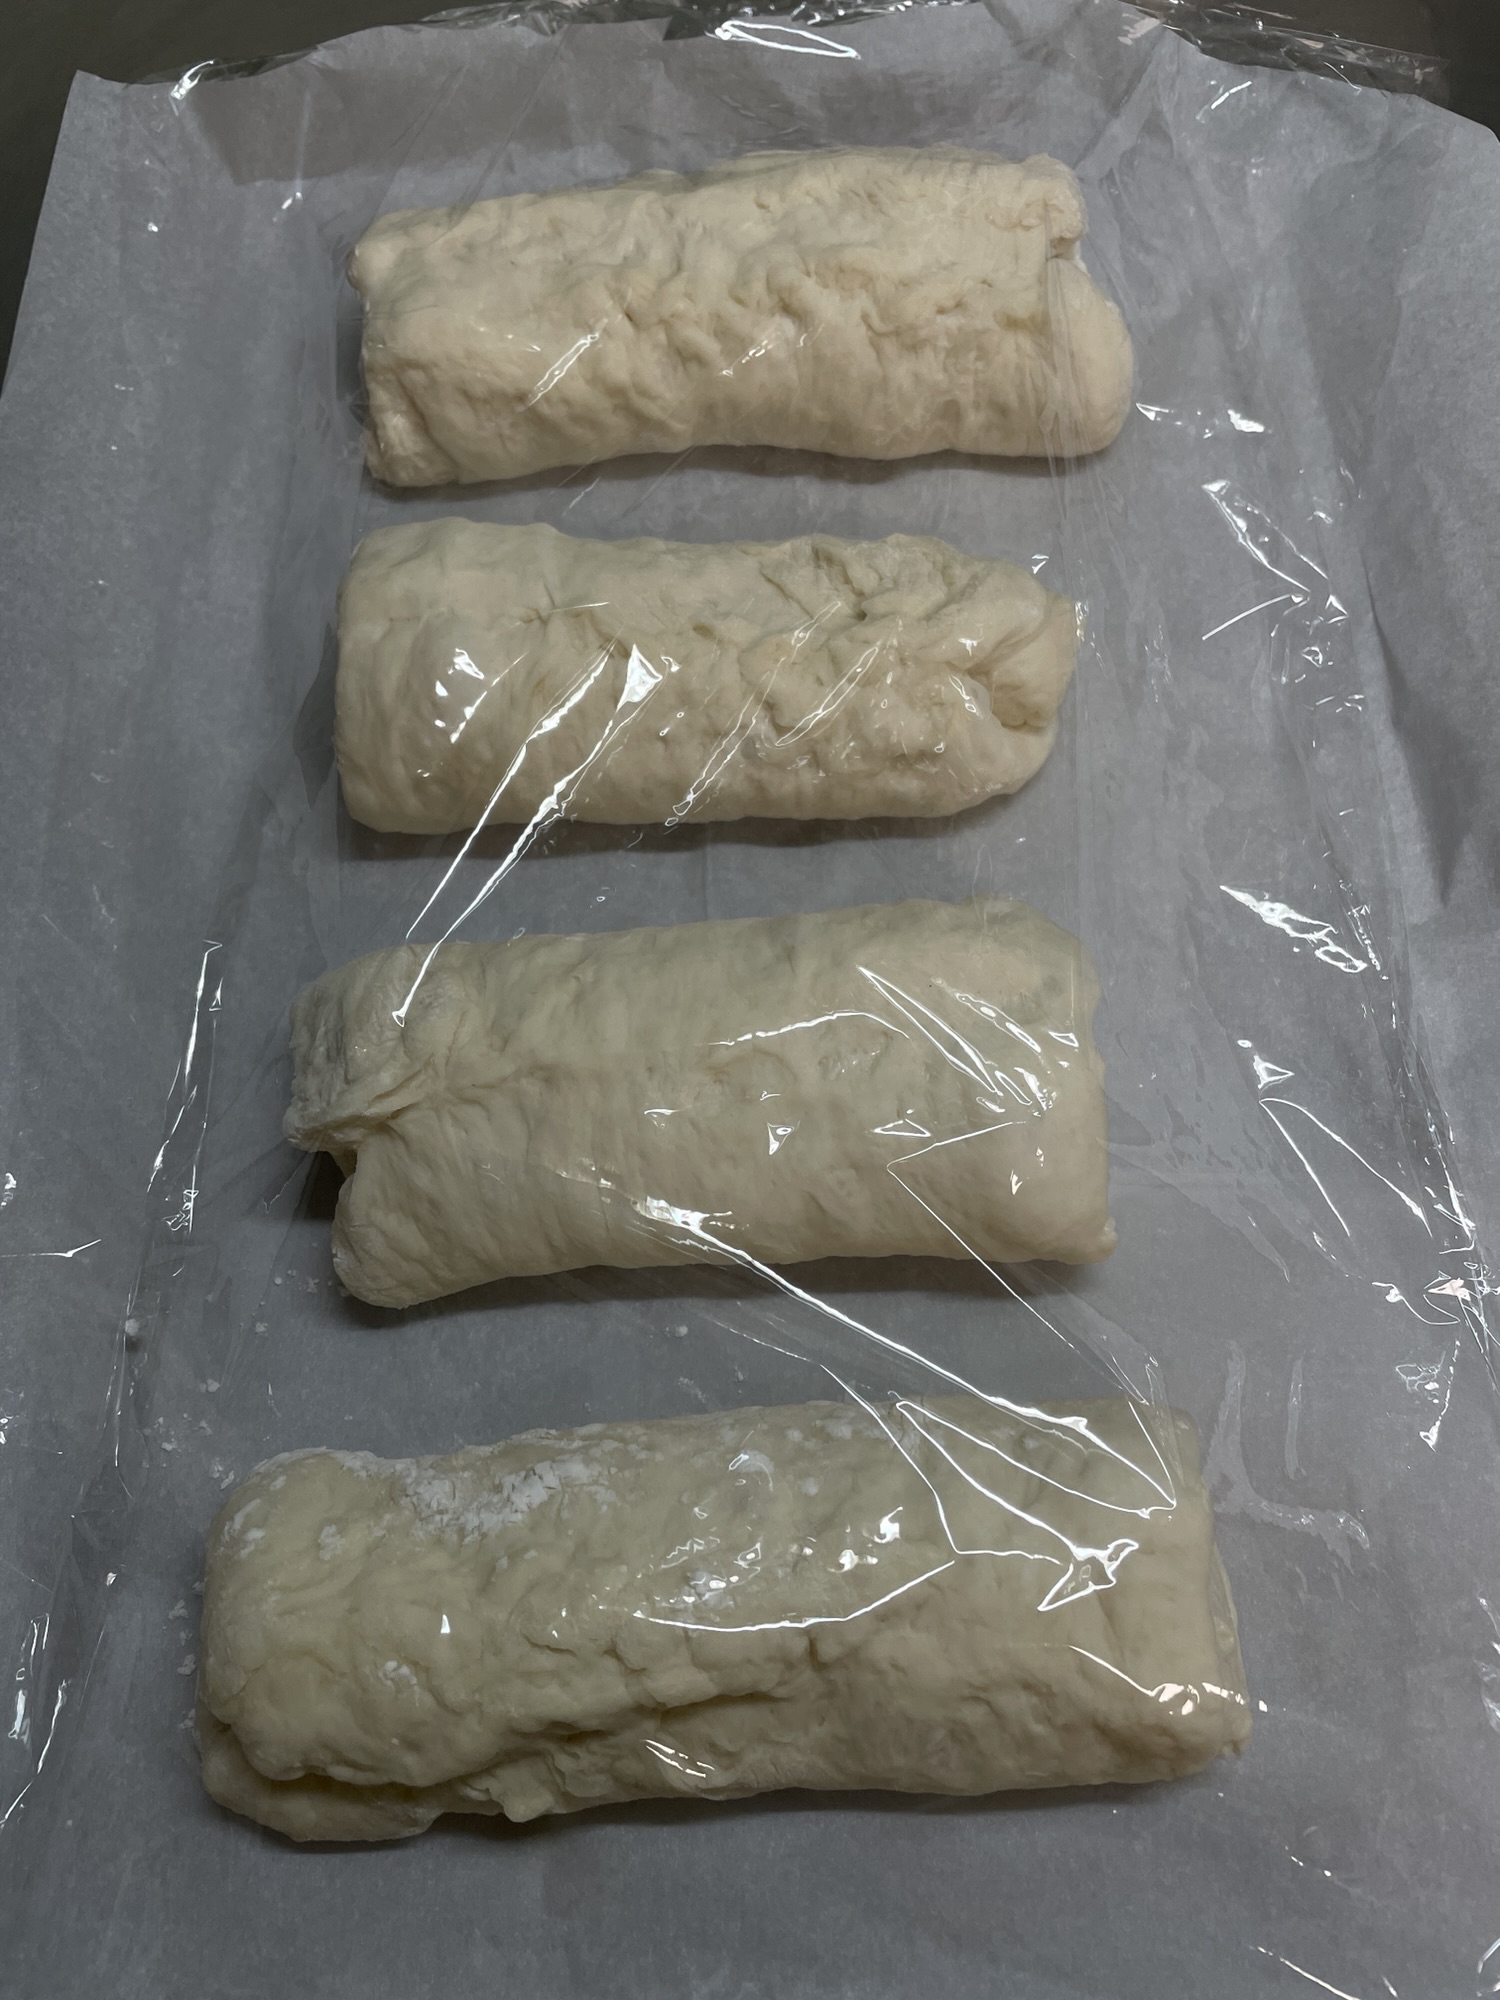
Casual, relaxed home handcrafting.
Step 4: Second Proofing
- Cover lightly with a damp cloth or plastic wrap and proof in a warm place for 40–60 minutes, until puffed to 1.5 times original size.
- Preheat your oven: About 20 minutes before proofing finishes, preheat your oven along with a heavy, heat-safe baking tray or cast-iron pan placed at the bottom to 220°C (430°F).
Step 5: Scoring and Baking (The Secret to a Crackling Crust)
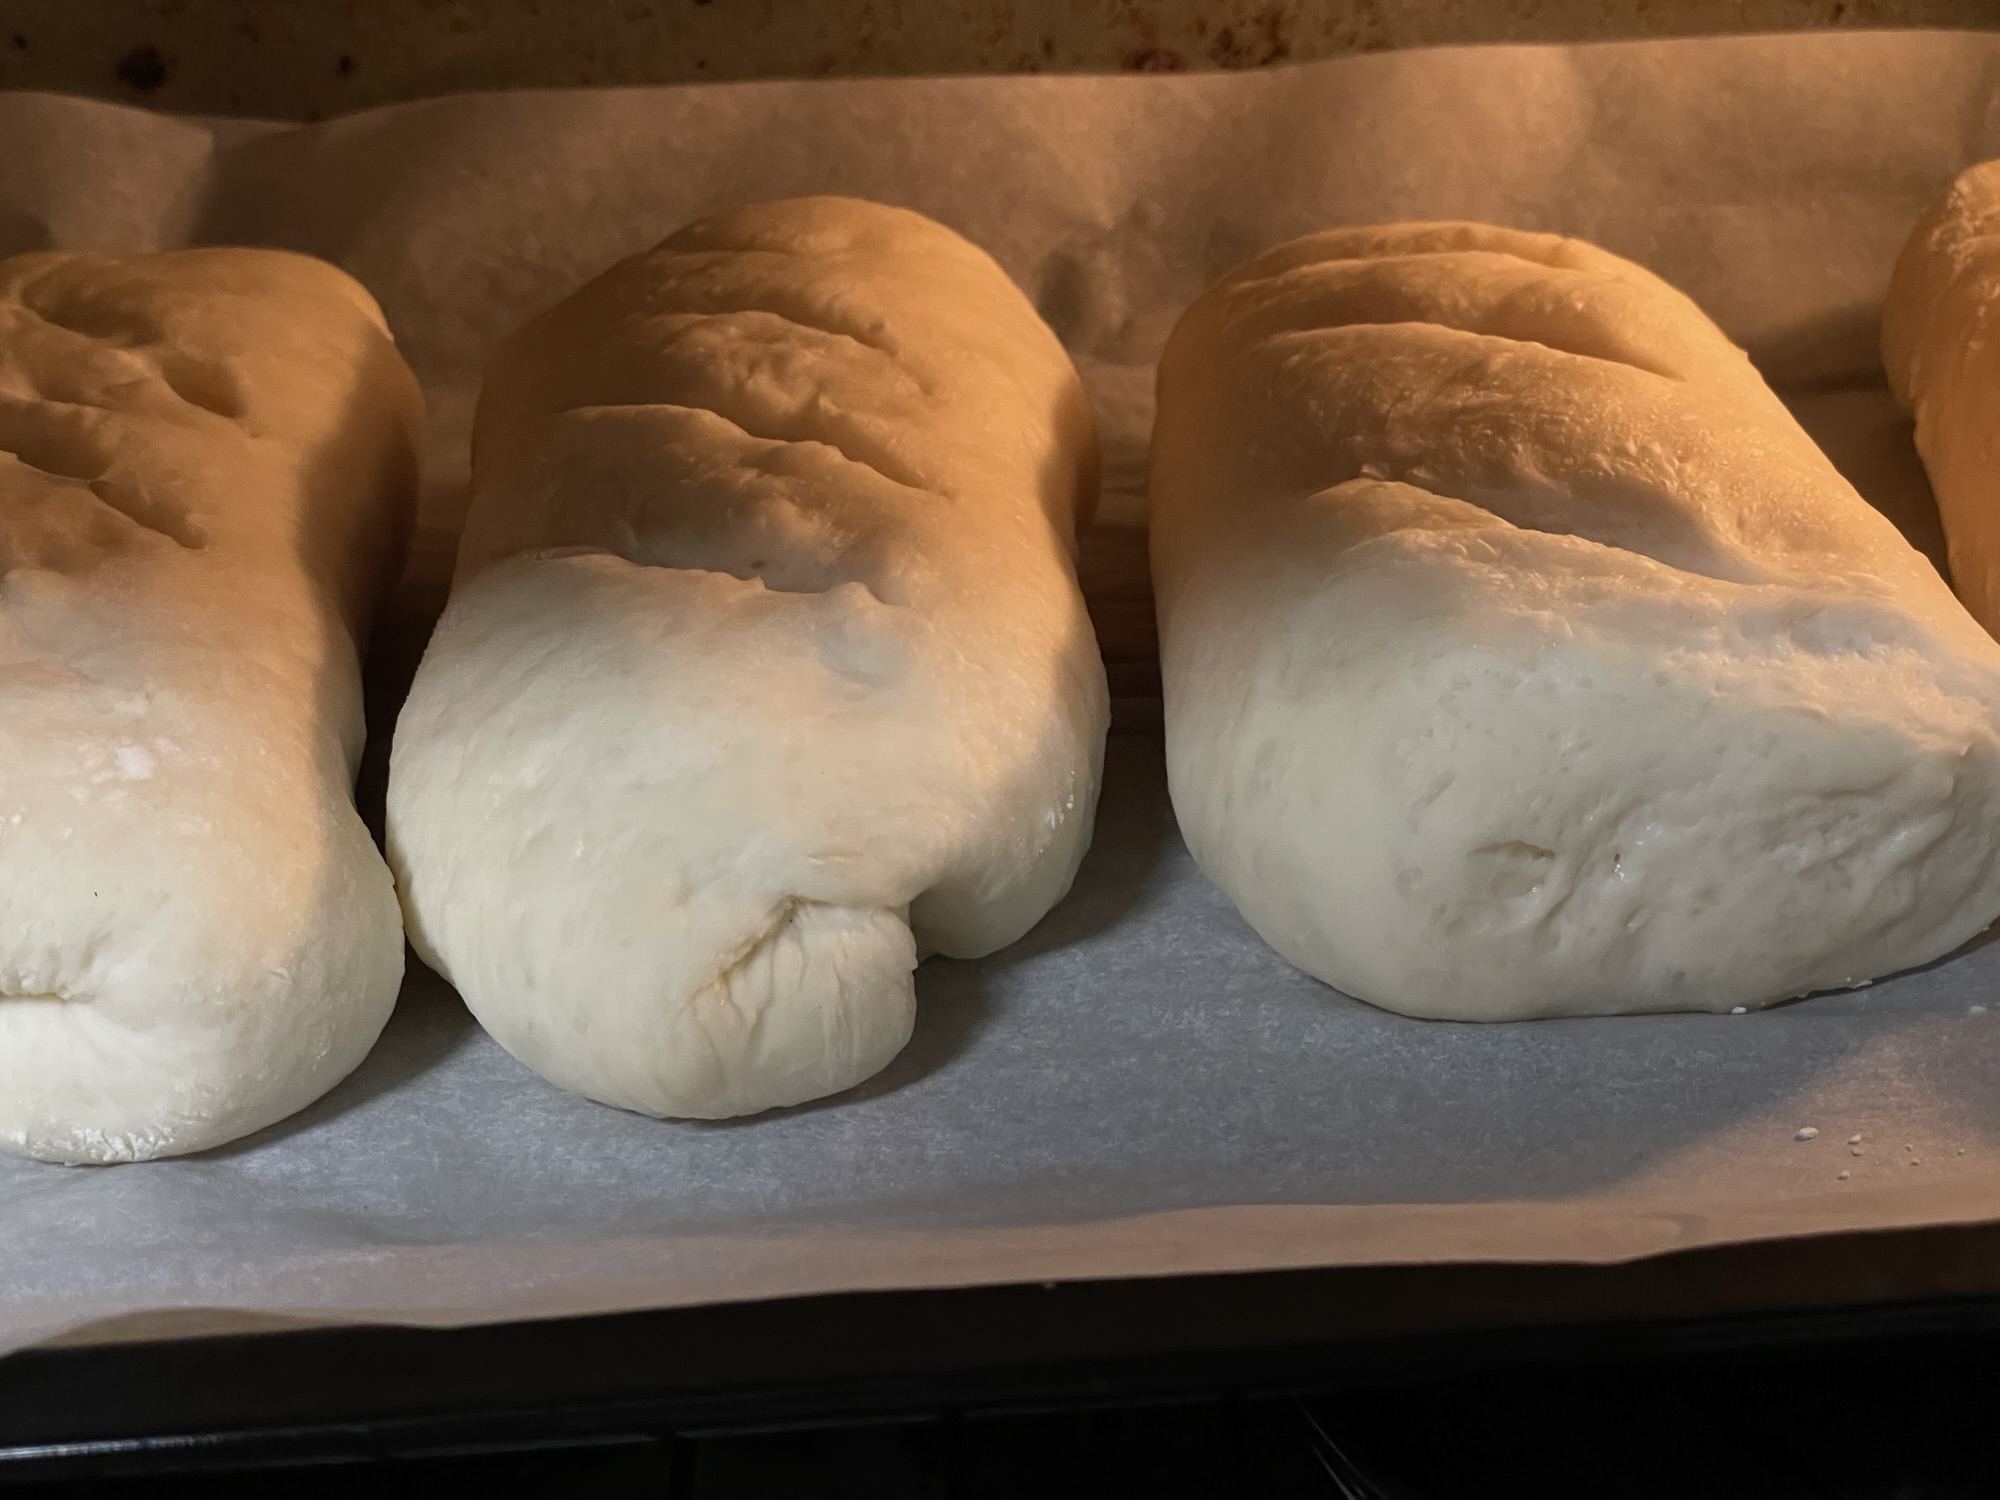
Delicious artisan bread baking in the oven.
- Invert the proofed dough onto a baking sheet (seam side down). Using a razor blade or sharp lame, make confident, quick slashes across the surface.
- Generate steam: Rapidly slide the dough into the middle rack, immediately pour one cup of boiling water onto the preheated tray at the bottom of the oven, and close the oven door instantly to trap the steam.
- Bake at 220°C for 15 minutes with steam.
- Carefully remove the water tray, reduce oven temperature to 200°C (390°F), and bake for an additional 15–20 minutes until the crust turns a deep chestnut gold and tapping the bottom produces a hollow sound.
- Transfer the loaf to a wire cooling rack and let it cool completely for at least 1 hour before slicing. This allows the internal moisture crumb structure to stabilize.
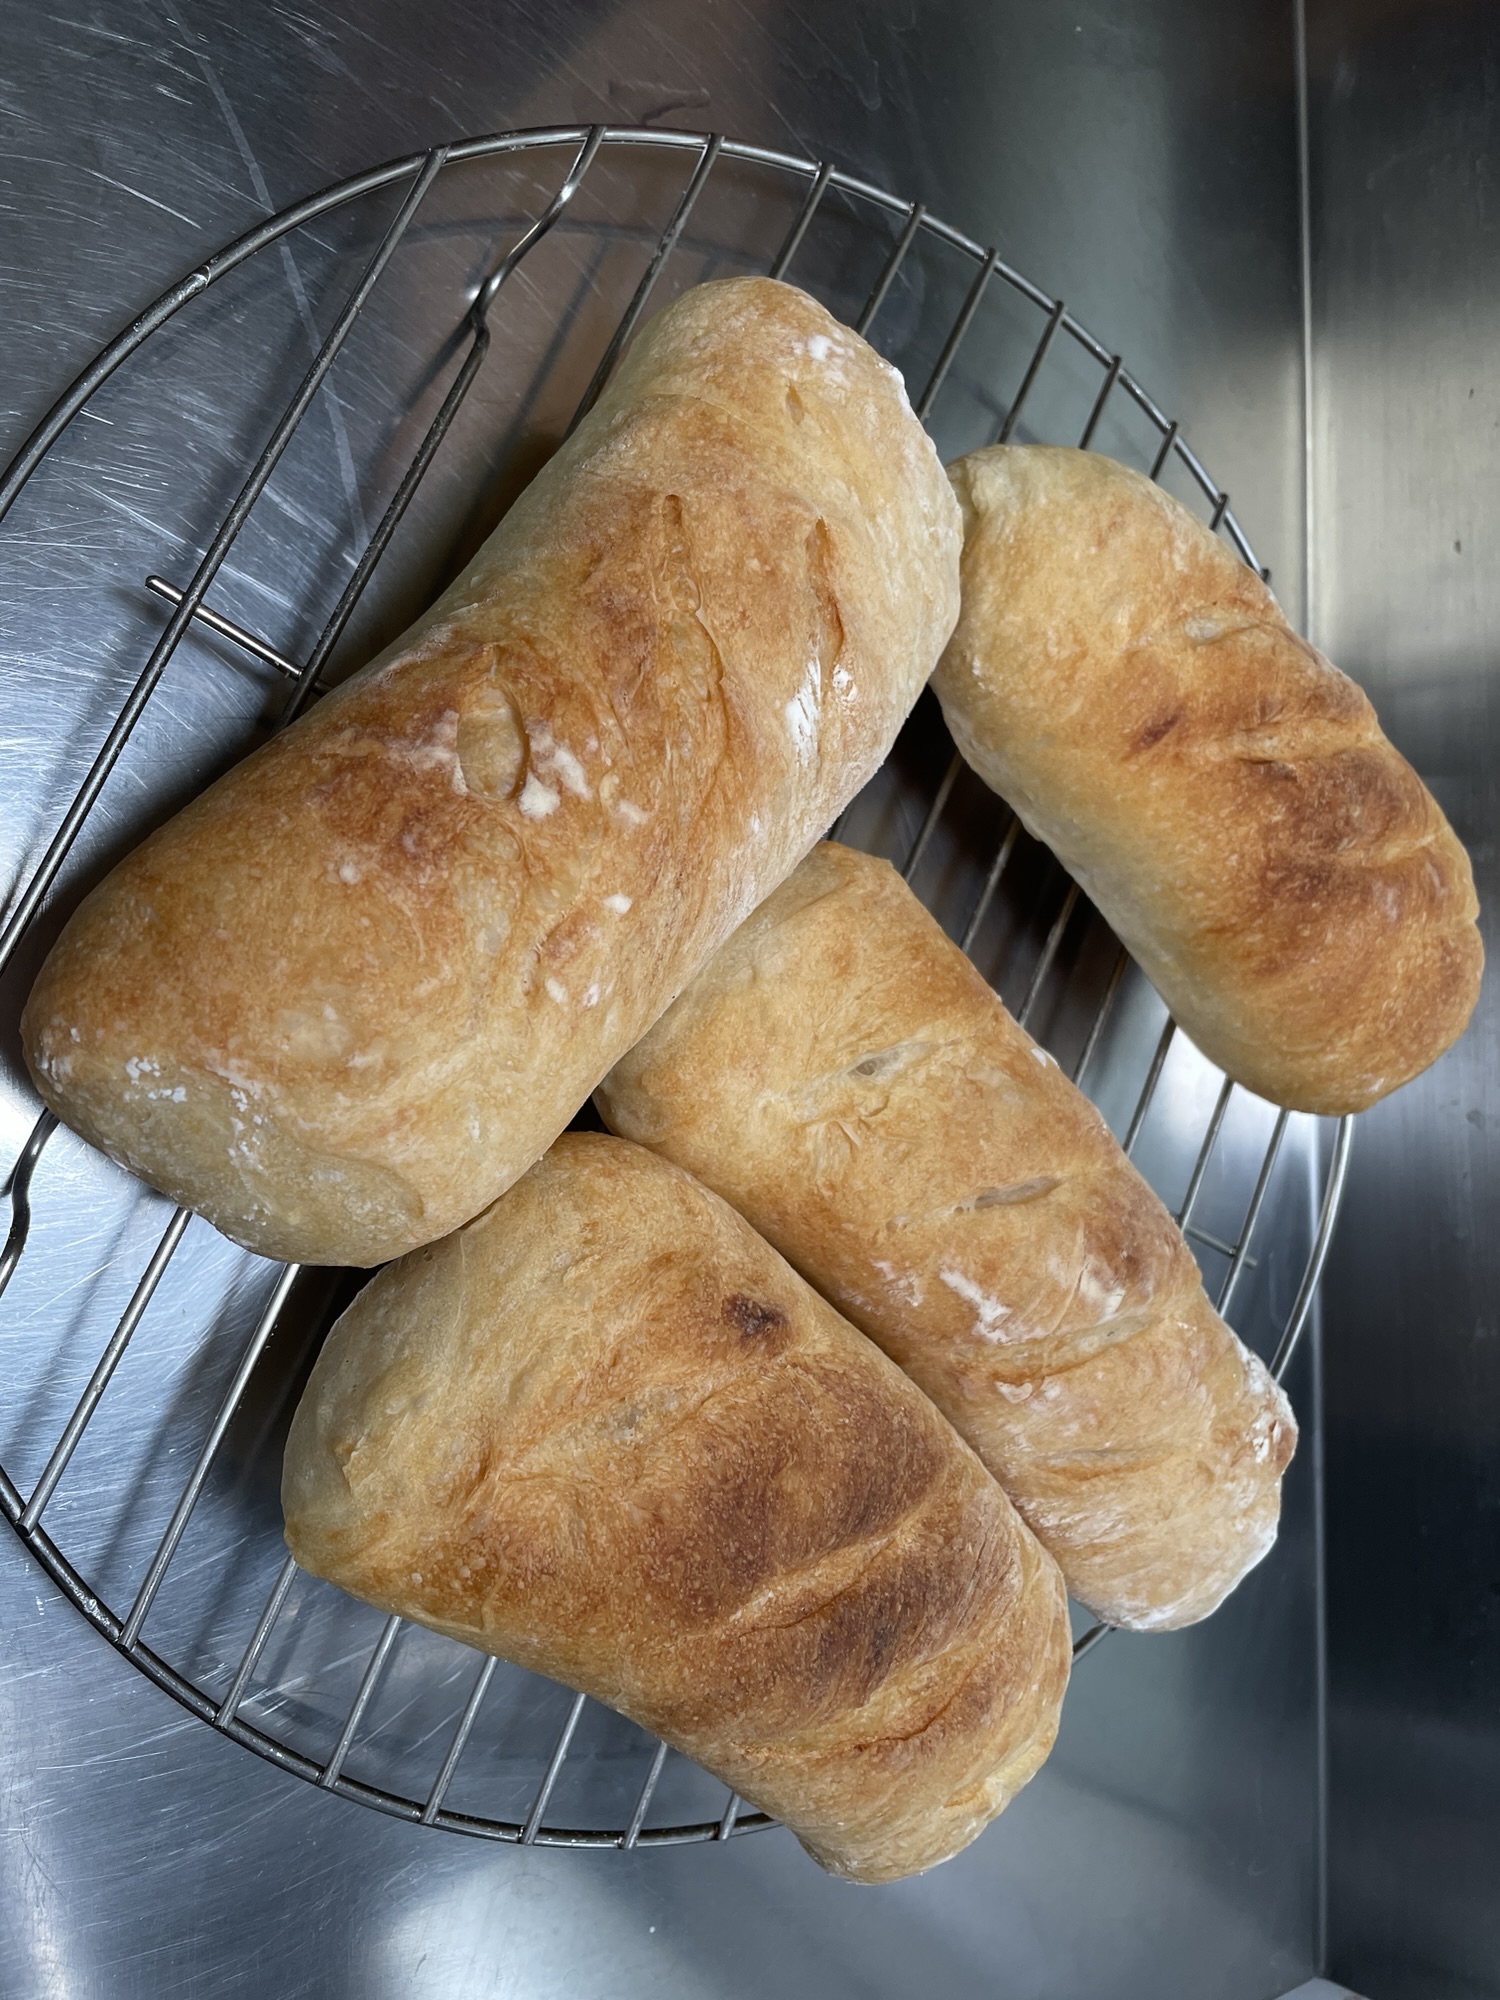
Crispy crust outside, moist and chewy crumb inside.
Pro Tips for Guaranteed Success
- Hydration is the soul of European bread: This formula features high hydration (75%–80%), which is the secret to a soft, open crumb. The dough will feel sticky initially; trust the autolyse resting period and resist the urge to dump in extra flour.
- Steam creates the crackling blistered crust: Without steam, the outer starch layer hardens prematurely, preventing oven spring and resulting in a thick, leathery crust instead of thin, shatteringly crisp blisters.
- Always let it cool before slicing: The loaf continues to set internally as steam redistributes during cooling. Slicing into hot bread creates gummy, collapsed crumb textures.
Enjoy the wholesome, low-sugar, low-fat bliss of your homemade artisan European country bread!
Support Independent Perspectives & In-Depth Insights
Every thoughtful analysis and candid critique comes from our dedication to truth and quality. We choose not to follow sensational algorithms or clickbait headlines.
Sustaining independent research requires reader support. Make a one-time or monthly contribution, securely processed by Google.
Payments secured by Google · Manage or cancel anytime in your Google Account

Comments