
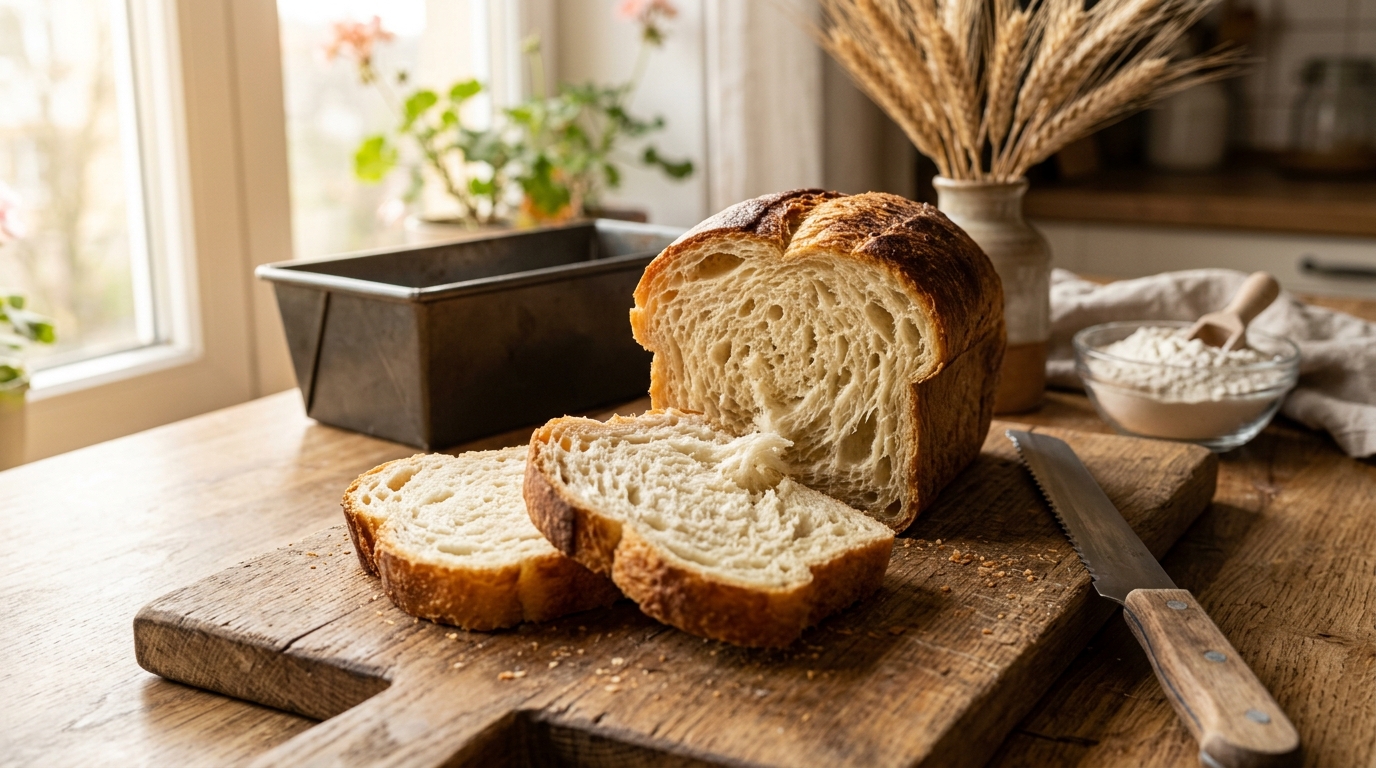
Recently I discovered a toast recipe that is perfect for busy daily work with fragmented free time—one that even a self-proclaimed “lazy baker” can succeed at painlessly.
Traditional bread-making often requires staying in the kitchen for 3 to 4 hours straight, closely watching the temperature and humidity changes of the bulk fermentation; but this overnight cold fermentation method hands the most time-consuming bulk fermentation process directly to the home refrigerator. Even better, this recipe completely abandons the milk, eggs, and animal butter common in traditional toast, using only simple vegetable oil and pure water. Not only is it low-allergen and vegan with no calorie burden, but through long, low-temperature maturation it awakens the deepest natural sweetness and original aroma of the wheat!
In this article I’ve specially kept a note of the complete ingredient ratios and hands-on experience for easy reference later. Friends interested in giving it a try are also strongly encouraged to bookmark this page, or tap the share button “⬆️” in your mobile browser to save it to your phone’s home screen, so you can open it anytime while preparing ingredients!
1. Ingredient List and Pan Conversion
This recipe is based on the most common 450g standard toast pan (the common 12-tael lidded/unlidded toast pan) as the baseline quantity:
450g Toast Pan Golden Recipe
| Ingredient | Weight/Volume | Baker’s Percentage | Selection Tips and Suggestions |
|---|---|---|---|
| Bread Flour | 250 g | 100% | It is recommended to use a high-quality bread flour with a protein content of 12% or more (such as Japanese Camellia, Catherine, or Taiwan Chiafa), which has good gluten and forms a film quickly. |
| Pure water (plain water) | 160 ~ 170 ml | 64% ~ 68% | Beginners are advised to start with 160ml and reserve 10ml to add gradually depending on the water absorption characteristics of different flour brands. |
| Fine granulated sugar | 20 g | 8% | Provides nutrients for the yeast and adds a faint sweetness; can also be replaced with an equal amount of caster sugar or sanonto sugar. |
| Salt | 3 g | 1.2% | Stabilizes the gluten structure, strengthens elasticity, and balances sweetness; do not omit. |
| Instant dry yeast | 3 g | 1.2% | It is recommended to use osmo-tolerant or general-purpose instant yeast (such as French Saf-instant gold/red yeast). |
| Vegetable oil | 15 ml (about 14g) | 6% | It is recommended to choose a mild-flavored oil (such as rice bran oil, canola oil, sunflower oil, or mild cold-pressed extra virgin olive oil). |
2. Step-by-Step Illustrated Instructions and Detailed Guidance
The entire process is cleverly split over two days, so even if you only have a 15-minute window after getting home from work, you can easily handle it:
Step 1: Mix the Dough (Just until it comes together—no need to knead desperately for a windowpane)
- Take a mixing bowl and first mix the bread flour, fine granulated sugar, and salt together.
- Pour in the room-temperature water and vegetable oil, and use a scraper or your hands to roughly mix into a rough dough with no dry flour.
- Finally sprinkle in the instant dry yeast, and knead by hand or with a stand mixer on low speed for about 5 to 8 minutes, until the dough evenly absorbs the water and the surface is relatively smooth and soft (no need to deliberately pursue a windowpane; the “autolyse” during cold fermentation will naturally develop beautiful gluten for you!).
Step 2: Initial Fermentation (Cold Fermentation Method, 12 to 16 Hours)
- Round the kneaded dough, place it seam-side down in a food container or large glass bowl greased with a thin layer of oil.
- Cover tightly with a sealed lid or wrap with two layers of plastic wrap (be sure to leave more than 2 times the expansion space to prevent fermentation from pushing the lid off).
- Place in the refrigerator (at about 4°C) for slow, low-temperature fermentation for about 12 to 16 hours (for example, put it in the fridge at 10 pm the night before, and you can take it out to continue anytime the next afternoon or after work in the evening).
Step 3: Take Out to Warm Up, Gently Degas, Divide, and Rest
- Take the container out of the refrigerator; the dough has now slowly risen to about 1.5 to 2 times its original size, filled with fine air pockets.
- Leave the container at room temperature to “warm up” for about 30 minutes, allowing the gluten structure to regain softness and extensibility.
- With your hands dusted with a little bread flour, gently turn the dough out onto the work surface. Gently pat and press with your palm to release large air bubbles.
- Divide evenly into 2 or 3 portions as needed for the pan (a 450g pan is usually divided into 3 portions of about 145~150g each).
- Fold the edges of the cut dough toward the center, round it, cover with a damp cloth or plastic wrap, and let it “rest” at room temperature for about 15 minutes.
Step 4: Roll Out, Shape, and Place in the Pan
- Take a rested portion of dough, smooth side up, and use a rolling pin to roll it out from the center upward and downward into a long oval.
- Flip it over (rough side inward) and gently roll it up from top to bottom into a cylinder.
- Repeat the first roll for the remaining dough, then rest for 10 minutes.
- Then do a second roll: stand the dough upright, roll it out again into a long strip (the width should be slightly smaller than the width of the toast pan), and roll it up tightly from top to bottom into a log, pinching the seam closed and facing down.
- Place the 3 rolled dough portions in the same direction in the bottom of the toast pan greased with a little oil (no need to grease if using a non-stick pan).
Step 5: Second Fermentation (Final Proof to 80~90% Full)
- Cover the top of the toast pan with a wrung-out clean damp cloth or plastic wrap, and place it in a warm, humid environment (ideal temperature about 30°C~35°C, humidity 75%~85%).
- Lazy trick: You can simply put it in an unlit oven or a closed microwave, place a large bowl of steaming hot water beside it, and close the door to create an excellent proofing box effect.
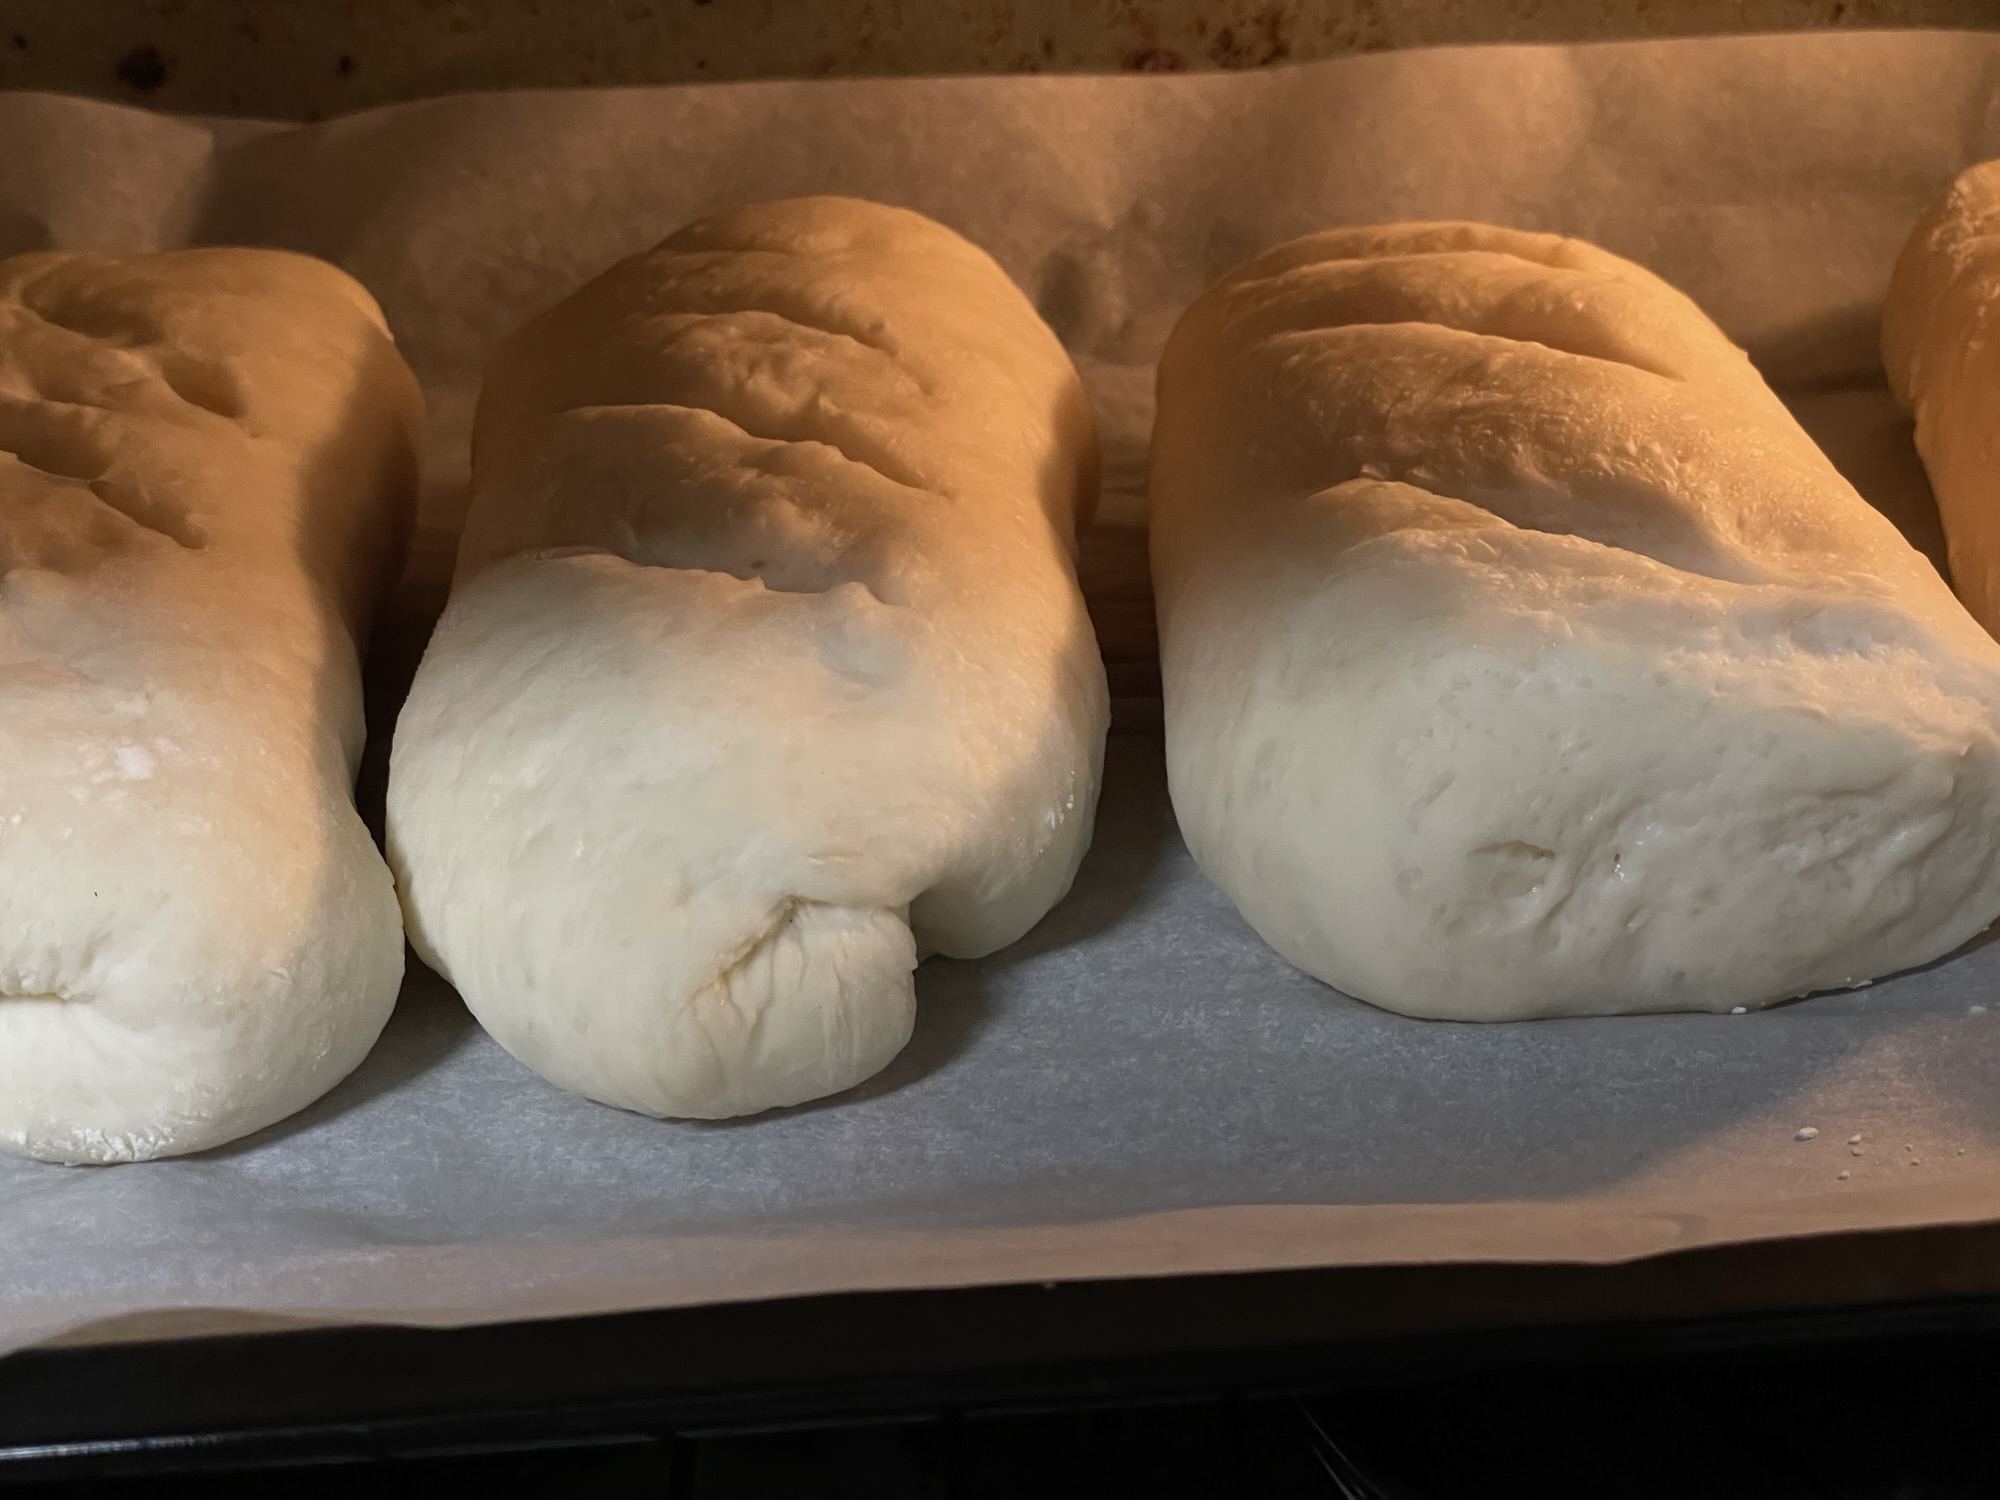
- Let it ferment for about 60 to 90 minutes, until the dough rises to 80 to 90% full of the toast pan (if making a lidded flat-top toast, proof to 80% full and then put on the lid; if making an unlidded mountain-shaped toast, you can proof to 90% full).
Step 6: Preheat and Bake (Tapping the Pan After Baking Is the Key to Preventing Shrinking!)
- About 15 minutes before the end of the second fermentation, preheat the oven to 180°C (350°F) in advance.
- Place the fully proofed toast pan on the lower-middle rack of the oven and bake for about 30 to 35 minutes.
- If making an unlidded mountain-shaped toast, when the surface has turned a beautiful golden brown after about 15 minutes, you can quickly open the door and lay a sheet of aluminum foil over the top to prevent it from browning too deeply and burning.
- Time’s up—out of the oven! After baking, be sure to “give the toast pan a firm tap” on the work surface (lift it about 10 cm off the table and drop it), as this action shakes out the hot air from the center of the bread and prevents the sides from shrinking inward after cooling (commonly known as shrinking).
- Immediately invert to unmold, and stand the toast upright on a cooling rack to cool completely.
3. Must-Read for Baking Enthusiasts: Beginner Pitfall Avoidance and Flavor Upgrade Tips
- Careful choice of vegetable oil: It is strongly recommended to choose a liquid vegetable oil with a mild, unobtrusive flavor (such as rice bran oil, canola oil, or refined sunflower oil). Avoid cold-pressed extra virgin olive oil with a strong flavor or unrefined peanut oil, otherwise the baked toast will carry a jarring grassy oil taste that masks the wheat’s fresh aroma.
- Flexible water control: Taiwan’s climate is humid, and the water absorption of different flour brands varies greatly. It is recommended to add 160ml of water first for the first attempt, and if the dough feels a bit dry after mixing, gradually add more in 5ml increments. The overall feel of the dough should be slightly sticky but elastic.
- Brush with honey water after baking to add a glossy, soft crust: If you like the soft, lustrous crust of Japanese-style bakeries, within 1 minute after unmolding, while still hot, brush a thin layer of honey water (pure honey mixed with warm water 1:1) or maple syrup on the surface of the toast. The heat instantly evaporates the excess moisture, leaving a sweet aroma and a soft, thin crust!
- A reassuring vegan, burden-free choice: This recipe has no milk and no eggs, making it very suitable for vegans and adults and children allergic to dairy or egg protein. Spread peanut butter, homemade jam, or add avocado and tomato in the morning for an extremely pure meal.
4. Storage and Reheating Tips
- Freshly baked and cooled toast is best eaten the same day after slicing.
- Absolutely never store it in the refrigerator! Starch ages and crystallizes fastest at refrigeration temperatures of 2°C~8°C, which will quickly make the toast dry and hard as cardboard.
- If you can’t finish it within 2 days, slice it, portion it into freezer bags, and put it directly into the freezer (-18°C) for sealed frozen storage (it can be kept for 2 to 3 weeks).
- When enjoying it, no need to thaw—just take it out and put it in a toaster or air fryer at 160°C for 3 minutes to instantly restore the crispy-outside, soft-inside, stringy, fluffy freshly-baked texture!
Support Independent Perspectives & In-Depth Insights
Every thoughtful analysis and candid critique comes from our dedication to truth and quality. We choose not to follow sensational algorithms or clickbait headlines.
Sustaining independent research requires reader support. Make a one-time or monthly contribution, securely processed by Google.
Payments secured by Google · Manage or cancel anytime in your Google Account



Comments