
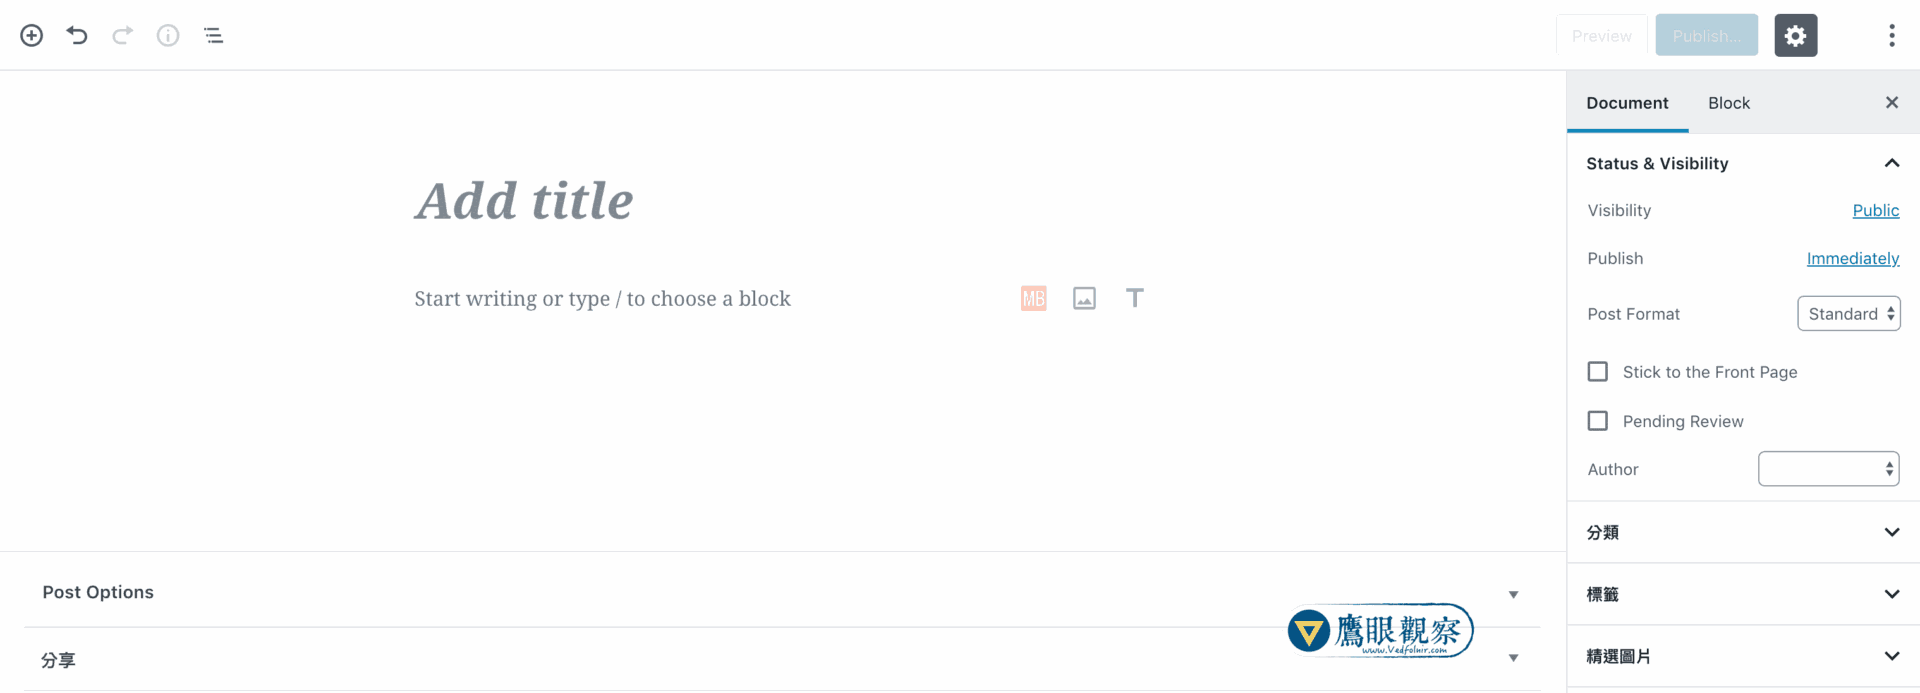
If you plan to build a personal blog or a professional brand website, today’s modern web ecosystem offers two dominant, battle-tested options:
The first option is building on the veteran free publishing platform, “Google Blogger”. It is convenient, exceptionally secure, offers stellar performance, provides flexible code access, and integrates seamlessly with Google services like AdSense and Analytics. Crucially, it is completely free, making it an ideal choice for beginner site owners who want zero server hosting expenses and want to publish content immediately after registration.
The second option is building a self-hosted site using the world’s leading open-source CMS, “WordPress”. It features virtually limitless plugin extensibility, complete design freedom, and total ownership over your database. This is our primary focus in today’s comprehensive setup walkthrough.
1. The WordPress Twins: Understanding WordPress.com vs. WordPress.org
When researching WordPress, newcomers frequently encounter two distinct official sites operating under vastly different models:
| Comparison Metric | WordPress.com (Commercial Managed Hosting) | WordPress.org (Open-Source Community & Software) |
|---|---|---|
| Core Nature | A closed, managed blogging platform similar to Google Blogger or Medium | Distributes the free, open-source WordPress core software package |
| Hosting Server | Hosted directly by Automattic; users do not manage hosting infrastructure | Requires your own hosting environment (such as VPS or shared hosting) |
| Custom Domain | Free tier is restricted to subdomains (e.g., sitename.wordpress.com); custom domains require paid tiers | Full freedom to connect any top-level domain without platform-level surcharge fees |
| Plugins & Code | Custom plugins and PHP editing are restricted to high-tier business plans | 100% freedom to install tens of thousands of plugins, edit source code, and modify the database |
If your goal is to spend zero on hosting fees while attaching a custom domain, Google Blogger is often a more generous free solution than WordPress.com. However, if you seek complete digital sovereignty and total ownership of your website assets, downloading the open-source software from WordPress.org and running it on your own server is the industry standard.
2. Choosing the Right Server & Hosting Environment
To self-host WordPress, there are two primary hosting approaches:
- Standard Shared Hosting or VPS: Rent hosting space from any reputable provider, create your own database manually, and upload the core package.
- WordPress-Optimized Managed Hosting: Opt for hosting providers officially recommended by WordPress, such as Bluehost. These platforms include convenient “one-click WordPress installation” wizards, built-in server-side caching, automated SSL certificates, and managed updates, sparing beginners from complex lower-level sysadmin headaches.
Below, we follow the standard, hands-on workflow to guide you through setting up WordPress from the ground up with complete control.
3. First-Time Setup: The 5-Minute Browser Installation Wizard
Once you unpack the latest WordPress core release into your web server’s document root directory, navigate to your domain name or server IP in any desktop browser. You will be greeted by the welcome setup wizard:
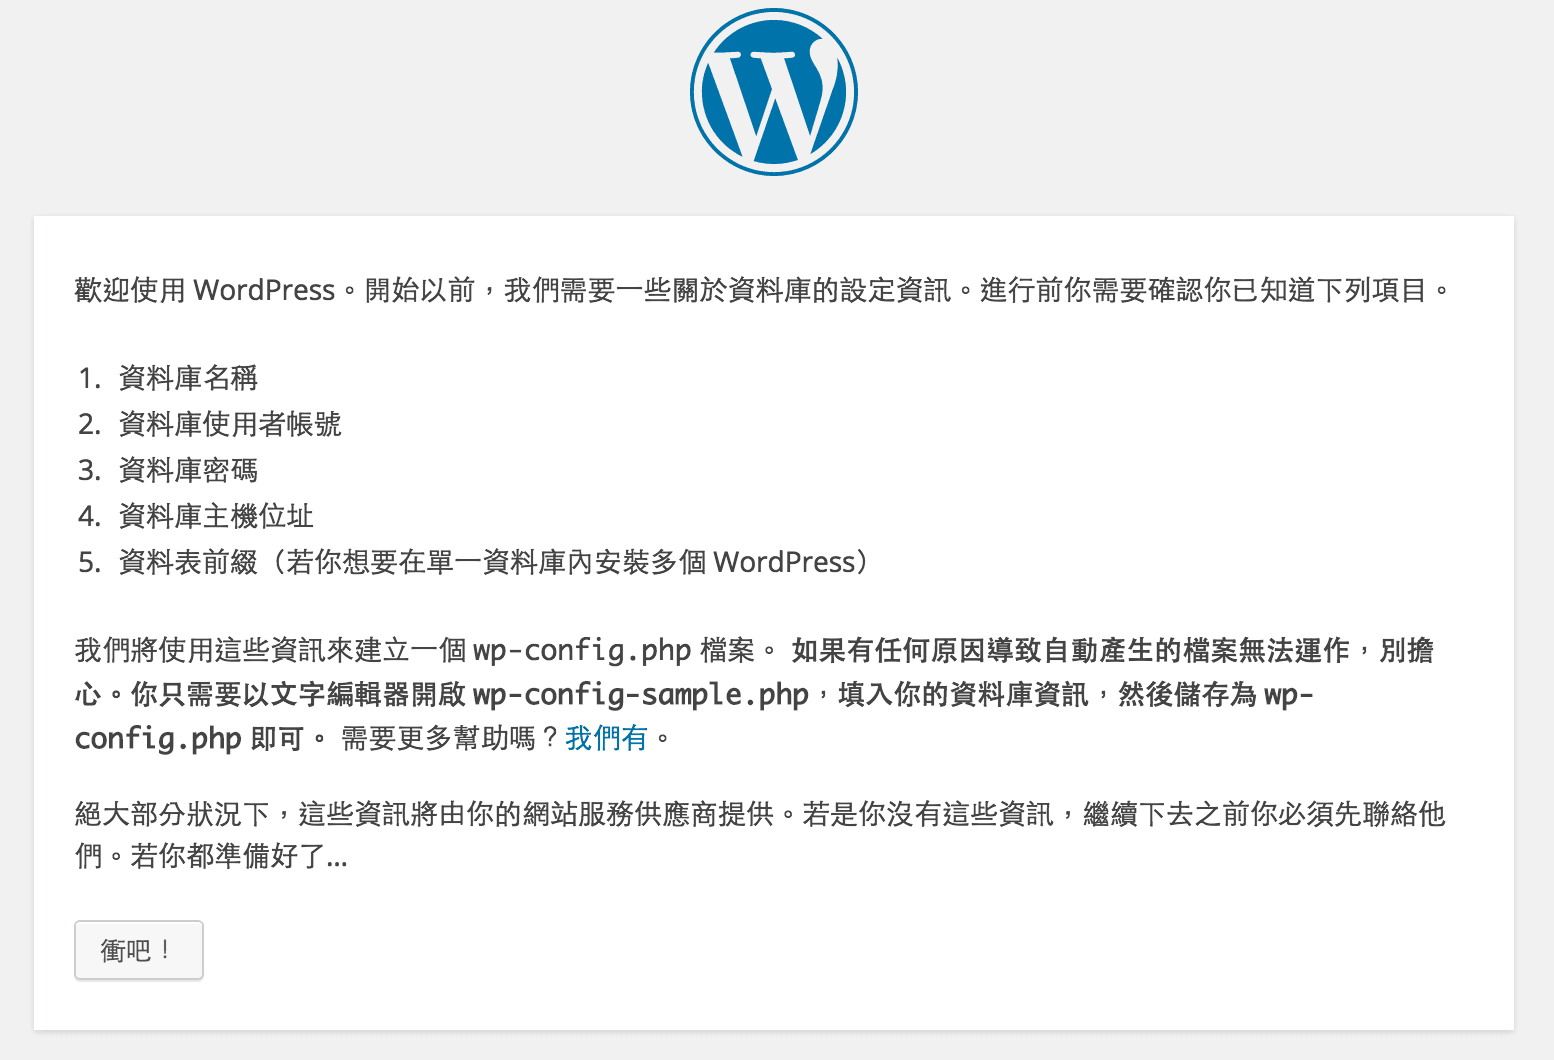
Before continuing, the wizard reminds you to have five database credentials ready from your hosting control panel (cPanel, phpMyAdmin, or terminal):
- Database Name
- Database Username
- Database Password
- Database Host (usually
localhost) - Table Prefix (default is
wp_)
Step 1: Enter Database Connection Details
Click “Let’s go!” to open the database configuration form, and enter the database name, username, and password created earlier:
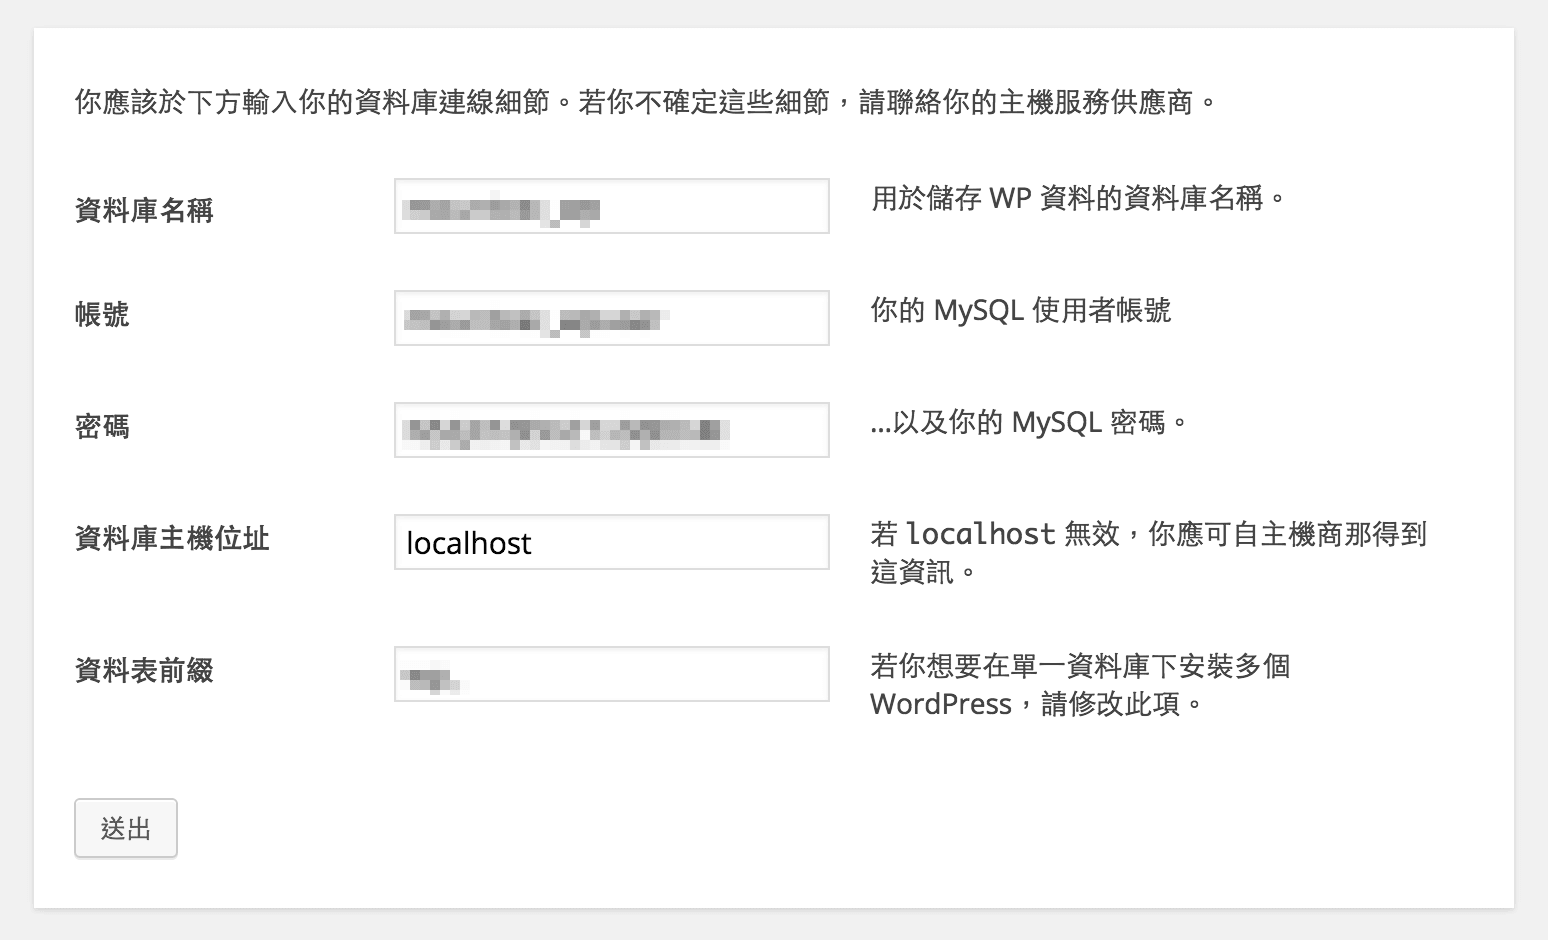
Password Security Note: Your database password is your primary line of defense against data breaches. Avoid simple alphanumeric patterns. For detailed recommendations, see our guide on: Information Security: Designing Strong Passwords to Protect Online Privacy.
If the credentials are valid, WordPress will establish a database connection and show a confirmation screen:

Step 2: Configure Site Title and Administrator Credentials
Click “Run the installation” to open the basic site information page:
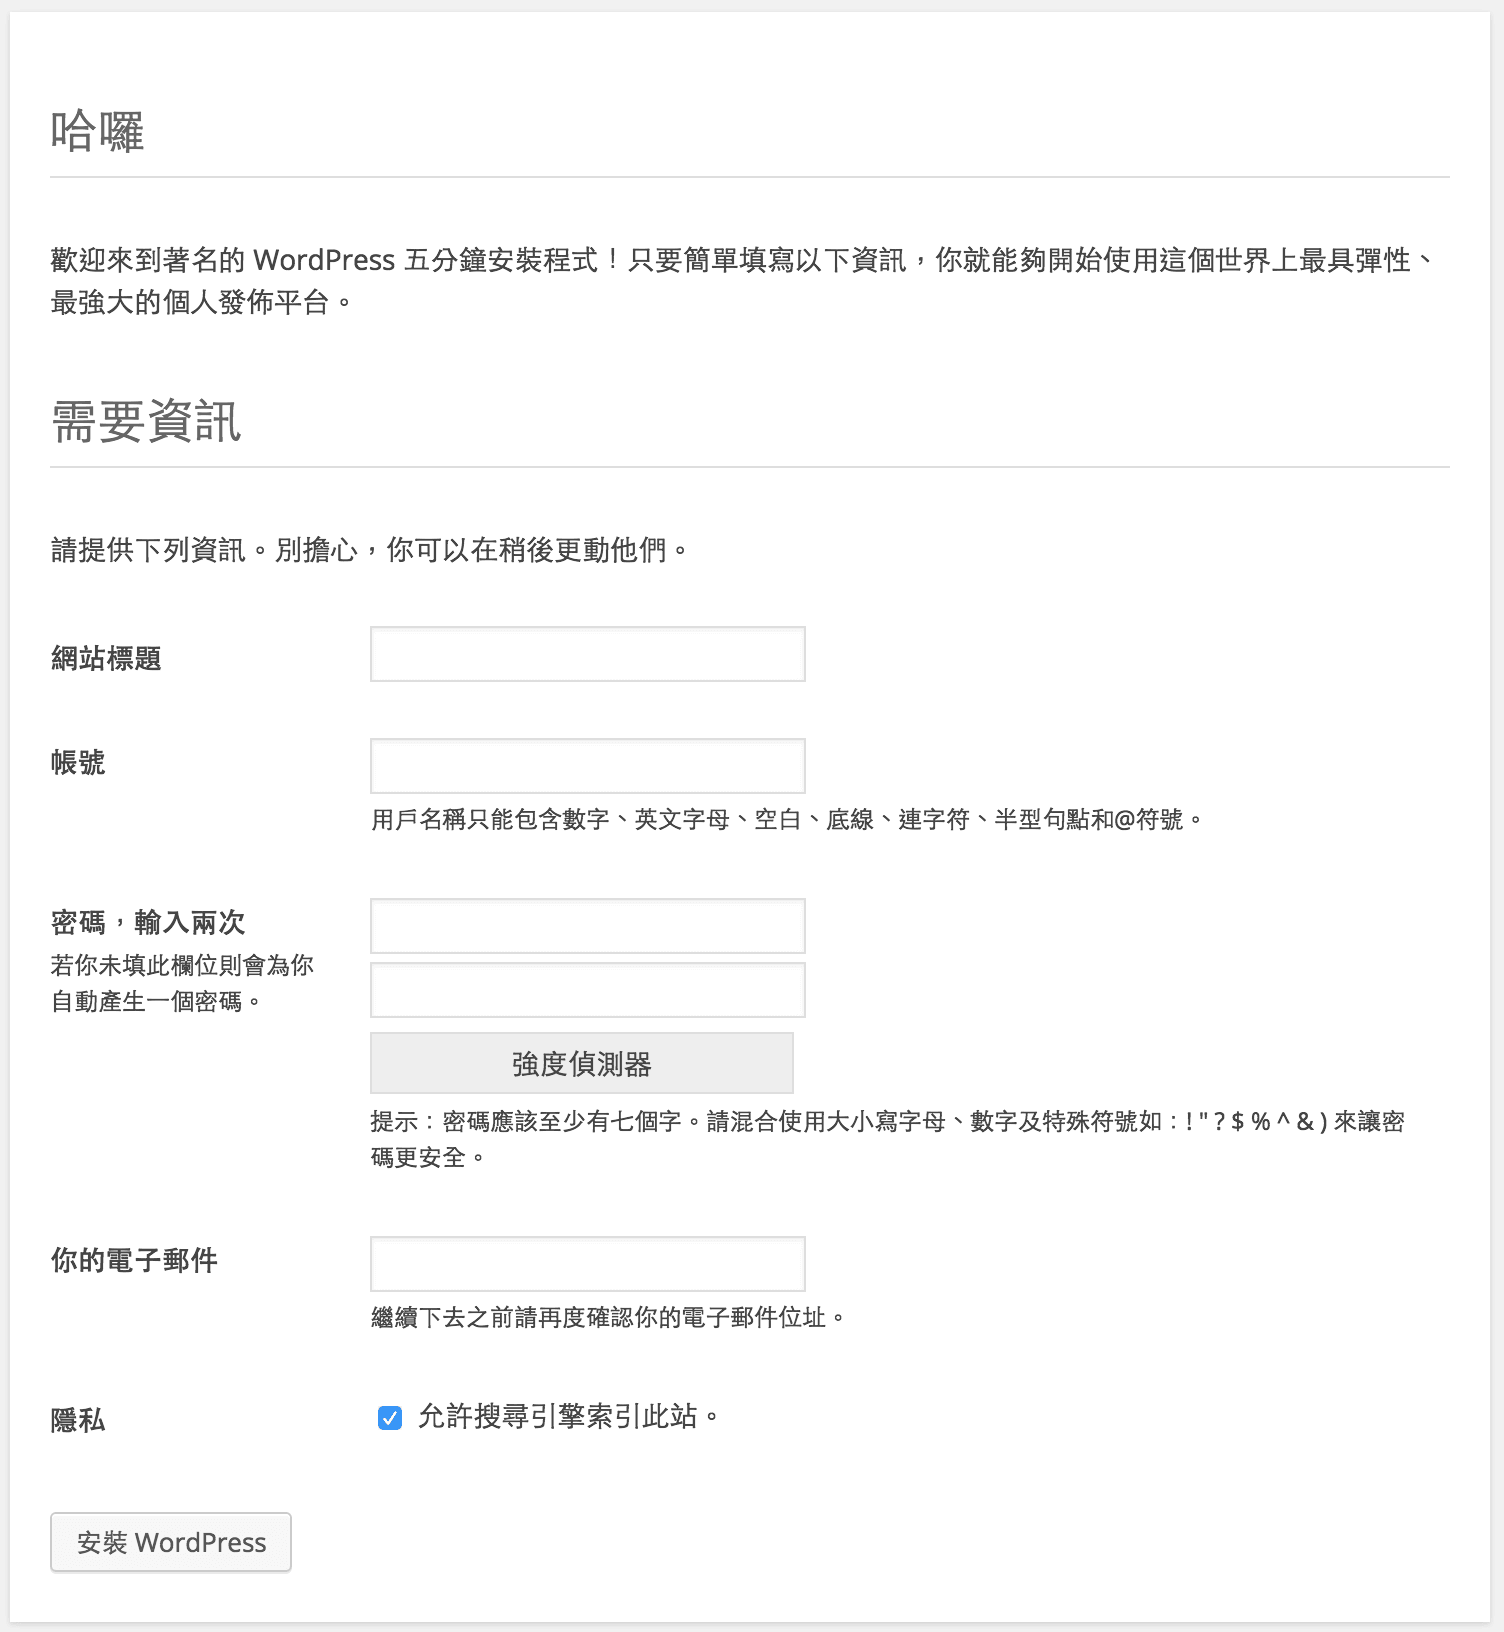
- Site Title: Enter your blog or company name (can be changed anytime in the admin dashboard).
- Username: Never use the default
admin! Choose a distinct, personalized username to protect against brute-force dictionary attacks. - Password: Use the system-generated strong password or create a secure phrase containing special symbols.
- Your Email: Provide an active email address to receive important system notices and password recovery messages.
- Search Engine Visibility: During initial construction, you can check “Discourage search engines from indexing this site” if you prefer search bots not index an unfinished layout.
Step 3: Complete Installation and Log In
Click “Install WordPress”. Within seconds, the system creates the database schema and confirms success! Next, click the Log In button:
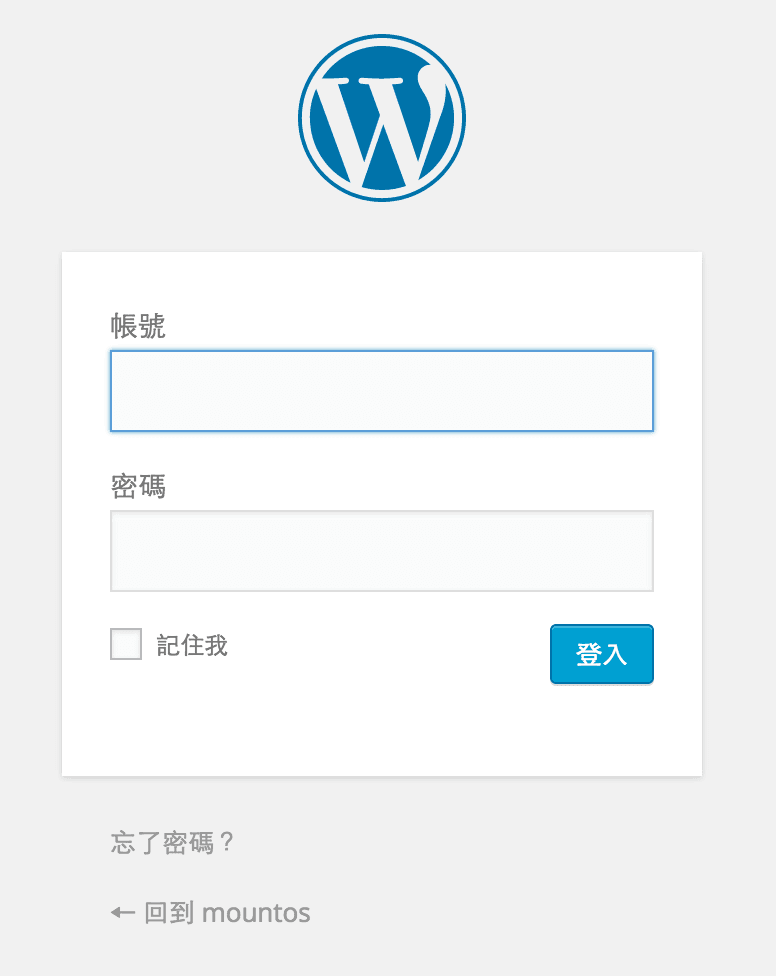
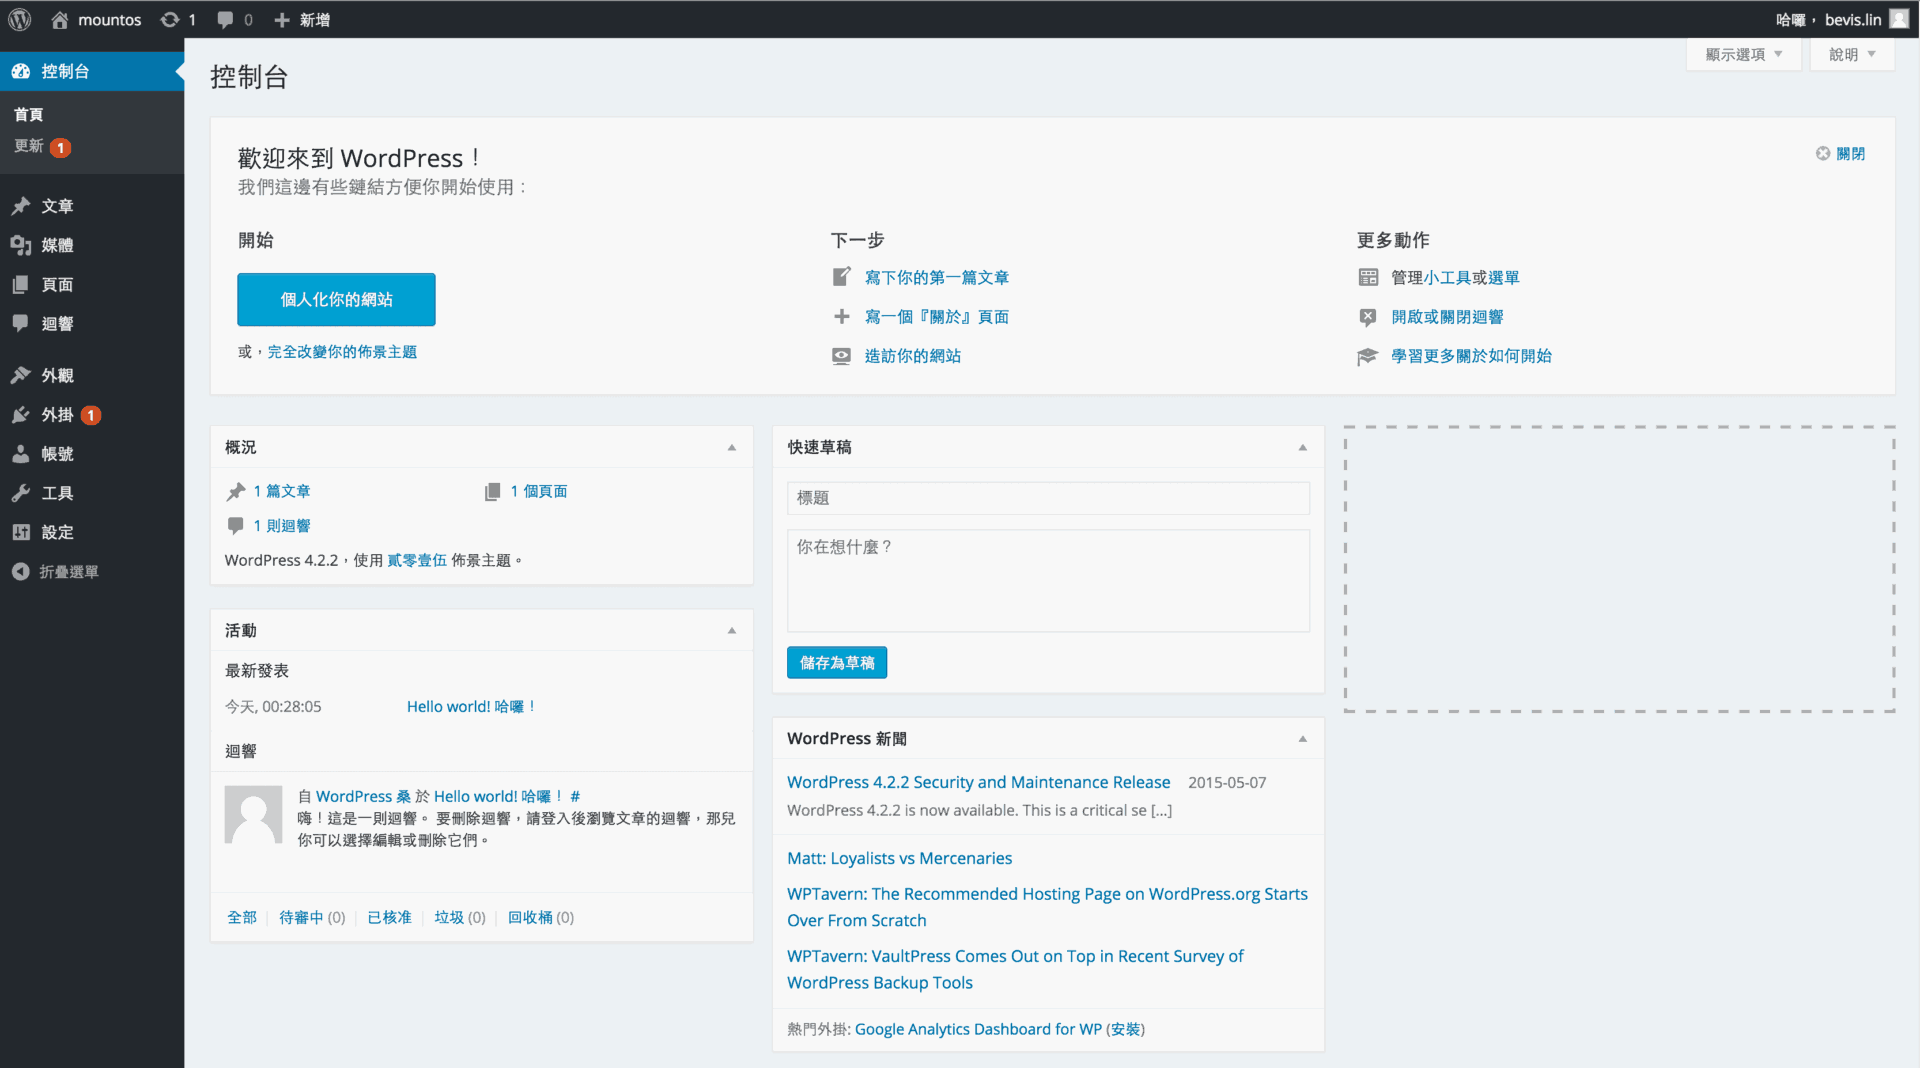
Enter the administrator credentials you just created to access the clean, powerful WordPress Dashboard:
4. Post-Installation Maintenance & Optimization Checklist
Setting up a WordPress instance takes minutes; the real technical discipline lies in routine maintenance and ongoing optimization:
1. Declutter Plugins: Remove Unnecessary Defaults
Navigate to the “Plugins” tab on the left sidebar. It is recommended to delete pre-installed plugins like “Hello Dolly”. If you are not utilizing Akismet, you can deactivate it or replace it with a lightweight spam-blocking alternative to keep your database lean.
2. Install Essential Core Tools
- Search Engine Optimization (SEO): Install Rank Math or Yoast SEO to automate XML sitemaps and optimize social media share previews.
- Caching & Performance Optimization: Install LiteSpeed Cache or WP Rocket to activate page caching, CSS/JS minification, and significantly reduce page load times.
- Security & Multi-tool Suites: Install Jetpack to benefit from brute-force protection, site visitor analytics, and automated image CDN delivery.
3. Advanced Strategy: Building a WordPress Multisite Network
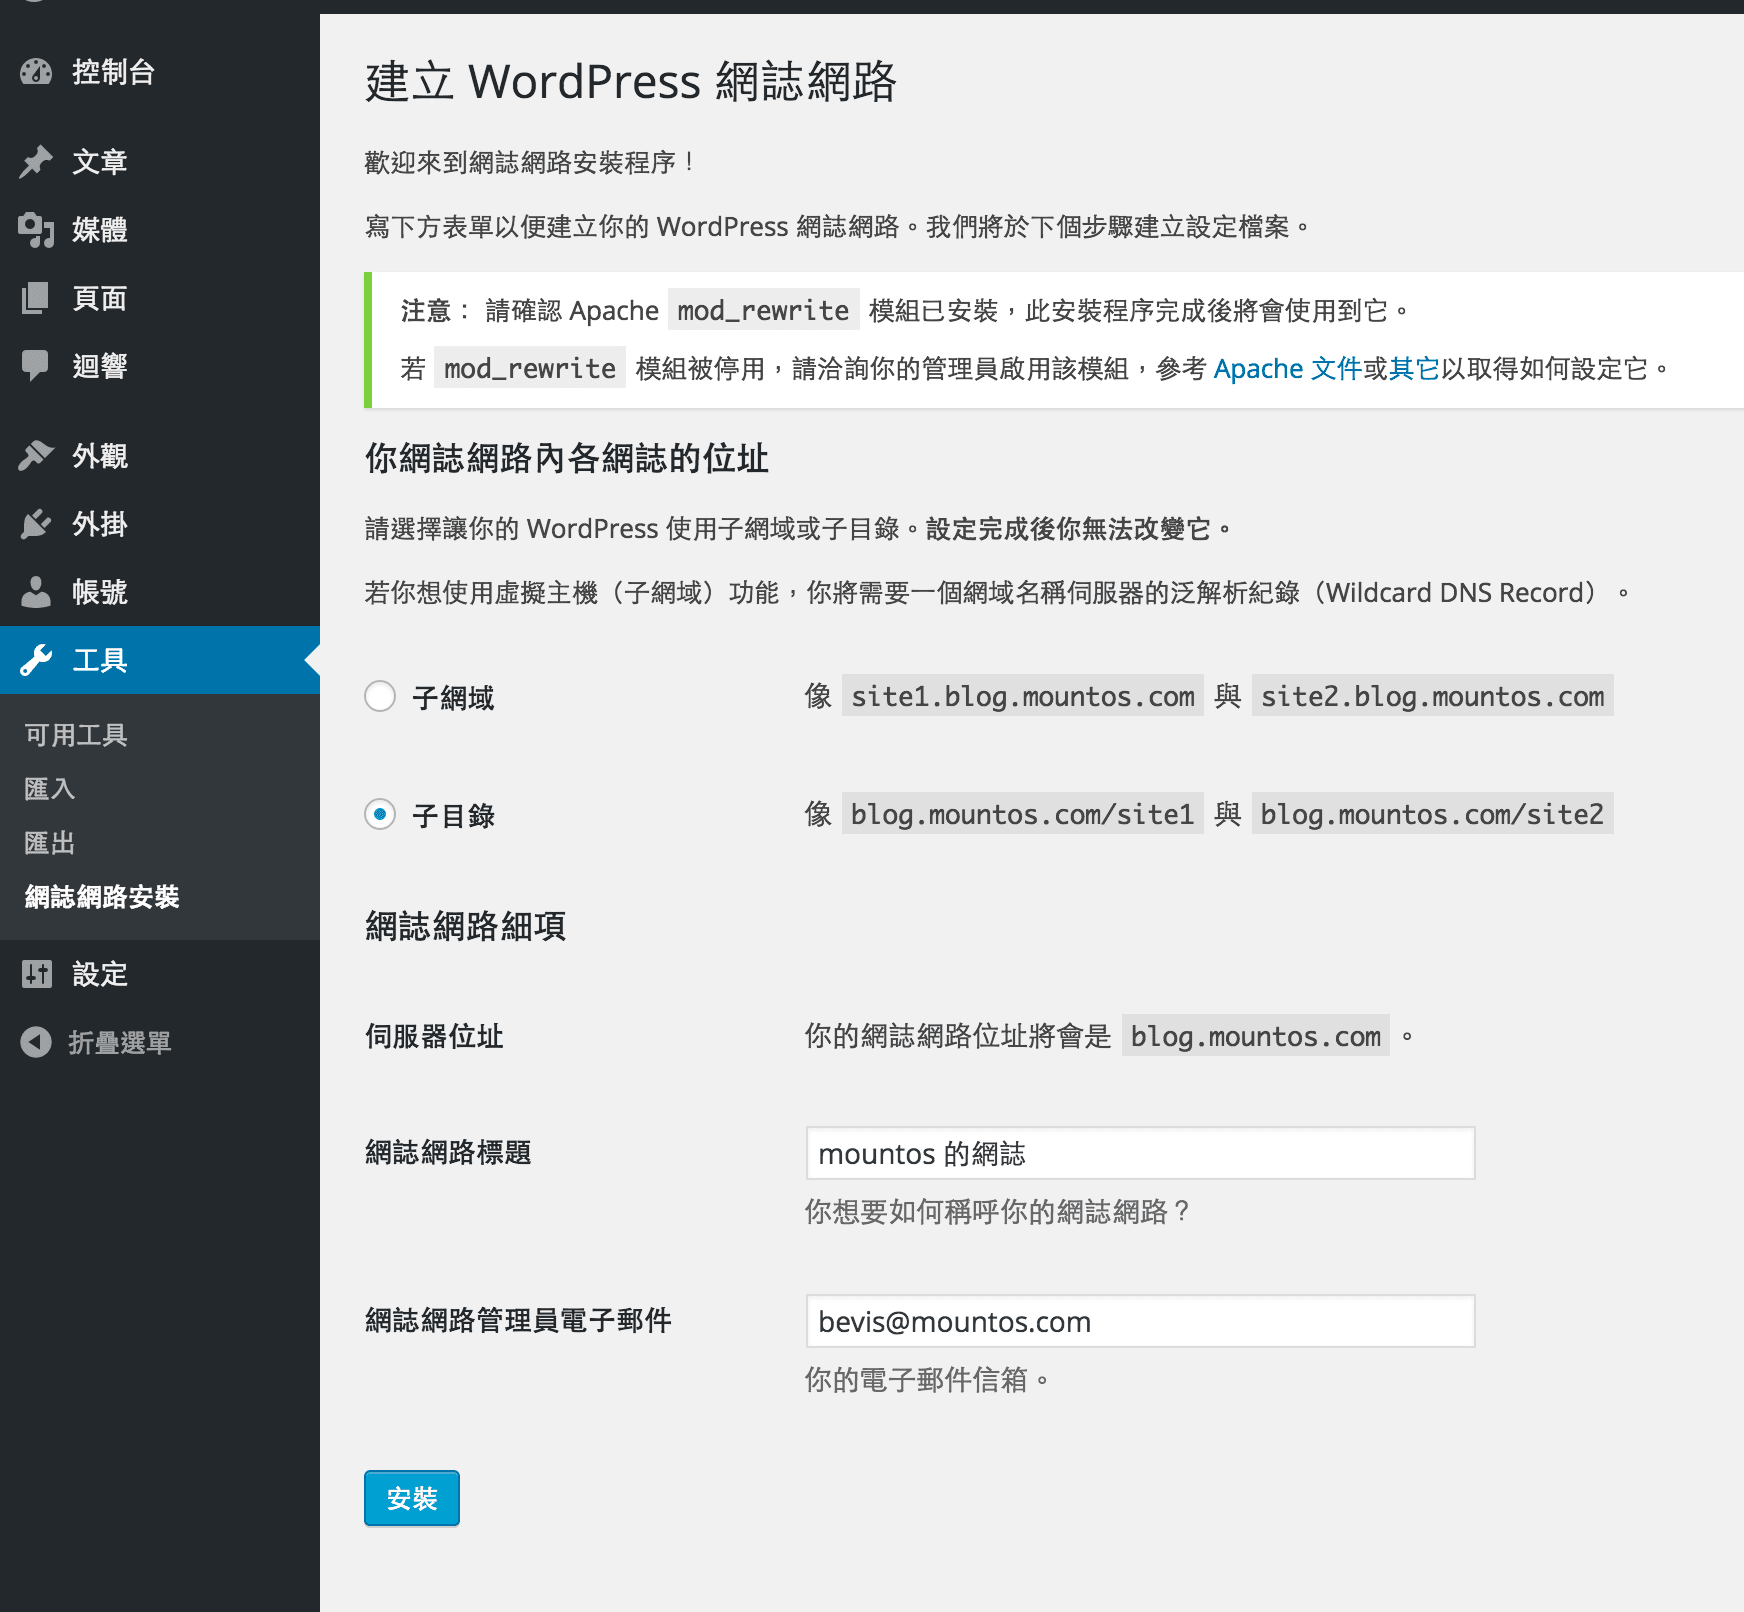
If you plan to run multiple sub-sites under a single WordPress installation—such as multi-language portals, multi-author sister blogs, or sub-brand platforms—WordPress includes a built-in “Multisite Network” feature!
By adding define('WP_ALLOW_MULTISITE', true); to wp-config.php, the admin dashboard unlocks the “Network Setup” menu under Tools:
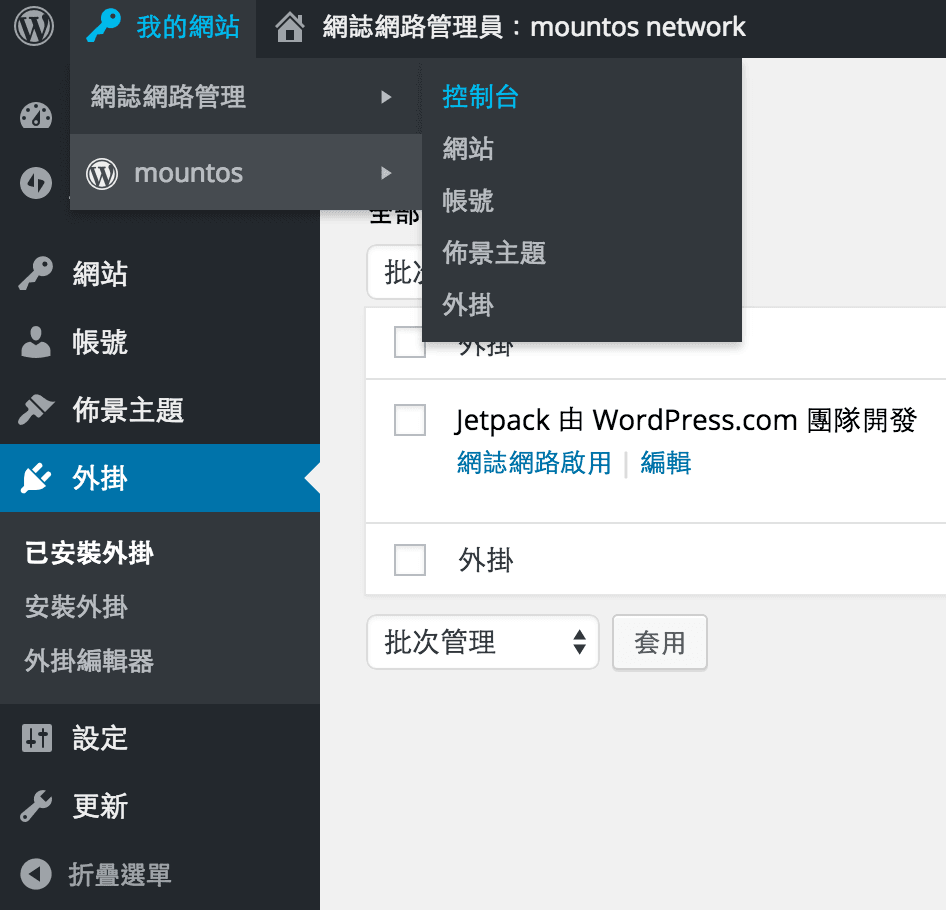
Once network configuration is complete, your user account is promoted to “Super Admin”. From a centralized panel, you can supervise themes, plugins, and user permissions across dozens of subsites, dramatically reducing ongoing administrative overhead:
Related Reading and Tutorials
- Blogger / Blogspot Theme Design and Technical Guide: Another powerful alternative for free website building.
- Domain Management: Differences Between Parked Domains and Addon Domains: Fundamental concepts for managing multiple domains and hosting configurations.
Support Independent Perspectives & In-Depth Insights
Every thoughtful analysis and candid critique comes from our dedication to truth and quality. We choose not to follow sensational algorithms or clickbait headlines.
Sustaining independent research requires reader support. Make a one-time or monthly contribution, securely processed by Google.
Payments secured by Google · Manage or cancel anytime in your Google Account

Comments