
There is now a kind of “self-adhesive mirror” sold on the market, commonly sized 30cm*30cm, with a standard square area of 900 square centimeters per piece, and also available in hexagonal, round, and rectangular shapes. They can be conveniently stuck onto wall surfaces to be used as mirrors.
Besides being cheaper than traditional mirrors, the biggest advantage of this kind of self-adhesive mirror is that you can freely assemble the reflective area needed on the wall, making them quite popular among home DIY enthusiasts.
A while ago, taking advantage of an IKEA sale, I bought three boxes of Lots self-adhesive mirrors, four pieces per box, each piece very thin, only about 2mm thick, and fairly light compared to the weight of a traditional mirror.
The reflective image quality of the new product is quite bright, and I could not feel much difference from the original high-end mirror. But it was not until I actually started the installation that I discovered that sticking them on beautifully is not as simple as it seemed.
First, you need a flat, smooth wall surface, otherwise each mirror piece will reflect at a different angle, which may make you dizzy, or even turn into a funhouse mirror that makes you look old and fat. But when you want to look at your face carefully, you only need one piece, so using it as a full-body mirror does not require being too picky.
Be careful when sticking, because there is no second chance.
Because the double-sided foam tape is quite strong, once it is stuck crooked and you want to remove it, it will basically break the mirror and also tear off the wall paint. In addition, the material of this mirror is glass, but because there is a layer of adhesive film on the back, it has a somewhat safety-glass effect when it shatters, but you still need to be careful when removing broken shards to avoid cuts.
If for various reasons you absolutely must forcibly remove it, I suggest trying to carefully apply a glue remover sold at stationery stores, then heat it with a hair dryer and slowly pull it off.
Next, when assembling this kind of self-adhesive mirror, I strongly recommend not starting directly from the floor. It is best to leave some distance from the floor. Especially if the floor has not been carefully finished, it may not be very flat, particularly at the corner edges. If the first mirror piece is slightly crooked to match the floor, it will make all the subsequent mirrors harder and harder to install.
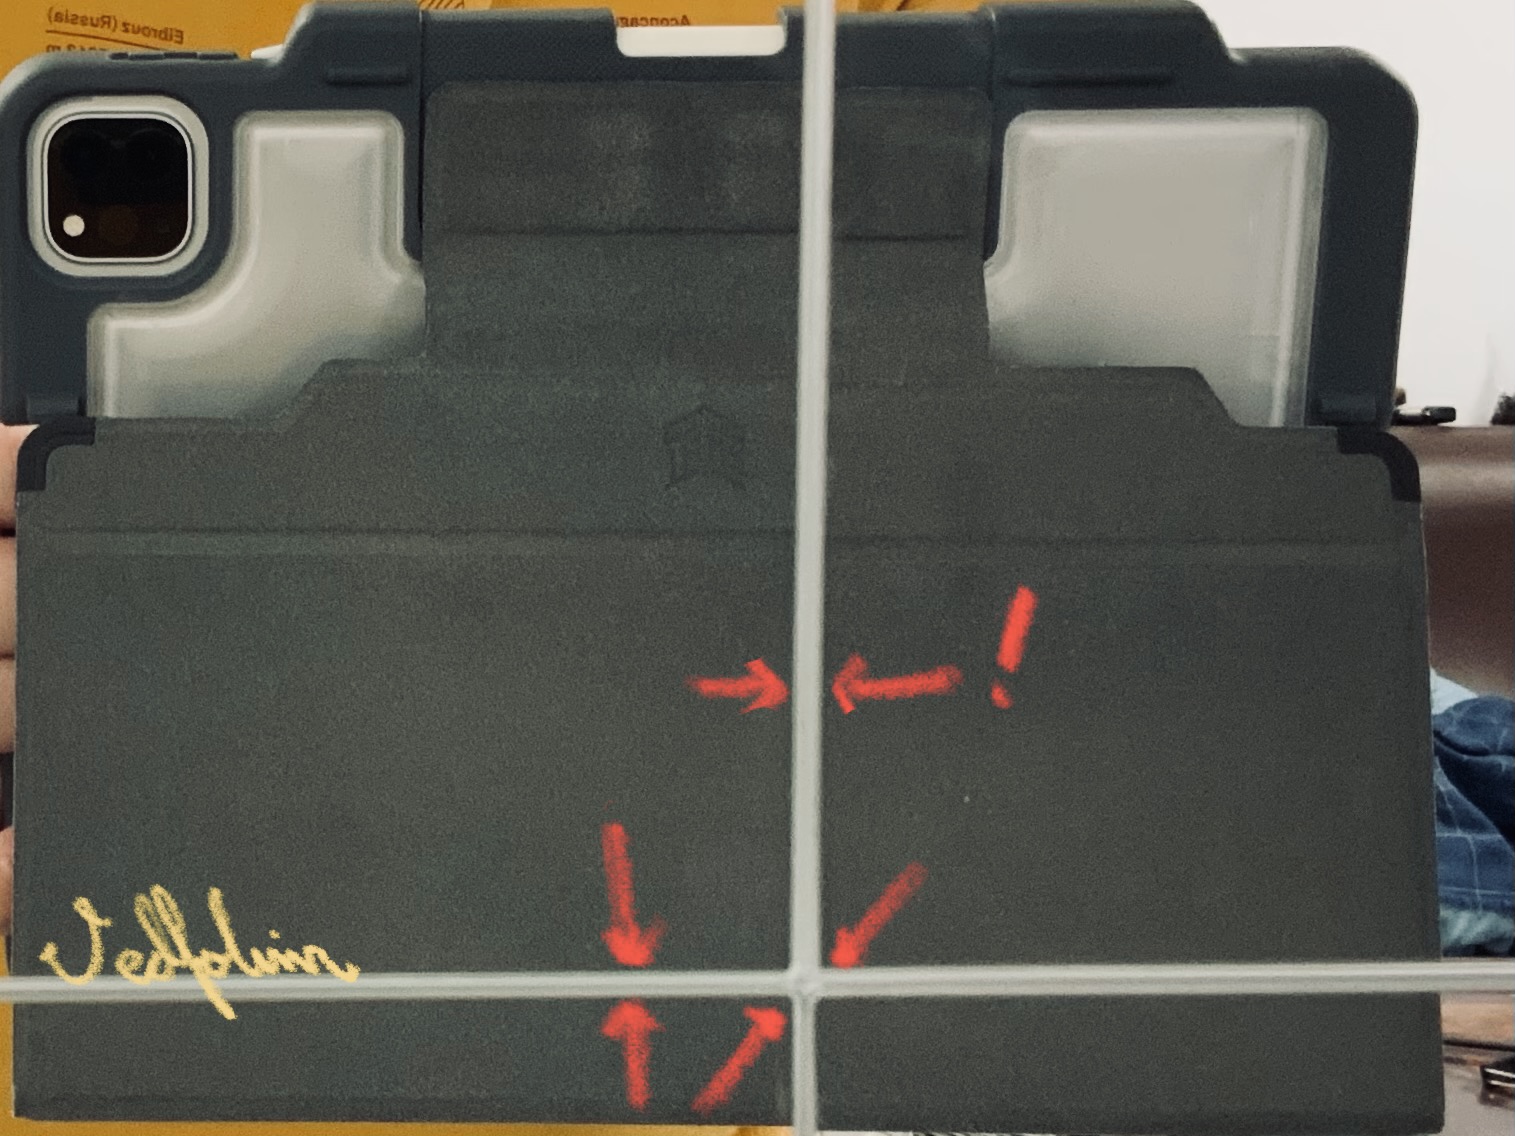
A view after assembling the self-adhesive mirror
Please refer to the image above. Leave a gap of about 1mm between each mirror piece as officially recommended. When actually looking in the mirror, the gaps will not have much effect (as mentioned earlier, when close you only need one mirror, and when farther away you can ignore them).
If possible, I suggest starting from the top of the wall and sticking downward, so it is less likely that a slip of the hand will drop a mirror piece onto the upper edge of the mirror below. Since there are only two strips of tape on the back of the mirror, the other positions are slightly suspended, and it is easy for everything to bunch together. One piece may not matter, but it will make it harder to install the subsequent pieces neatly and beautifully.
Finally, a reminder to everyone, just as the manual also warns, although this kind of mirror is quite lightweight and the included foam tape is strong, you still should not stick it on the ceiling. After long-term use, the foam tape may turn yellow and become brittle, and by then it could be dangerous.
Support Independent Perspectives & In-Depth Insights
Every thoughtful analysis and candid critique comes from our dedication to truth and quality. We choose not to follow sensational algorithms or clickbait headlines.
Sustaining independent research requires reader support. Make a one-time or monthly contribution, securely processed by Google.
Payments secured by Google · Manage or cancel anytime in your Google Account


Comments