
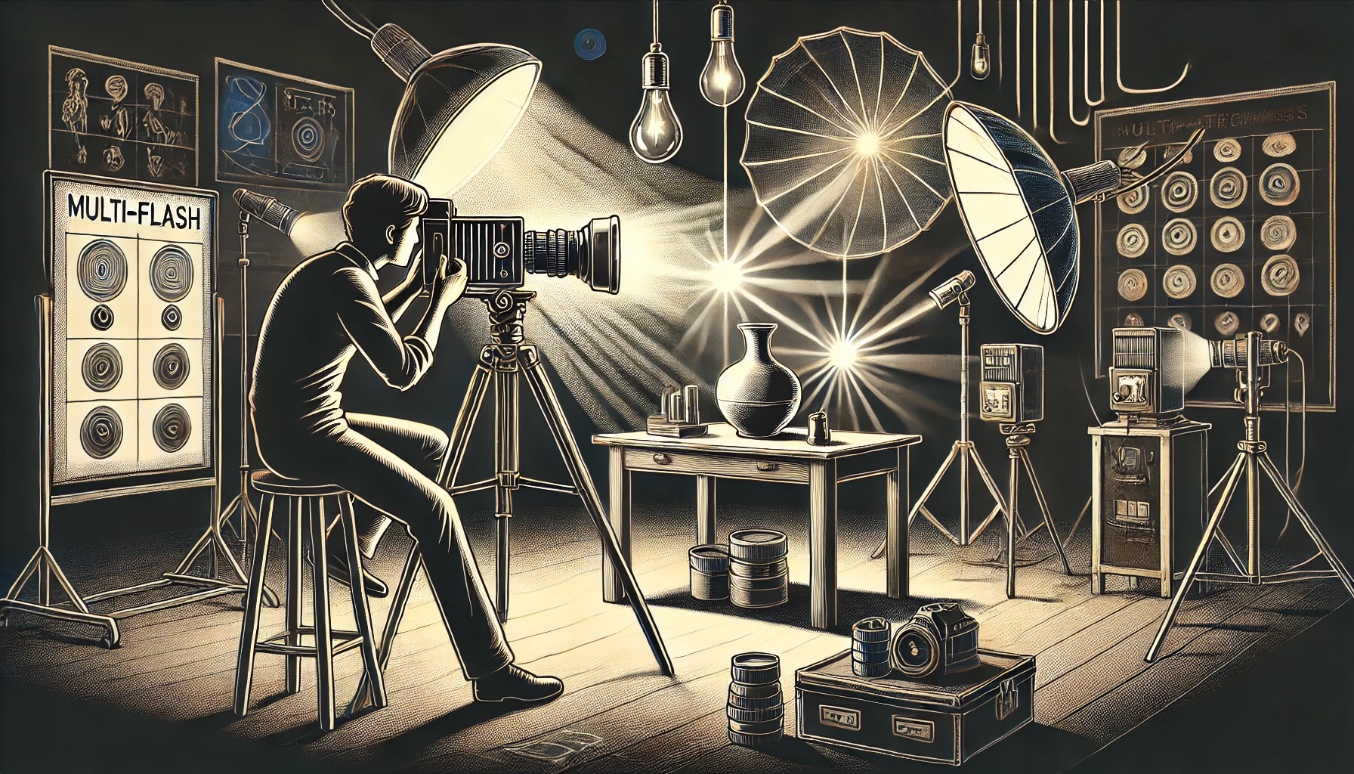
In commercial still life photography, jewelry and watch shooting, or high-magnification macro work, the first severe challenge a photographer faces is often depth of field.
To make the subject sharp and clear from the front edge to the background, the lens aperture often must be stopped down to f/11, f/16, f/22, or even f/45 or f/64 on professional large-format cameras. However, each time the aperture is stopped down one stop, the amount of incoming light is directly halved, and a tiny aperture means the camera needs an enormous amount of exposure.
When you turn the power of the flash on hand to maximum (1/1 full power) and the light still seems stretched thin; if at this point, to ensure pure image quality and maximum dynamic range, you insist on not raising the ISO sensitivity and don’t want to rely on post-processing software to forcibly brighten the shadows and produce noise, how exactly do you break through the physical limit of light quantity?
The answer lies hidden in a classic technique passed down from the film photography era—“multiple flash exposure (Multiple Flash Exposure / Strobe Pop).”
This technique may seem ancient, but with the support of modern digital sensors, it has not only completely eliminated the physical defects of the past, but has also become a god-tier secret technique for every still life photographer to break through the equipment ceiling at low cost.
1. The Physical Principle of Multiple Flash: Photon Accumulation at Small Apertures
In conventional photography, the shutter speed determines the length of time the sensor receives light. But if you are in a completely dark studio environment, as long as the shutter duration doesn’t introduce ambient stray light, the effective amount of light actually recorded by the sensor depends entirely on “how many photons the flash emits at the instant it fires.”
Based on this optical physics principle, photographers can use multiple flashes to accumulate exposure:
- Environment setup: In a darkroom or black studio completely isolated from ambient light, set the camera to Bulb or T shutter, keeping the shutter curtain open for a long time.
- Aperture and geometric progression relationship: Aperture values increase by a factor of $\sqrt{2} \approx 1.414$. Each time the aperture is stopped down 1 stop, the lens’s light-entrance aperture area is halved, and the incoming light shrinks to $1/2$ of the original.
- Flash count doubles by $2^N$: To make up for the light lost by stopping down the aperture, each time the aperture is stopped down, the number of flash triggers must increase in a geometric progression ($2^N$).
Aperture Reduction and Multiple Flash Count Reference Table
Assuming that when the flash outputs at a single full power, the optimal standard exposure aperture measured by the light meter is f/8:
| Target Aperture | Stops Reduced Relative to f/8 | Light Attenuation Ratio | Required Flash Trigger Count | Formula |
|---|---|---|---|---|
| f/8 | Base aperture (0 stops) | 100% (base) | 1 flash | $2^0 = 1$ |
| f/11 | Reduced 1 stop (EV -1) | 50% ($1/2$) | 2 flashes | $2^1 = 2$ |
| f/16 | Reduced 2 stops (EV -2) | 25% ($1/4$) | 4 flashes | $2^2 = 4$ |
| f/22 | Reduced 3 stops (EV -3) | 12.5% ($1/8$) | 8 flashes | $2^3 = 8$ |
| f/32 | Reduced 4 stops (EV -4) | 6.25% ($1/16$) | 16 flashes | $2^4 = 16$ |
| f/45 | Reduced 5 stops (EV -5) | 3.125% ($1/32$) | 32 flashes | $2^5 = 32$ |
Through this precise geometric progression accumulation, even if you only have a medium-power hot-shoe external flash on hand, you can shoot a still life masterpiece with full exposure and fully revealed details at an extremely small aperture of f/22 or even f/32.
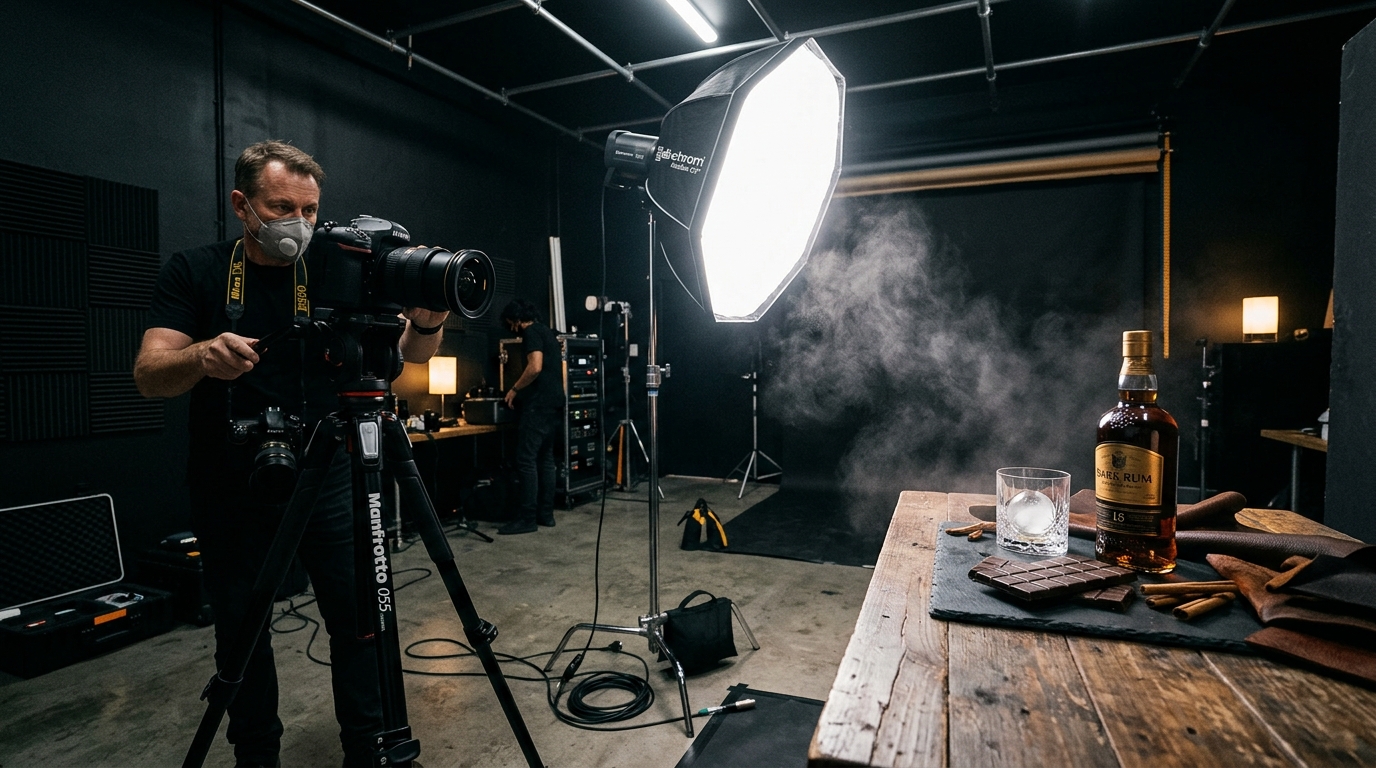
2. The Nightmare of the Film Era: What Is “Reciprocity Law Failure”?
Since the principle of multiple flash is so intuitive, why was this technique regarded as the exclusive domain of advanced darkroom technicians and commercial masters in the film era? This brings us to a phenomenon in photographic physics with a highly legendary quality—“Reciprocity Law Failure (also known as the Schwarzschild Effect).“
1. The Ideal State of the Reciprocity Law
In classical photographic optics, the exposure formula is: $$E = I \times t$$ where $E$ represents total exposure, $I$ is light intensity, and $t$ is exposure time. This law states that light intensity and exposure time are interchangeable—a bit stronger light with a shorter time, and a bit weaker light with a longer time, as long as the product is the same, the photosensitive chemical reaction on the film should be exactly the same.
2. When the Chemical Reaction Fails: Reciprocity Law Failure
However, the photosensitive emulsion on film is composed of “silver halide crystals.” When the exposure time is too short (such as a 1/10,000-second flash) or too long (such as a several-second or even several-minute long exposure in dim light), the rate at which photons excite electrons and the rate at which silver ions migrate and deposit cannot match, causing the silver halide to fail to effectively aggregate into a stable “latent image center.”
The result is: the film’s photosensitivity efficiency drops sharply, and the conventional exposure calculation formula is completely distorted!
3. The Blood-and-Tears Cost for Film Photographers: Exposure Compensation and Color Cast Filters
When doing multiple flash in the film era, as the exposure time lengthens and the accumulated flash intervals grow, the film exhibits a severe “reciprocity law failure” effect:
- Underexposure: Simply firing 8 times according to the mathematical calculation, the actually developed film is often still underexposed, requiring an artificial additional compensation of 1/3 stop or even 1 stop.
- Severe color cast: Color film is made of three layers of photosensitive emulsion—red, green, and blue—stacked together. Fatally, the “reciprocity law failure” decay curves of these three chemical emulsions are all different! Over a long time, the film will shift severely toward green or magenta.
Therefore, experienced photographers had to consult the dedicated technical white papers for Kodak or Fuji film and calculate by looking up tables based on the total shutter-open seconds:
- Exposure of 4 seconds or more: In addition to increasing exposure by 1/3 stop, a “Kodak CC 5M magenta filter” must be mounted in front of the lens to correct the color cast.
- Exposure of 8 to 15 seconds: Increase exposure by 1/2 stop and switch to a “Kodak CC 7.5M filter.”
A slight miscalculation, and the entire expensive 4x5 transparency would be scrapped entirely due to color shift.
3. The Salvation of the Digital Era: The Miracle of Linear Response in Sensors
After entering the digital camera era, sensors (CMOS and CCD) brought a revolutionary breakthrough: within a reasonable working range, digital sensors have almost no “reciprocity law failure” phenomenon!
The core of a digital sensor is the “photodiode.” As long as the number of incoming photons does not exceed the well capacity and cause potential saturation overflow, the photogenerated electrons produced by the diode and the number of photons exhibit a nearly perfect linear response.
This means modern photographers can enjoy unprecedented freedom:
- No complex exposure compensation: Stop down 1 stop and honestly fire 2 times, stop down 2 stops and fire 4 times—the mathematical formula is no longer discounted.
- Completely say goodbye to color cast and color-correction filters: White balance depends entirely on the color temperature of the flash itself (usually a stable around 5500K), and there is no need to hang any CC color compensation filter in front of the lens.
- Instant histogram feedback: Immediately after shooting, review the histogram and overexposure warning on the camera’s LCD screen, and fine-tune precisely at any time.
4. Digital Practical Operation Guide: Master Multiple Flash in Six Steps
Although digital sensors eliminate the reciprocity law failure of chemical film, there are still several key physical details that need strict control in digital long-exposure operation. Here is the standard operating procedure:
Step 1: Tripod and Shutter Release Lockdown (Eliminate Micro-Vibration)
Multiple flash requires the shutter to stay open for a long time, and any tiny vibration will destroy the sharpness of the image. Be sure to use a sturdy large tripod and trigger with an electronic shutter release cable or wireless remote.
Step 2: Manual Focus (MF) to Lock the Focus
First complete precise composition and manual focus under normal lighting (it is recommended to use the camera screen magnified 10x to check the focus), then switch the lens to “manual focus mode (MF)” to prevent the camera from hunting for focus again in the darkroom.
Step 3: Fully Dark Studio to Prevent Light Leaks
Turn off all modeling lamps, indoor ceiling lights, and door/window light in the studio. If there is faint ambient light in the environment, a long exposure of 10 to 30 seconds will absorb all this stray light into the frame, ruining the pure light-and-dark contrast of the flash.
Step 4: Camera Parameter Settings
- Shooting mode: Switch to M mode (full manual).
- ISO sensitivity: Fix at the camera’s native lowest value (usually ISO 100 or ISO 64) to obtain maximum dynamic range and the purest background.
- Aperture setting: Set to the desired small aperture (for example f/16 or f/22).
- Shutter speed: Set to Bulb, or a fixed number of seconds estimated to be enough for the flash to recycle (such as 15 to 30 seconds).
Step 5: Trigger the Flash Rhythmically (Mind the Recycle Time)
After opening the camera shutter, hold the flash trigger or use the “Test Button” on the back of the flash to press and trigger in sequence.
Step 6: Release the Shutter and Review the Histogram
After firing the predetermined number of times, immediately close the camera shutter and check the highlight and shadow distribution of the photo.
5. Pitfall-Avoidance Wisdom in the Digital Environment: Guard Against Thermal Noise and Stray Light
When using this technique in a digital environment, the only potential threat comes from the sensor’s “thermal noise”:
- Enable Long Exposure Noise Reduction: After the exposure ends, the camera will automatically perform a “dark frame subtraction” of the same number of seconds, effectively eliminating the colored thermal noise generated by sensor heat.
- Avoid Needless Shutter Idling: Calculate the seconds needed for the flash to recycle, complete all flashes and close the shutter in the shortest possible time, and don’t leave the shutter open meaninglessly for several minutes, reducing heat accumulation.
- Beware of Light Leaks from the Camera Screen and Indicator Lights: The infrared indicator light on some camera bodies or the backlight of a flip screen may, during extremely dark long exposures, seep in through the viewfinder or tiny gaps in the body mount. It is recommended to turn off the screen or cover the viewfinder.
Conclusion: Craftsman Thinking That Uses Wisdom to Break Through Equipment Limits
“Multiple flash” is not only a technical legacy that came from the film era, but also a precious photographic engineering mindset.
It tells us: solving shooting difficulties does not always mean spending heavily to buy an expensive top-tier power pack studio strobe with an output of up to 2400Ws. As long as you deeply understand the optical principles and the physical nature of photosensitive materials, and know how to trade time for light quantity, an inexpensive small external flash can likewise bloom with a brilliant radiance beyond its equipment value in the world of extreme macro and deep depth of field.
Support Independent Perspectives & In-Depth Insights
Every thoughtful analysis and candid critique comes from our dedication to truth and quality. We choose not to follow sensational algorithms or clickbait headlines.
Sustaining independent research requires reader support. Make a one-time or monthly contribution, securely processed by Google.
Payments secured by Google · Manage or cancel anytime in your Google Account


Comments