
This model gleaming with an intimidating silver luster, “SD No.370 LEGEND BB KNIGHT GUNDAM”, was Joseph’s very first custom build commission for an SD Gundam.
Commission fees for SD Gundam kits aren’t particularly high, so I generally don’t take on this category. However, when I saw the photos sent by the client, a pang of sympathy welled up inside me.
The kit had been purchased by the client as a pre-built piece online. But just like instant noodle packaging pictures, the gap between the promotional photo and the actual item was enormous, leaving the client deeply disappointed.
Later, the client came across Joseph’s work online and managed to reach out, hoping to commission me to completely overhaul and refinish the model.
I asked the client to send over photos of the SD Gundam. It was shocking—what should have been a gleaming suit of armor and the majestic aura of a true “Knight” looked like nothing more than a crude, amateurish paint job. I agreed to take on the project immediately.
Here is a photo of the SD Gundam after my complete restoration—looking far sharper and more heroic:
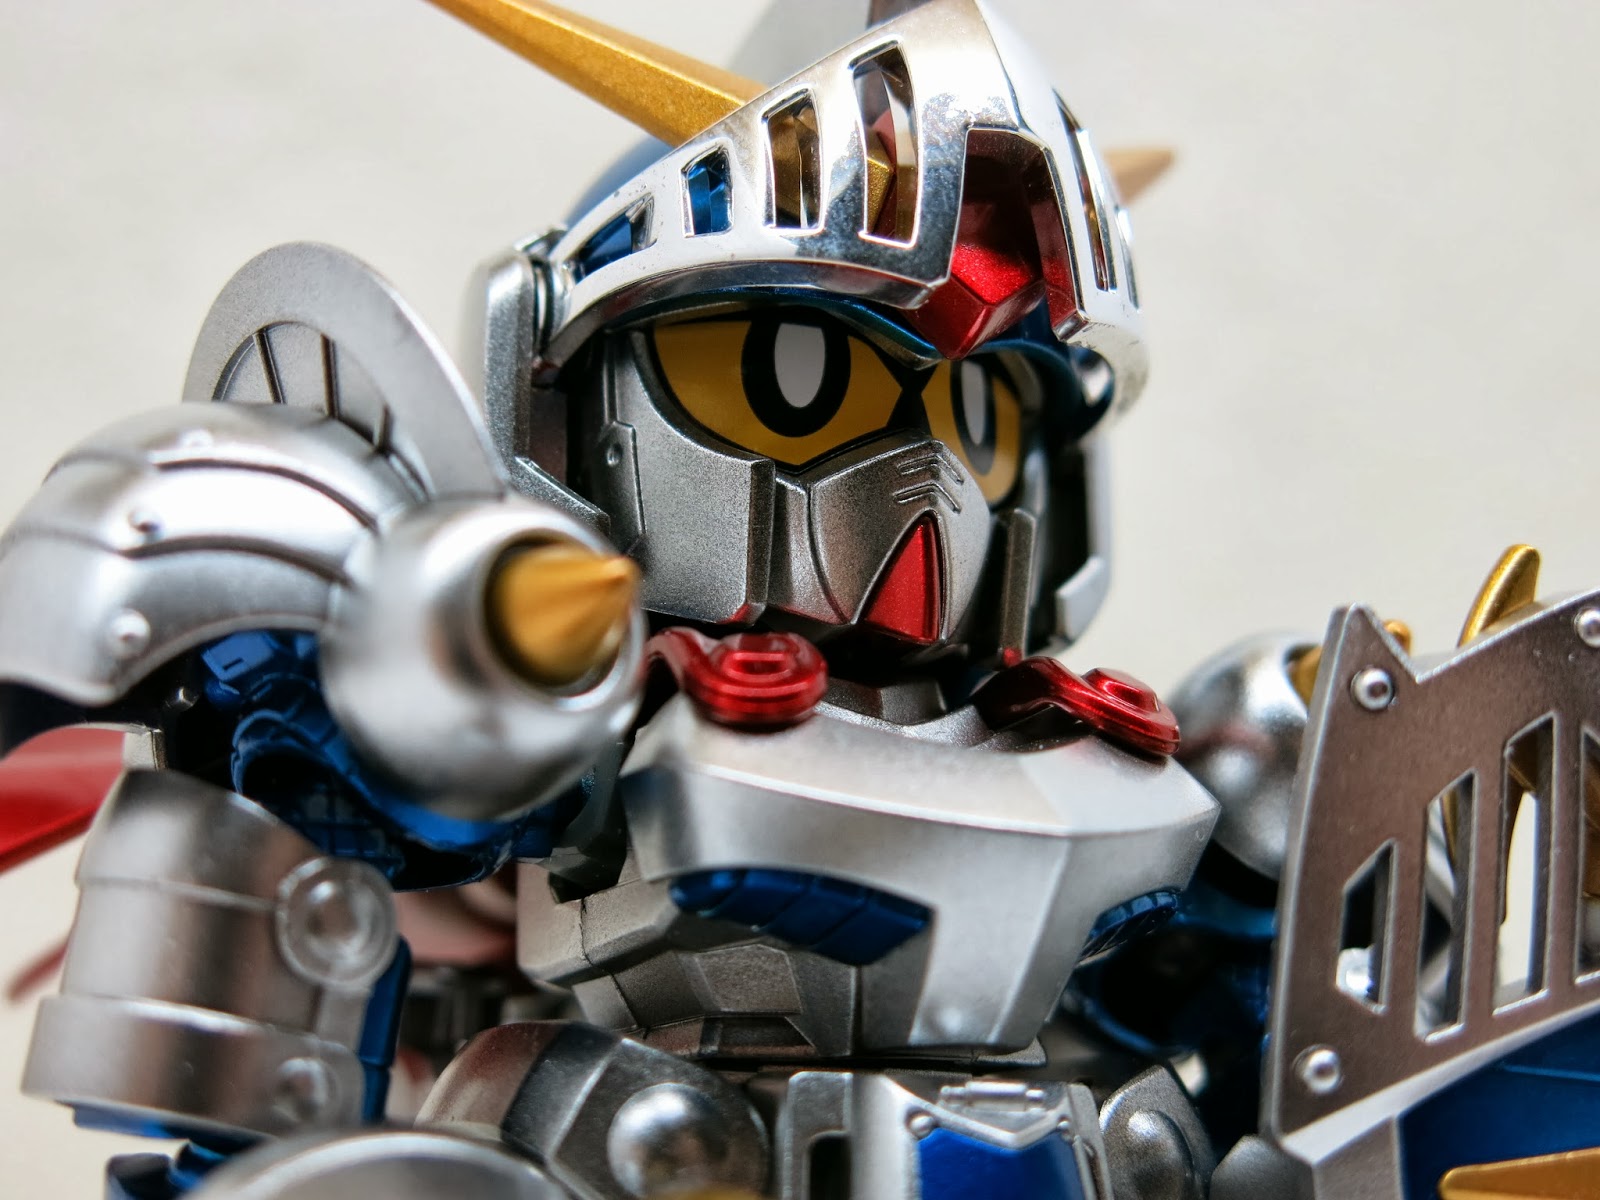 Knight Gundam SD No.370 LEGEND BB KNIGHT GUNDAM
The Cheap Quality of Typical Online Sellers’ Custom Paint
Upon receiving the model, I immediately conducted a full inspection and identified two core issues:
- The previous builder had only used acrylic water-based paint without primer, surfacer, or a proper base coat. No wonder the finish looked flat and lifeless.
- Seam lines were completely untreated.
Aside from these issues, the nub removal and mold lines were actually handled decently and required minimal cleanup. The kit’s molded color separation was also sound, meaning very little masking was necessary during repainting.
After evaluating the scope of work, I estimated this SD Gundam would take around 5 hours to turn around, so I decided to bump it ahead in the queue.
Below is a three-way comparison showing, from left to right: the online seller’s build, the out-of-box plastic colors, and Joseph’s custom painted finish. Anyone with an eye for detail can immediately see the stark contrast:
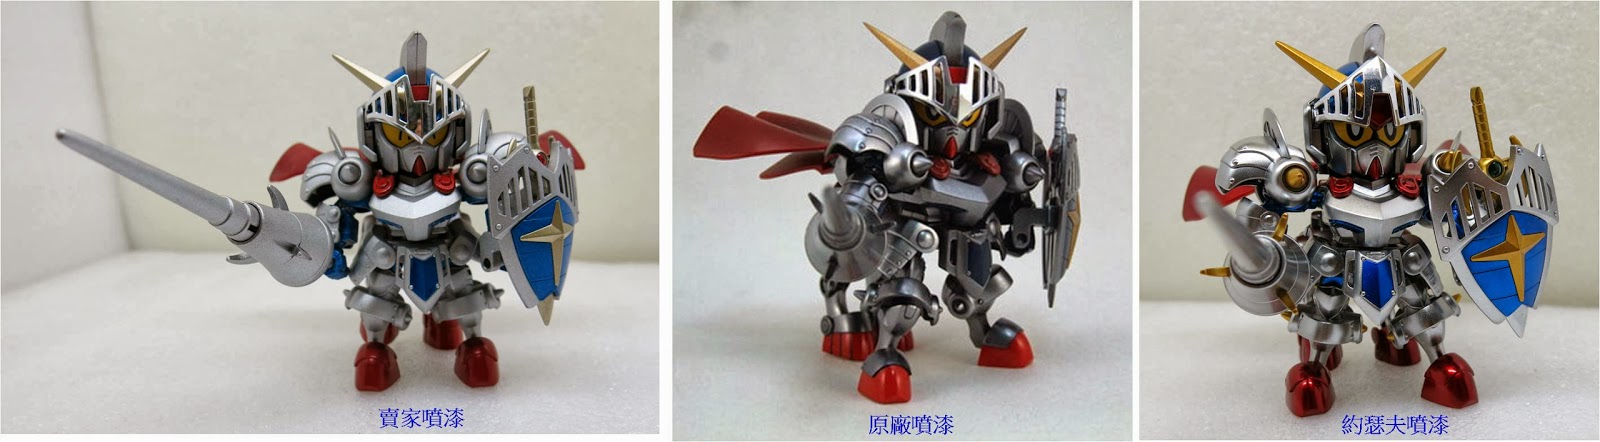 Comparison between factory finish and Joseph’s custom commission paint job
The client had just one single requirement for me: make it “sparkle and shine”.
Modeling Techniques Used in This Build
During the refurbishment of this SD Gundam, I applied the following modeling techniques for your reference:
- Seam line removal and sink mark filling.
- Color separation.
- Paint stripping.
- Metallic painting.
Paints Used in This Build
- GAIA 121
- GAIA 122
- GAIA 041
- GAIA 007
- GAIA 002
- GAIA 044
- Joseph’s custom-blended mix
Build Process
- Stripping the original paint.
The paint on this SD Gundam had cured for quite some time. Some of it had bitten deep into the plastic, requiring a specialized stiff brush to clean off thoroughly.
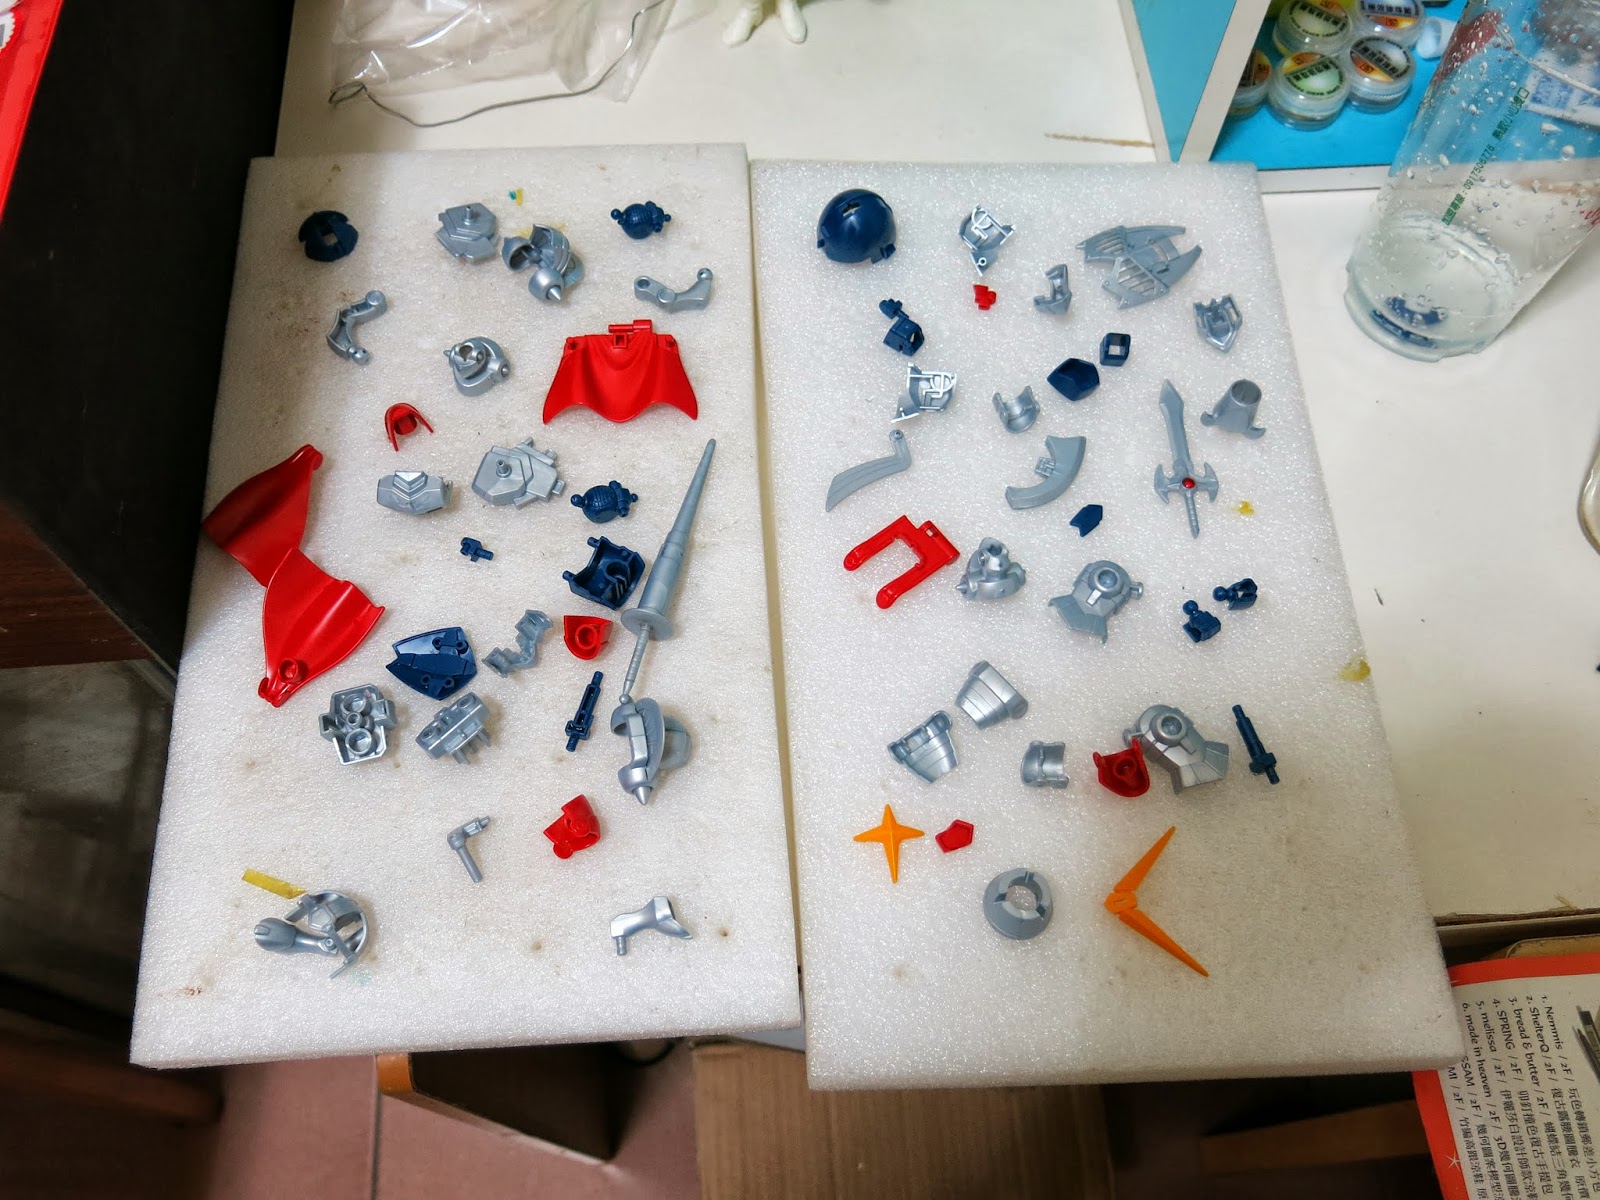 Just this handful of parts.
- Skewering parts on alligator clips, applying primer surfacer and gloss black base coat.
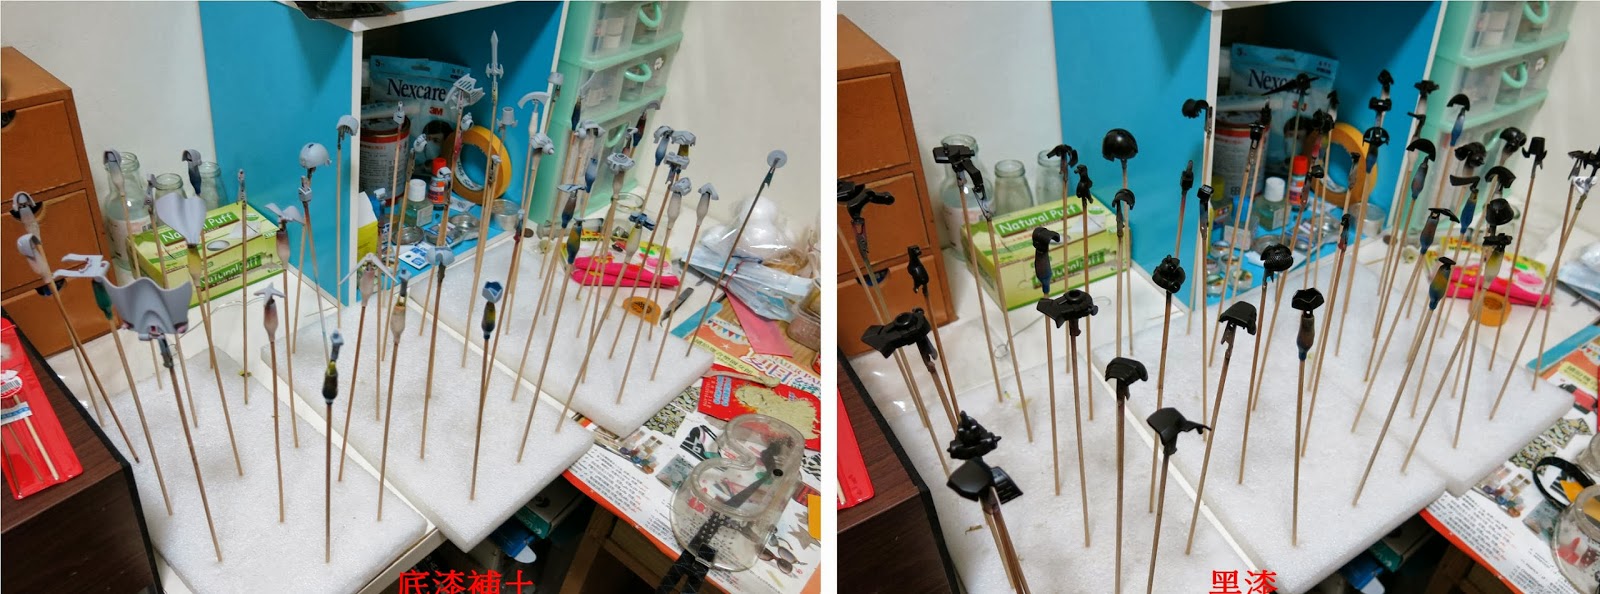 Serving skewers, delicious skewers!
- Seam line removal on helmet and shoulder armor.
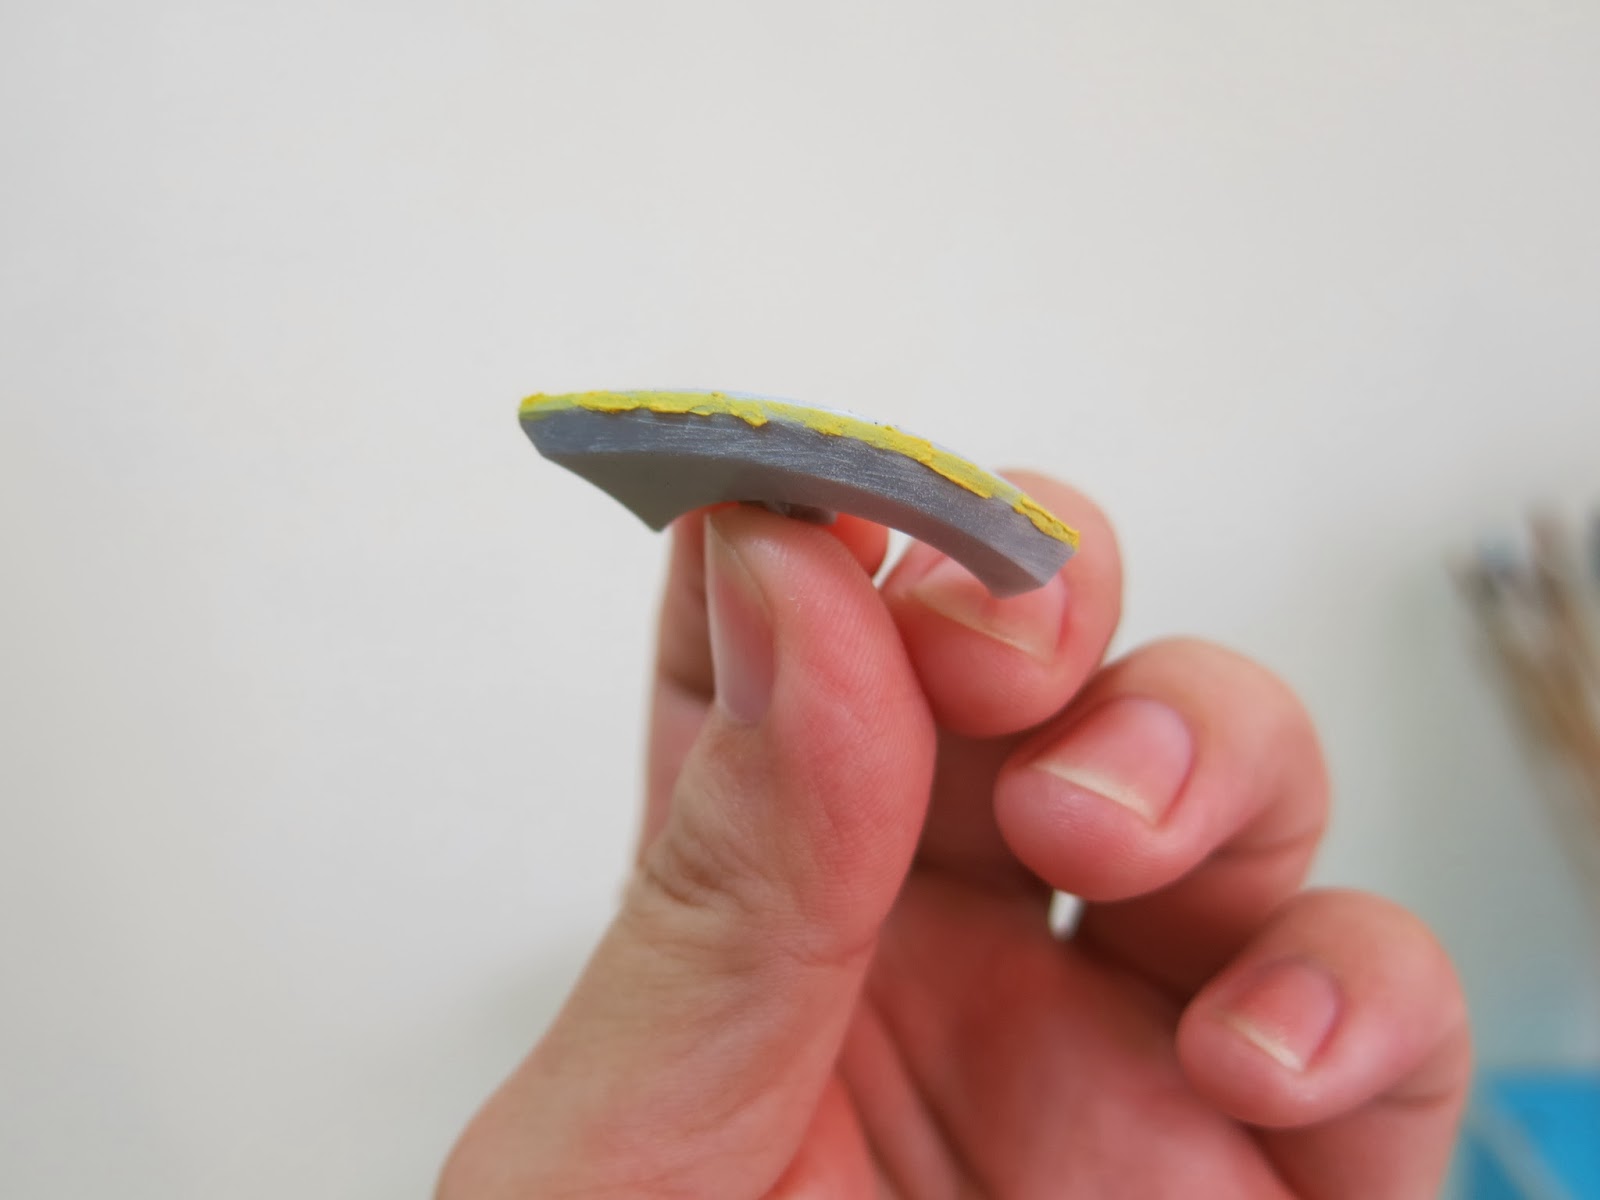
Helmet seam line removal
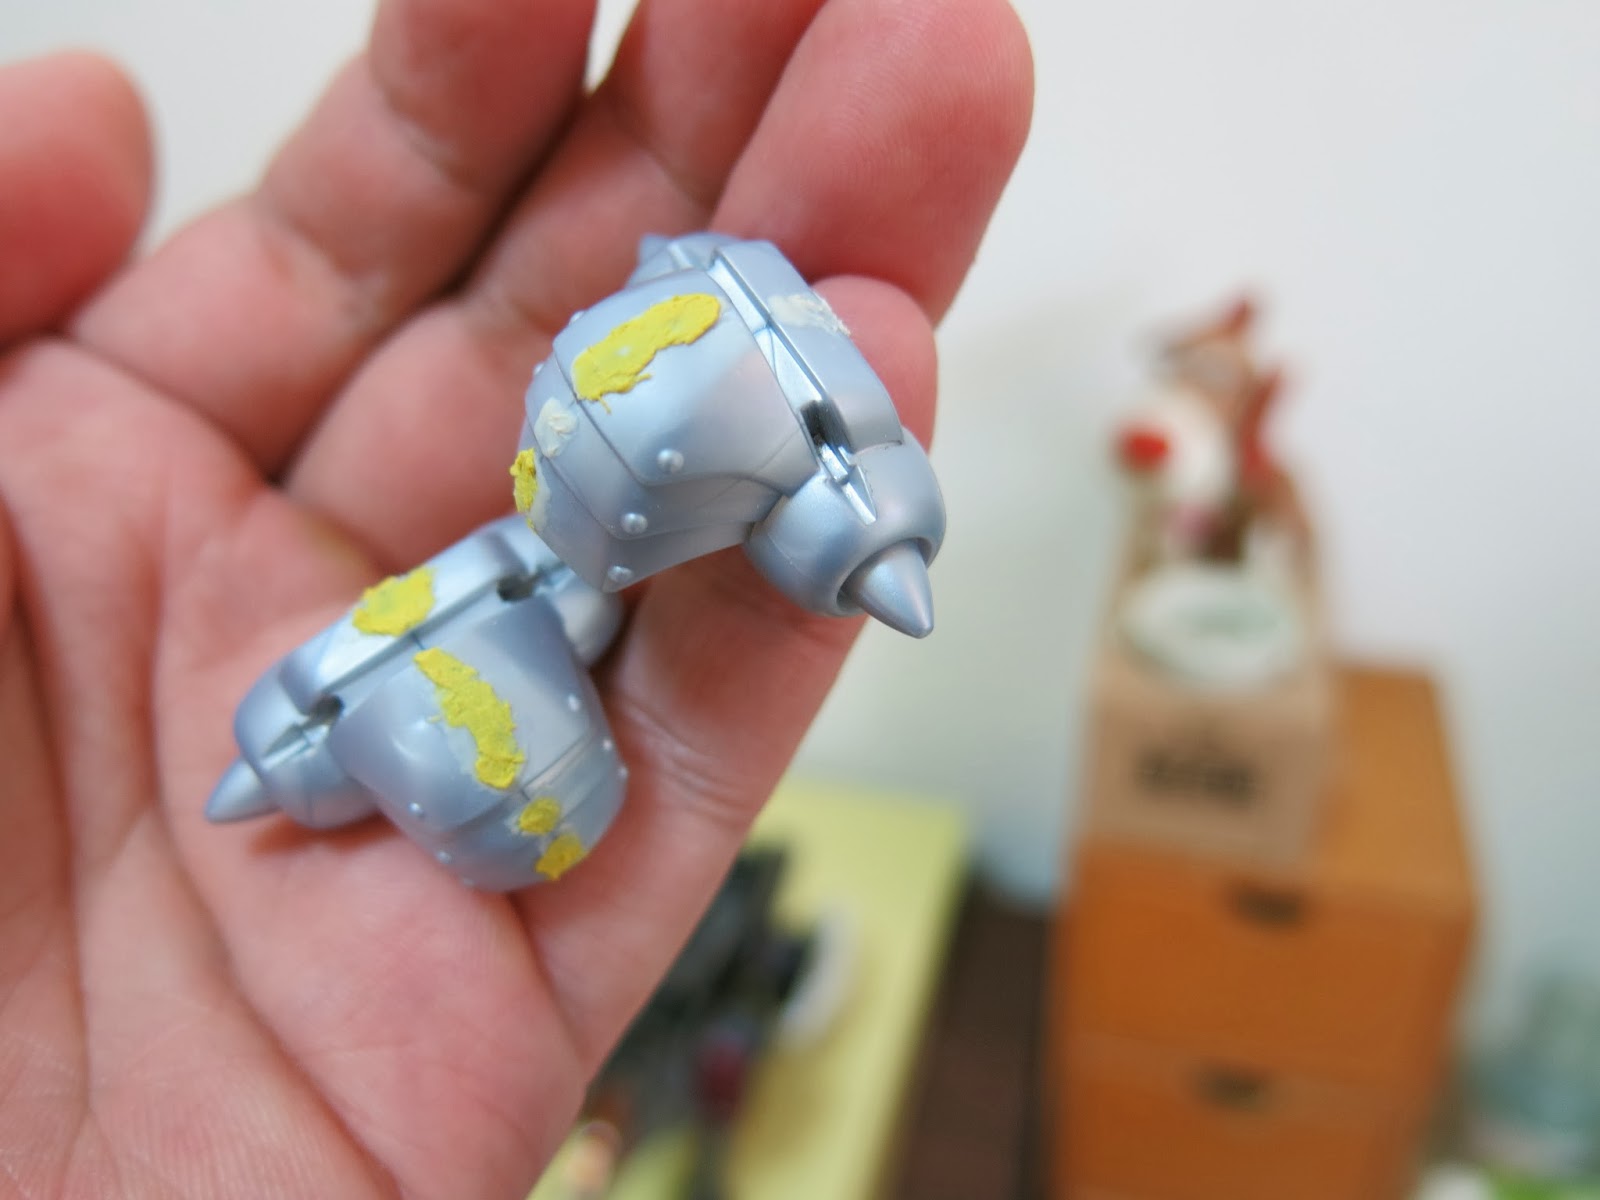
Shoulder armor seam line removal
- Extending and sharpening the lance tip.
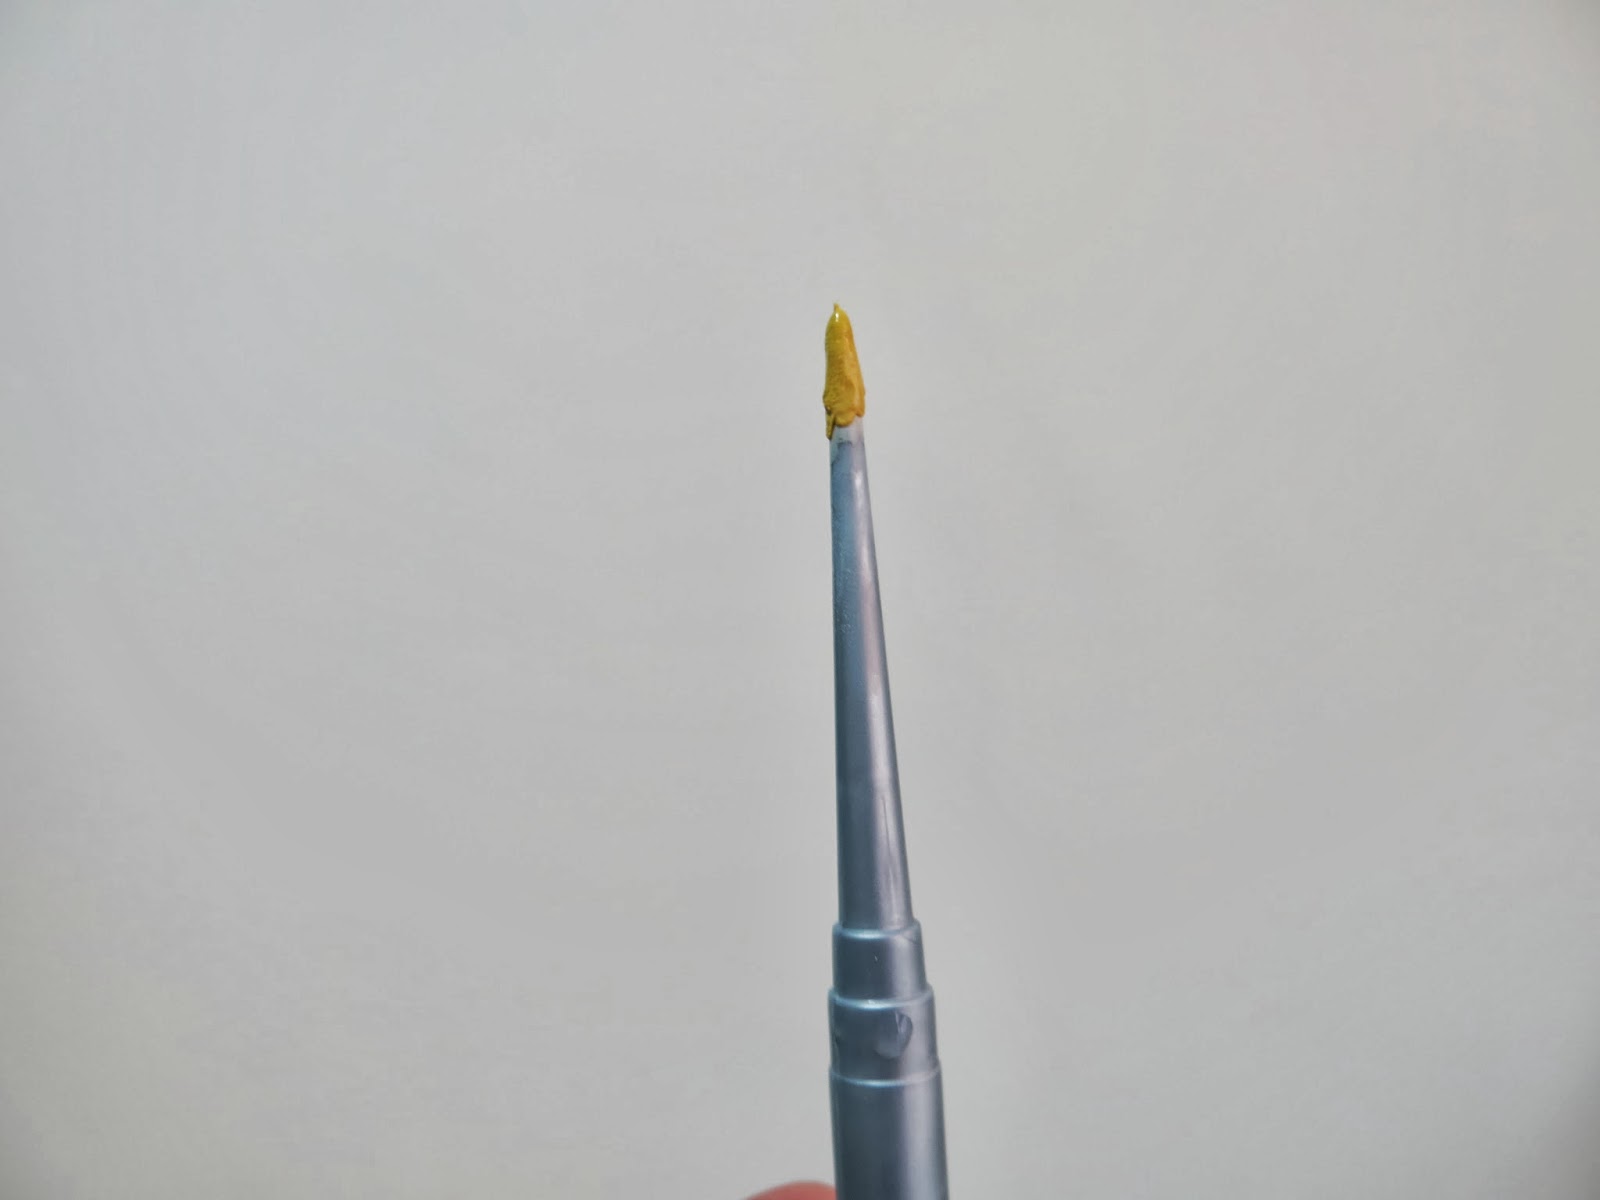
Reinforcing extension materials
- Silver armor paint layering order: Primer Surfacer → GAIA 002 → GAIA 121 → GAIA 007.
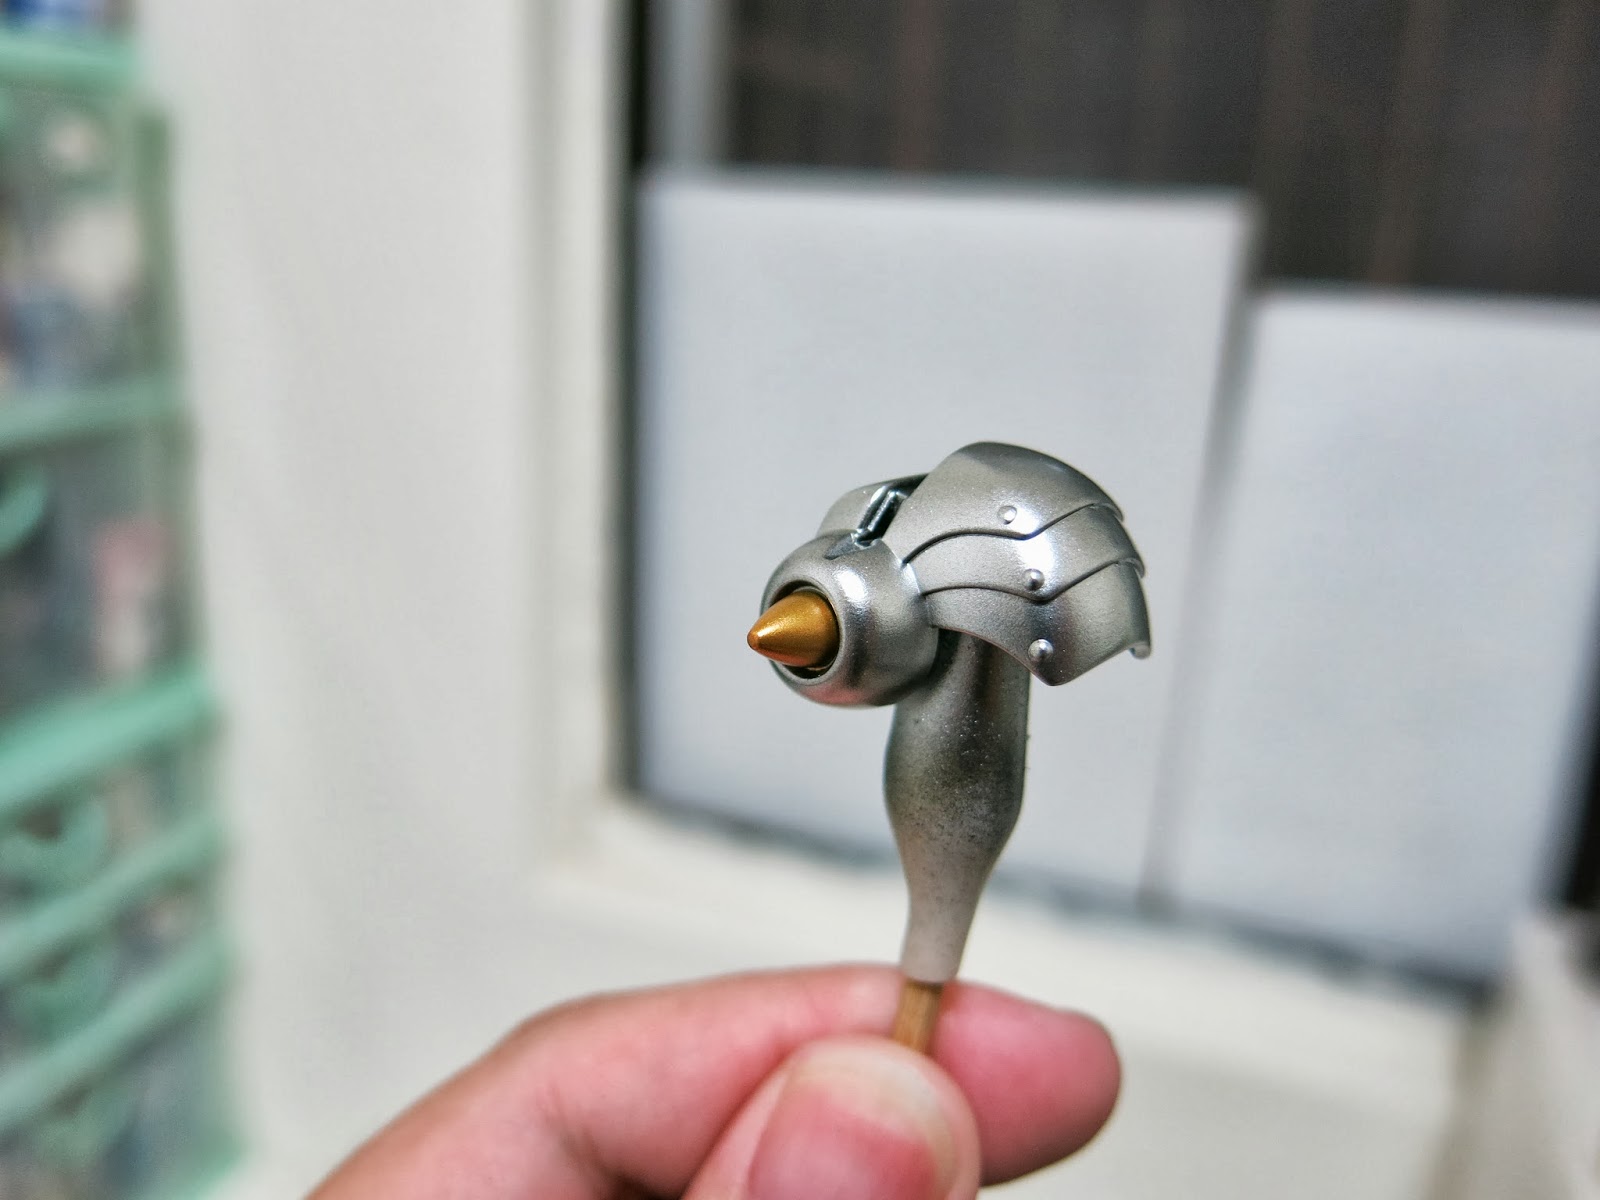
A truly gorgeous silver.
- Blue body paint layering order: Primer Surfacer → GAIA 002 → GAIA 121 → GAIA 044.
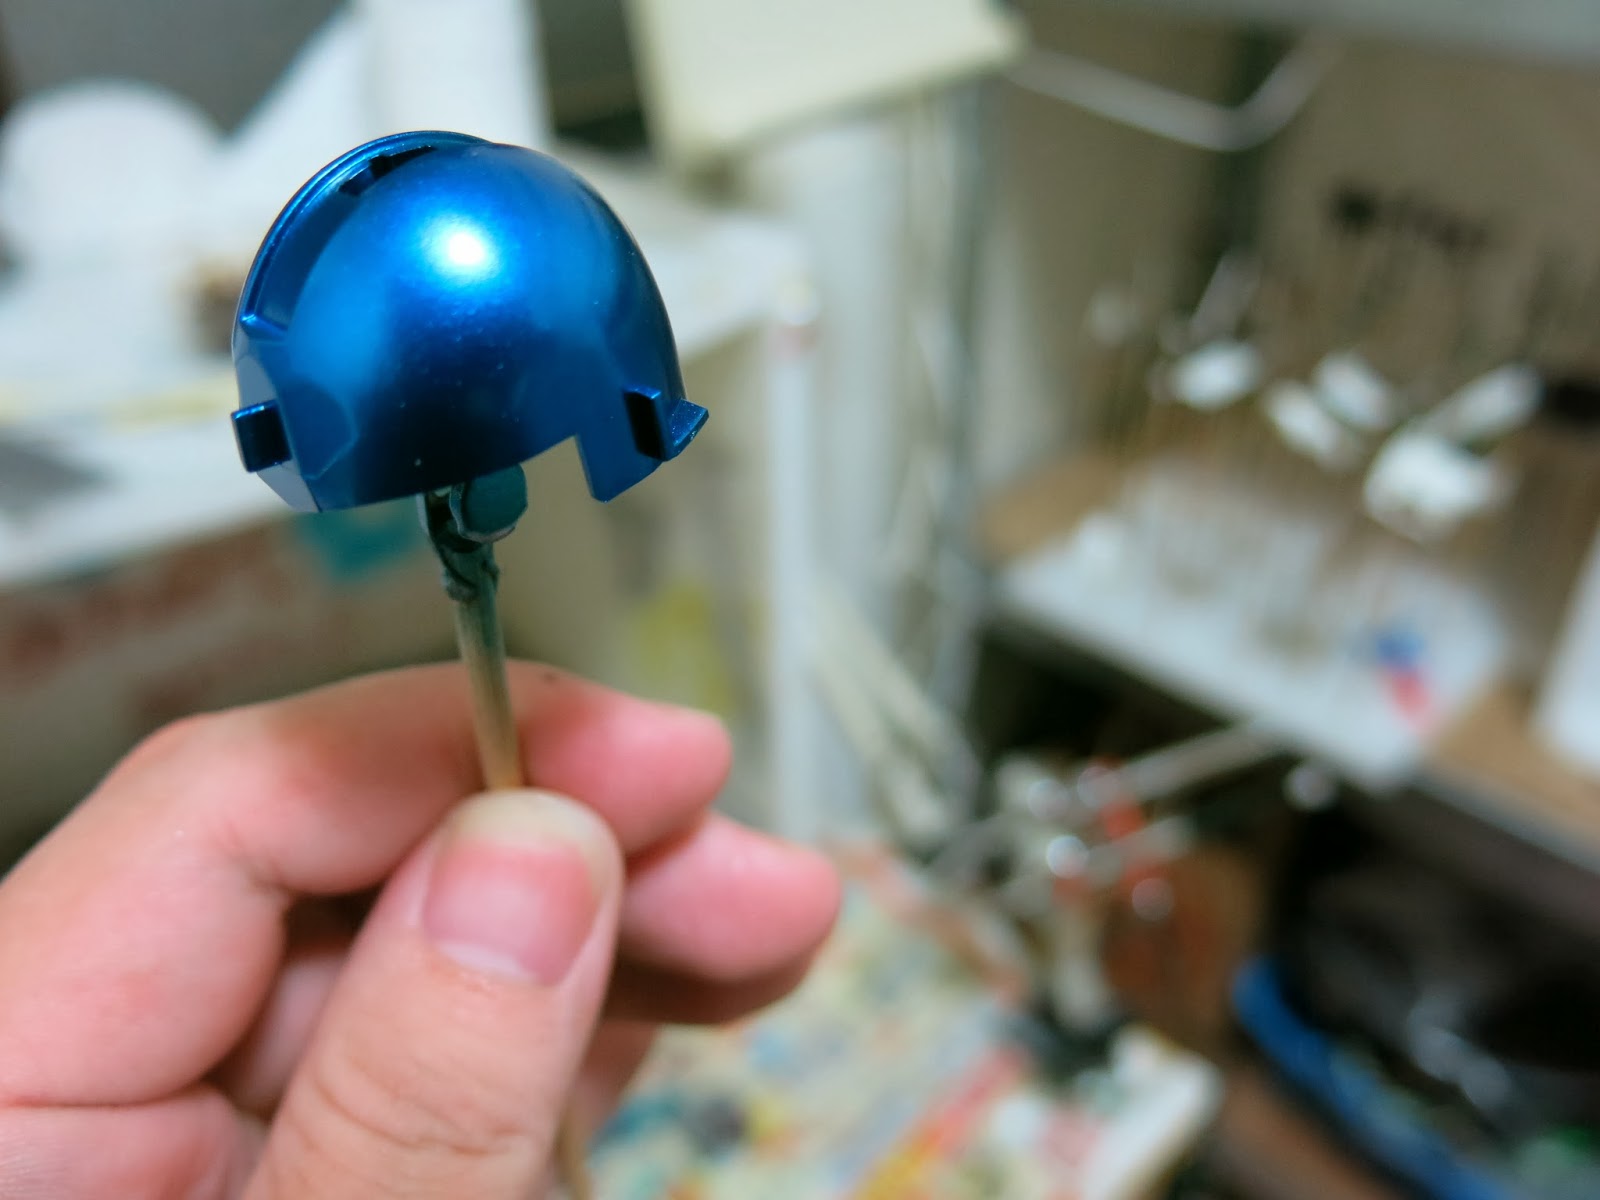
Dazzling metallic blue
- Red parts paint layering order: Primer Surfacer → GAIA 002 → GAIA 122 → GAIA 041.
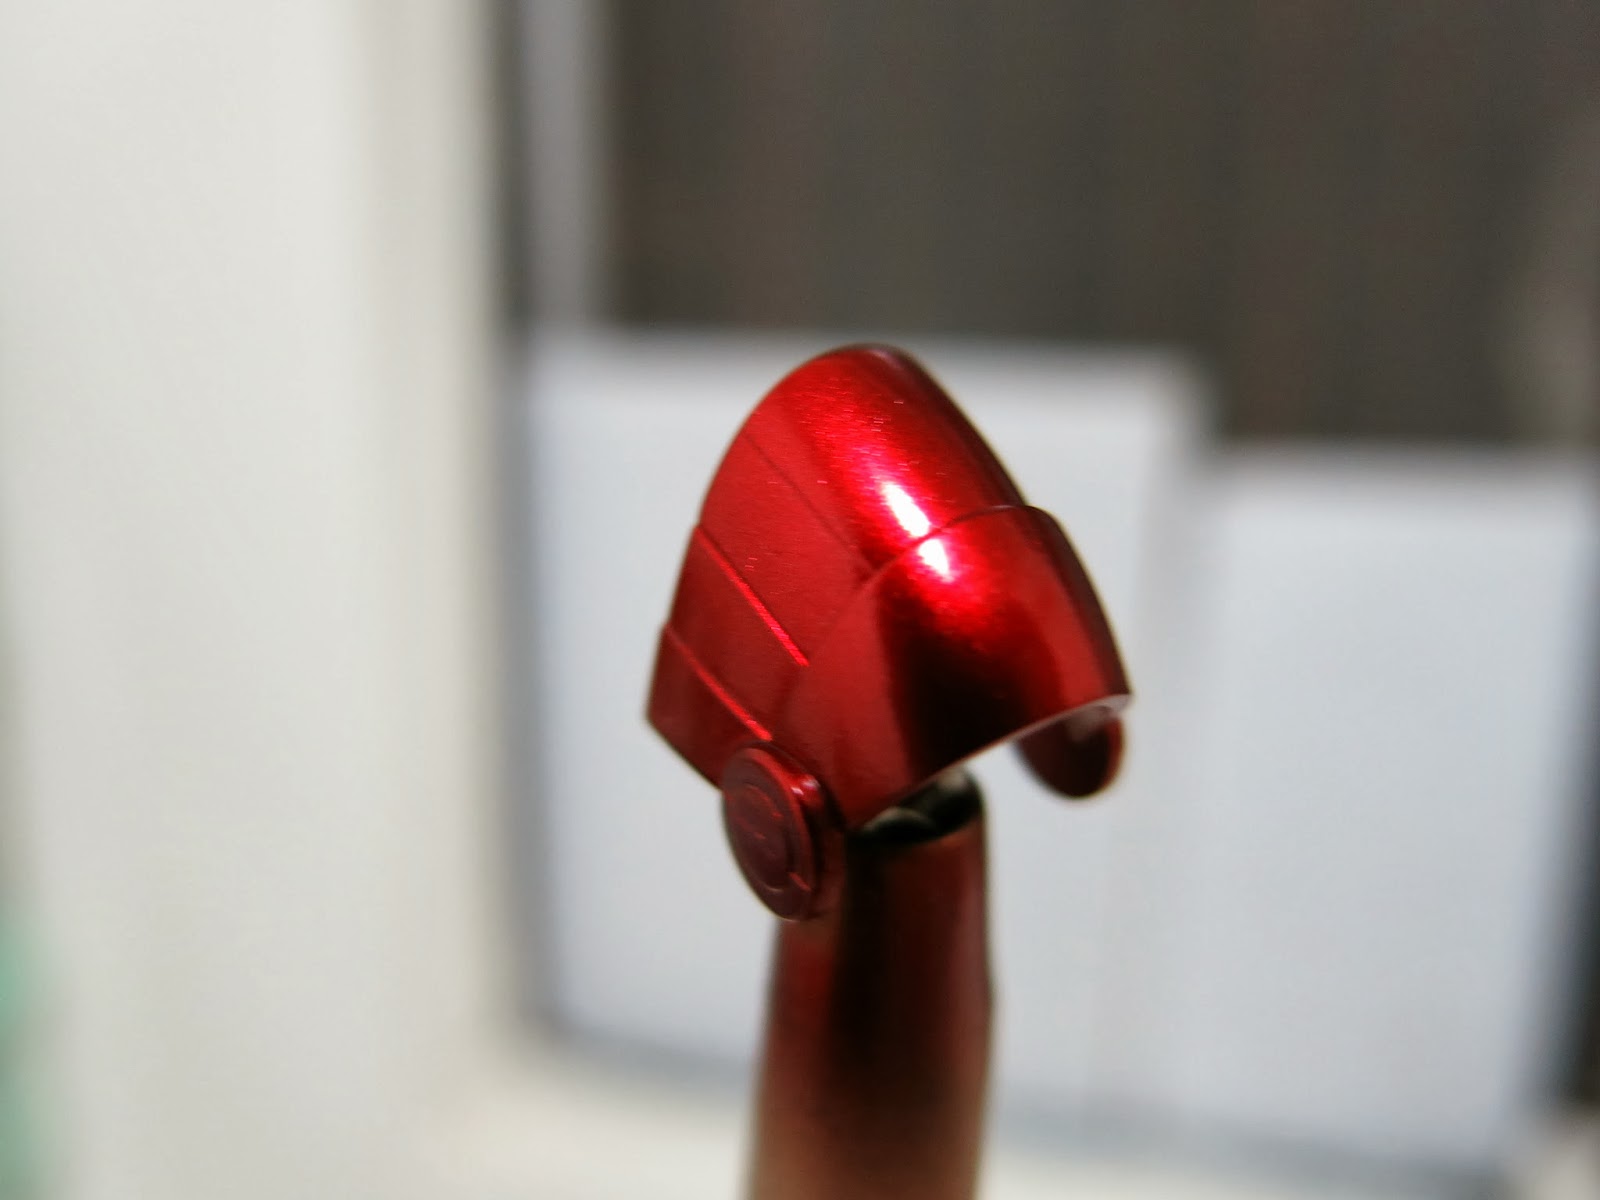
Vibrant candy red.
- Gold parts paint layering order: Primer Surfacer → GAIA 002 → GAIA 122 → GAIA 007.
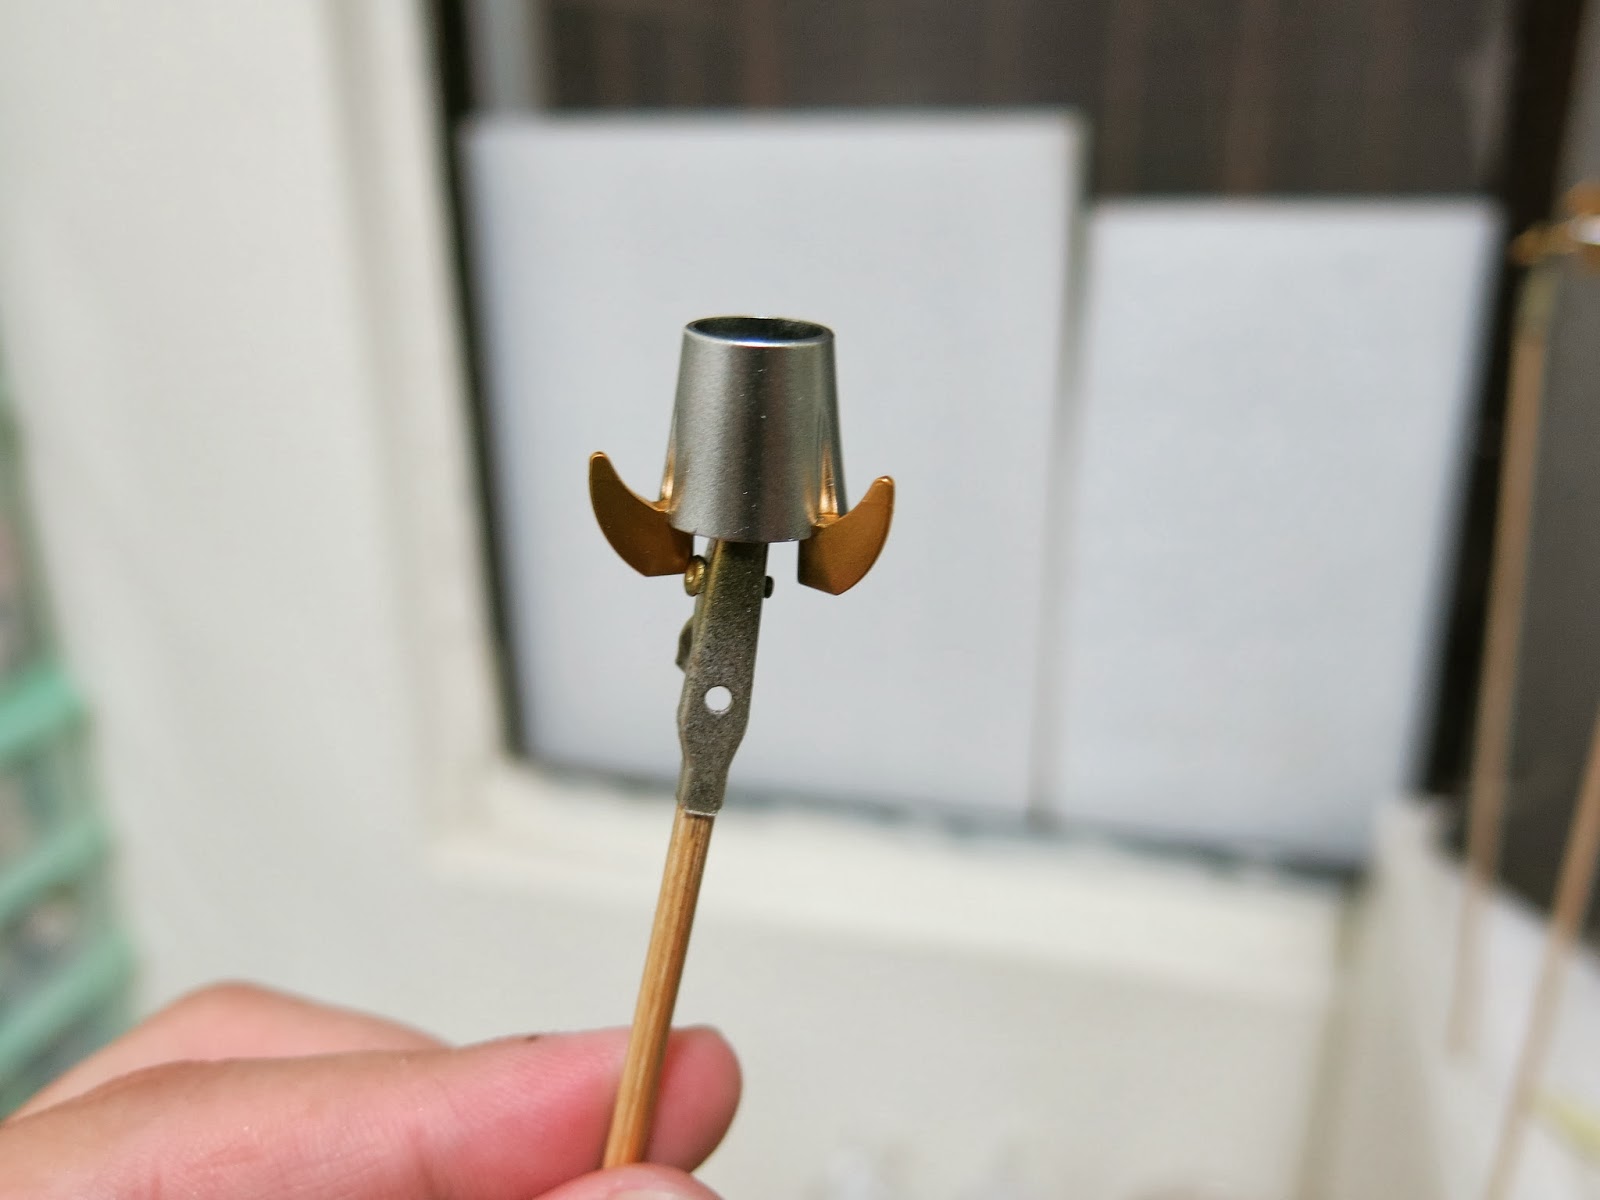
Golden horns (just kidding)
Knight Gundam SD No.370 LEGEND BB KNIGHT GUNDAM Photo Gallery
After the meticulous painting and curing process, this SD Gundam build was finally finished. Let’s enjoy the photo gallery, along with the dramatic transformation before and after!
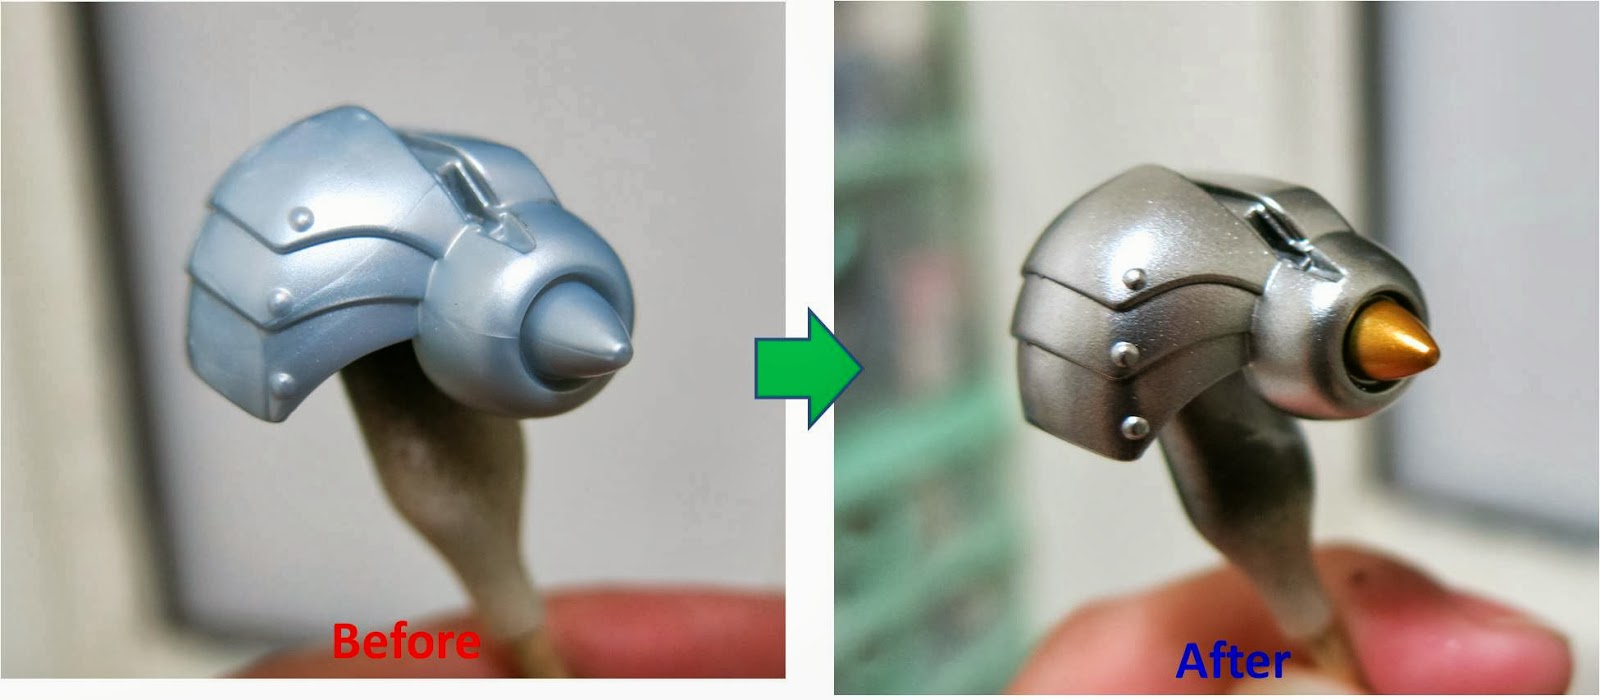
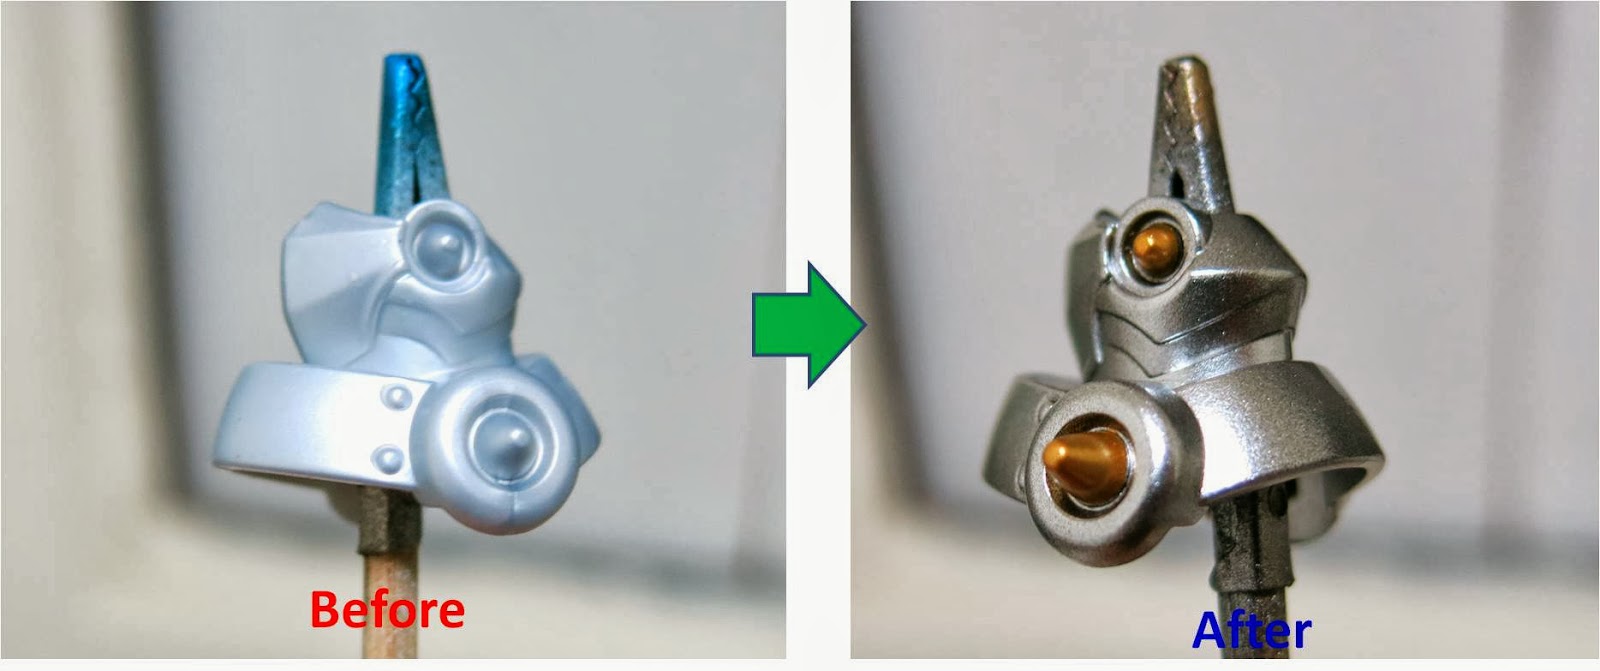
Shoulder armor
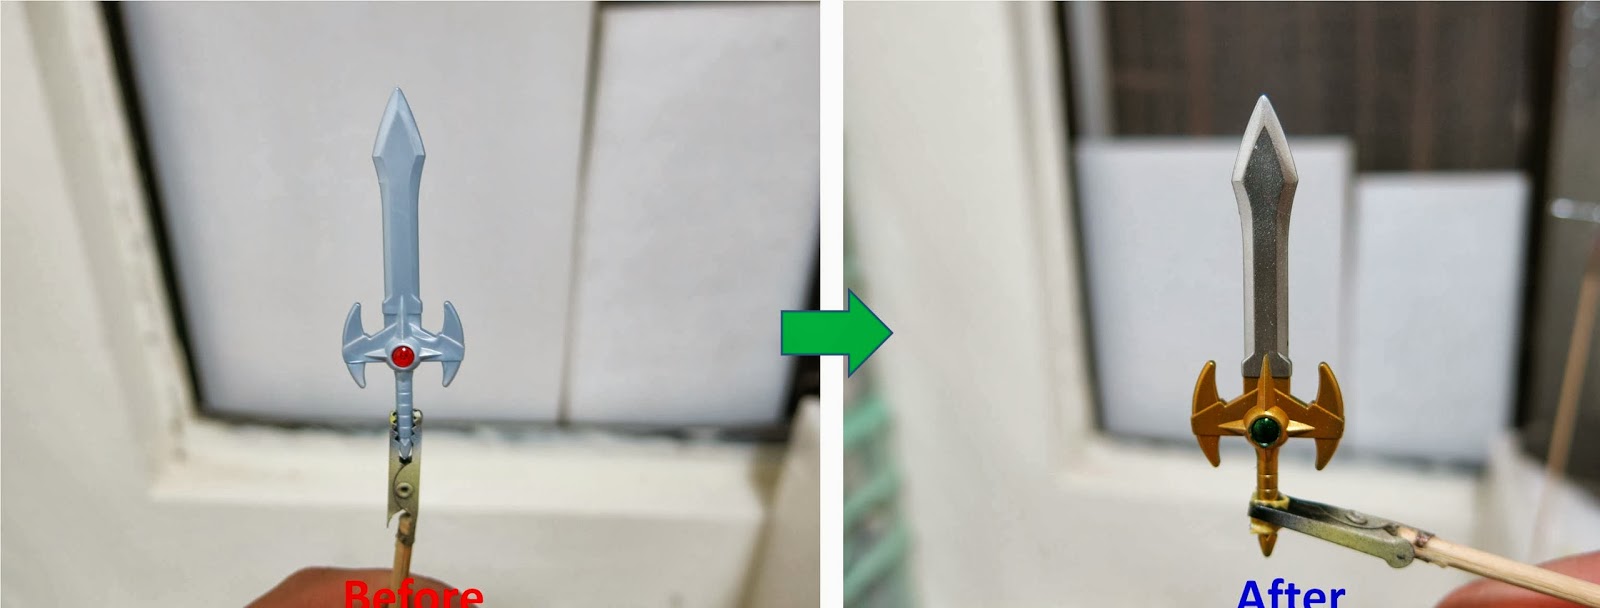
Dagger
Leg armor
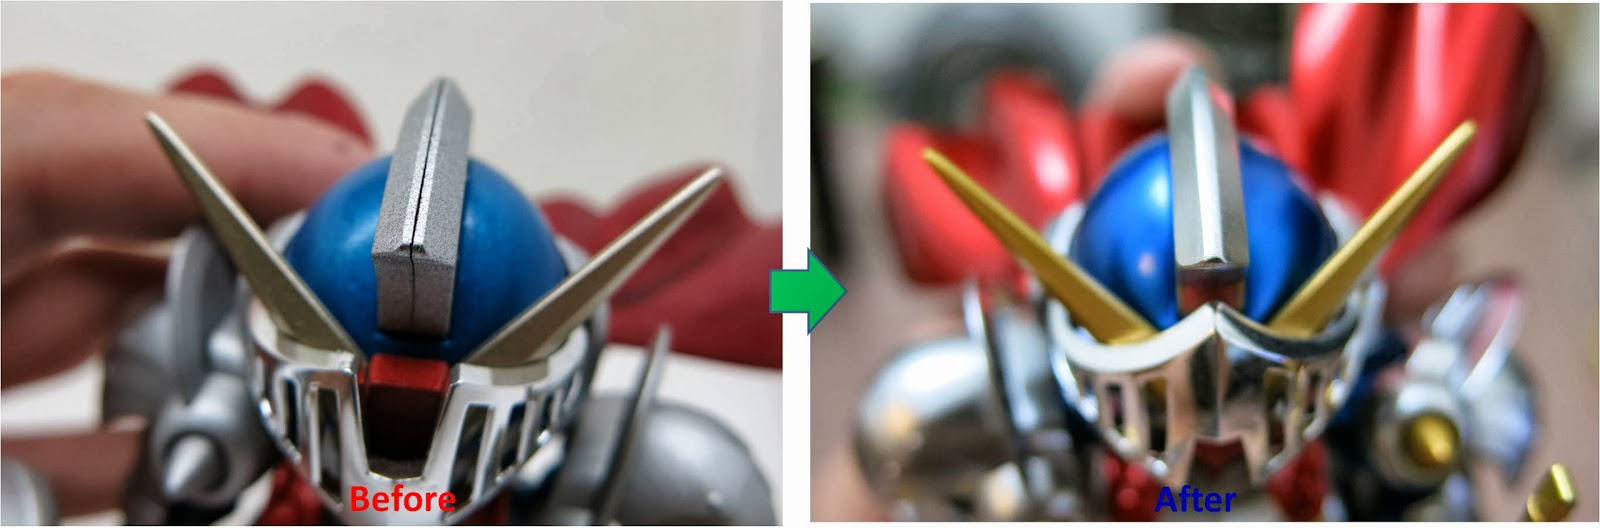
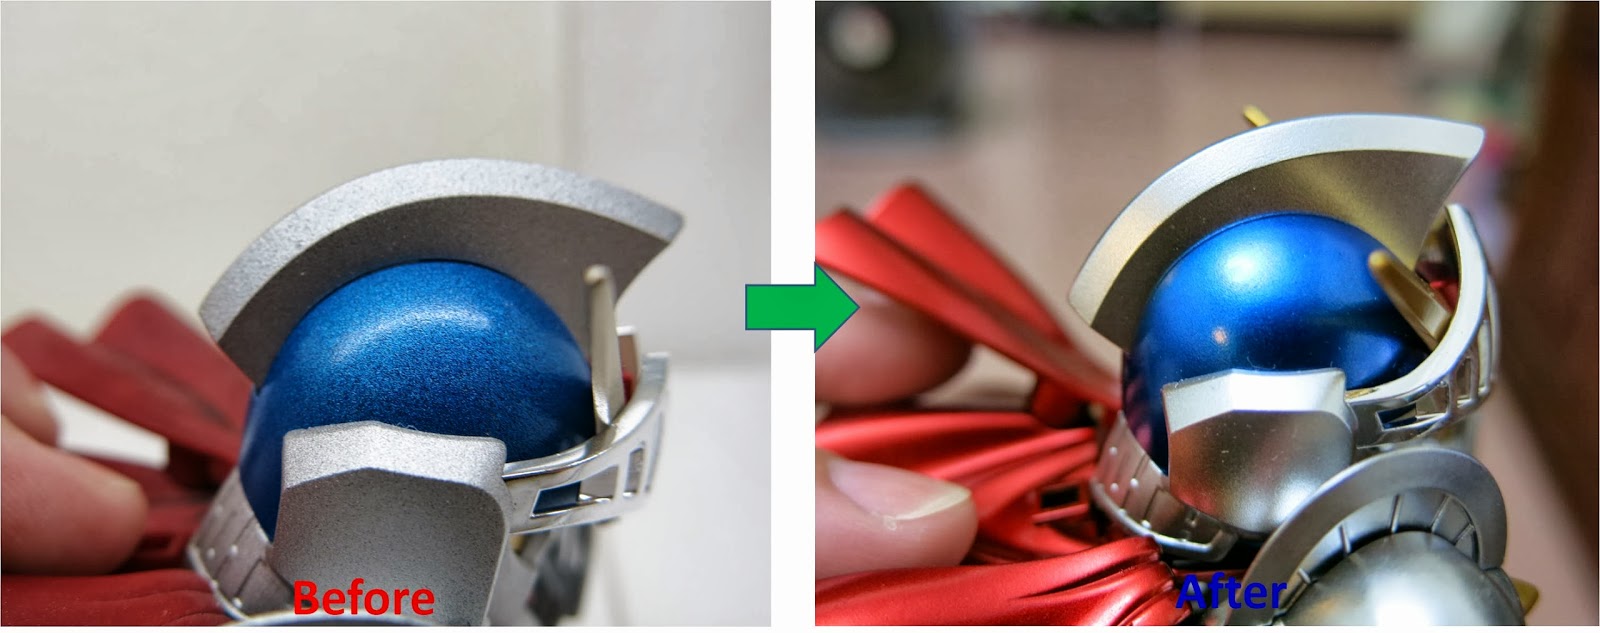
Helmet armor
Head sculpt
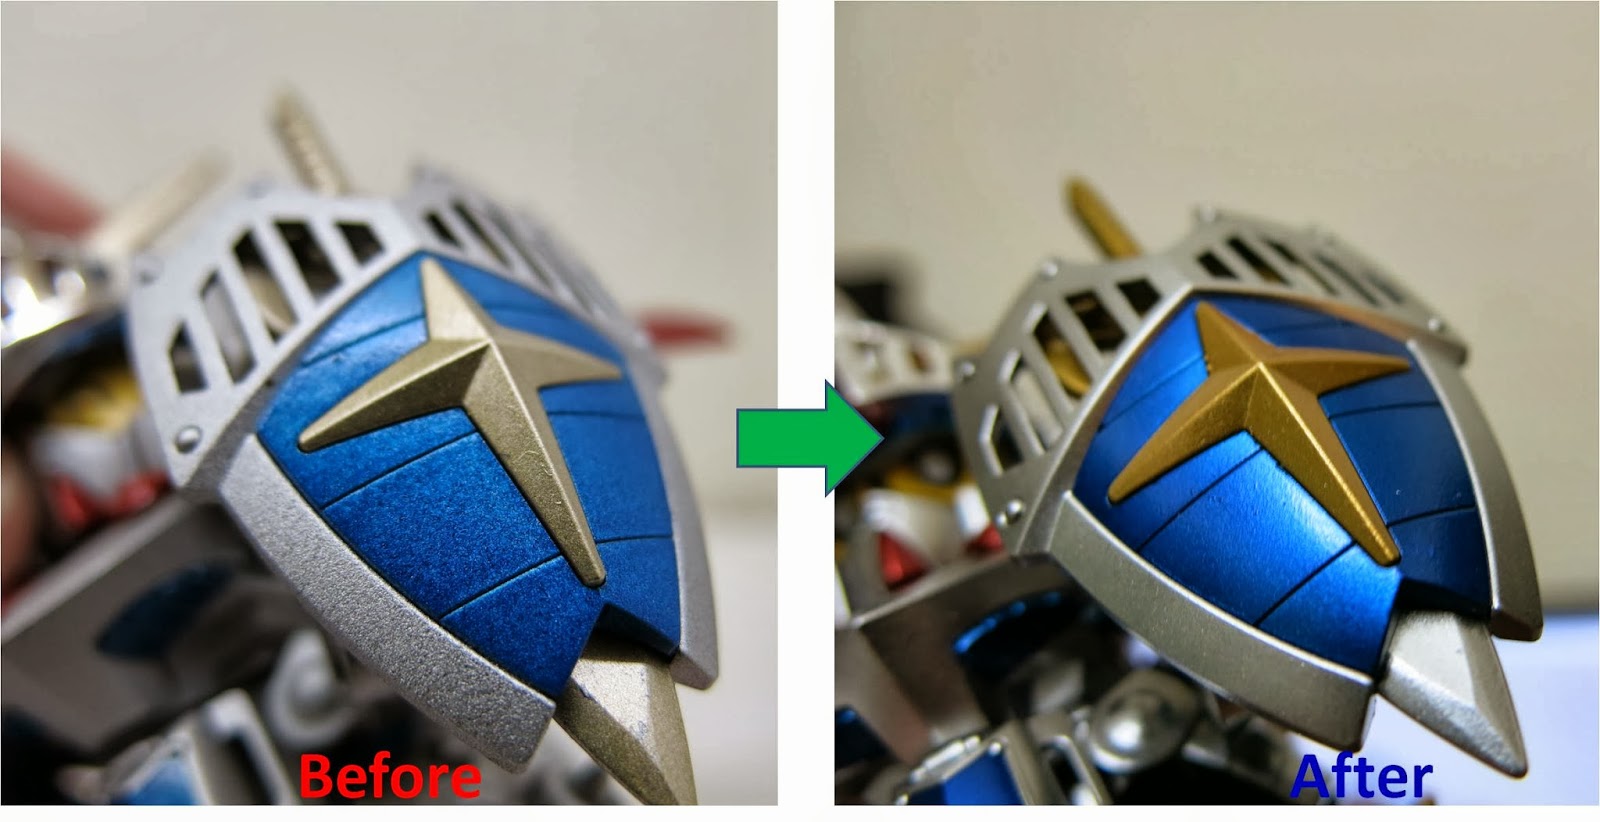
Shield
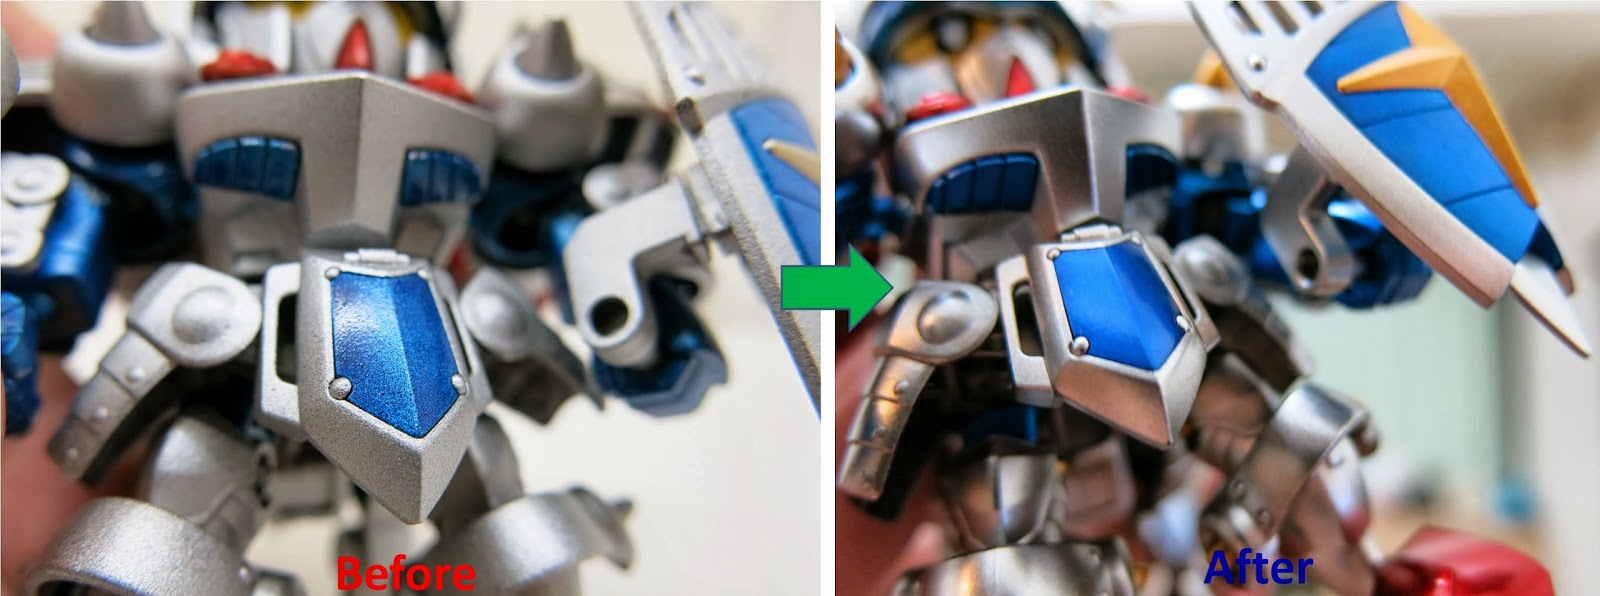
Waist armor
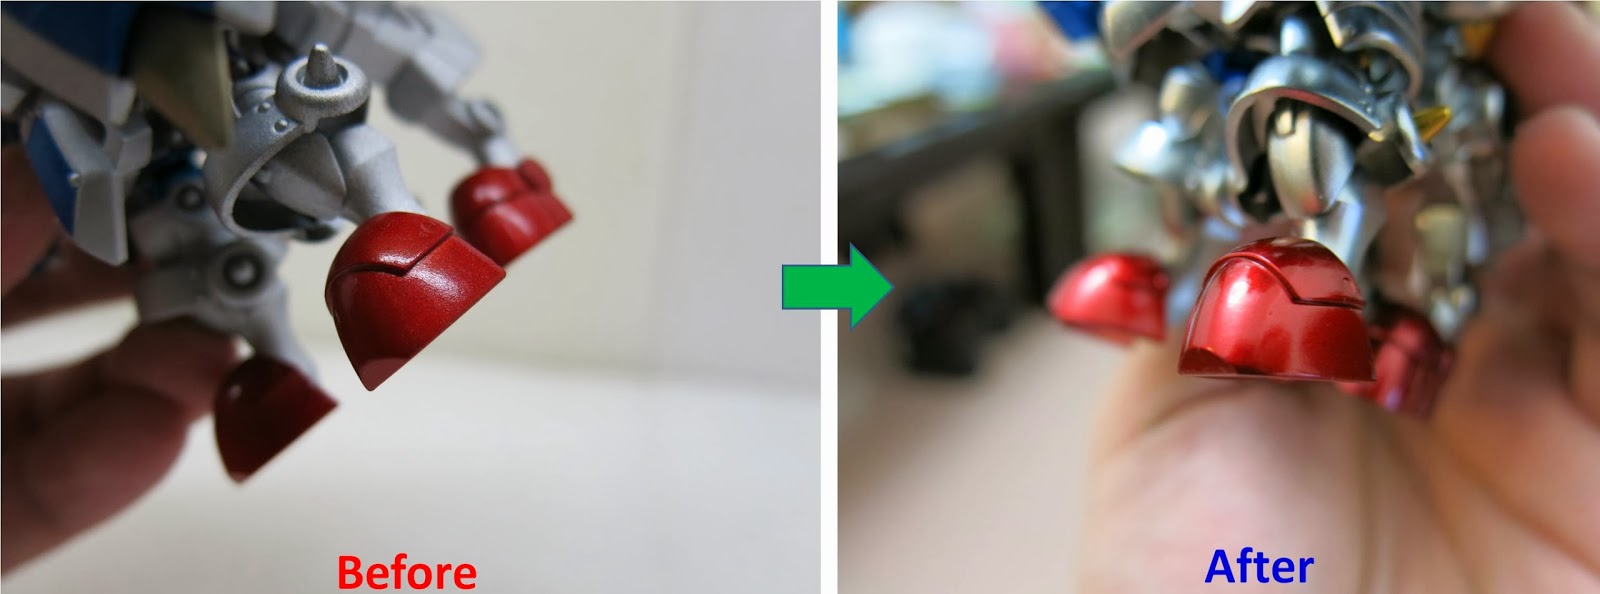
Feet
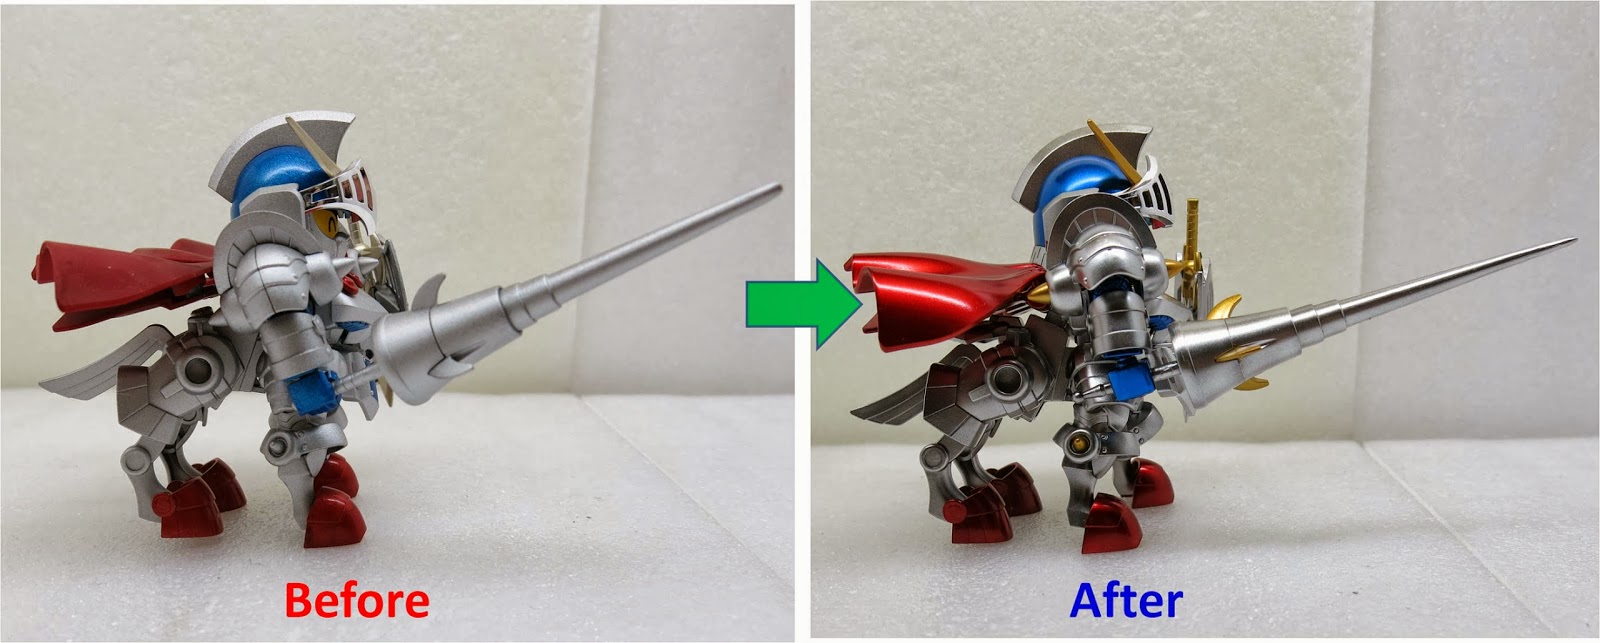
Side profile view
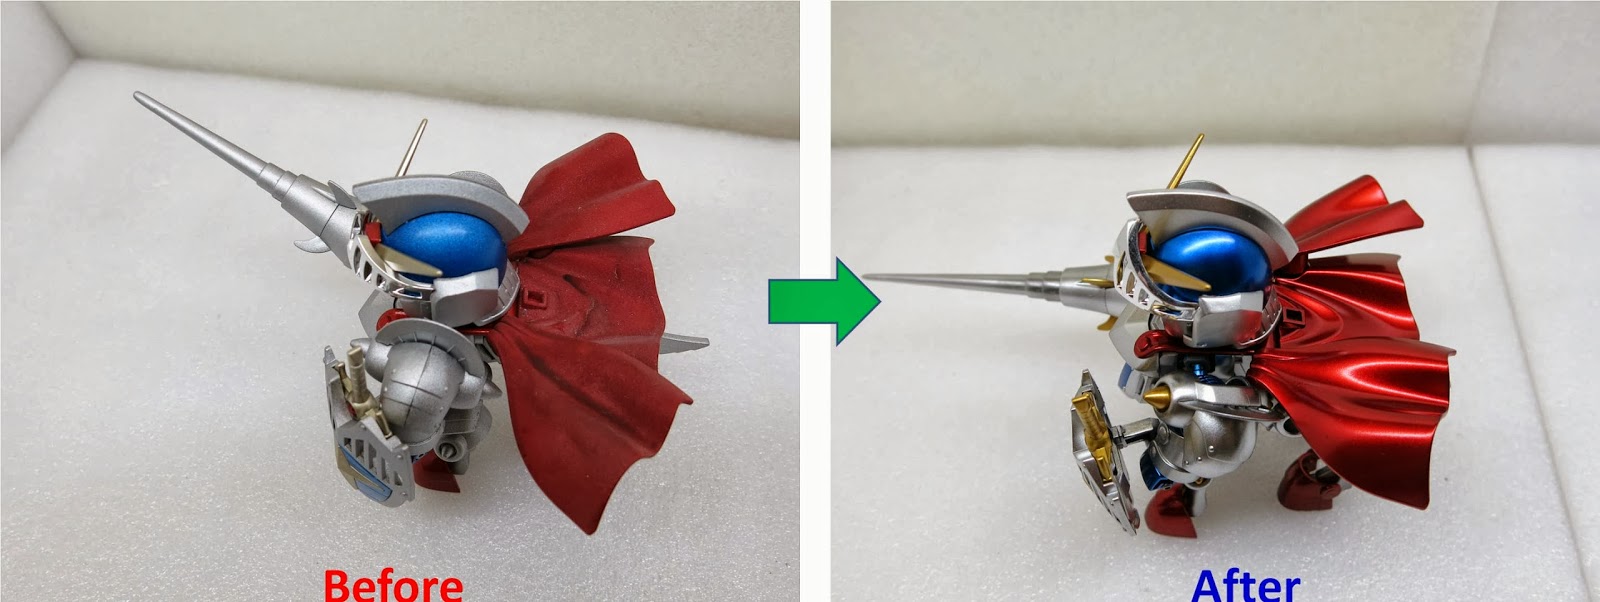
Top-down angle
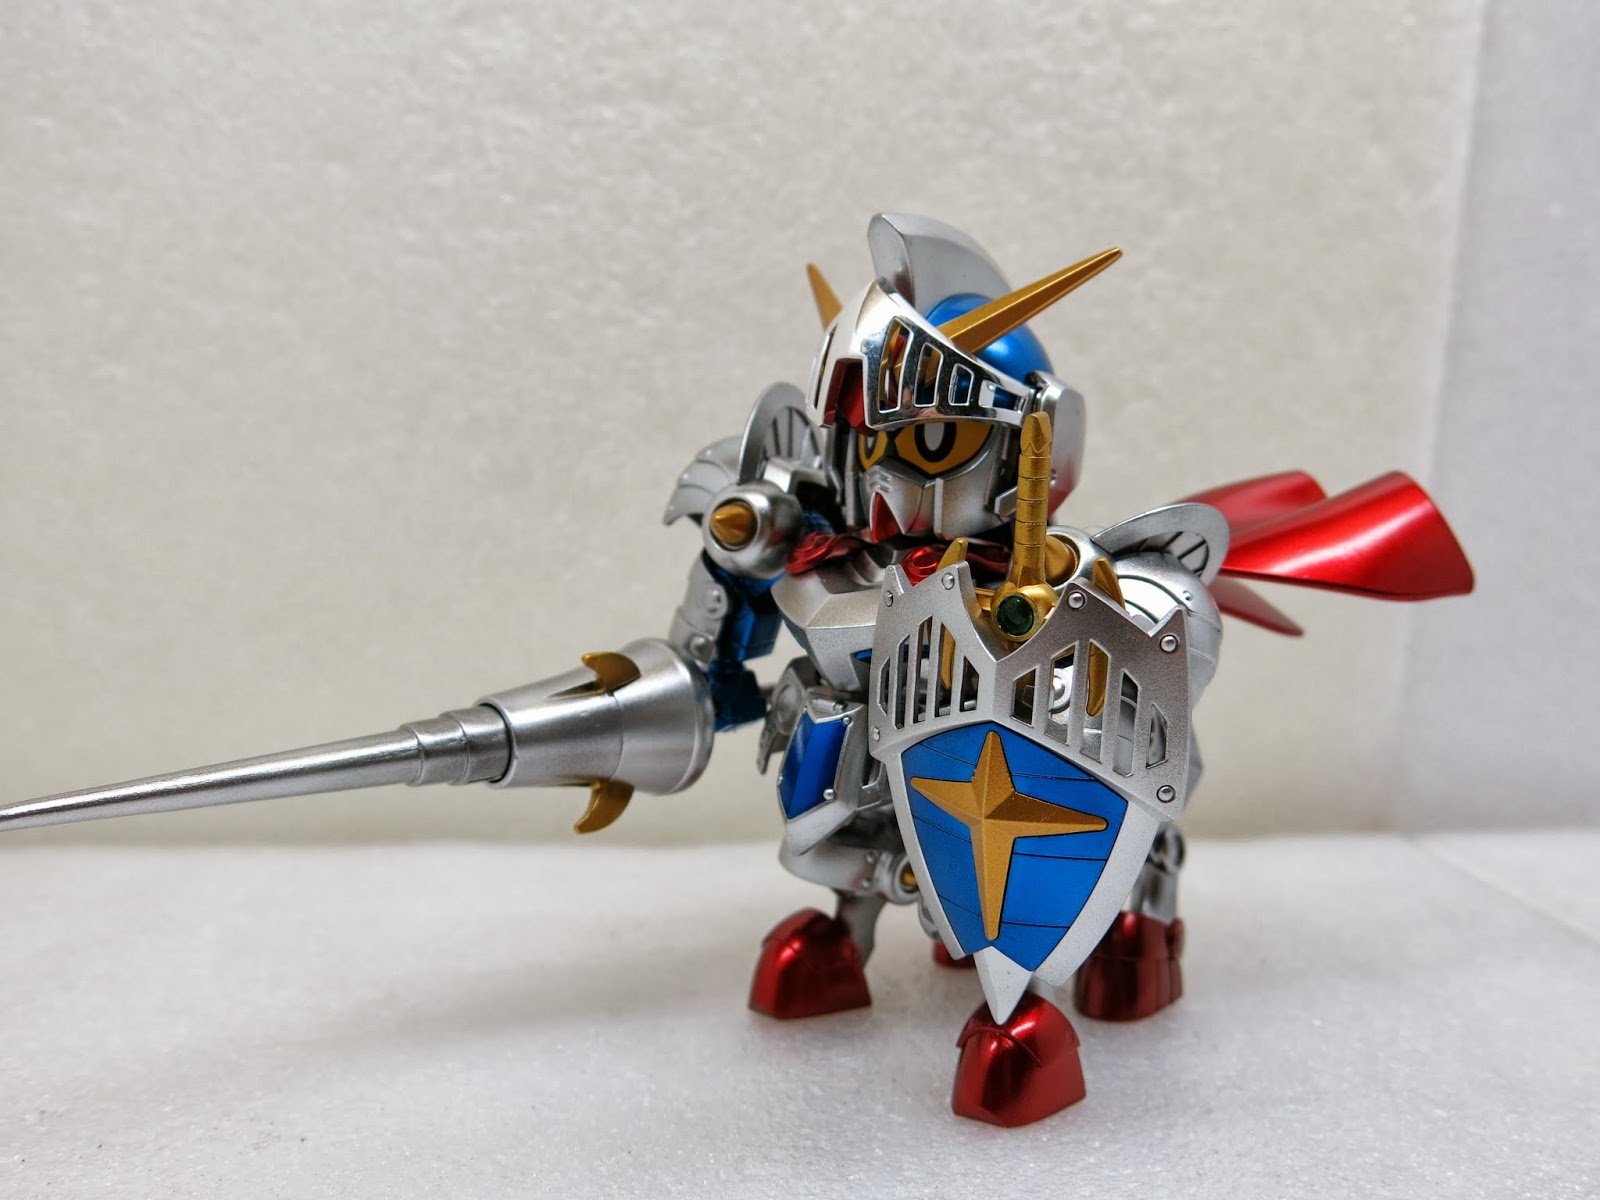
The Knight rides forth (1)
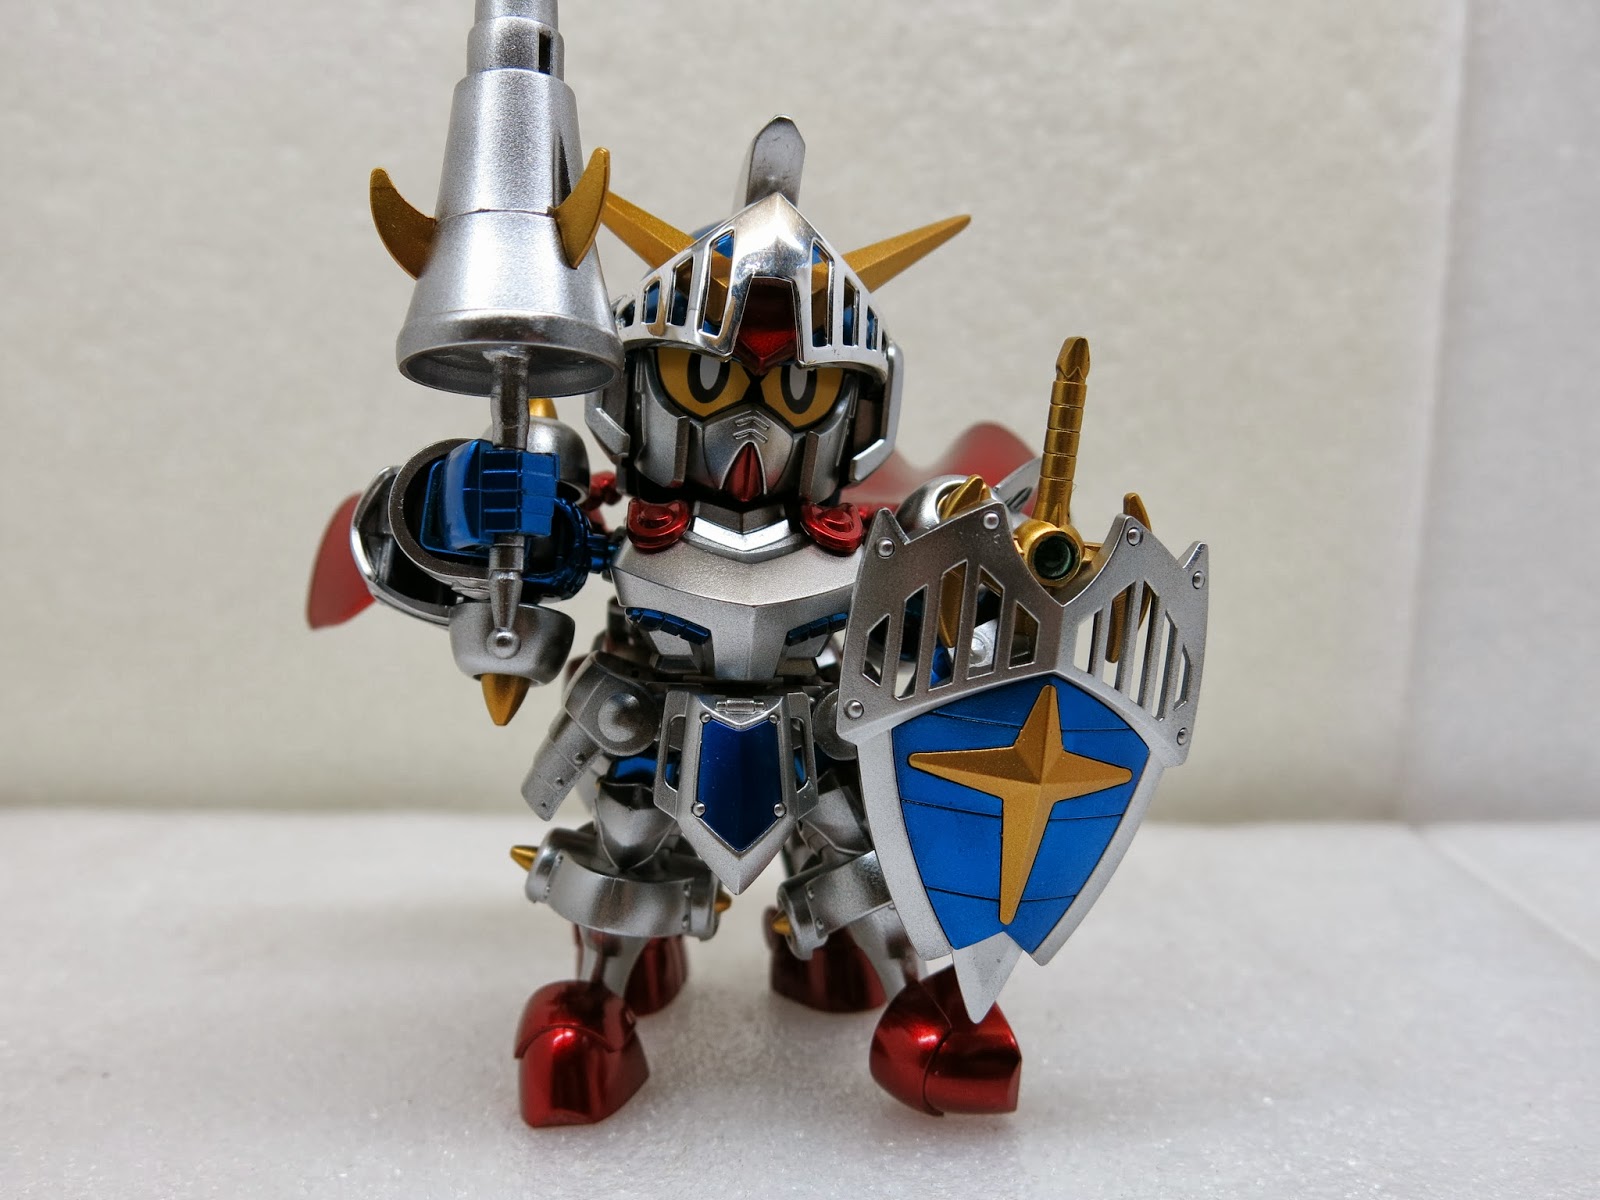
The Knight rides forth (2)
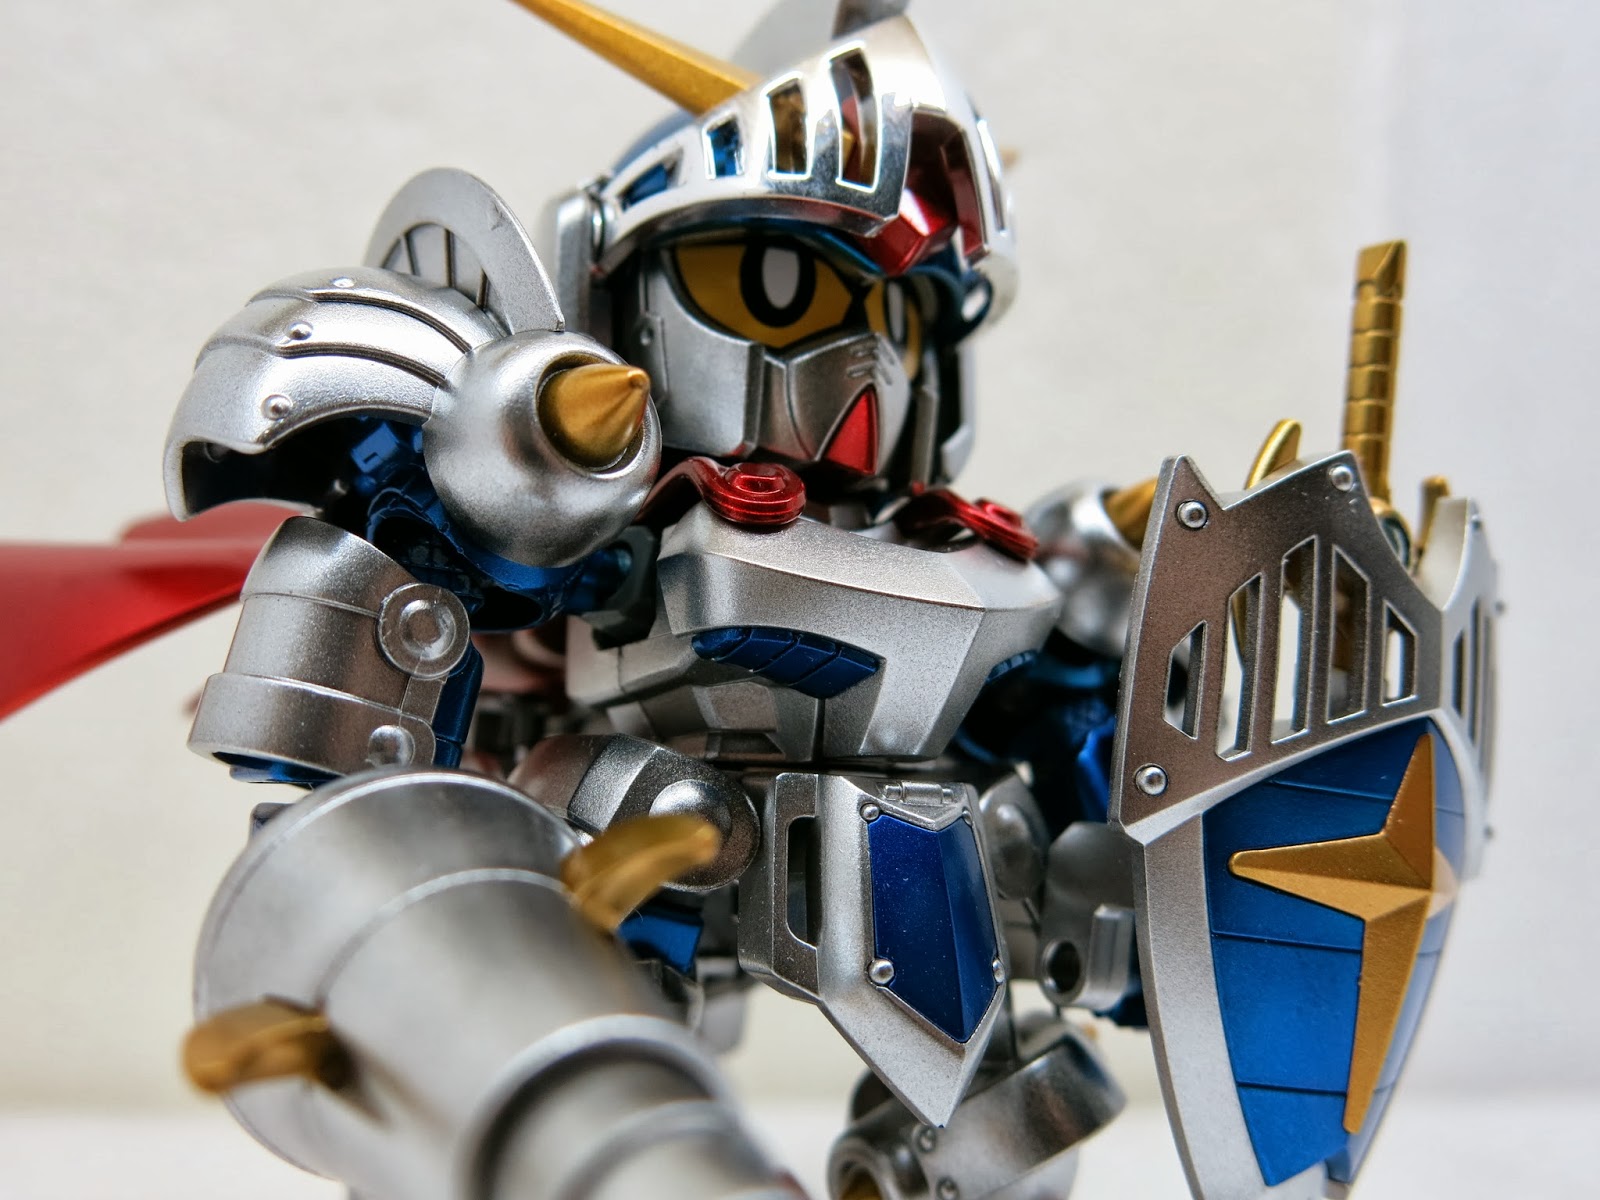
The Knight rides forth (3) Knight Gundam SD No.370 LEGEND BB KNIGHT GUNDAM Photo Gallery
Support Independent Perspectives & In-Depth Insights
Every thoughtful analysis and candid critique comes from our dedication to truth and quality. We choose not to follow sensational algorithms or clickbait headlines.
Sustaining independent research requires reader support. Make a one-time or monthly contribution, securely processed by Google.
Payments secured by Google · Manage or cancel anytime in your Google Account

Comments